Owen Bradley
 Two settings buried in every camera menu decide whether your footage is useful evidence or a smeared blur that fills a drive in a week: frame rate and bitrate. Most people never touch them, run everything at the factory maximum, and end up with cameras that overwrite themselves in four days while still producing blocky faces at night. The two settings pull against each other, and the goal is not to maximise either one but to balance them for what each camera actually watches. This guide explains what frame rate and bitrate really do, gives recommended values by scene type, and shows how the codec and encoding mode change everything, so you can tune a system properly in 2026 instead of guessing.

What Frame Rate Actually Controls
Frame rate, measured in frames per second, is how many individual images the camera captures each second. It governs how smooth motion appears and how much detail survives when something moves quickly across the frame.
Higher is not automatically better. At 30fps a walking person is captured roughly every 33 milliseconds, which is far more often than needed to identify them. At 15fps you get an image every 67 milliseconds, still plenty for recognising a face, reading a jacket, or tracking a route across a garden. The extra frames cost storage without adding evidential value.
Where frame rate genuinely matters is fast movement close to the lens. A vehicle crossing a driveway at 20mph covers a lot of ground between frames, and at low frame rates you may get one usable image of the number plate instead of five. Hands at a till, a gate people move through quickly, or a narrow corridor all benefit from more frames.
Frame Rate and Shutter Speed Are Not the Same
A common confusion is blaming frame rate for motion blur. Blur comes from shutter speed, which is how long each individual frame is exposed. At night, cameras extend the shutter to gather light, and a 1/8 second exposure produces a smeared person no matter whether you record at 15 or 30fps. If night footage is blurry, raise the minimum shutter speed and add illumination rather than raising frame rate.
What Bitrate Actually Controls
Bitrate, measured in megabits per second, is how much data the camera allocates to describing what it sees. It is the closest thing to a direct quality dial. Starve a camera of bitrate and the encoder throws away detail, producing blocky artefacts, mushy textures, and faces that dissolve into smears when anything moves.
Bitrate demand rises with three things: resolution, frame rate, and scene complexity. A 4K camera has four times the pixels of 1080p and needs roughly four times the data for equivalent quality. Doubling frame rate roughly doubles the requirement. And a busy scene, rain, moving foliage, a crowded street, is far harder to compress than a still empty room, so identical settings on two cameras can produce very different file sizes.
The relationship between resolution and the bitrate it demands is worth understanding before you buy, and our comparison of HD versus 4K security cameras covers how much practical detail each tier delivers at various distances.
The Codec Changes Everything
Before tuning numbers, check which codec your cameras and recorder support. H.264 is the older, universally compatible standard. H.265, also called HEVC, delivers the same visual quality at roughly half the bitrate, which effectively doubles retention on the same drive. Manufacturer variants labelled H.265+ or Smart Codec go further by holding a static background reference and only encoding what changes, sometimes cutting storage by 60 to 70 percent in quiet scenes.
Enable H.265 wherever both the camera and recorder support it. The two caveats are that the enhanced variants can complicate exporting or playing clips in third-party software, and that some older phones struggle to decode H.265 in an app. Test playback and export on your own devices before committing the whole system to it. Cameras with reliable H.265 implementations feature throughout our roundup of the best IP security cameras.
Constant Versus Variable Bitrate
Every camera offers a choice between CBR and VBR, and the choice matters more than most people realise.
Constant bitrate writes the same amount of data every second regardless of what is happening. Storage use is entirely predictable, which makes retention easy to calculate, but it wastes data on empty scenes and, worse, caps quality exactly when a scene gets busy and needs more.
Variable bitrate lets the encoder spend more data on complex moments and less on still ones. Quality stays consistent and average storage use is lower, but a stormy week with moving trees can consume far more than you planned for.
The best setting for most systems is VBR with a maximum bitrate cap. You get efficient storage in quiet periods, full quality when something happens, and a ceiling that prevents any single camera from consuming the entire drive. Set the cap at roughly the CBR value you would otherwise have used.
Recommended Settings by Scene
These are practical starting points using H.265. Add roughly 80 to 100 percent to the bitrates if you are stuck on H.264.
- Front door or porch — 15fps, 4 to 6Mbps at 4MP. Faces at close range matter more than motion smoothness.
- Driveway with vehicles — 20 to 25fps, 6 to 8Mbps at 4MP. The higher rate helps capture plates on moving cars.
- Back garden or perimeter — 12 to 15fps, 4 to 6Mbps. Movement is slow and detail requirements are modest.
- Indoor living space — 12 to 15fps, 2 to 4Mbps at 1080p. Simple scenes compress very efficiently.
- Wide 4K overview — 15fps, 8 to 12Mbps. Resolution is doing the work, so do not starve it of data.
- Till point or entry gate — 25fps, 8Mbps. Fast hand and body movement at close range needs both.
Notice that only two entries exceed 20fps. That is deliberate. Selective frame rates are how you fund higher bitrate on the cameras that need it while keeping total storage flat.
Which to Prioritise When You Must Choose
If a drive is filling too fast, cut frame rate before cutting bitrate. Fifteen frames per second of clear, well-encoded video is far more useful than 30 frames of blocky mush, and the storage saving is nearly identical either way. The only exception is a camera specifically installed to capture vehicles or fast movement, where frames are the point.
The reverse mistake is equally common: people raise frame rate to fix footage that looks bad, when the actual problem is a bitrate too low for the resolution. A 4K camera capped at 2Mbps will look worse than a well-fed 1080p camera in every situation. If you cannot afford the bitrate a resolution needs, drop the resolution instead. Systems designed around genuinely high-resolution recording are compared in our guide to the best 4K security cameras, while capable lower-resolution options that are far kinder to storage appear in our roundup of the best HD security cameras.
Main Stream and Sub Stream
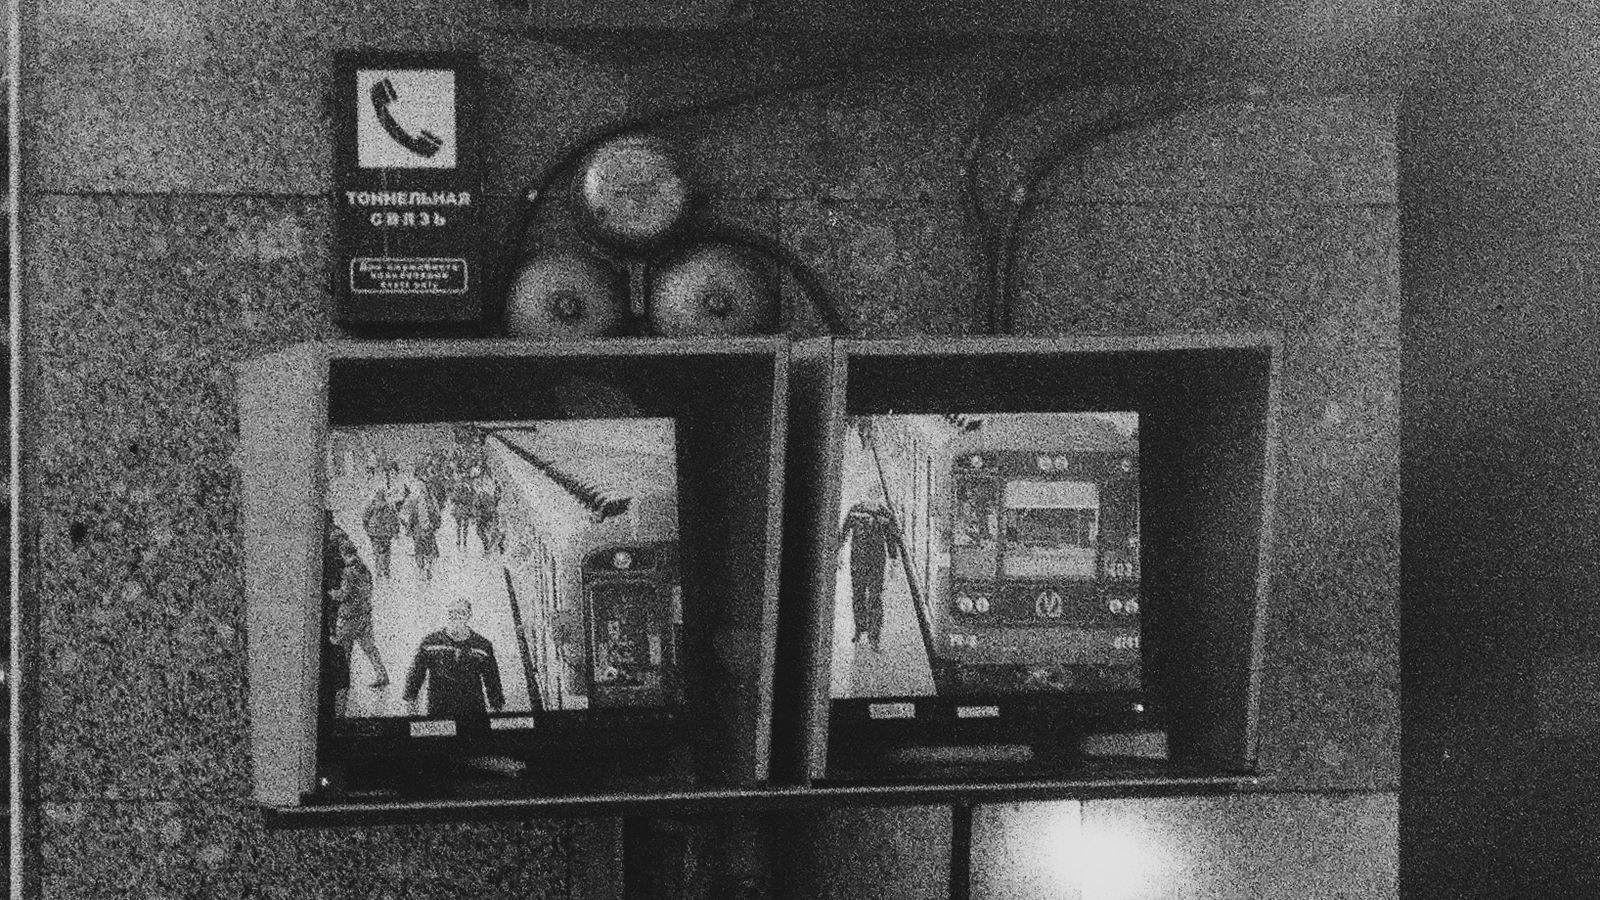
Nearly every network camera produces two streams simultaneously. The main stream is high resolution and high bitrate, and it is what gets recorded for evidence. The sub stream is small, often 640×480 at 1 to 2Mbps, and it is what your phone app and multi-camera grid views display.
Tune them separately. There is no benefit to a high-bitrate sub stream, and a heavy one makes the app slow to load and expensive on mobile data. Conversely, do not judge your recording quality by what the app shows you live, because you are almost certainly watching the sub stream. Always review a recorded clip at full resolution before deciding the settings are wrong.
Night Settings and Why Storage Spikes
Infrared footage is grainy, and grain is essentially random noise that compresses terribly. A camera that uses 4Mbps in daylight can jump to 7 or 8Mbps at night purely because the encoder is trying to describe sensor noise. This is why systems that seem fine on installation day run out of space a fortnight later.
Two fixes help. Enable any noise reduction the camera offers, which smooths the grain and lets the encoder work efficiently, though excessive settings introduce ghosting on moving objects. And add white light where practical, since a well-lit scene in colour compresses better and identifies people far more reliably than infrared. Always account for the night-time spike when calculating retention.
Common Mistakes
Running every camera at maximum resolution, 30fps, and maximum bitrate is the default error, and it produces days rather than weeks of retention with no meaningful gain. Leaving H.264 enabled when H.265 is available wastes half the drive. Using constant bitrate with no headroom caps quality precisely when it matters most.
Other frequent errors include applying identical settings to every camera regardless of what it watches, judging quality from the live app view rather than a recorded clip, and forgetting that bandwidth matters too, since a system streaming several high-bitrate feeds remotely can saturate a modest upload connection. Complete systems that ship with sensible defaults are compared in our guide to the best CCTV camera systems.
Frequently Asked Questions
Is 15fps enough for security footage?
For most scenes, yes. Fifteen frames per second identifies people, tracks movement, and reads clothing reliably. Raise it to 20 or 25fps only on cameras watching fast movement such as vehicles or busy entrances.
What bitrate should a 4K camera use?
Between 8 and 16Mbps on H.265, depending on scene complexity. Around 8 to 10Mbps suits a quiet scene, while a busy street or a view full of moving foliage benefits from the upper end.
Does higher frame rate reduce motion blur?
No. Blur is caused by shutter speed, not frame rate. Set a faster minimum shutter and improve lighting to sharpen moving subjects, especially at night.
Should I use CBR or VBR?
Variable bitrate with a maximum cap is best for most systems. It saves space during quiet periods, delivers full quality during activity, and the cap keeps storage predictable enough to plan retention around.
Final Thoughts
Frame rate and bitrate are a budget, not a competition. Enable H.265, choose variable bitrate with a sensible cap, set most cameras to 12 to 15fps, and spend the savings on higher bitrate for the cameras where detail truly matters. Give each camera settings that suit what it actually watches rather than copying one profile everywhere, expect night footage to consume noticeably more space, and always check a recorded clip rather than the live preview when judging quality. Tune it once along those lines and you will get weeks of genuinely usable footage from the same drive that previously held days.