Owen Bradley
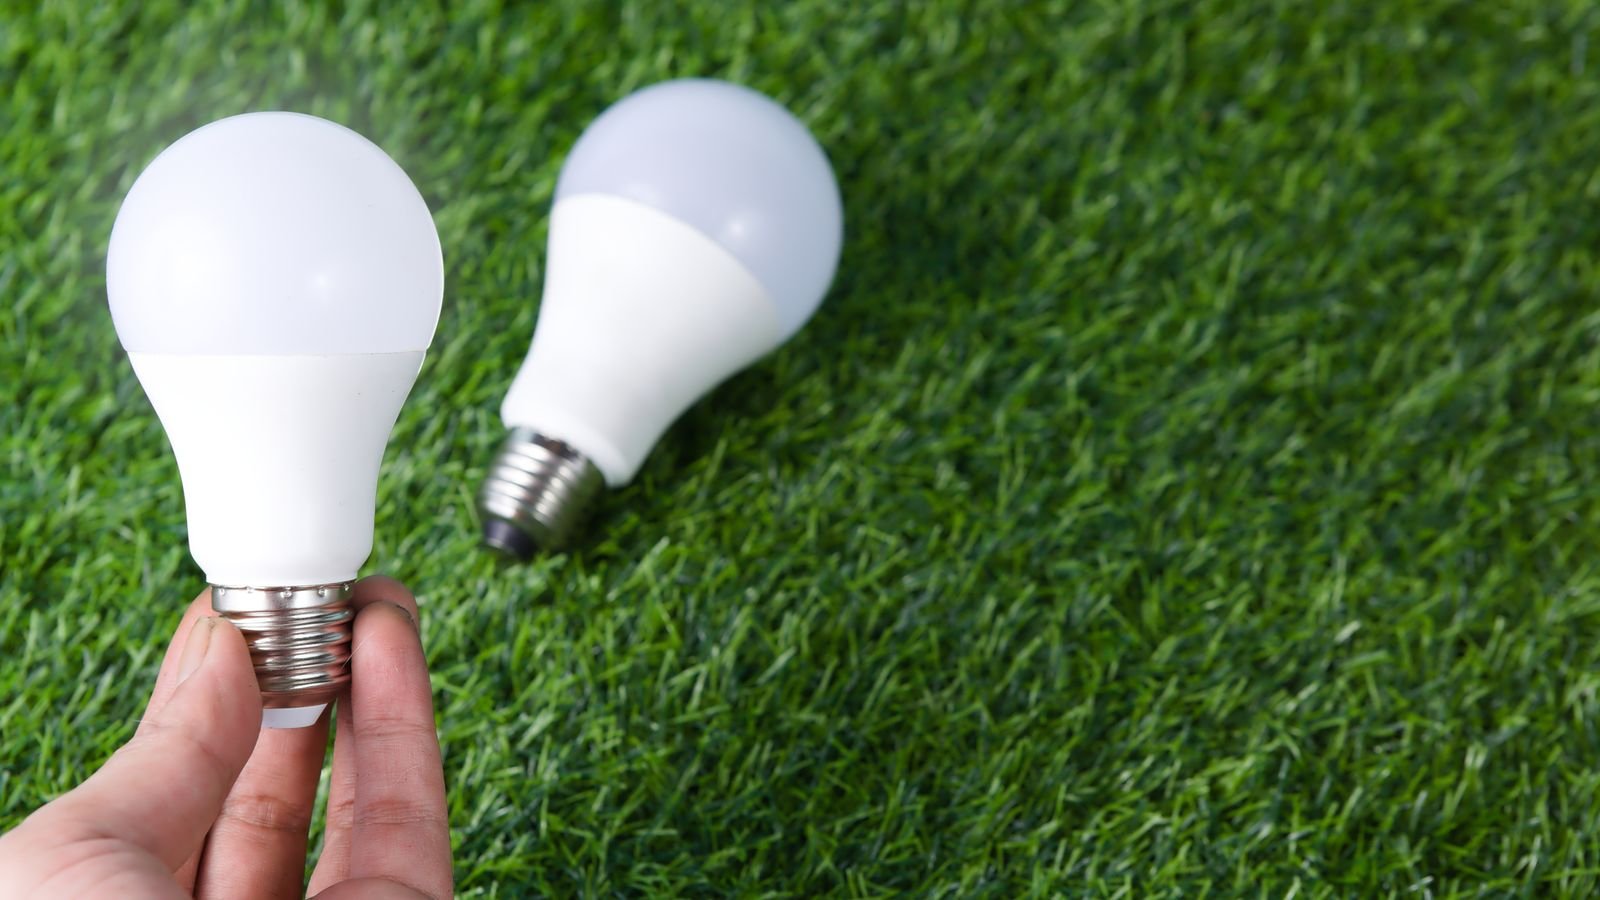
 Setting up a smart bulb without a hub is one of the easiest entry points into home automation, and in 2026 the vast majority of bulbs sold no longer need a separate bridge at all. Instead of routing commands through a proprietary hub, a hub-free bulb joins your home Wi-Fi network directly (or pairs over Bluetooth for close-range control), which means the only hardware you need is the bulb itself, a smartphone and a working router. This guide walks through the entire process from unboxing to voice control, explains why pairing sometimes fails, and shows you how to build a small lighting system that stays reliable months after installation.
Understand How Hub-Free Smart Bulbs Connect
Before you touch a screwdriver, it helps to know what is happening behind the scenes. A hub-free bulb contains a tiny radio and a microcontroller. There are three common connection paths, and knowing which one your bulb uses removes most of the guesswork during setup.
- Wi-Fi direct: The bulb joins your router like a phone or laptop. It works from anywhere in the world through the manufacturer’s app and needs no extra hardware, but it consumes a slot on your network and depends on your internet connection for remote control.
- Bluetooth mesh: The bulb pairs with your phone directly. Setup is nearly instant and works even if your internet is down, but you generally need to be within roughly 30 feet to issue commands unless another device relays them.
- Dual-band hybrid: Many current bulbs use Bluetooth for the initial handshake and then hand the connection over to Wi-Fi. This is the most forgiving design because the fiddly credential-sharing step happens over a short, stable link.
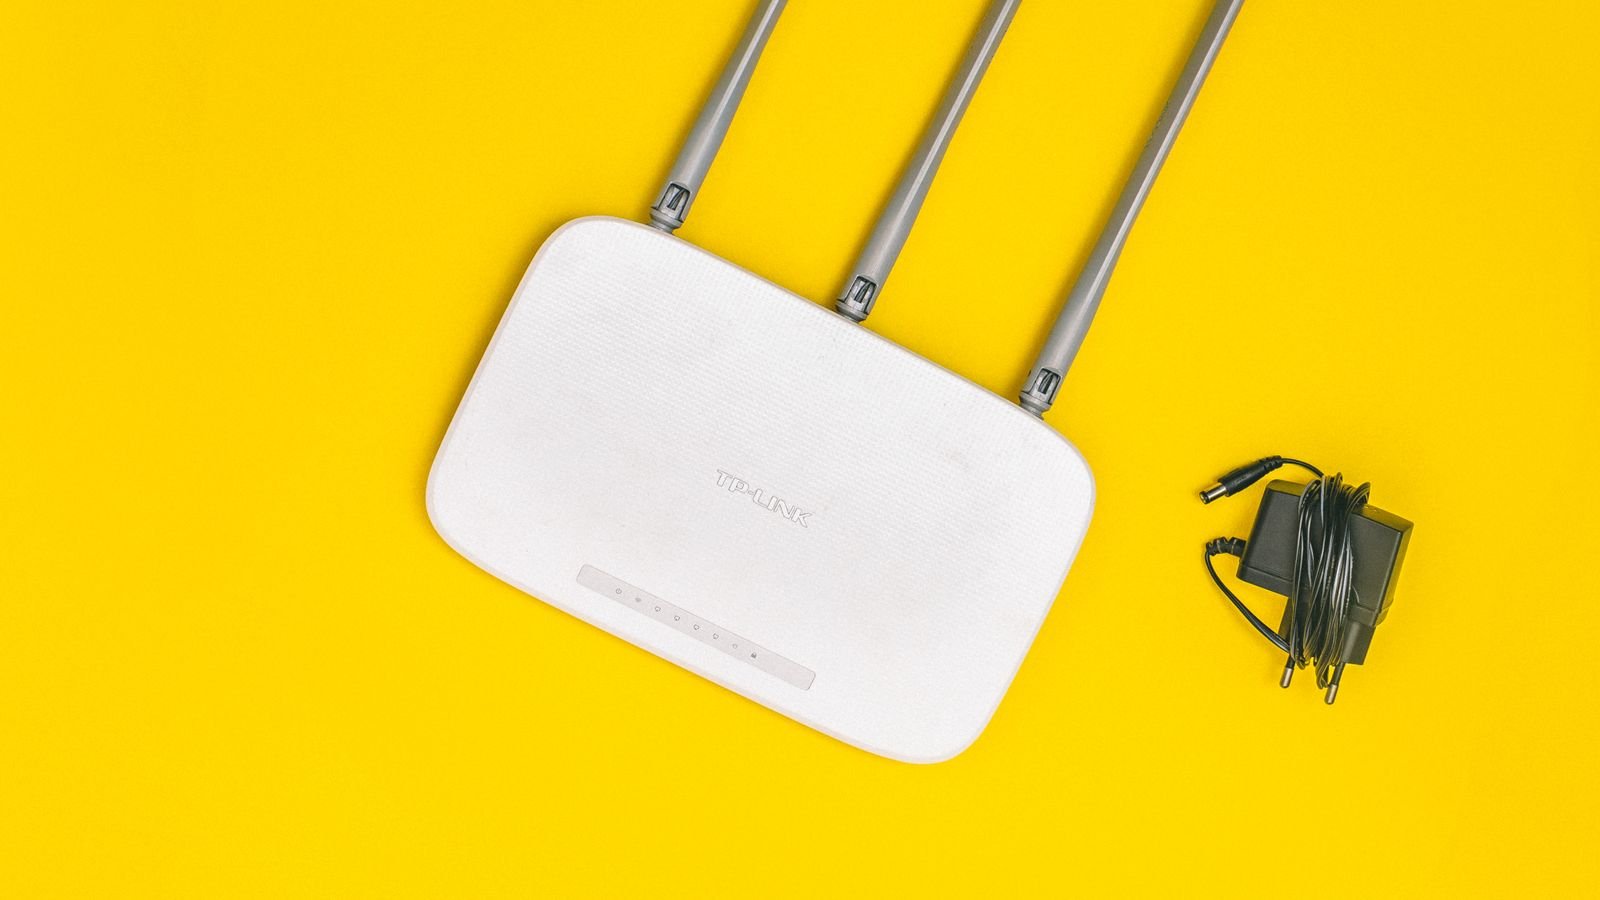
The single most important technical detail: almost every hub-free smart bulb speaks 2.4 GHz Wi-Fi only. It will not see your 5 GHz network. If your router broadcasts both bands under one name, you may need to temporarily separate them or enable a setup mode. Skipping this check is the number one cause of failed pairing.
What You Need Before You Start
- The smart bulb, with a base type matching your fixture (E26 or E27 is standard in most lamps; check for candelabra or GU10 sizes)
- A smartphone or tablet with Bluetooth and Wi-Fi enabled
- Your 2.4 GHz Wi-Fi network name and password, typed out and verified
- A lamp or ceiling fixture on a switch you can flip on and off quickly
- A step stool for overhead fixtures, plus a cloth to handle the bulb cleanly
Take a moment to confirm the fixture is not on a dimmer switch. Traditional wall dimmers chop the power waveform and can cause smart bulbs to flicker, buzz or refuse to boot. If your fixture has one, set the dimmer to full brightness or replace it with a standard switch. Similarly, avoid enclosed fixtures with poor ventilation, since the electronics inside a smart bulb are more heat-sensitive than a plain LED. If you are still shopping, browsing a roundup of the best smart bulbs will show you which models list enclosed-fixture ratings on the box.
Step-by-Step: Pairing Your First Bulb
- Install the app first. Download the manufacturer’s app before you install the bulb and create an account. Grant it Bluetooth, local network and location permissions when prompted — on both iOS and Android, location permission is what allows the app to read your Wi-Fi network name, and denying it will silently break setup.
- Turn the fixture off at the wall switch. Screw the bulb in firmly with the power off. Never install a bulb into a live socket.
- Power on and watch the bulb. Flip the switch. A brand-new bulb usually enters pairing mode automatically and signals it by pulsing, blinking rapidly or cycling through colors. If it simply lights up steady white, it is not in pairing mode yet.
- Force pairing mode if needed. The near-universal reset is to switch the bulb off and on again several times in a row — typically three or five cycles, with roughly two seconds on and two seconds off. When it flashes, it is listening. Check your manual, as a few brands use a different cycle count.
- Add the device in the app. Tap the plus icon, choose “Add device” and let the app scan. A hybrid bulb usually appears within seconds over Bluetooth. If nothing appears, select the bulb category manually and follow the guided flow.
- Hand over your Wi-Fi credentials. Select your 2.4 GHz network and enter the password carefully. Watch for autocorrect capitalizing the first character — this is a surprisingly common failure.
- Wait for provisioning. The bulb will blink, drop off, then reconnect. This can take up to two minutes. Keep your phone close and do not lock the screen.
- Name the bulb and assign a room. Use a spoken-friendly name like “bedside lamp” rather than “Bulb 1.” Voice assistants match on these names, and clear naming pays off every day thereafter.
- Test everything. Cycle brightness from 1 to 100 percent, run through the color modes if fitted, and confirm the bulb responds within a second. Then walk to another room and test again to check signal strength.
Connect It to a Voice Assistant
Voice control is where a hub-free bulb starts to feel genuinely useful. In your assistant app, look for the option to link a service or add a works-with skill, then sign in with the same manufacturer account you created earlier. Once linked, the assistant imports every bulb along with its room assignment, so a bulb correctly filed under “Bedroom” immediately answers to a command that turns off the bedroom lights.
A few things worth knowing: if you rename a bulb in the manufacturer app afterwards, you usually have to trigger a device re-sync in the assistant before the new name works. And if you own several assistants, link them all — the bulb can happily belong to more than one ecosystem at a time.
Build Routines That Actually Get Used
A single app-controlled bulb wears thin quickly. Automations are what turn it into infrastructure. Start with three that need no maintenance: a sunset-triggered warm light in the living area, a gradual wake-up ramp in the bedroom that brightens over 20 minutes, and an all-off command tied to your goodnight phrase. Add a vacation randomizer if you travel.
Grouping matters as much as scheduling. Put every bulb in a room into a single group so one command controls them all at once — sending commands individually to four bulbs produces a visible cascade rather than a clean transition. When you expand beyond one room, comparing the features across the best smart light bulbs helps you stay within one ecosystem, which keeps grouping and scenes far simpler.
Common Mistakes to Avoid
- Cutting power at the wall. A smart bulb needs constant power to stay on the network. If someone flips the switch off, the bulb goes dark to the app. Tape the switch, use a switch guard, or fit a smart switch cover.
- Pairing far from the router. Provisioning is more fragile than normal operation. Pair a bulb in a lamp near the router, then move the lamp to its final location.
- Overloading one bulb with automations. Conflicting schedules cause lights that turn themselves back on. Keep one rule per outcome.
- Mixing brands casually. Two ecosystems mean two apps, two accounts and scenes that cannot span both. Standardize where you can.
- Ignoring firmware updates. Most reliability fixes arrive as firmware. Check for updates after setup and once a quarter.
Troubleshooting a Bulb That Will Not Connect
If setup stalls, work through these in order. First, confirm you are on the 2.4 GHz band — put your phone on that band during pairing. Second, reset the bulb with the power-cycle sequence and try again from scratch. Third, check your router’s client limit; budget routers cap out and silently refuse new devices. Fourth, disable AP isolation or guest-network mode, which blocks device-to-device discovery. Fifth, temporarily switch your phone off mobile data so it cannot bypass the local network.
For a bulb that pairs but drops out later, the cause is almost always signal. Thick walls, metal fixtures and recessed cans all attenuate 2.4 GHz badly. Moving your router, adding an access point or relocating the bulb one fixture closer usually resolves it permanently.
Frequently Asked Questions
Do I need a hub for a smart bulb?
No. Wi-Fi and Bluetooth bulbs connect directly to your phone or router. A hub is only required for bulbs built on Zigbee or Z-Wave, and those are increasingly the exception rather than the rule.
How many hub-free bulbs can I run on one network?
Most home routers comfortably handle 30 to 50 connected devices. Beyond that, or beyond roughly a dozen bulbs, a hub-based system becomes more efficient because it takes the bulbs off your Wi-Fi entirely.
Will the bulb work if my internet goes down?
Bluetooth control usually keeps working locally. Wi-Fi bulbs that route through the cloud typically will not respond until service returns, although some brands offer a local-control fallback within the same network.
Can I use a smart bulb with a dimmer switch?
Not reliably. Leave the dimmer at maximum or replace it with a standard on/off switch, and dim the bulb through the app instead.
What happens when I move house?
Factory-reset each bulb with the power-cycle sequence before you unscrew it, then pair it to the new network. Resetting after removal also protects your old Wi-Fi credentials.
Final Thoughts
A hub-free smart bulb rewards ten minutes of careful setup with years of quiet convenience. Get the fundamentals right — the correct Wi-Fi band, a fixture without a dimmer, permissions granted, a sensible name and a room assignment — and the rest of the experience simply works. Start with one bulb in the room where you flip a switch most often, live with it for a week, then expand once you know which routines you actually reach for.