Owen Bradley
 Vacuum sealing works by removing the oxygen that spoilage bacteria, mould and oxidation all depend on. Take the air away and meat that would last six months in a freezer bag stays good for two to three years, coffee holds its aroma, and bulk grains and beans survive in a pantry without going stale or attracting pests. It is one of the few kitchen techniques that genuinely pays for itself, because it turns bulk buying and batch cooking into something you can do without waste. The technique is straightforward, but there are real rules about what can be sealed and how, and getting them wrong ranges from a failed seal to a genuine food safety risk. This guide covers the full process for long-term storage.
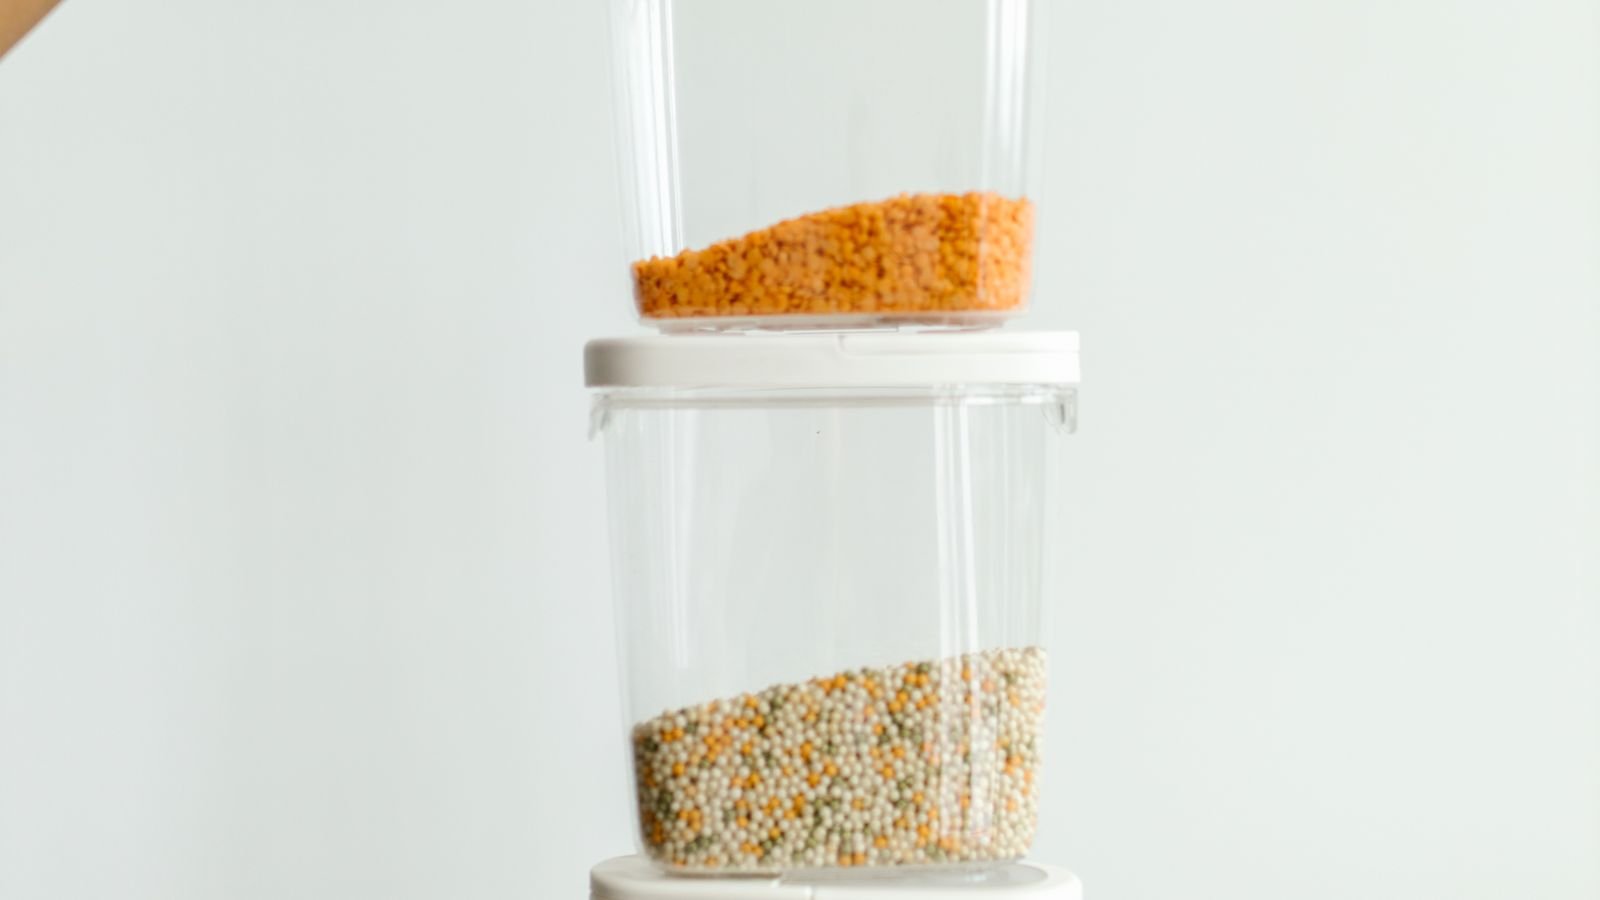
What Vacuum Sealing Does and Does Not Do
Removing air slows oxidation, prevents freezer burn by stopping moisture migrating out of the food, and denies aerobic bacteria and moulds the oxygen they need. That is a large share of what spoils food, which is why sealed products last several times longer than the same items in ordinary packaging.
What it does not do is sterilise. Anaerobic bacteria, including the organism responsible for botulism, are actually favoured by a low-oxygen environment. This is the single most important thing to understand: vacuum sealing is not a substitute for refrigeration or freezing on anything perishable. Sealed fresh food still belongs in the fridge or freezer, and the vacuum simply extends how long it stays good there. Only genuinely shelf-stable dry goods should be sealed and left in a cupboard.
What You Will Need
- A vacuum sealer, either an external suction model or a chamber machine
- Embossed or channelled bags and rolls compatible with your machine
- Scissors for cutting bags from a roll
- A permanent marker for labelling
- Paper towel for drying food surfaces and blotting the seal area
- A baking tray and freezer space for pre-freezing wet items
- Oxygen absorbers for dry pantry goods
- Mason jars and a jar sealing attachment, if your machine supports one
Step-by-Step: Vacuum Sealing for Long-Term Storage
- Start with food at its best. Sealing does not improve anything. Meat should be fresh, produce blanched, cooked dishes fully cooled. Sealing warm food traps steam, which condenses inside the bag and ruins both the seal and the contents.
- Portion before sealing. Divide into the amounts you will actually use in one go. Reopening a large bag to take out a single portion means resealing, which wastes bag length and loses much of the benefit.
- Pre-freeze anything wet. Lay meat, sauces, berries or marinated items on a lined tray and freeze for one to two hours until firm on the surface. Liquid drawn into the machine during suction is the most common cause of failed seals and pump damage.
- Cut the bag generously. Allow at least 3 inches of headspace above the food. You need room for the seal bar plus space for a future reseal if you open the bag.
- Protect sharp edges. Bones, pasta ends and hard shells puncture bags under vacuum. Wrap the sharp point in a folded piece of paper towel or a scrap of parchment before bagging.
- Keep the seal area spotless. Wipe the inside of the bag mouth with paper towel. Grease, moisture or a stray crumb in the seal line will produce a weak seal that fails days later in the freezer.
- Load the bag correctly. Place the open end flat inside the vacuum channel with no wrinkles. A single crease across the seal bar creates a channel that lets air back in.
- Choose the right setting. Use the moist setting for anything with surface liquid and the dry setting for pantry goods. Delicate items such as bread, crisps or soft cheese need the gentle or pulse mode so the vacuum does not crush them.
- Watch the cycle and stop it manually if needed. On a pulse-capable machine you can halt suction the moment the bag tightens around soft food, then trigger the seal separately.
- Add oxygen absorbers to dry goods. Rice, flour, beans, pasta and dried fruit benefit from an absorber sized to the bag volume, which mops up the residual oxygen the pump cannot reach and pushes shelf life out considerably.
- Inspect the seal. The seal band should be a continuous, even strip with no bubbles or gaps. Press the bag firmly; it should feel rigid with no give. If in doubt, cut the seal off and redo it.
- Label everything immediately. Write the contents and the date on the bag before it leaves the counter. Vacuum-sealed frozen items look remarkably alike after a month.
- Store correctly and check after a day. Freeze flat until solid, then stack. Revisit the bags 24 hours later and look for any that have lost their tension, which indicates a slow leak.

Foods That Should Never Be Vacuum Sealed
- Raw garlic and raw mushrooms — both carry a genuine botulism risk in a low-oxygen environment at room temperature.
- Soft and unpasteurised cheeses — the anaerobic conditions favour harmful bacteria. Hard cheeses are fine.
- Freshly cooked food that is still warm — condensation and a temperature in the bacterial growth range.
- Raw brassicas such as broccoli, cabbage and cauliflower — they release gases that inflate the bag. Blanch and freeze them first.
- Whole apples, bananas and soft fruit — they release ethylene and crush easily. Pre-freeze if you must seal them.
- Anything you intend to keep at room temperature that is not fully dry — moisture plus no oxygen is the wrong combination outside a fridge.
Choosing a Sealer for the Job
External suction machines are the standard household choice: affordable, compact and effective for dry and pre-frozen items. Their weakness is liquid, which is why pre-freezing matters so much. Chamber machines evacuate air from a sealed compartment rather than the bag, so they handle soups, marinades and brines directly, and they use cheaper flat bags. They cost considerably more and take up real counter space. If you are choosing between formats, comparing suction strength, seal bar width and bag compatibility across a shortlist of the best vacuum sealers will show which type fits how you actually cook.
For households focused specifically on batch cooking, bulk meat buying and freezer management rather than occasional use, the machines compared in this guide to the best vacuum food sealers lean toward continuous-use duty cycles and accessory ports for jar and canister sealing, which are the features that matter when you are sealing thirty bags in an afternoon.
Storage Life You Can Expect
- Raw meat, frozen: two to three years sealed, against six to twelve months in ordinary freezer bags
- Fish, frozen: up to two years sealed, and far less prone to freezer burn
- Hard cheese, refrigerated: four to eight months sealed
- Cooked leftovers, refrigerated: one to two weeks sealed rather than three to five days
- Coffee beans: around a year sealed and frozen with almost no aroma loss
- Rice, pasta and dried beans, pantry: several years sealed with an oxygen absorber
- Nuts and seeds: roughly double their normal life, because sealing slows the oxidation that makes them go rancid
Frequently Asked Questions
Why does my bag lose its vacuum after a few days?
Either the seal was contaminated, a sharp edge has pierced the bag, or the food is releasing gas. Check the seal line for grease or a wrinkle, wrap bones and hard edges next time, and avoid sealing raw brassicas or anything still fermenting.
Can I reuse vacuum sealer bags?
Bags that held dry goods or whole vegetables can be washed, dried thoroughly and reused with a fresh seal, losing a couple of inches each time. Never reuse a bag that held raw meat, fish or oily food; the residue is difficult to remove and will contaminate the next seal.
Does vacuum sealing replace freezing?
No. For anything perishable, sealing extends life within refrigeration or freezing rather than substituting for it. Only fully dry shelf-stable goods should be sealed and stored at room temperature.
How do I seal liquids with an external machine?
Freeze the liquid first in a container or ice cube tray, then transfer the frozen block to a bag and seal it. Alternatively use the jar attachment with a mason jar, which handles liquids without any risk of drawing them into the pump.
Final Thoughts
Vacuum sealing for long-term storage rewards preparation more than technique. Portion sensibly, freeze wet food before it goes near the machine, keep the seal line clean, and label everything the moment it is sealed. Respect the short list of foods that should never be sealed, and remember that the vacuum extends refrigerated and frozen life rather than replacing it. Get those habits right and you will throw away noticeably less food within the first month.