Owen Bradley
 Motion-sensor lights are the highest-value outdoor upgrade most homes can make. They deter opportunistic intruders, stop you fumbling for keys in the dark, and cost almost nothing to run because they are off for the vast majority of the night. The catch is that a badly aimed sensor is worse than no sensor at all. A unit that triggers every time a cat crosses the lawn or a branch moves in the wind becomes background noise within a week, and a light aimed at the wrong height either misses people entirely or floods a neighbour’s bedroom window. This guide covers planning the positions, wiring or mounting the fixtures safely, and tuning the sensors so they fire when they should and stay quiet when they should not.
How Motion Sensors Decide to Switch On
Nearly all outdoor motion lights use passive infrared detection. The sensor watches for a moving source of heat crossing between segments of its field of view. It does not measure distance or recognise shapes, which explains most of its quirks. Movement directly toward the sensor crosses fewer segments than movement across its face, so someone walking straight up a driveway may not trigger a light that fires instantly for someone walking past it. Warm air from a dryer vent, sunlight sweeping across a metal surface, and a car engine cooling on a drive can all read as heat in motion.
Understanding that behaviour turns aiming from guesswork into a decision. You position the sensor so that the traffic you care about crosses its field sideways, and you angle it away from the heat sources you want it to ignore.
Tools and Materials
- Stepladder, positioned on firm level ground
- Cordless drill with masonry and wood bits
- Screwdrivers, both Phillips and flathead
- Wire strippers and side cutters
- A non-contact voltage tester
- Exterior-rated wire connectors and a weatherproof junction box if wiring
- Wall plugs and exterior-grade screws
- Exterior silicone sealant
- Spirit level and pencil
- Safety glasses and gloves
Safety First
- Switch off the circuit at the consumer unit or breaker panel before touching any wiring, and confirm it is dead with a voltage tester at the fixture itself.
- Tape over the breaker or fit a lockout so nobody restores power while you are working.
- Do not work on exterior wiring in the rain or on a wet wall.
- Use only fixtures rated for outdoor use, with an appropriate ingress protection rating for an exposed position.
- If the circuit is unfamiliar, ungrounded, or you find deteriorated cable, stop and bring in a qualified electrician. Battery and solar models are a legitimate alternative if you would rather not touch mains wiring at all.
Step-by-Step: Installing Motion-Sensor Lights
- Walk the property after dark and map the gaps. Note the routes someone would actually take: the drive, the side passage, the back door, the garden gate, the area around bins and sheds. These approach paths, not the middle of the lawn, are where the lights belong.
- Choose mounting heights. Around 8 to 10 feet suits most wall positions. Lower than that and the sensor is easy to reach and its coverage is short; much higher and the detection pattern spreads so wide that it picks up the street.
- Position so traffic crosses the sensor. Mount beside a path rather than at the end of it wherever possible, so people move across the detection zones instead of straight at them.
- Avoid pointing at heat and reflection. Keep the sensor aimed away from air conditioning units, extractor vents, boiler flues, swimming pools, driveways that soak up afternoon sun, and any large metal surface that catches low sunlight.
- Kill the power and verify. Switch off the breaker and confirm with the voltage tester at the existing fixture or junction box before removing anything.
- Remove the old fixture and check the box. Confirm the mounting box is exterior rated and securely fixed. Replace anything rusted or cracked before going further.
- Mount the bracket. Mark the holes with a level, drill, insert wall plugs and fix the bracket. Run a bead of exterior silicone along the top edge of the backplate so water is directed away from the wall rather than behind it.
- Make the connections. Join live to live, neutral to neutral and earth to earth using exterior-rated connectors, following the fixture’s diagram. Leave a small drip loop in the cable so water running along it drops clear of the terminals.
- Seat and seal the fixture. Fit it to the bracket, tighten evenly, and seal the perimeter except for the lowest point, which must be left open as a drain path.
- Restore power and set the controls. Most units have three adjustments: sensitivity or range, duration or time-on, and a lux or daylight threshold. Start with the range at about half, the duration at one to five minutes, and the lux dial set so the light only operates after dusk.
- Walk-test the coverage. Many fixtures have a test mode that shortens the on-time. Walk the approach paths at normal pace and note where the light triggers. Then walk the areas you want ignored, such as the pavement or a neighbour’s drive, and confirm it stays off.
- Fine-tune and re-test. Adjust the sensor head angle a few degrees at a time rather than making large changes, and reduce range before reducing sensitivity. Re-walk after each change until the pattern is right, then leave it for a week and check whether any nuisance triggers appear.
Aiming for Security Rather Than Glare
The instinct is to buy the brightest fixture available and point it outward. That is usually the wrong call. Very high output creates deep shadows just outside the beam, which is exactly where someone would stand, and it destroys your own night vision when you step outside. Aim downward, light surfaces rather than eyes, and prefer several moderate fixtures over one glaring one. A warmer colour temperature around 3000K looks less institutional and reveals detail better than harsh blue-white light.
Neighbours matter too. Before finishing, stand at the boundary and look back at each fixture. If you can see the lamp itself rather than the pool of light it casts, tilt it further down or fit the shield most units supply.
Choosing the Right Fixtures
Look for a stated detection range and angle rather than vague claims, adjustable heads on both the lamps and the sensor, a manual override so you can hold the light on, and a weather rating suitable for a fully exposed wall. Integrated LED units are efficient but cannot be relamped, so build quality and warranty matter more than they used to. Comparing detection angles, mounting styles and adjustability across a shortlist of the best exterior motion sensor lights is the fastest way to narrow the field.
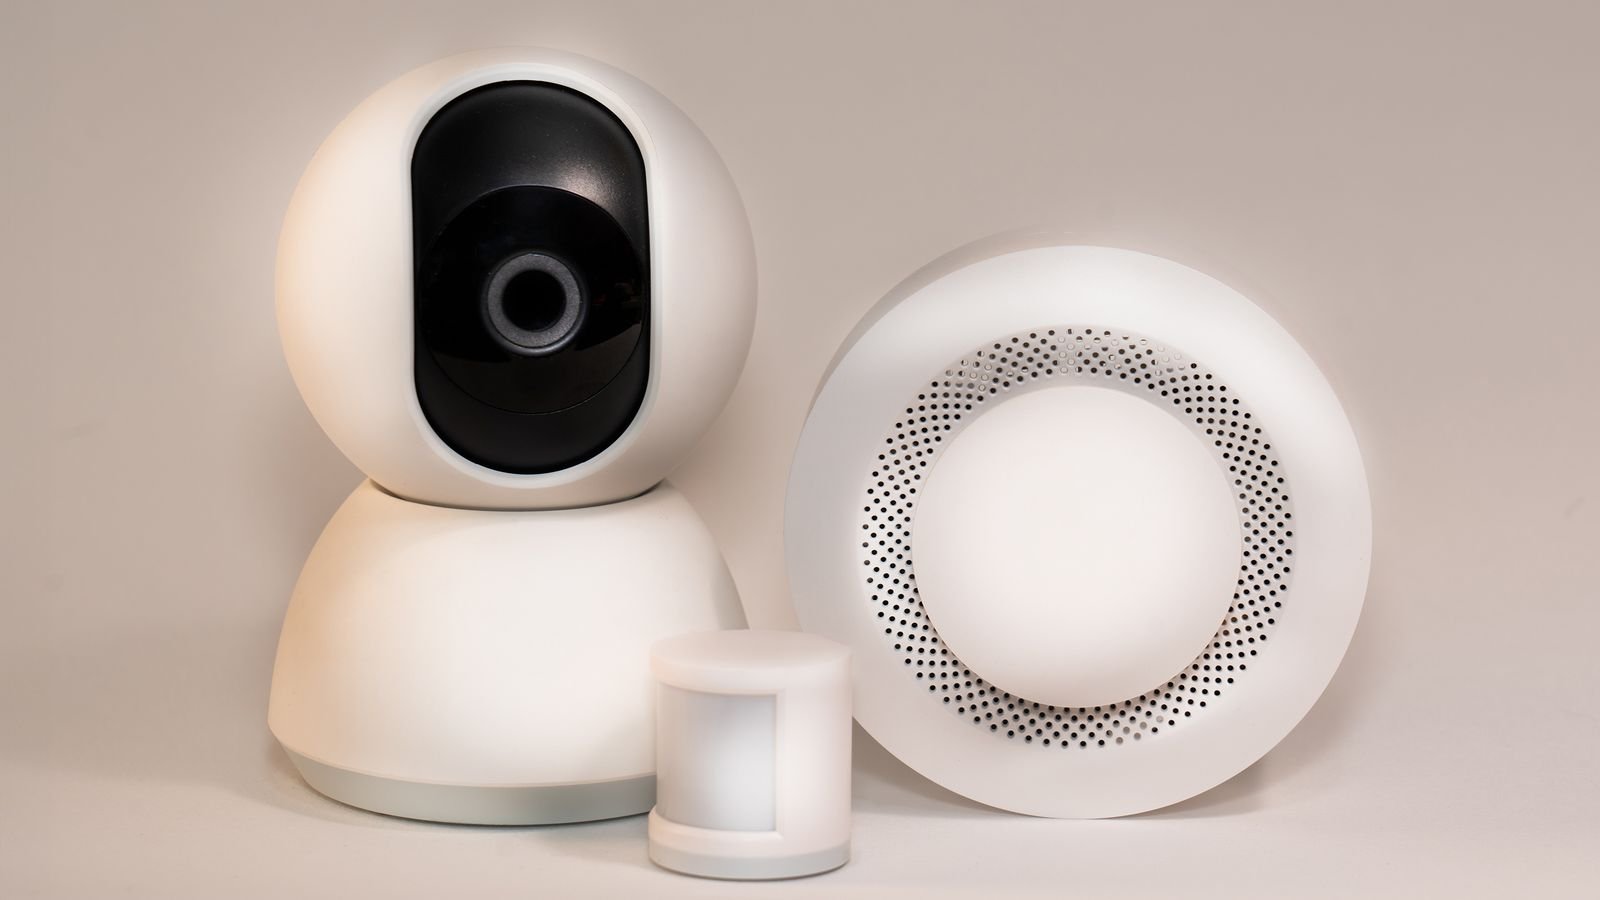
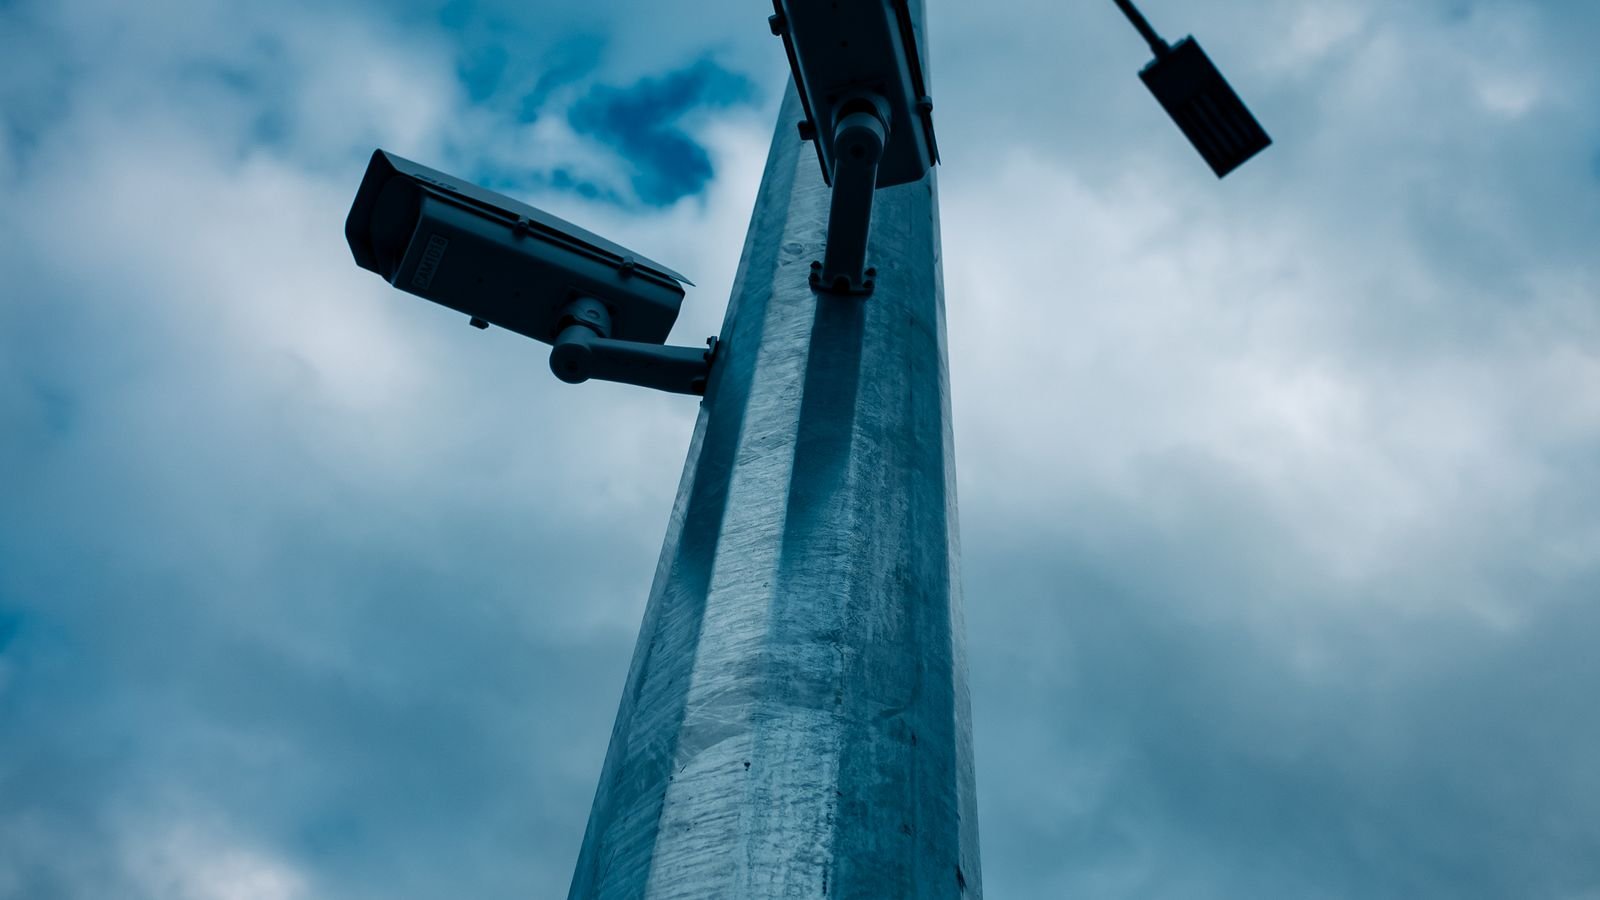
If the goal is broader coverage of a garden, drive or yard rather than a single doorway, the flood and area formats compared in this guide to the best motion sensor outdoor lighting cover wider beam spreads and multi-head designs. Motion lighting also works well alongside recorded footage, since a light that triggers gives a camera something to see; the models in this roundup of the best outside cameras integrate with the same approach paths you have just mapped.
Common Mistakes to Avoid
- Mounting too high. The coverage widens until the sensor is watching the street and triggering on passing traffic.
- Aiming down a path instead of across it. Approaching movement is the hardest case for a passive infrared sensor.
- Leaving sensitivity at maximum. Factory defaults are deliberately aggressive and are the main cause of nuisance triggering.
- Setting the on-time to twenty minutes. Long durations waste the deterrent value and annoy neighbours. One to five minutes is plenty.
- Sealing the fixture completely. Trapped condensation kills electronics; always leave the lowest point open to drain.
- Skipping the walk-test. Sensor coverage almost never matches what the box diagram suggests.
- Working live. No exception is worth it.
Frequently Asked Questions
Why does my motion light keep coming on for no reason?
Common culprits are heat sources such as vents and cooling car engines, foliage moving in front of the sensor, small animals within range, and reflections off metal or glass. Reduce the range first, shield or tilt the sensor away from the offending direction, and trim back nearby planting.
How high should a motion sensor light be mounted?
Around 8 to 10 feet is the practical sweet spot for wall-mounted domestic fixtures. That is high enough to be out of casual reach and give useful coverage, but low enough that the detection pattern stays on your property.
Can I install motion-sensor lights without wiring?
Yes. Battery and solar models need no electrical work at all and can go on fences, sheds and outbuildings where running cable would be impractical. The trade-off is lower output and dependence on charging conditions, so mains units remain the better choice for a main entrance.
Should the light stay on all night instead?
Generally not. Continuous lighting is easy to ignore, while a light that suddenly changes draws attention and is a far stronger deterrent. Continuous low-level lighting on a path plus motion-triggered brightness on the approaches gives you both.
Final Thoughts
Installing motion-sensor lights well is mostly a matter of restraint: fewer fixtures than you think, lower brightness than you think, aimed across the routes people use rather than out at the horizon. Do the after-dark walk before you drill anything, kill the power before you touch a wire, and spend the extra twenty minutes on the walk-test at the end. A pair of properly aimed lights will do more for security and everyday convenience than a wall of glare ever will.