
 Owen Bradley
 Most home camera setups fail not because the hardware is poor but because the cameras are pointing at the wrong things. A camera aimed at a wide expanse of lawn produces hours of footage of nothing and a two-pixel figure at the moment it counts. Placement is what turns a set of cameras into a system that identifies faces, records licence plates and deters people before they try anything. The logic is straightforward once you think in terms of routes rather than views: cover the places every visitor must pass through, at a height and angle that captures identifiable detail.
Start by Mapping How People Move
Before choosing a single mounting point, sketch your property from above. Mark every way a person can get from the street to your doors: the front path, the driveway, the side gate, the alley behind, the gap between the garage and the fence. Then mark every door and every ground-floor window.
Now look for choke points — the places every one of those routes converges. A side gate that is the only access to the back garden is worth more than three cameras spread across the garden itself. Front door, driveway entrance and back door are choke points in almost every home. Cover those first, then expand.
The second exercise is to think like someone who does not want to be seen. Which approach is darkest, least overlooked by neighbours, and offers cover from a hedge or a shed? That is the route to prioritise, and it is rarely the one you would have chosen from the front of the house.
The Priority Order for Placement
- The front door. Roughly a third of intruders come straight through it, and it is also where deliveries land. A video doorbell covers callers and packages at close range; a separate camera covering the approach gives you the wider context.
- The back or side door. The least overlooked entrance and the most common forced entry point. This is often the single highest-value camera on the property.
- The driveway. Covers vehicles, tools, bikes and the approach to the garage. Angle it so it captures a licence plate at the point a car stops, not at thirty feet.
- Ground-floor windows out of public view. Especially rear and side elevations screened by fencing or planting.
- The garage and any outbuilding. Tools and bikes are high-value, easily fenced targets, and garages often have weaker doors than the house.
- The main interior hallway or stairs. One well-placed indoor camera catches anyone moving between rooms regardless of how they entered.
- Rooms with valuables. Home office, master bedroom, anywhere a safe is located.
Work down this list and stop when you run out of budget rather than trying to cover everything thinly. Three well-placed cameras beat eight badly placed ones, and the products worth considering for each of these positions differ — dedicated weatherproof units for the exterior points, discreet indoor models inside, as covered in the best outside cameras comparison.
Height, Angle and Distance
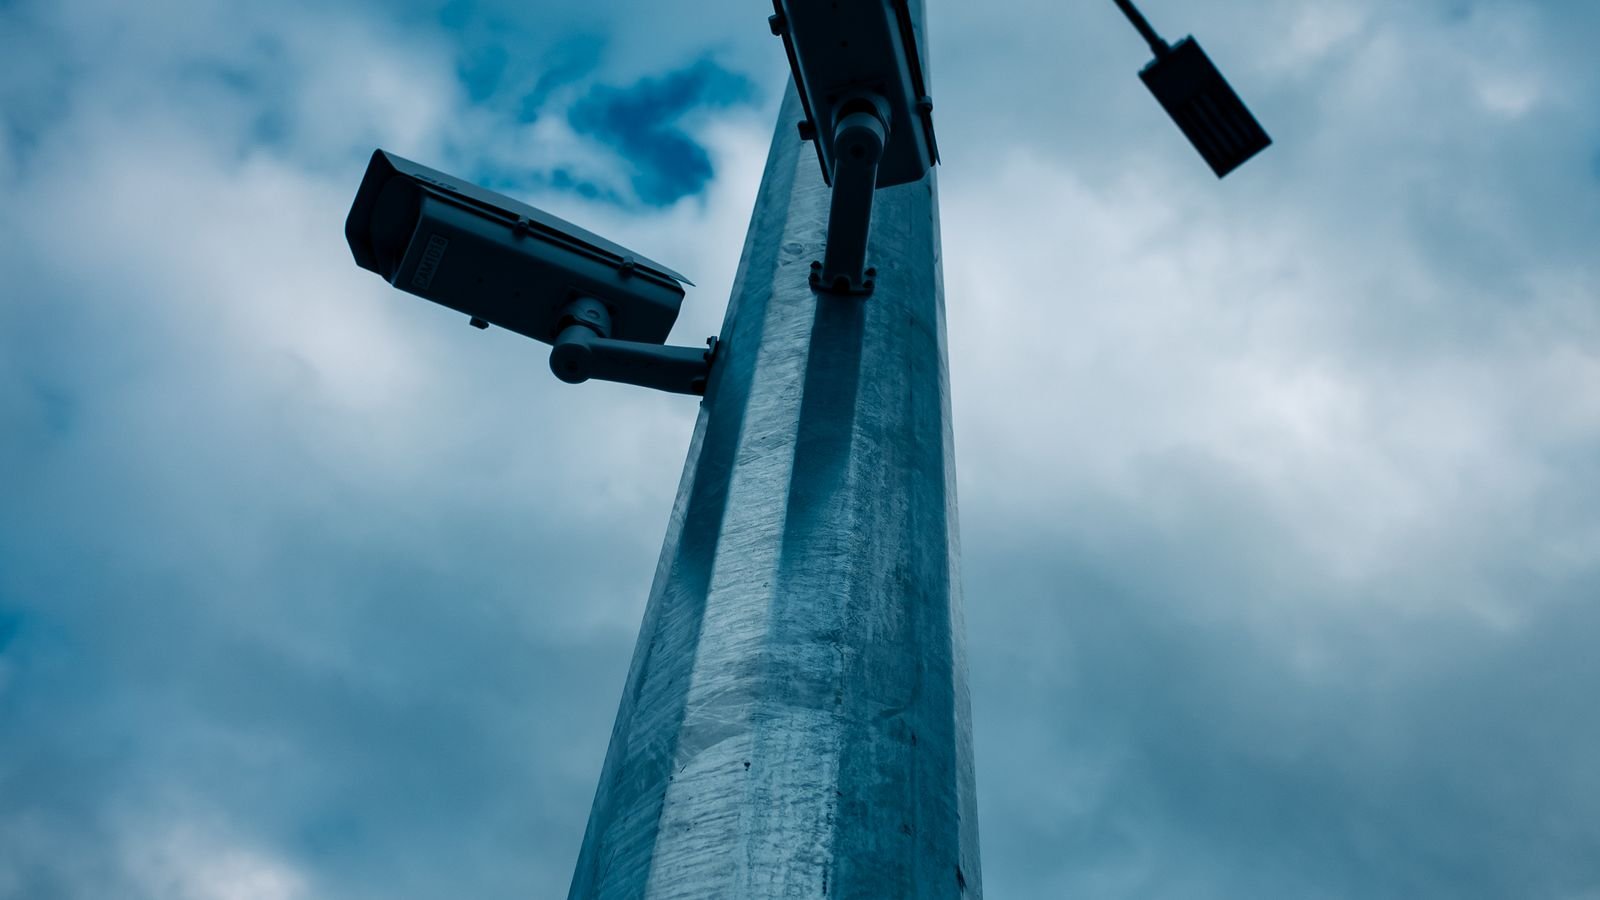
Height is the classic mistake. Mounted too low, a camera is easy to grab, spray or knock askew. Mounted too high — up under a second-floor eave — it looks down on the tops of heads and hats and captures nothing identifiable. The practical sweet spot for exterior cameras is 8 to 10 feet: above easy reach, low enough that a face entering the frame is recognisable.
Angle matters just as much. Tilt down enough to fill the frame with the area of interest, not with sky and rooftops. A camera that dedicates half its sensor to clouds has halved its useful resolution. For identification-grade footage you generally want the subject occupying a decent portion of the frame, which in practice means the recognition zone sits within about 10 to 20 feet of the lens for a typical wide-angle camera.
Think in two roles. Overview cameras sit wide and high and tell you what happened. Identification cameras sit closer and tighter at face height on a choke point and tell you who. A driveway benefits from one of each; a side gate usually only needs the identification shot.
Lighting, Sun and Weather
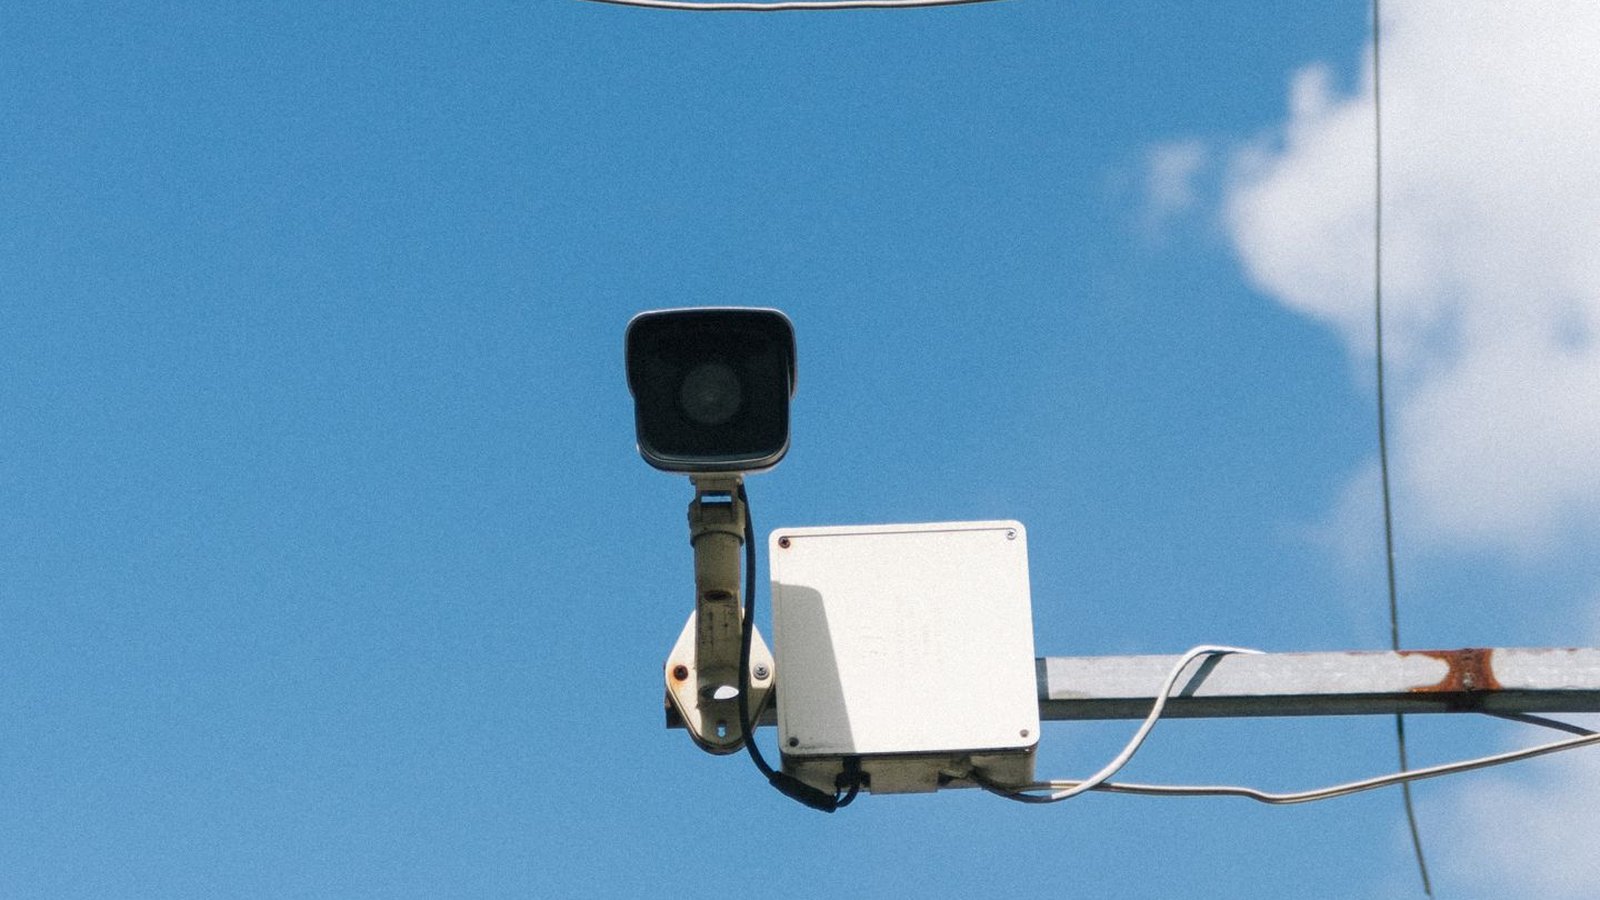
Never point a camera directly at the rising or setting sun, or at a bright light source. The sensor will wash out for the exact period each day when the light is most dramatic, and lens flare can blind it entirely. Where possible face cameras north, or shade them under an eave.
Backlighting is the subtler version of the same problem. A camera looking at a doorway from inside a dark hallway will silhouette anyone standing in the lit doorway. Reposition so the light source is behind or beside the camera, or choose a model with strong wide dynamic range.
Mounting under an eave or soffit solves several problems at once: it shelters the lens from rain and snow, prevents direct sun, reduces spider webs on the lens (a leading cause of false motion alerts), and keeps the camera clear of frost. Where no overhang exists, add a small hood. For infrared night vision, make sure nothing highly reflective — a white wall, a window, a downpipe — sits close to the lens, since IR bouncing straight back creates a white haze over the whole image.
Places Not to Put Cameras
- Anywhere overlooking a neighbour’s private space. Their windows, garden or hot tub. In many jurisdictions this is unlawful, and it is a reliable way to start a dispute. Use privacy masking to blank out those parts of the frame.
- Bathrooms, bedrooms of other occupants, and guest rooms. Legally fraught and ethically indefensible in shared households.
- Behind glass. An indoor camera pointing out through a window suffers reflections by day and reflects its own infrared back at night, producing a useless white glow.
- Directly above a door. Looking straight down gives you a perfect shot of a scalp. Offset the camera to one side so it sees the face on approach.
- Within reach from ground level or a fence. If someone can touch it, they can disable it.
- Hidden entirely. Concealed cameras collect evidence but deter nobody. Make most cameras visible and keep at most one discreet backup covering the others.
Test Before You Drill
The single most useful habit is to test every position temporarily before committing. Hold the camera at the intended spot, or tape it up loosely, and view the live feed on your phone. Walk the approach route at normal pace and check three things: does the camera pick you up early enough, is your face identifiable at the choke point, and does anything obstruct the view — a branch, a downpipe, a hanging basket that will be full of leaves by summer.
Then test at night. Daytime placement that looks perfect frequently fails after dark because of a streetlight in frame, an IR-reflective surface, or simply a distance beyond what the illuminators reach. Test in rain if you can. Only once a position passes both day and night should you drill.
Finally, plan for overlap. Position cameras so each one has at least part of another in view. That way, if someone disables one, the act of disabling it is recorded by another. This is standard practice in commercial installations and costs nothing but thought when planning a residential layout, whether you are adding one camera or building out a full multi-camera package from the best home security camera systems available.
Frequently Asked Questions
How high should outdoor security cameras be mounted?
Around 8 to 10 feet is the practical range. That is above easy reach but low enough that faces remain identifiable rather than being viewed from a steep downward angle.
How many cameras does a typical house need?
Four to six covers most homes well: front door, back door, driveway and one or two additional side or garden approaches, plus an indoor camera on the main hallway. Prioritise choke points over total coverage area.
Is it legal to point a camera at the street?
In most places, filming a public street from your property is permitted, but rules vary and recording audio is often more tightly regulated than video. Pointing a camera into a neighbour’s private space is a different matter and is frequently unlawful — use privacy zones to mask it.
Should cameras be visible or hidden?
Mostly visible. The deterrent effect of a clearly mounted camera prevents incidents, which is more valuable than recording one. A single discreet camera covering the visible ones is a sensible addition.
Why is my camera triggering false alerts all night?
Usually spiders attracted to the infrared, moving vegetation, rain or snow lit by the IR illuminators, or headlights sweeping across the frame. Move the camera under an eave, adjust activity zones to exclude the road, and switch to person detection if the model supports it.
Final Thoughts
Good camera placement is a planning job, not a shopping job. Map the routes, find the choke points, mount at head-capturing height under shelter, avoid the sun and the neighbours, and test every angle by day and by night before you make a hole in the wall. A modest number of cameras placed with that discipline will out-perform an expensive system scattered across a property without a plan.









