Owen Bradley
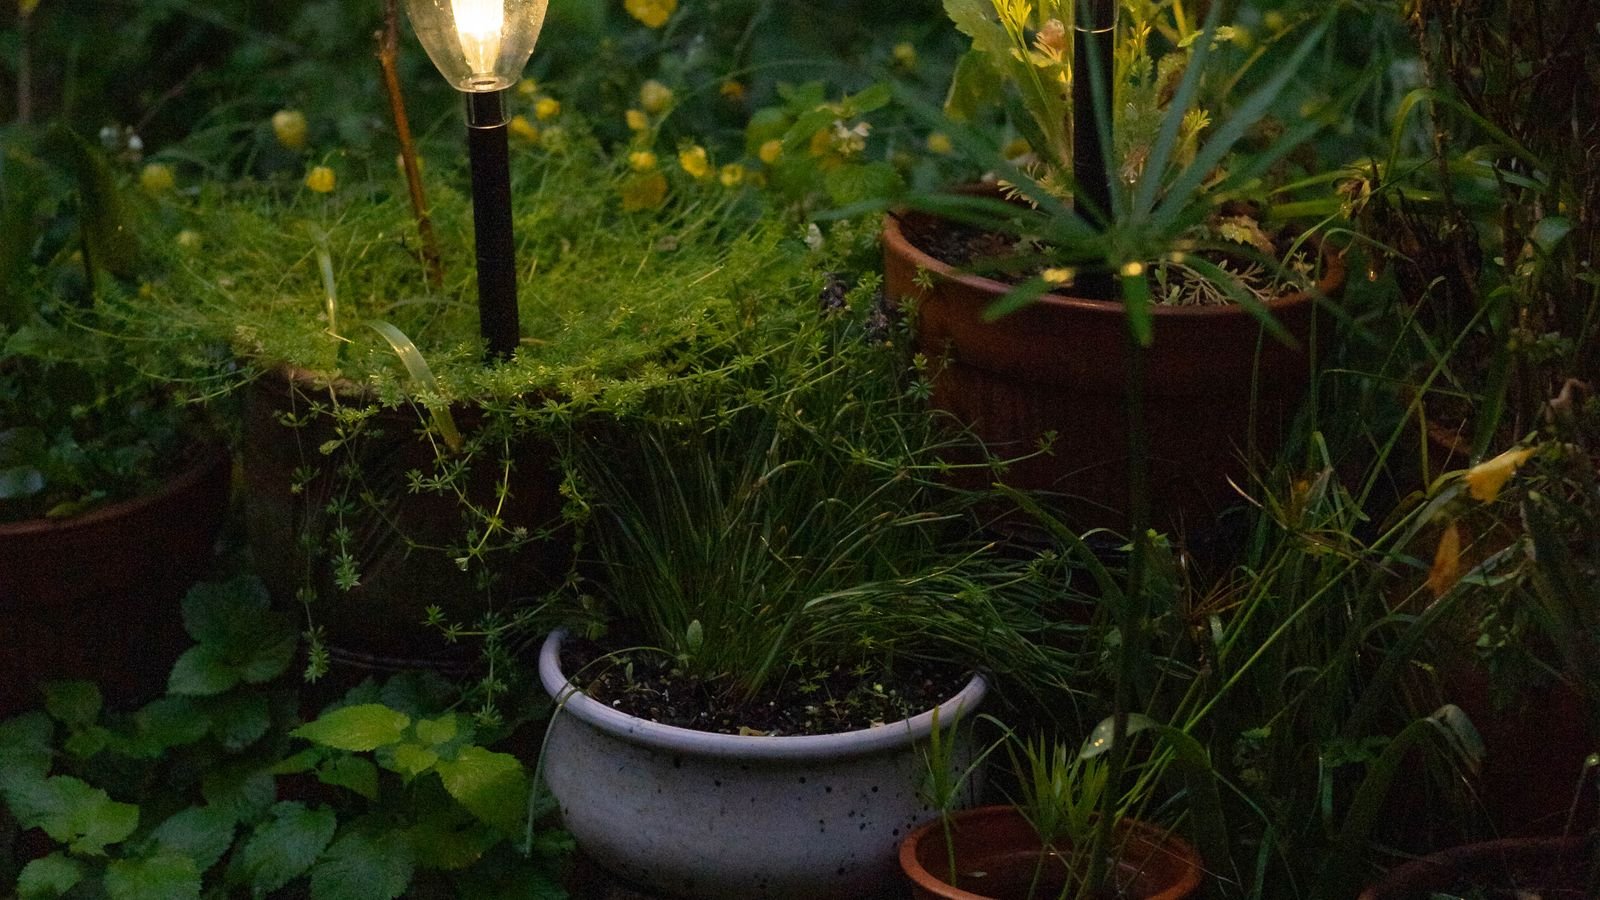
 Solar path lights promise the simplest possible outdoor lighting: push them into the ground and they work. In practice, most of the complaints people have about them come down to charging rather than to the lights themselves. A panel that gets four hours of weak, filtered winter sun will not run a light through a long evening, no matter how good the fixture is. Getting a genuinely useful run time is a matter of siting the panels where the sun actually falls, conditioning the batteries properly at the start, and keeping the panels clean. This guide walks through setting up solar path lights for maximum charge, from planning the run to seasonal maintenance.
How Solar Path Lights Actually Charge
Each light contains a small photovoltaic panel, a rechargeable cell, a light sensor and an LED. During the day the panel trickles current into the battery. At dusk the sensor detects falling light levels and switches the LED on until either dawn or the battery runs flat. The key figure is how many watt-hours the panel can harvest in a day versus how many the LED consumes at night.
Panels are rated under full direct sunlight. Shade, cloud, dirt and a bad angle all reduce output dramatically, and the relationship is not gentle. Partial shade across a small panel can cut its output by more than half. That is why two identical lights a few feet apart can behave completely differently, and why placement is the single most important decision you make.
What You Will Need
- The path lights, with stakes and panel heads
- A rubber mallet or a scrap block of wood for driving stakes without cracking them
- A trowel or a length of steel rod for making pilot holes in hard ground
- A tape measure or a length of string for even spacing
- A soft cloth and mild soapy water for cleaning panels
- A small screwdriver for opening battery compartments
- Spare rechargeable batteries of the correct chemistry and capacity
- Garden shears or loppers for clearing overhanging growth
Step-by-Step: Setting Up for Maximum Charge
- Watch the site for a full day before installing. Check the intended run in the morning, at midday and in late afternoon and note where shadows fall. Fences, hedges, parked cars and the house itself all move shade across a path through the day. Mark the sunniest stretches.
- Charge the lights before first use. Most units ship with a protective film over the panel and a partially charged battery. Remove the film, switch the unit on, and leave the lights face-up in direct sun for two full days with the LED switched off if the design allows. Conditioning the cells properly at the start noticeably improves the run time you get for the rest of the season.
- Plan the spacing. For a defined walkway, spacing of roughly 6 to 8 feet gives pools of light that read as a continuous edge without turning the path into a runway. Wider spacing looks more natural in a border; tighter spacing is only needed where there is a step or a change of level.
- Prioritise the panels, not the aesthetics. Where a perfectly even run would put a light in permanent shade, shift it a foot or two into the sun. An unlit fixture in the right position looks far worse than a lit one slightly out of line.
- Orient the panels toward the equator. In the northern hemisphere, angle any tiltable panel to face south. Fixed flat panels benefit from being sited where they get unobstructed overhead sun from mid-morning to mid-afternoon, which is when most of the day’s energy arrives.
- Make a pilot hole. Push a steel rod or trowel into the ground first, then insert the stake. Driving a plastic stake directly into compacted or stony soil is the most common way people break a new light on day one.
- Seat the stake firmly and check it is vertical. A leaning light throws its beam sideways and tips its panel away from the sun. Firm the soil around the stake with your heel.
- Clear overhanging growth. Trim back branches, tall grass and shrubs that will shade the panels, and remember that a border which is clear in March will be considerably fuller by July.
- Keep the lights away from other light sources. A dusk sensor sitting under a porch light or beside a window that stays lit late will either refuse to switch on or cycle repeatedly. Move affected units or shield the sensor.
- Test after the first night. Walk the run about an hour after dark, then again late in the evening. Note any unit that is dim, flickering or already out. Those are the positions with a charging problem, and they usually need to be moved rather than replaced.
Getting More Run Time Out of an Existing Run
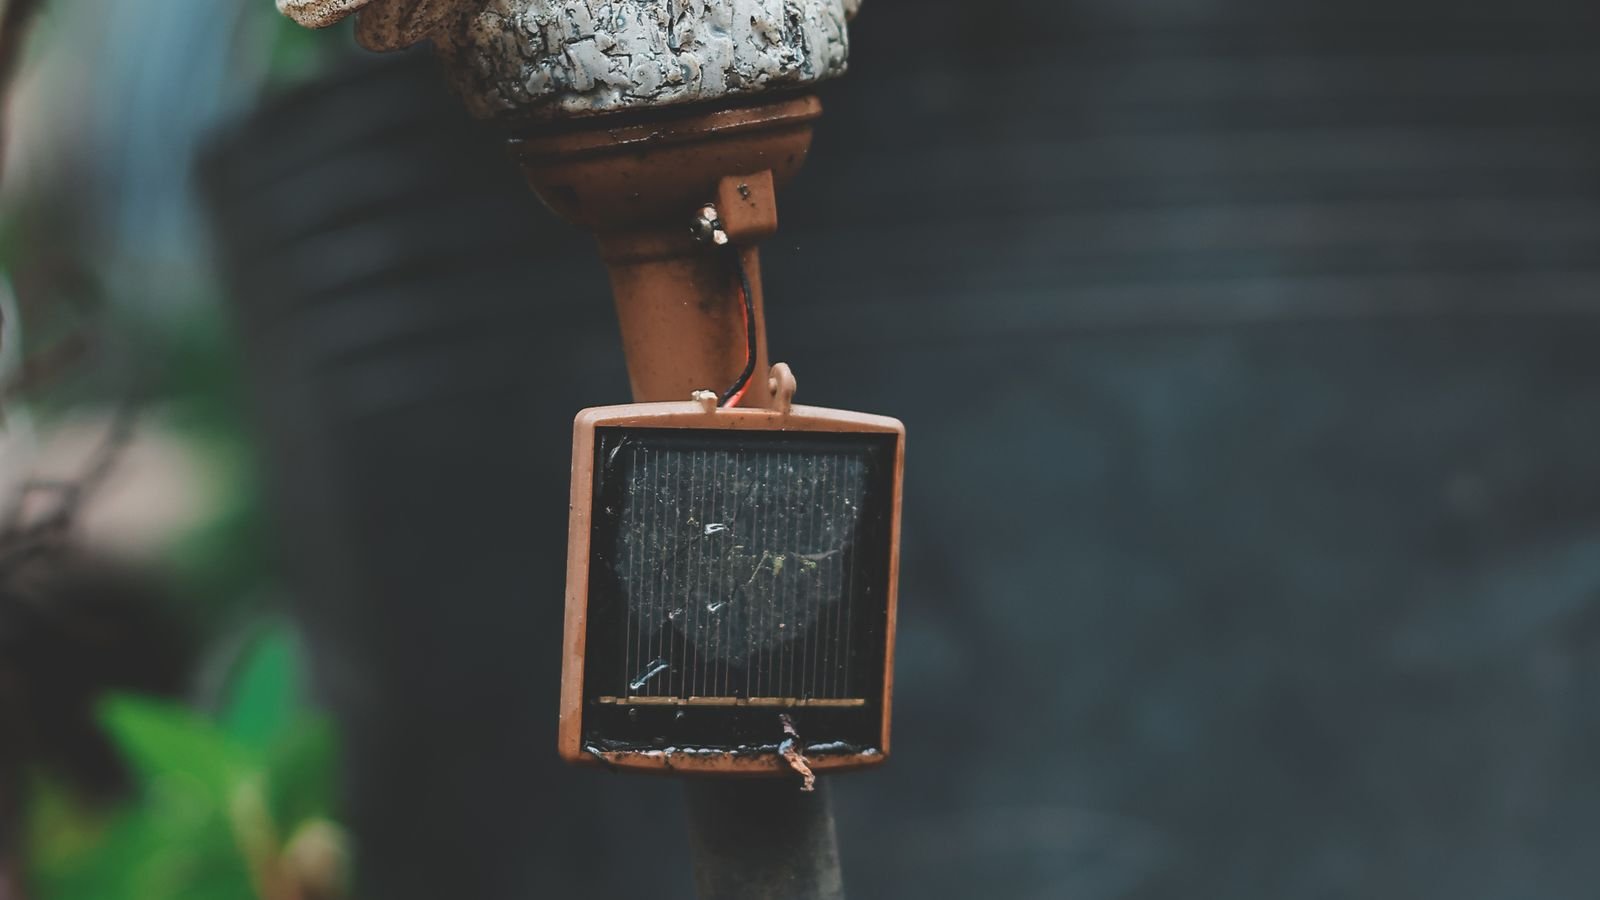
- Clean the panels every few weeks. A film of dust, pollen or hard-water spotting from a sprinkler is enough to cut output substantially. Warm soapy water and a soft cloth is all that is needed; avoid abrasive pads, which haze the plastic permanently.
- Replace the batteries annually. The cells supplied with inexpensive lights are usually low capacity and degrade within a year or two. Fitting a fresh rechargeable of the correct type and a higher capacity often doubles run time for a couple of pounds per fixture.
- Check the sensor window. Mud splashes and cobwebs over the light sensor confuse the dusk detection and shorten the on period.
- Move underperformers seasonally. The sun’s path is much lower in winter, so a spot that charges well in June may be in shade from a fence for the whole of December.
- Use the brightness setting if there is one. Many units have a low mode that trades peak output for a much longer run. On a path, consistent modest light usually beats bright light that dies at ten o’clock.
- Bring them in for a deep charge. If a light has been flat for a while, a couple of days in a sunny window with the light disabled will often revive a battery that seemed finished.
Choosing Fixtures That Charge Well
Not all path lights are equally forgiving of imperfect siting. Larger panels harvest more in cloudy conditions, separate panel-and-fixture designs let you put the panel in the sun and the light where you want it, and replaceable batteries mean the fixture outlives its first cell. Sealed units with glued-in batteries are cheaper but effectively disposable. Comparing panel size, battery capacity and ingress protection ratings across a curated list of the best solar path lights makes those trade-offs easier to see than reading individual product pages.
For broader coverage across a garden rather than a defined walkway, the requirements shift toward spread and mounting flexibility, and a guide to the best solar lights for yards covers spotlights, string lights and flood formats that suit lawns and planting beds. Where the goal is highlighting a tree, a wall or a feature rather than marking a route, the fixtures in this roundup of best landscaping lights offer the directional control that stake-mounted path lights are not designed to provide.
Common Mistakes to Avoid
- Installing straight out of the box at dusk. The first night will be disappointing and it tells you nothing about the position.
- Leaving the protective film on the panel. It is nearly invisible and it blocks a large share of the light.
- Placing lights under eaves, trees or dense shrubs because that is where the path happens to run.
- Aiming panels at a wall. Reflected light is a fraction of direct light.
- Hammering stakes directly into hard ground instead of making a pilot hole.
- Using standard alkaline batteries as replacements. They are not rechargeable and can leak or vent.
- Judging performance in the first week of winter. Low sun angles and short days are the worst case, not the norm.
Frequently Asked Questions
How many hours should solar path lights run for?
A well-sited light with a healthy battery should manage six to eight hours in summer and three to five in midwinter. Anything under two hours on a clear day points to a shaded panel, a dirty panel or an exhausted battery rather than a faulty fixture.
Do solar lights charge on cloudy days?
Yes, but at much reduced output. Panels respond to diffuse daylight as well as direct sun, so an overcast day still delivers a partial charge. Several dull days in a row will drain the reserve, which is why panel size and battery capacity matter more in cloudy climates.
Can I leave solar path lights out all winter?
Most weather-rated units cope with frost and rain, but cold reduces battery capacity and short days limit charging. If a run is purely decorative, bringing the lights indoors over winter with a periodic top-up charge will extend battery life considerably.
Why do some lights in the same run stay dark?
Almost always a local shade problem, a dirty panel, or a dead cell. Swap a working light into the dark position for a night. If it also fails there, the position is the problem; if it works, the original fixture needs a new battery.
Final Thoughts
Solar path lights reward one hour of thought at the planning stage more than any amount of money spent on the fixtures. Watch where the sun falls, condition the batteries before installing, keep the panels clean, and accept that a light shifted a foot into the sunlight will always outperform a perfectly aligned one sitting in shade. Add an annual battery change to that and a cheap run of lights will keep working for years.