Owen Bradley
 Multi-story homes are where single-router WiFi falls apart. A router in a ground-floor study has to push signal through floors, joists, plasterboard and often a chimney breast to reach a bedroom two levels up, and the result is the familiar pattern of full bars in one room and buffering video in another. A mesh system fixes this by replacing one strong signal with several coordinated ones, but only if the nodes are placed with some thought. Dropping a node on each floor and hoping for the best usually produces a network that is technically connected everywhere and genuinely fast nowhere. This guide covers planning the layout, setting the system up, and tuning it for a house with stairs.
How Mesh Differs From an Extender
A traditional range extender receives your WiFi signal and rebroadcasts it, typically under a second network name and at roughly half the throughput, because the same radio is doing both jobs. Devices cling to whichever network they joined first and rarely switch intelligently.
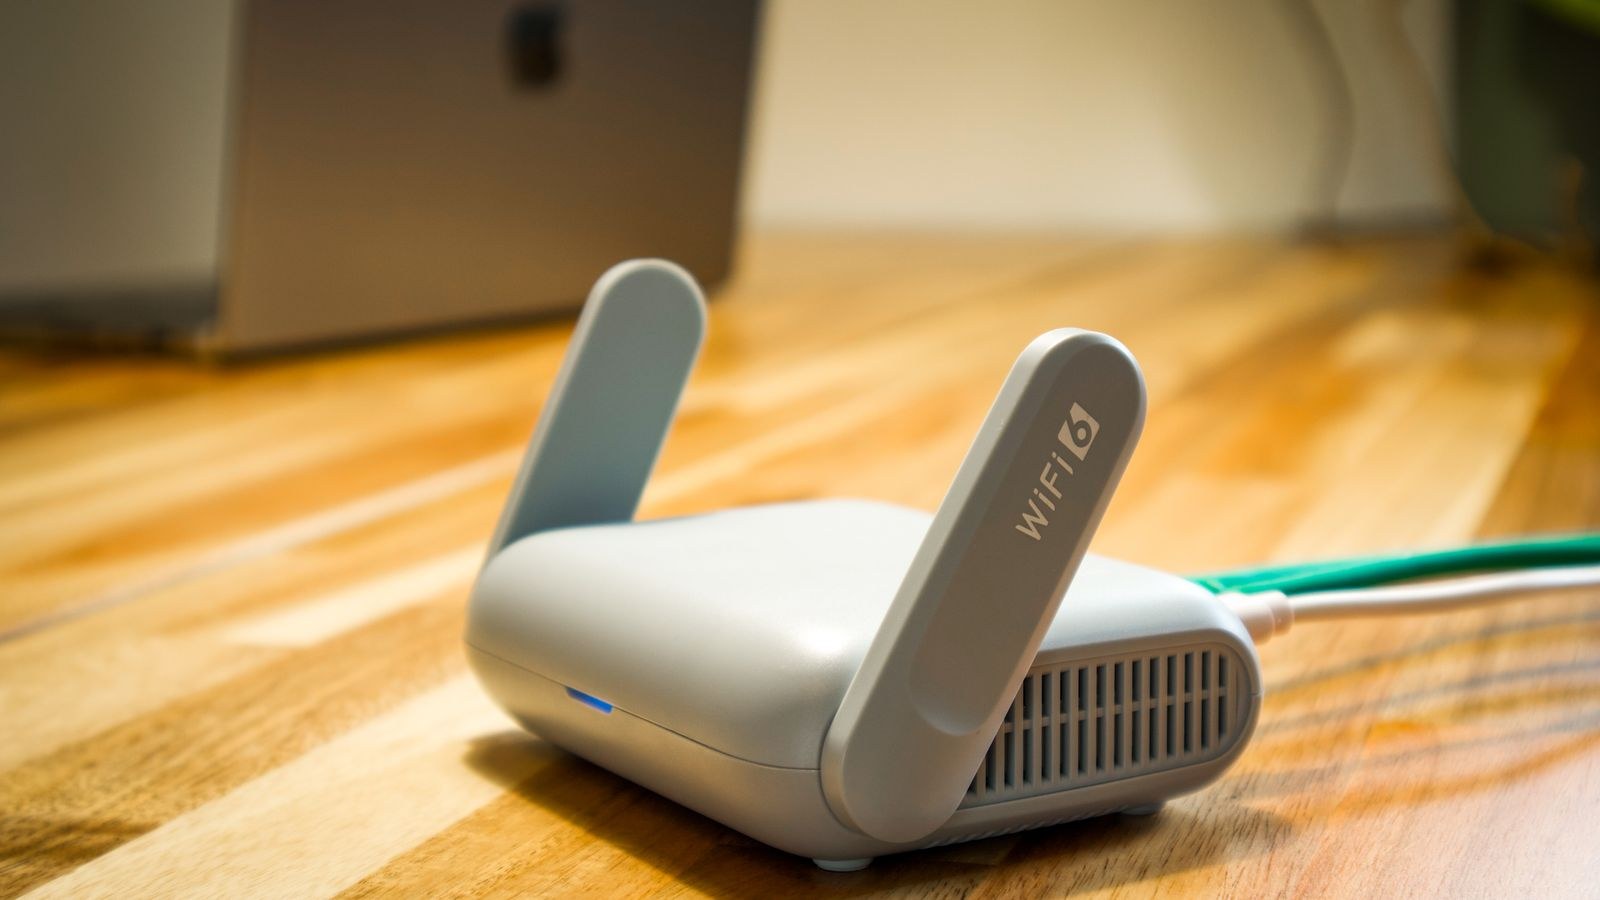
A mesh system uses a single network name across all nodes and coordinates handoff between them, so a laptop carried upstairs is steered to the nearest node. Better systems dedicate a separate radio band to the backhaul link between nodes, which preserves full speed instead of halving it. The important consequence for a multi-story home is that each node still needs a strong link back to the main unit. A node placed where the signal is already weak will simply share weak signal over a wider area.
What You Will Need
- The mesh system, including the main unit and satellite nodes
- Your existing modem or ONT, and the credentials for your internet service if the system replaces the router
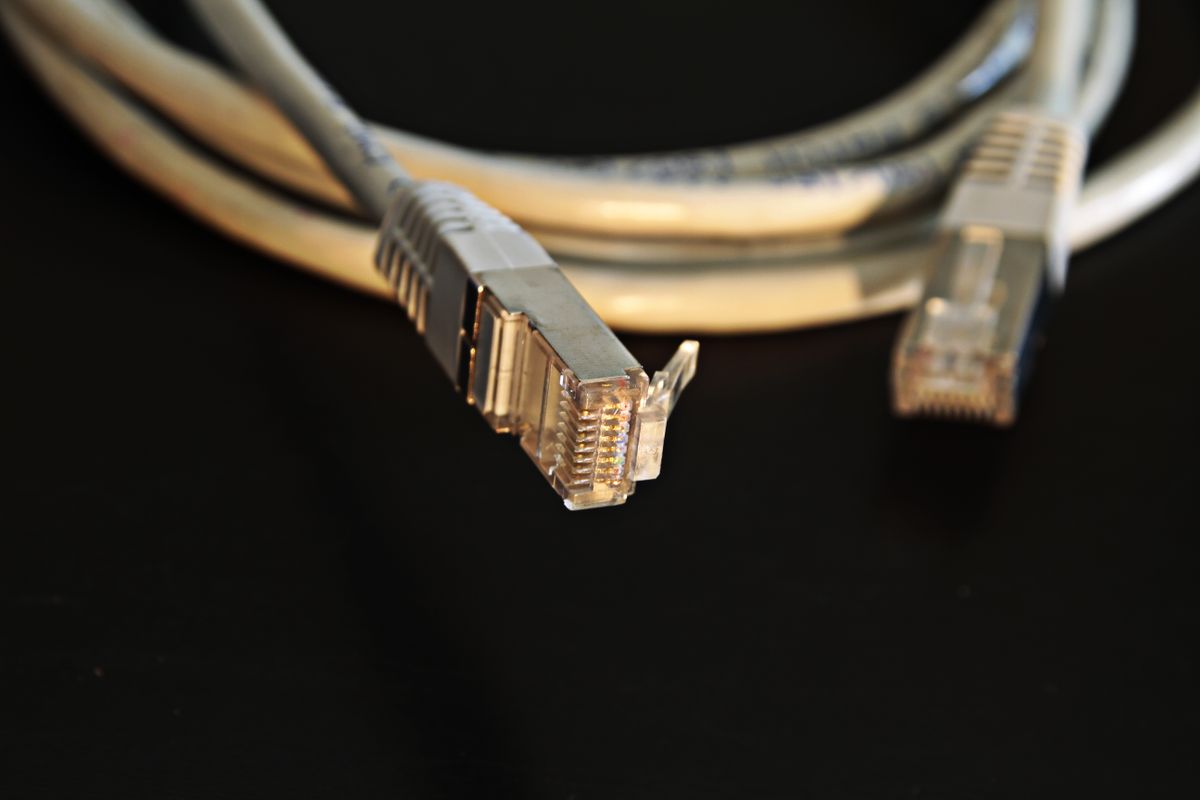
- An Ethernet cable for the modem connection, plus more if you can run wired backhaul
- A phone with the manufacturer app installed
- A WiFi analyser app for checking signal strength at candidate positions
- Power outlets at each intended node location
- A notepad for recording signal readings
Planning the Node Layout
- Think vertically, not in floor plans. WiFi passes through a wooden floor more readily than through two brick walls, so a node directly above the main unit often performs better than one at the far end of the same floor.
- Place the main unit near the middle of the house if the modem position allows it, rather than in a corner utility room.
- Space nodes about two rooms apart, not at the extreme edge of coverage. The target is a strong link between nodes, not maximum separation.
- Stairwells are your friend. An open stairwell is a clear vertical path for radio, so a node on a landing frequently covers both the floor it sits on and part of the one above.
- Keep nodes out of cupboards, off the floor and away from metal. Radiators, mirrors, foil-backed insulation, boilers and large appliances all block signal.
- Avoid clustering nodes. Two nodes in adjacent rooms interfere with each other and waste a unit that would be better placed elsewhere.
- Plan a wired backhaul if any Ethernet exists. Even one wired node transforms performance, and a single run to the top floor is often easier than people assume.
Step-by-Step: Setting Up the Mesh System
- Survey before you unbox. Walk the house with a WiFi analyser and record signal strength from the existing router in each room. This tells you where the real dead zones are, which is often not where you assumed.
- Connect the main unit to the modem. Power down the modem, connect the main node to it by Ethernet, then power the modem back up and wait for it to sync before powering the node.
- Set up the main unit in the app. Create the network name and password, and let the unit apply firmware updates before adding satellites. Adding nodes on mismatched firmware causes pairing failures.
- Decide on band naming. Most mesh systems combine bands under one name and steer devices automatically, which is the right default. Only split the bands out if you have an older device that refuses to connect otherwise.
- Add the second node one floor up. Position it near the stairwell landing, plug it in, and follow the app’s pairing routine. Wait for the status light to confirm a good link before moving on.
- Check the link quality, not just the connection. The app will report the backhaul strength between nodes as good, fair or weak, sometimes with a numeric value. Aim for good. If it reports fair, move the node closer to the main unit and re-check.
- Add remaining nodes outward. Each additional node should link to the nearest node with a strong signal. Adding them in order of distance keeps the topology sensible.
- Wire the backhaul where possible. If you can run Ethernet to any node, connect it and confirm in the app that the system has switched that node to wired backhaul. Speeds to that node and everything behind it should jump immediately.
- Retest with the analyser. Walk the same route as your original survey and record the new readings. Any room still showing weak signal needs a node moved rather than added.
- Test the handoff. Start a video call and walk from the top floor to the ground floor. A well-configured mesh will pass you between nodes with at most a brief hiccup. Persistent drops at a particular point indicate a coverage gap between two nodes.
- Set up the extras. Create a guest network, enable the security features included, and reserve fixed addresses for anything that needs a stable address such as a printer or a network drive.
- Reboot everything once and re-verify. A full power cycle of modem, main unit and nodes in that order confirms the system comes back cleanly, which matters after a power cut.
Choosing a System for a Multi-Story Home
Node count matters less than backhaul quality. A two-node system with a dedicated backhaul radio will usually beat a three-node system that shares one band for everything. Look for Ethernet ports on the satellite nodes, so you can wire the backhaul later or connect a desktop and a games console directly. Check whether the system supports wired backhaul at all, since a few budget kits do not. Comparing backhaul design, port counts and coverage claims across a shortlist of the best mesh WiFi systems makes the differences much clearer than the square-footage figures on the box.
If you are still weighing mesh against a single high-performance router, or your home is tall but narrow enough that one well-placed unit might do, the comparison in this guide to the best home WiFi systems covers both approaches and the situations each one suits. Coverage figures quoted by manufacturers assume an open plan with no interior walls, so treat them as an upper bound and plan for roughly half in a house with solid walls and multiple floors.
Common Mistakes to Avoid
- Placing nodes at the edge of coverage. The node inherits the weak signal it receives and passes it on.
- Hiding units in cabinets or behind televisions. Enclosures and screens both attenuate signal badly.
- Buying more nodes to solve a placement problem. Extra nodes add interference and rarely fix a badly positioned mesh.
- Leaving the modem’s own WiFi enabled. Two overlapping networks confuse devices and add interference. Put the modem into bridge or modem-only mode.
- Ignoring the app’s link quality indicator. A node showing fair backhaul is a bottleneck for every device behind it.
- Skipping firmware updates during setup, then blaming the hardware for instability.
- Placing a node next to a mirror, radiator or boiler. Large metal surfaces reflect and absorb signal far more than most people expect.
Frequently Asked Questions
How many nodes do I need for a three-story house?
Typically three, one per floor, positioned near the stairwell rather than at the far end of each level. A compact town house may manage with two if the stairwell runs straight through. Survey first and add a node only if a measured dead zone remains.
Is wired backhaul worth the effort?
Yes, wherever it is practical. Wiring even one node removes that hop from the wireless budget and frees the radios for client devices. A single Ethernet run up a riser or through an existing cable route is one of the highest-value upgrades available.
Should I keep my old router as an access point?
Generally no. Mixing an old router into a mesh reintroduces separate network names and dumb handoff, undoing the main benefit. Retire it, or repurpose it as a wired switch if it has spare ports.
Why is my speed lower on the top floor even with a node there?
Because that node is relaying wirelessly through one or two hops, and each hop costs throughput. Check the backhaul indicator, move the node closer to its parent, or wire it. Also confirm nothing metallic sits between the two units.
Final Thoughts
Setting up mesh WiFi in a multi-story home is a placement exercise more than a purchasing one. Survey the dead zones before you buy, put the nodes where they can hear each other clearly rather than at the far corners, use the stairwell as a vertical corridor, and wire the backhaul if there is any way to do it. A two-node system placed well will consistently outperform a three-node system placed badly, and the survey that tells you which is which takes about twenty minutes.