
 Owen Bradley
 Where you put your desk in relation to the window decides more about your working day than the desk itself does. Get it right and you get free daylight, a distant focal point for your eyes, and a room that feels alive. Get it wrong and you spend eight hours squinting at a washed-out screen, or fighting reflections of the window on your own monitor. Desk placement near glass is a genuine trade-off between light, glare, heat, and view, and the best answer depends on which way your window faces and what you do at the desk. This guide covers the three basic orientations, how to choose between them, and what to do when the room only permits one position and it happens to be the wrong one.
What You Need Before You Start
- A tape measure to check clearances and sill heights.
- A compass or phone compass app to establish which way the window faces. This is the single most useful piece of information.
- Painter’s tape to mark candidate desk positions on the floor.
- Your laptop or a mirror to stand in for a screen while testing reflections.
- A note of your working hours, because a position that is perfect at 9am can be unusable at 3pm.
Allow a full day for testing rather than an afternoon. The sun moves, and the position that looks obviously correct at one hour often reveals itself as the worst option four hours later.
The Three Orientations Explained
Side-On to the Window
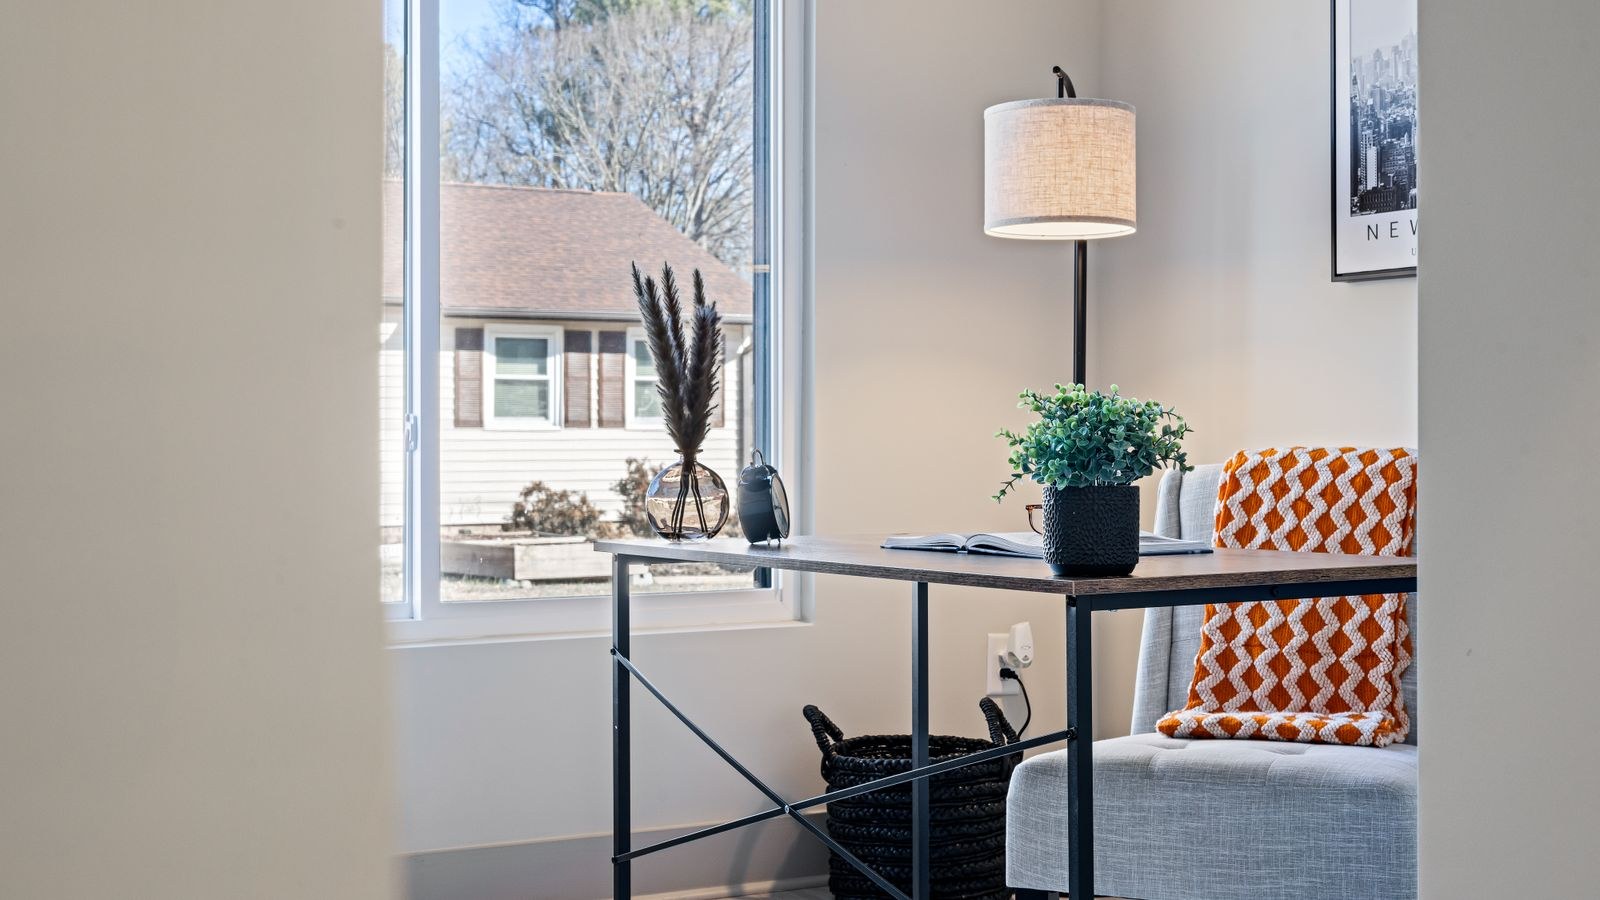
The desk sits perpendicular to the glass, with the window to your left or right. This is the default recommendation for most people and for good reason. Daylight arrives across the desk surface rather than into your eyes or onto your screen, so you get the brightness without the glare. You can glance out for a distance break without the view sitting permanently in your field of view. If you write by hand, put the window on the opposite side from your writing hand so it does not cast a shadow across the page.
Facing the Window
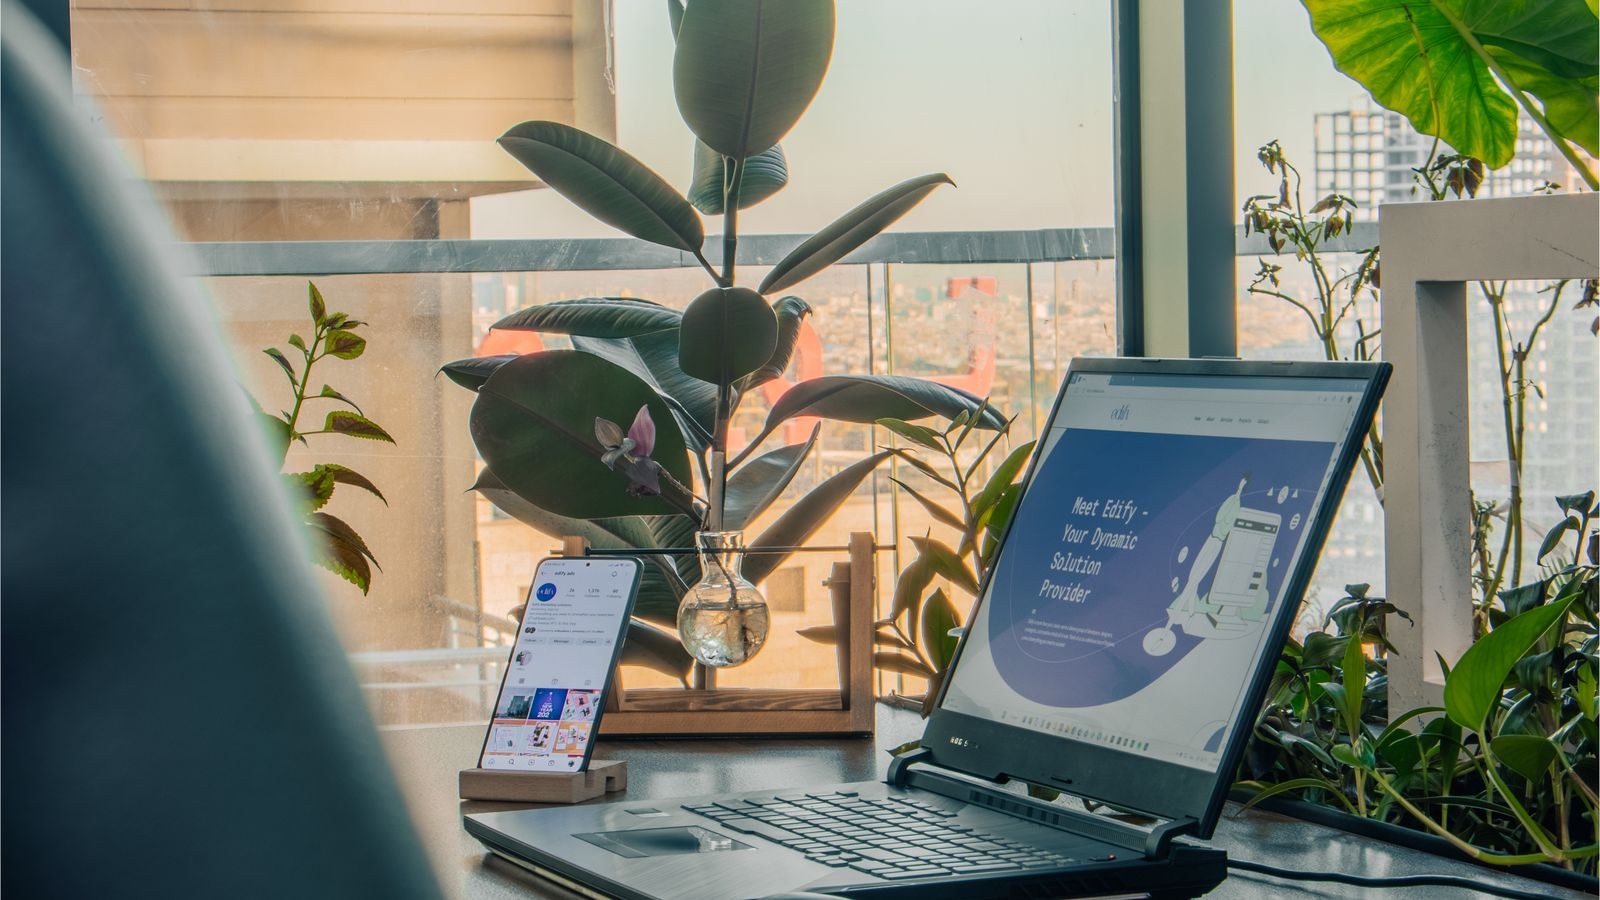
The desk faces the glass and you look out while working. This is the most photographed arrangement and the most problematic in practice. Your eyes constantly adapt between a bright window and a comparatively dim screen, which causes fatigue faster than almost anything else at a desk. On a sunny day the contrast can be severe enough that you cannot read the screen at all. It works only where the window faces north, or where you have proper light control on the glass. The upside is real, though: an outward view is genuinely good for mood and gives your eyes somewhere far away to rest.
Back to the Window
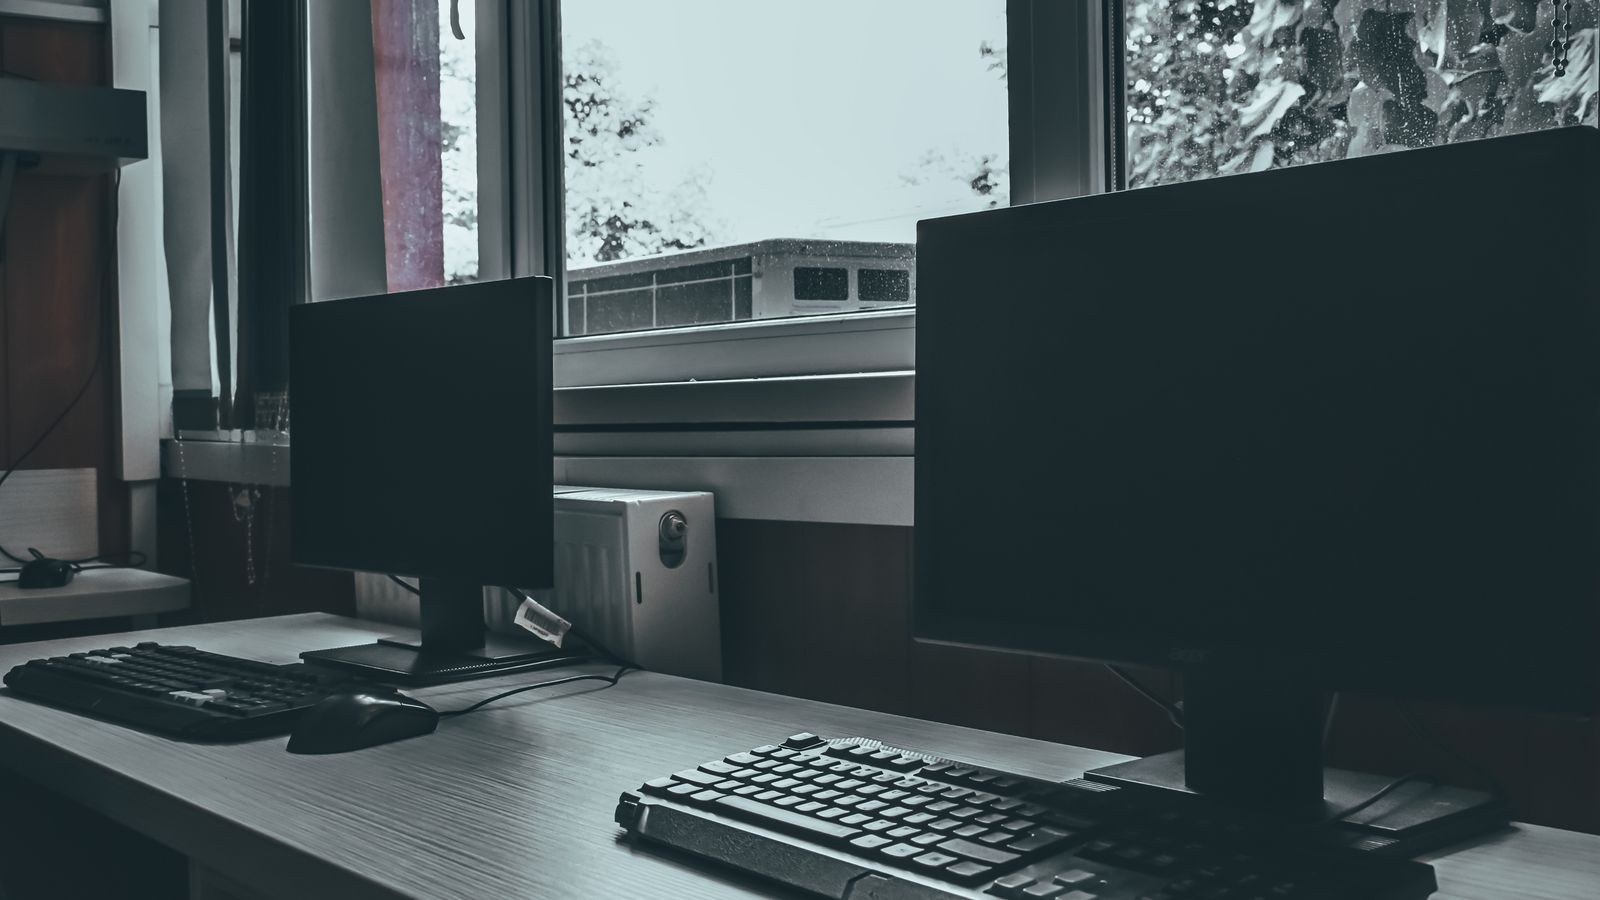
The desk faces into the room with the window behind you. Your eyes are comfortable because nothing bright is in front of them, but the window is now reflecting directly onto your screen. Matte displays cope reasonably; glossy ones become mirrors. It is also the worst orientation for video calls, since the camera exposes for the bright background and turns you into a silhouette. If you take a lot of calls, avoid it or plan on a dedicated front-facing light.
Step-by-Step: Choosing Your Position
- Establish which way the window faces. Open a compass app and stand facing the glass. North, south, east, and west each behave completely differently and this determines everything that follows.
- Note the character of that light. North-facing windows give soft, consistent light all day and are the easiest to work beside. South-facing windows give the most light and the most heat, and need control. East-facing windows deliver harsh low sun in the morning. West-facing windows do the same in the late afternoon, usually right in the middle of the working day.
- Tape out the candidate positions. Mark two or three options on the floor, including the desk and chair footprint, so you can compare rather than guess.
- Test each one at three times of day. Morning, midday, and late afternoon. Sit in each position with a laptop open and note glare on the screen, brightness in your eyes, and heat on your skin.
- Check the reflections specifically. Turn the screen off and look at it as a black mirror. Anything you see reflected there will be washing out your display all day.
- Measure the distance from the glass. Sitting right against a window in a cold climate means a noticeable draught in winter and radiant heat in summer. Eighteen inches of gap makes a surprising difference.
- Confirm the camera angle for calls. Sit as you would in a meeting and check whether the main light source is in front of your face or behind it. In front is what you want.
- Choose the position and commit the layout. Then plan the light control and the artificial lighting around that choice rather than trying to fix it afterwards.
Controlling the Light You Cannot Move
Most rooms only allow one realistic desk position, so light control does the work that placement cannot. The goal is not to block daylight but to soften and redirect it.
- Sheer or solar-shade fabric is the single best fix. It diffuses direct sun into even light while keeping a partial view and most of the brightness.
- Top-down bottom-up blinds let you block the low sun at eye level while leaving the upper glass open, which keeps the room bright without the glare.
- Vertical or angled slat blinds let you aim light at the ceiling instead of your face, bouncing it into soft ambient fill.
- A matte screen or anti-glare filter removes most reflections if you are stuck facing away from the window.
- Reposition the monitor rather than the desk. Angling a screen 20 degrees away from the window often kills a reflection completely at no cost.
- Raise the screen brightness to match the room, not to a fixed setting. A screen dimmer than its surroundings is what causes most eye strain.
Bulb choice affects glare as much as the window does, particularly in the hours after sunset when your artificial lighting takes over entirely. Our notes on how to choose bulbs to reduce glare cover colour temperature, diffusion, and the beam angles that stop a lamp becoming a second glare source.
Layering Artificial Light Around the Window
Daylight is not a lighting plan. It fails every afternoon in winter and it fails entirely at night, so the artificial layer has to be able to take over without changing how the desk feels.
Aim for three layers. Ambient light from the ceiling fills the room and stops the desk becoming a bright island in a dark space, which is itself a major cause of eye strain. Task light from an adjustable desk lamp puts controlled brightness on your work surface and, critically, should sit on the opposite side from the window so the two sources balance rather than compete. Fill light from a floor lamp bounced off a wall or ceiling lifts the shadows and evens out the room, and it is the layer people most often omit.
For choosing the task layer, our roundup of the best desk lamps for a home office focuses on adjustable heads and glare-free diffusion, while the best floor lamps for offices selection covers the uplighters that handle the ambient and fill layers. If you would rather plan the whole room at once, the home office lighting guide works through brightness targets, colour temperature, and fixture placement together.
When the Desk Itself Is the Constraint
Sometimes the position is right but the desk is not. A desk too deep to fit under a low window sill, or too wide to sit side-on to the glass, forces you into a worse orientation by default. Before you accept a compromise on light, check whether a differently proportioned desk would let you take the better position. A shallower surface with a monitor arm frequently unlocks a side-on placement that a standard 30-inch deep desk cannot manage. Our best desks for a home office roundup lists dimensions clearly, which makes it easy to check a candidate against the wall length you actually have.
Watch the sill height too. If the window sill sits below standard desk height, the desk can pass in front of it without blocking light. If the sill is higher, the desk will sit under the glass, which is fine but means you lose the wall for shelving.
Mistakes to Avoid
- Judging a position at only one time of day. Morning light and afternoon light behave nothing alike.
- Facing a south or west window without shading. The most consistently regretted layout in any home office.
- Backing onto a window with a glossy screen. The reflection will be unavoidable no matter how you tilt it.
- Treating daylight as your only light source. Every workspace needs a functioning artificial plan for the dark half of the year.
- Sitting hard against the glass. Draughts in winter, radiant heat in summer, and nowhere to run cables.
- Ignoring the camera. A window behind you turns every video call into a silhouette.
Frequently Asked Questions
Should my desk face the window or not?
Side-on is best for most people. Facing the window causes constant contrast adaptation and eye fatigue, and only works comfortably with north-facing glass or with proper diffusing shades in place.
Which window direction is best for a desk?
North-facing windows give the softest and most consistent light with minimal glare or heat. South and west windows deliver the most light but need shading to be workable during core hours.
How far from the window should a desk sit?
Around 18 inches of gap is a good target. It reduces draughts and radiant heat, leaves room for curtains to hang properly, and gives you space to route cables behind the desk.
Can I fix glare without moving my desk?
Usually, yes. Sheer shades, angled blinds, a matte screen finish, and rotating the monitor 20 degrees away from the glass will resolve the large majority of glare problems on their own.
Final Thoughts
The best desk position beside a window is almost always side-on, with the glass to your left or right, roughly a foot and a half away, and a shade you can adjust when the sun swings around. Start by finding out which way the window faces, tape out your options, and test them at three different hours before committing to anything. Where the room forces a compromise, fix it with shading, monitor angle, and a proper three-layer lighting plan rather than accepting glare as inevitable. Daylight is the best light you will ever get at a desk; the job is simply to let it in without letting it land on your screen.









