
 Owen Bradley
 Most desk pain does not start in the back. It starts in the forearms, wrists, and shoulders, and it almost always traces back to where the keyboard and mouse are sitting. Push them too far forward and you reach all day. Set them too high and your shoulders quietly shrug for eight hours. Positioning your keyboard and mouse ergonomically is not complicated, but it does require measuring from your body outward rather than arranging things to look tidy on the desk. This tutorial walks through the setup in order, from elbow angle to mouse distance, and explains what to change when your desk refuses to cooperate.
The Neutral Position You Are Aiming For
Every rule below serves one goal: keeping your arms and wrists in a neutral posture, the relaxed position your limbs adopt when you let them hang and then bend the elbows. In neutral, your upper arms hang close to your sides, your elbows sit at roughly ninety to one hundred and ten degrees, your forearms run parallel to the floor, and your wrists stay straight in every direction.
Three deviations do most of the damage. Extension is bending the wrist upward, which happens when the keyboard sits too high or is propped up on its rear feet. Ulnar deviation is angling the hands outward toward the little fingers, caused by narrow keyboards that force the hands together. Pronation is the flat, palm-down rotation of the forearm that a conventional flat mouse demands. Each one compresses tissue in the wrist and loads the forearm muscles, and each one is fixable with position, hardware, or both.
What You Need Before You Start
- An adjustable chair, or a firm cushion and a footrest if the chair is fixed.
- A tape measure.
- Your keyboard, mouse, and any wrist rest you currently use.
- A phone camera to photograph yourself from the side and from above.
Step by Step: Setting Keyboard and Mouse Position
- Set the chair height first. Sit fully back, feet flat, thighs roughly level. Let your arms hang loose at your sides, then bend the elbows to ninety degrees. The height of your hands at that moment is your target working height. Everything else adapts to it.
- Compare that height to your desk surface. If your relaxed hands sit below the desktop, the desk is too high and you will need a keyboard tray or a lower work surface. If they sit above it, the desk is too low and needs raising. Note the gap in inches before continuing.
- Place the keyboard flat, not tilted. Fold down the flip-out feet on the back edge. Those feet raise the rear of the board and force your wrists into extension. A slight negative tilt, where the back edge sits lower than the front, is the ergonomically preferred angle, and a keyboard tray with tilt adjustment is the usual way to get it.
- Centre the keyboard on your body, not the desk. Align the middle of the alphabetic keys, roughly the B key, with the centre of your torso. Most full-size keyboards have a number pad on the right, which pushes the letter keys left of the board’s physical centre. Ignore the board’s centre and use the letters.
- Set the distance from the desk edge. Leave four to six inches of clear desk in front of the keyboard. That gap gives your palms somewhere to rest during pauses and stops the desk edge from pressing into your forearms while you type.
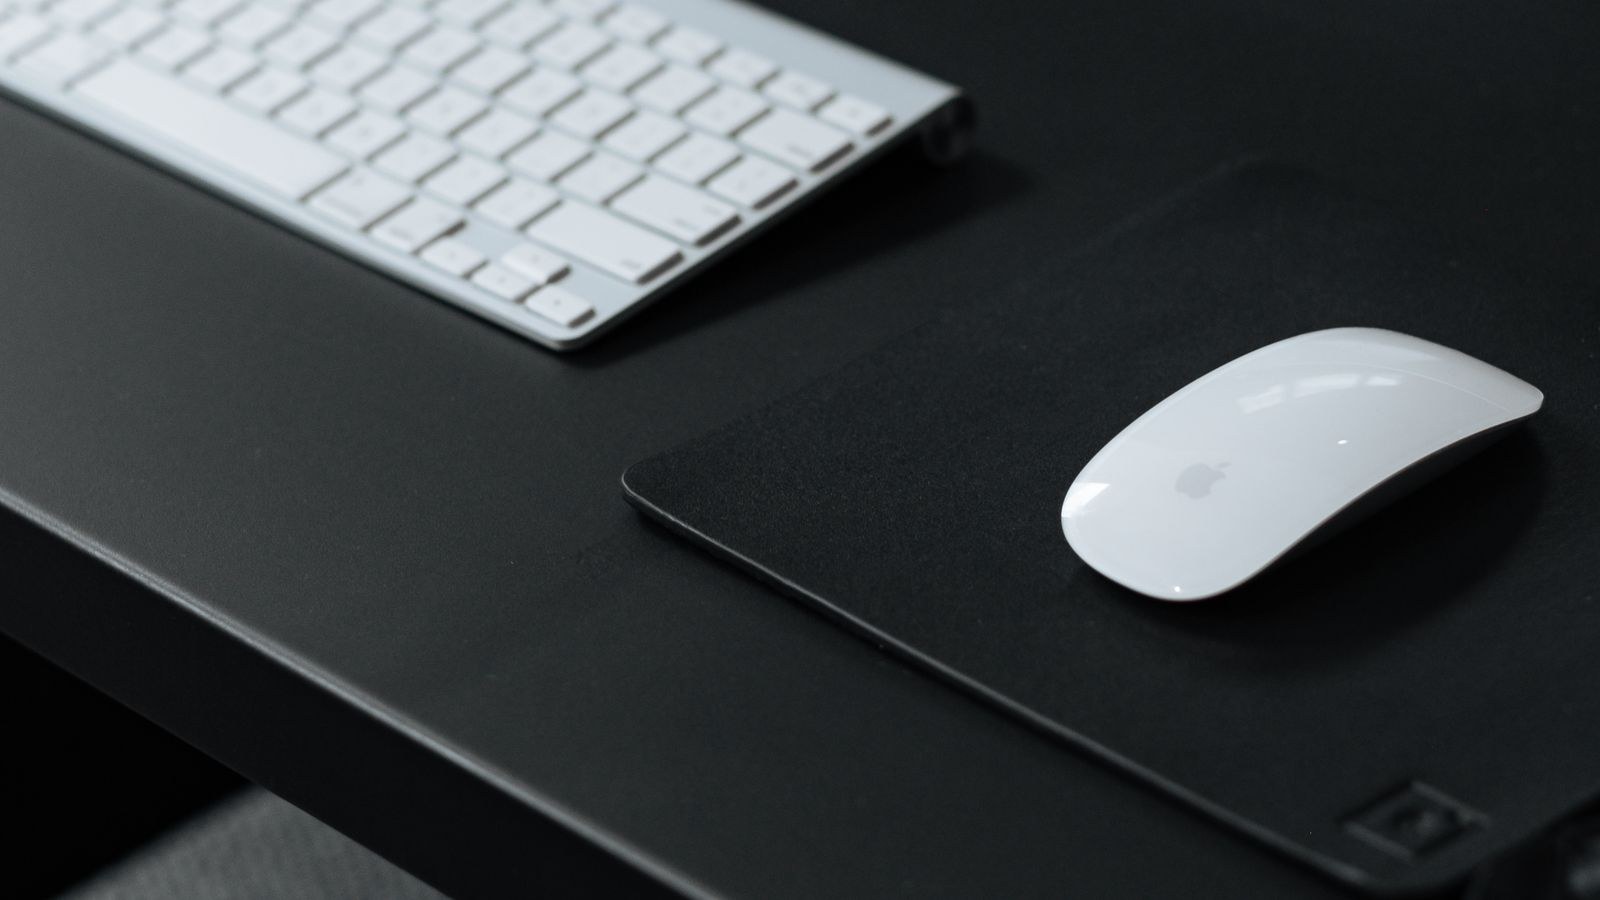
- Bring the mouse in beside the keyboard. This is the step most people get wrong. The mouse should sit at the same height as the keyboard and immediately next to it, so your upper arm stays at your side. Reaching outward and forward to a distant mouse is the single most common cause of one-sided shoulder and neck pain at a desk.
- Set your mouse pointer speed high enough to avoid big movements. If you have to sweep your whole arm across a mouse pad to cross the screen, raise the pointer sensitivity until small wrist and finger movements do the job. Move the mouse from the elbow and shoulder for large motions, not by cranking the wrist sideways.
- Check your wrists while typing, not while posing. Type a few paragraphs normally, then look at a side-on photo. Your wrists should be straight and floating, not bent up and not planted on the desk while your fingers reach forward.
- Live with it for two days, then fine-tune. Small changes feel strange at first. Give the position long enough to become normal before deciding it is wrong, then adjust one variable at a time.
Using a Wrist Rest Correctly
Wrist rests are widely misused. The name is misleading: the pad is meant to support the heel of the palm during pauses in typing, not to anchor the wrist while you type. Resting the wrist itself on a pad and then reaching for keys with the fingers compresses the carpal tunnel under load, which is the opposite of the intended effect.
Use the rest as a parking spot between bursts of typing. Choose one whose height matches the front edge of your keyboard so your hands stay level rather than tilting up. Firm foam or gel works better than something soft that lets the heel of the hand sink and roll. If you would rather have the support built in than sitting loose on the desk, the best keyboards with a wrist rest come with a properly matched pad already sized to the board.
When the Hardware Is the Problem
Position fixes most issues, but some deviations are baked into the equipment. A standard flat keyboard forces the hands together and the wrists outward, and no amount of repositioning changes that. Split and tented boards let each hand sit at shoulder width with the thumbs rotated slightly upward, which removes both ulnar deviation and much of the forearm pronation. If typing volume is high and your wrists ache regardless of placement, our roundup of the best ergonomic keyboards explains which split and contoured layouts suit which hand sizes.
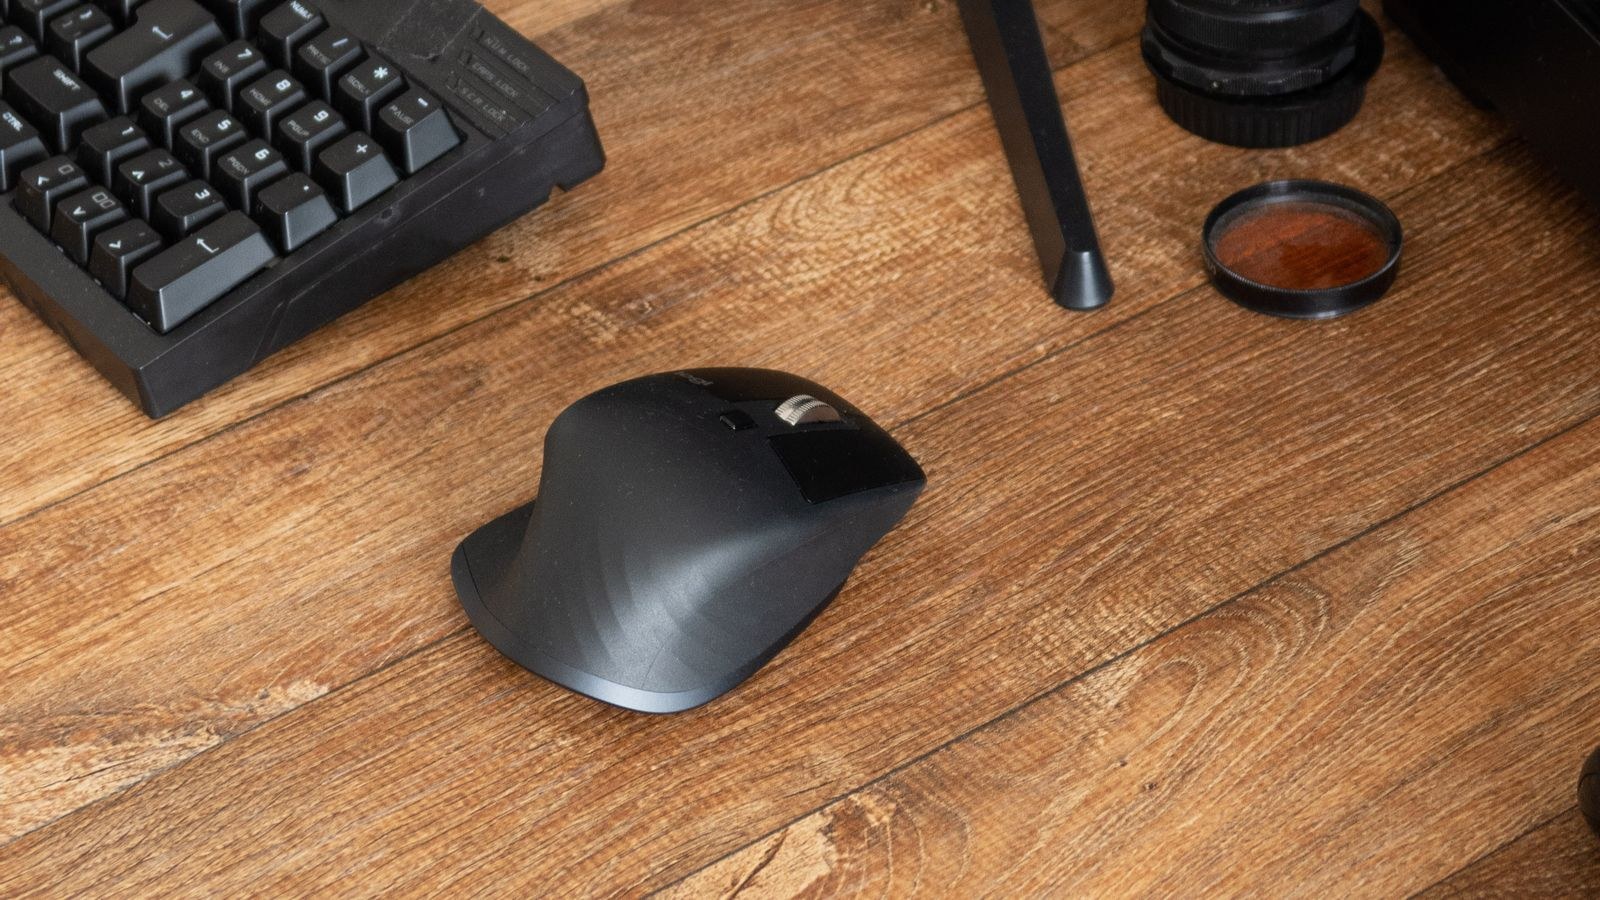
Mice have the same limitation. A conventional mouse holds the forearm fully pronated, palm flat to the desk, for the entire working day. Vertical mice rotate the hand into a handshake grip that keeps the forearm bones parallel, while trackballs remove arm movement altogether and suit cramped desks. Our comparison of the best ergonomic mouse options covers the trade-offs, including the adjustment period a vertical grip usually requires.
The Keyboard Tray Solution
Most desks are built to a standard height of about 29 inches, which is too tall for typing for anyone below roughly six feet. Raising the chair to compensate leaves your feet dangling. The cleanest fix is an under-desk tray that drops the keyboard and mouse two to four inches below the desktop and adds negative tilt at the same time. A tray must be wide enough to hold the mouse alongside the keyboard, otherwise you have solved the wrist problem and created a shoulder one. Desks with the tray already fitted save the retrofit entirely, and the best desks with a keyboard tray list compares slide depth and weight limits.
Common Mistakes to Avoid
- Propping the keyboard on its rear feet. It looks natural and it bends your wrists upward all day.
- Parking the mouse out past the number pad. Every inch further out is extra shoulder abduction held for hours.
- Centring a full-size keyboard by its physical middle. The number pad shifts your typing hands to the left of your body.
- Resting the wrists on the desk edge. The hard edge compresses nerves and blood vessels in the forearm.
- Buying ergonomic hardware before fixing height. A split keyboard at the wrong height still strains your shoulders.
Troubleshooting Persistent Discomfort
Tingling in the thumb and first two fingers usually means wrist extension or sustained compression, so check keyboard tilt and how you use the wrist rest. Aching along the outside of the forearm points to ulnar deviation or gripping the mouse too tightly. A sore right shoulder or the right side of the neck is nearly always mouse distance. Pain across both shoulders and the upper back means the working surface is too high and your shoulders are shrugging to reach it. If the problem persists after the height and distance are correct, the remaining variables are usually the chair’s armrests and the size of the mouse relative to your hand. A well-chosen set of desk accessories for building an ergonomic workstation can close the remaining gaps.
Frequently Asked Questions
Should my wrists touch the desk while typing?
No. Your hands should float above the keys with the wrists straight, moved by the forearms. Contact points are for pauses between typing, not for support during it.
How far should the mouse be from the keyboard?
As close as physically possible. Aim for your mousing hand to sit within a couple of inches of the keyboard’s edge so your upper arm stays vertical at your side.
Is a negative keyboard tilt really better?
For most people, yes. Angling the back edge slightly down keeps the wrist straight or very slightly flexed, which is easier on the carpal tunnel than the upward bend a positive tilt creates.
Do armrests help or hurt?
They help when set so your elbows rest lightly at typing height, taking arm weight off the shoulders. They hurt when set too high, which pushes the shoulders up, or when they block you from sitting close to the desk.
Final Thoughts
Positioning your keyboard and mouse ergonomically comes down to three checks. Elbows at roughly ninety degrees with the hands at that same height, the keyboard flat and centred on your torso rather than the desk, and the mouse close enough that your upper arm never leaves your side. Get those right before spending anything on hardware, because a split keyboard set two inches too high will still leave you sore. Once the geometry is settled, ergonomic hardware becomes a genuine upgrade rather than an expensive workaround, and the small aches that used to arrive every afternoon tend to fade within a week or two.









