Owen Bradley
 A laptop is an ergonomic compromise by design. The screen and the keyboard are welded together, and there is exactly one height at which both can sit. Put the keyboard where your hands want it and the screen ends up somewhere around your collarbone, so you spend the day looking down. Raise the screen to eye level and your hands are suddenly typing at chest height with your shoulders shrugged. For an hour on a train that is fine. For forty hours a week it is the reason your neck and upper back ache by Thursday. The fix is not complicated and it does not have to be expensive: separate the screen from the keyboard. This guide shows exactly how to do that at an ordinary desk, what to buy first if your budget is tight, and how to set the final heights so the whole arrangement actually works.

The One Rule That Governs Laptop Ergonomics
Raise the screen, drop the keyboard. Everything else is detail. Your eyes want the top of the display at roughly their own level so your head balances over your spine. Your hands want the keys at about elbow height so your shoulders can hang relaxed and your forearms stay level. Those two requirements are about a foot apart in space, which is precisely the distance a laptop refuses to give you.
Once you accept that you need an external input device, the screen is free to go wherever it should. That single change eliminates the forward head posture that drives most laptop-related neck ache, and it lets your shoulders drop out of the permanently hunched position that produces upper back tightness and, over time, wrist and elbow trouble.
What You Need Before You Start
- An external keyboard. Non-negotiable. This is the item that makes everything else possible.
- An external mouse. A trackpad on a raised laptop puts your hand at the wrong height and forces a pinched grip.
- Something to raise the laptop. A purpose-built stand, a riser, or a stack of hardback books for testing.
- An adjustable chair. Seat height determines elbow height, which determines everything else.
- A tape measure and about twenty minutes.
If you can only buy one thing, buy the keyboard. A laptop propped on books with a cheap external keyboard beats a beautiful aluminium stand used with the built-in keys every single time.
Step by Step: Setting Up a Laptop Ergonomically
- Adjust your chair before you touch anything on the desk. Sit right back so the backrest supports your lower spine. Raise or lower the seat until your thighs are roughly parallel to the floor and your feet rest flat, using a footrest or a stack of books if the desk forces the chair up higher than your legs like. Let your arms hang loose at your sides, then bend your elbows to ninety degrees. The height of your hands right now is your target keyboard height.
- Set the desk or keyboard to that height. Most fixed desks sit around 29 inches, which is too tall for a lot of people. If your hands sit below the desk surface in that relaxed position, you need either a height-adjustable desk, a keyboard tray, or a higher chair plus a footrest. Do not solve it by shrugging your shoulders, which is what almost everyone does by default.
- Place the external keyboard directly in front of you. Centre the letter keys, not the whole board, on your body midline. Full-size keyboards with a number pad push the mouse a long way out to the right, which is a common cause of shoulder ache; a compact tenkeyless layout keeps the mouse close.
- Keep the keyboard flat or slightly negative. Flip the little rear feet down and you tilt the board toward you, which bends your wrists upward. Leave them retracted. A very slight downward slope away from you, called negative tilt, is even better for keeping wrists neutral.
- Put the mouse right beside the keyboard at the same height. Your upper arm should stay close to your body when you use it. If you are reaching forward or out to the side, move it closer rather than getting used to the stretch.
- Now raise the laptop. With the keyboard sorted, lift the laptop until the top of its screen is level with your eyes when you sit up in your normal working posture. Because laptop screens are small, this usually means the machine sits noticeably higher than people expect, often six to ten inches above the desk.
- Set the viewing distance. Push the raised laptop back until it is roughly an arm’s length away. Smaller screens can come slightly closer, but resist pulling it right up to your face; increase the system text size instead of shortening the distance.
- Tilt the lid back a little. Open the screen slightly past vertical so the whole surface faces your eyes squarely. This also reduces overhead light reflecting off the glossy panel.
- Sort the lighting. Put the laptop side-on to a window rather than facing it or backing onto it. Glare is the hidden reason people creep forward toward the screen no matter how carefully they set the height.
- Run a five minute check. Work normally for five minutes, then freeze and notice your body. Shoulders up near your ears? The keyboard is too high. Chin poking forward? The screen is too low or too far. Wrists bent back? The keyboard is tilted or your chair is too low.
Choosing the Right External Gear
The keyboard is where the real ergonomic gain lives. Standard flat boards force your forearms to rotate inward and your wrists to angle outward toward the little finger. Split or tented designs let your hands sit closer to their natural handshake position, which matters more the more hours you type. Comparing the best ergonomic keyboards is the fastest way to see which layout suits your typing style and desk width.
The mouse is the other half of the equation. A flat, low mouse forces your forearm into a palm-down twist that loads the tendons on the outside of the elbow; a vertical or contoured shape reduces that rotation and encourages a lighter grip. Options among the best ergonomic mouse designs cover both vertical shapes and larger low-force buttons. Beyond those two, a few well-chosen extras finish the job, and our overview of desk accessories for building an ergonomic workstation covers risers, footrests and document holders that remove the remaining awkward reaches.

Getting the Screen High Enough Without a Stand
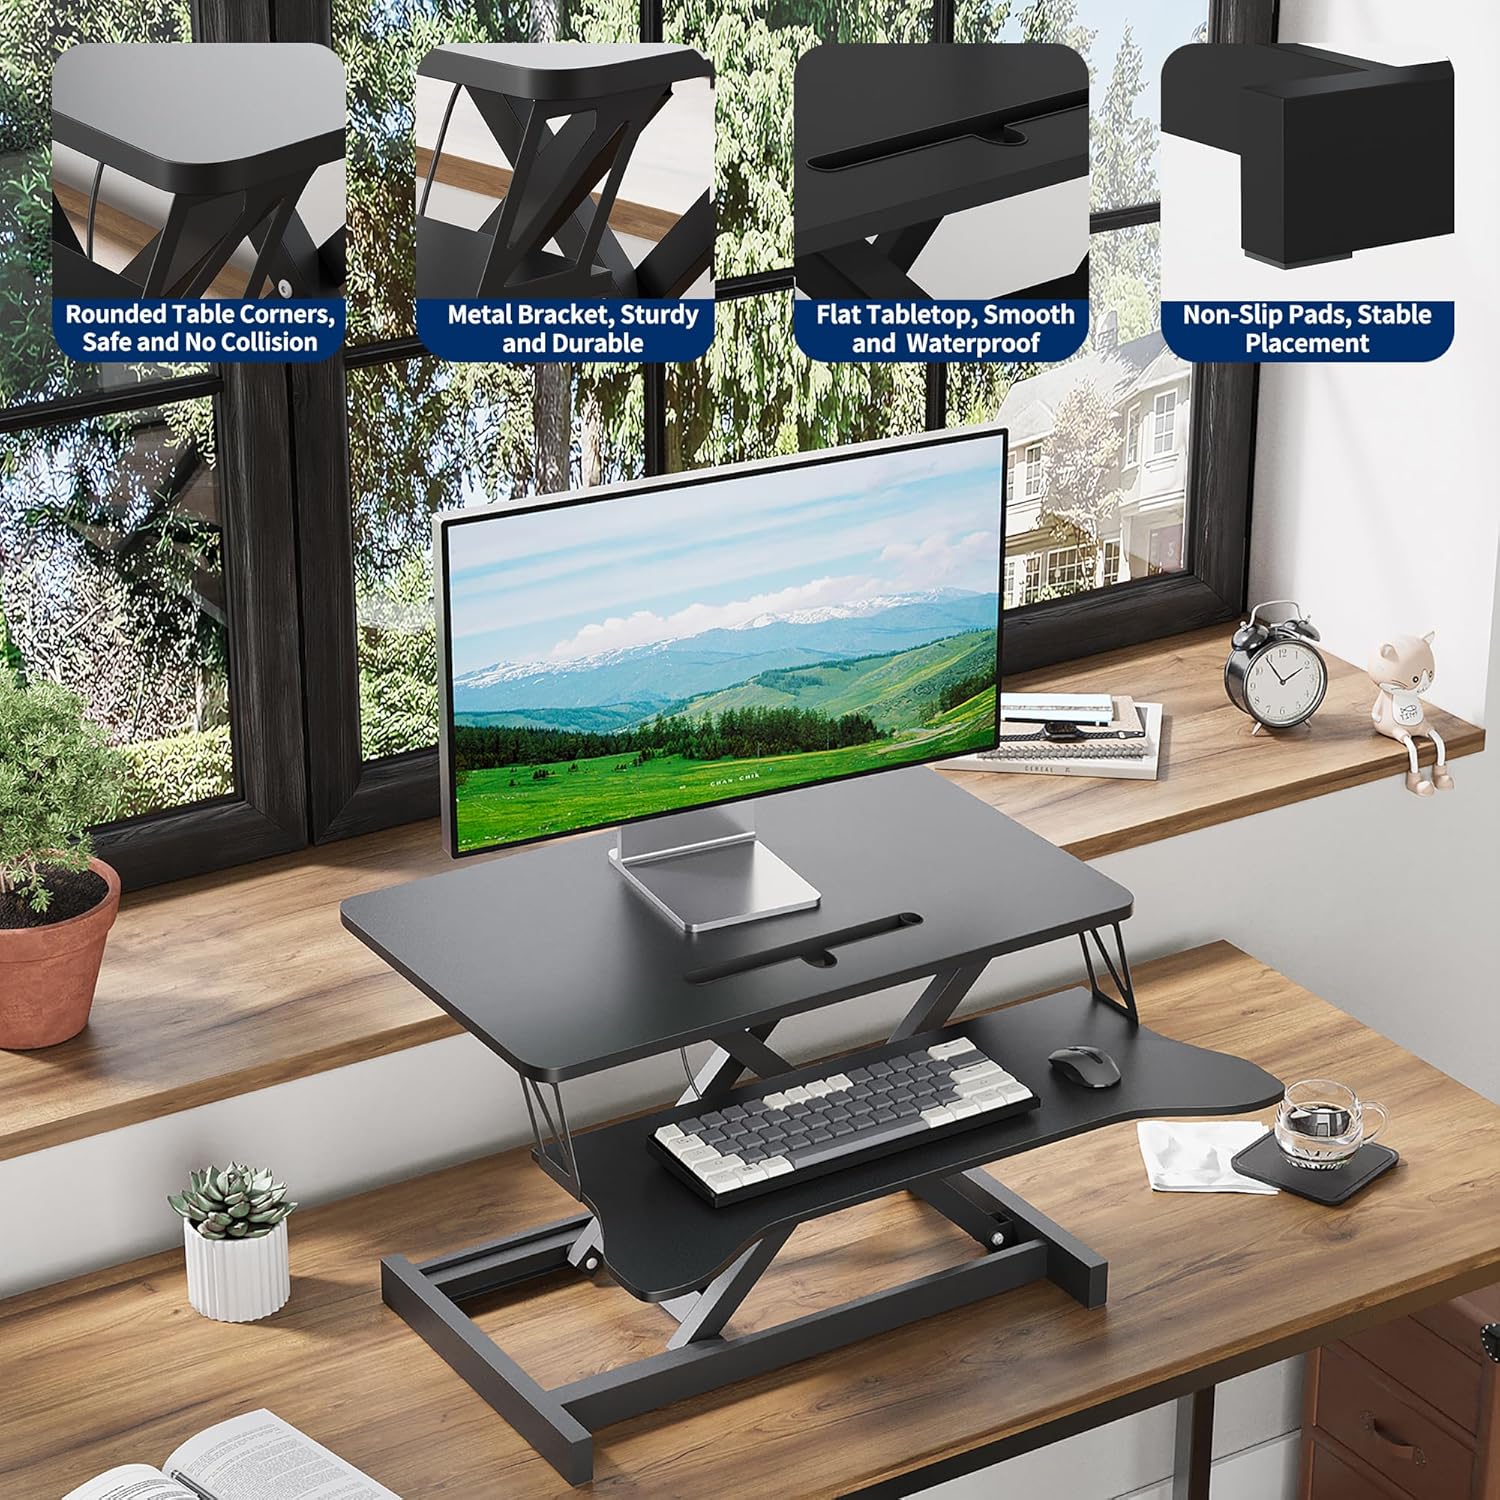
Laptop stands are cheap, but you may not need one at all. A desk with an integrated riser shelf gives you the height permanently and keeps the space underneath usable for the keyboard, which is exactly the geometry you want. Several of the best desks with a monitor stand hit the right shelf height for a laptop or a small external display. If you use a large gaming machine that runs hot and heavy, a deeper and sturdier surface helps, and the best desks for gaming laptops are built with that weight and airflow in mind.
Improvised risers work perfectly well too, with two caveats. Make sure the base is stable, because a laptop sliding off a book stack is an expensive lesson, and do not block the ventilation. Many laptops draw cooling air from underneath, so a solid flat surface directly against the intake will make the fans work harder.
The Better Upgrade: An External Monitor
If your budget stretches further, an external display beats every laptop stand available. A separate screen can be set to the correct height independently, is usually larger and easier to read, and lets you close the laptop lid entirely or use it as a genuine second screen off to one side. Set the external monitor as your primary directly in front of you, and if you keep the laptop open, place it at an angle beside the monitor and raise it so both screens sit at a similar height. Mismatched heights produce a repeated small head tilt every time you switch between them.
Working Away From Your Desk
Sometimes the desk is not an option. For short sessions on a sofa, in a cafe or on a plane, aim for damage limitation rather than perfection. Support your lower back with a cushion, put something under the laptop to raise it toward you rather than dropping your head toward it, and keep the sessions short. Set a timer for thirty minutes and stand up when it goes off. If you regularly work away from home, a compact travel keyboard and a folding stand weigh very little and turn any table into a workable setup.

Common Mistakes to Avoid
- Buying the stand but not the keyboard. A raised laptop without external input is worse than the original setup, because now your arms are up too.
- Flipping out the keyboard feet. They exist for visibility, not comfort, and they bend your wrists back.
- Resting your wrists while typing. A wrist rest is for pauses between bursts, not a permanent pivot point. Float your hands and move from the elbow.
- Leaving the chair too low. A low seat forces your shoulders up to reach the keys and drops your eye level below the screen.
- Assuming setup replaces movement. Even a perfect posture held for three hours causes trouble. Change position every half hour.
Frequently Asked Questions
Do I really need an external keyboard?
If you use a laptop for more than an hour or two a day at a desk, yes. Without one, you must choose between a screen that is too low and hands that are too high, and there is no version of that compromise that is comfortable long term.
How high should my laptop screen be?
Top edge level with your eyes when you sit in your normal working posture, at roughly an arm’s length. If you wear progressive lenses, drop it a few inches so you can read through the lower part of the lens without tipping your head back.
Is a laptop stand or an external monitor better?
An external monitor, comfortably. It is larger, easier to position precisely and easier on the eyes. A stand is the budget answer and still fixes the main problem, but if you can fit a monitor on the desk, choose the monitor.
What if my desk is too high to lower the keyboard?
Raise the chair until your elbows match the desk height, then support your feet with a footrest so your legs are not dangling. A pull-out keyboard tray is the other solution, and a height-adjustable desk removes the problem entirely.
Final Thoughts
Laptop ergonomics really does collapse into one instruction: raise the screen and drop the keyboard. Everything in this guide is just the practical detail of doing that at a real desk with a real budget. Start with an external keyboard and mouse, get the chair and keyboard height right so your shoulders can relax, then lift the screen until your head sits balanced rather than tipped forward. Add a stand, a riser desk or an external monitor as your budget allows, keep glare off the panel, and get up regularly. Twenty minutes of setup now saves a great many uncomfortable afternoons later, and the same arrangement will keep serving you through every laptop you own after this one.