
 Owen Bradley
 Audiences will forgive a soft webcam image, an awkward pause, or an unpolished set. They will not forgive audio that sounds hollow, harsh, or full of room echo. That is why choosing a microphone for streaming and podcasting deserves more thought than almost any other purchase in your setup. The catch is that the microphone itself is only part of the equation, and often not the most important part. This guide walks through condenser versus dynamic capsules, polar patterns, arms and shock mounts, connection choices, and the room treatment that quietly determines whether your recordings sound amateur or professional.
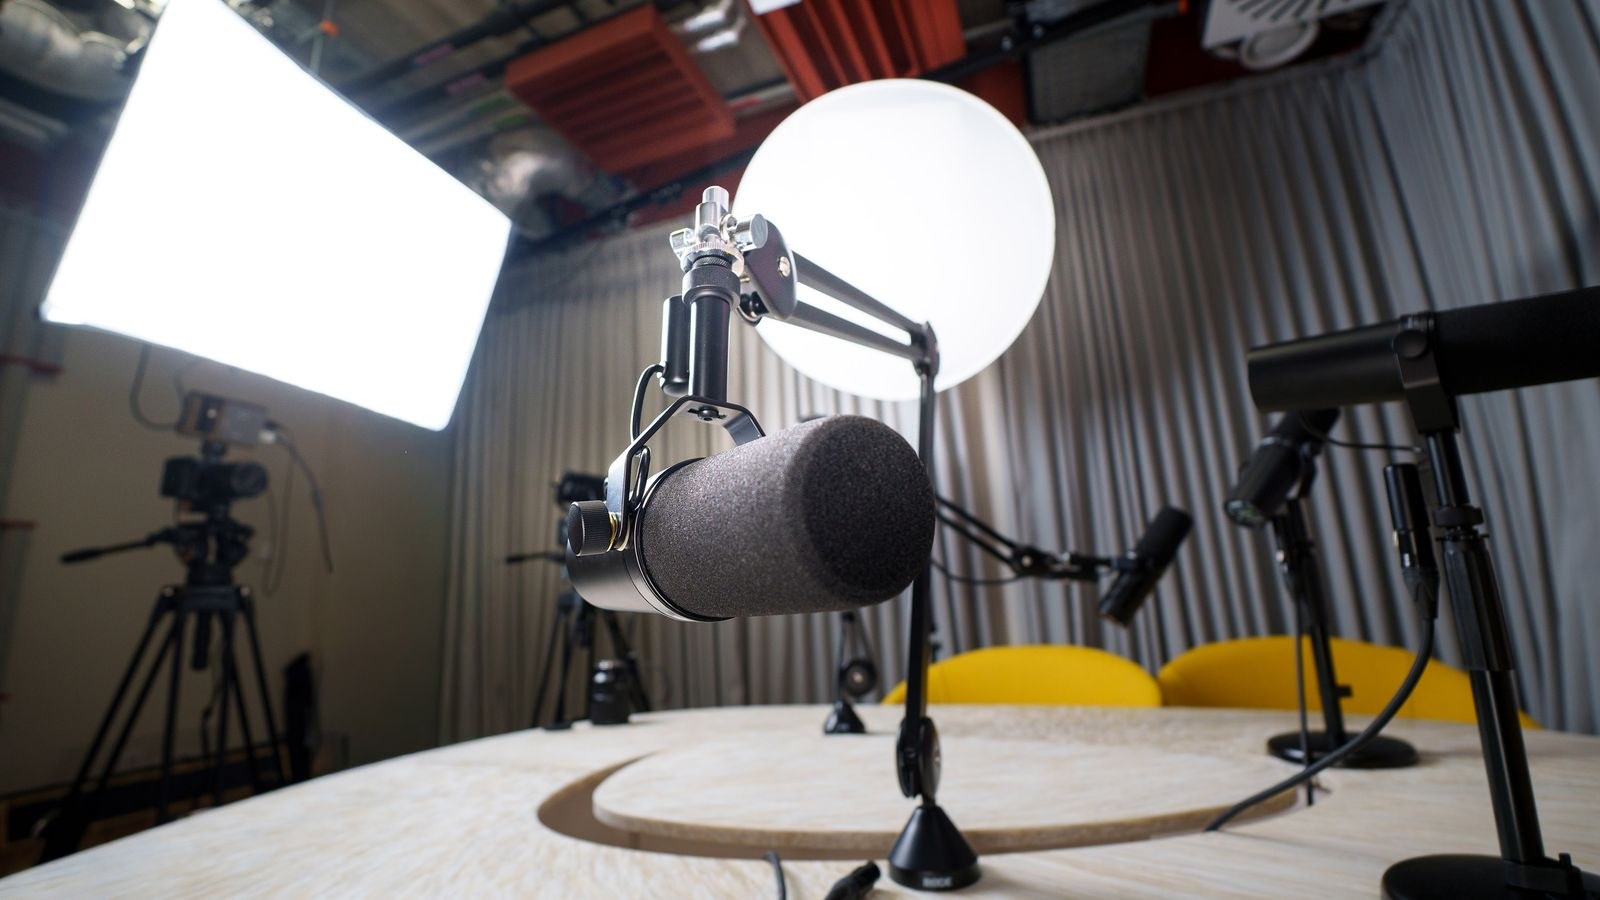
Start With the Room, Not the Microphone
This sounds like advice to skip, so let it land first. A microphone records two things: your voice and the sound of your voice bouncing off every hard surface around you. In a bedroom with bare walls, a laminate floor, and a window, those reflections arrive milliseconds after your voice and create the hollow, distant quality listeners describe as sounding “in a box.”
No microphone eliminates that, and expensive microphones capture it in more detail. The fix costs very little. Add soft mass: curtains over the window, a rug on the floor, a bookshelf on the reflective wall, a duvet or thick blanket on a stand behind you. Record in the smaller, more furnished room rather than the large empty one. Avoid sitting directly between two parallel bare walls. Thirty minutes of rearranging typically improves your sound more than doubling your microphone budget.
Condenser vs Dynamic: The Decision That Matters Most
Condenser microphones use a lightweight diaphragm and require power, making them extremely sensitive. They capture detail, air, and the top-end sparkle associated with polished voiceover and music recording. That sensitivity is a double-edged sword: they will also capture your PC fans, your mechanical keyboard, traffic outside, and every reflection in an untreated room.
Dynamic microphones use a heavier moving-coil design that needs no power and responds less to quiet, distant sounds. Broadcast and live venues use them almost universally because they hear the person in front of them and comparatively little else. Placed close to the mouth, they sound warm and intimate, with the proximity effect adding pleasing low-end weight.
The practical rule is simple. If your space is quiet and treated, a condenser rewards you with detail. If your space is a normal room with normal noise, a dynamic will make you sound more professional. Most streamers and podcasters recording at home are better served by a dynamic microphone, and the ones who sound best on untreated setups almost always use one.
Polar Patterns Explained
The polar pattern describes which directions a microphone listens to, and getting it right removes noise for free.
- Cardioid picks up from the front and rejects the rear. This is the correct default for almost all solo streaming and podcasting. Point the rear of the mic at your noisiest source, usually the PC.
- Supercardioid is tighter still at the front but picks up a little from directly behind, useful in noisier rooms if you sit consistently on-axis.
- Omnidirectional hears everything equally. It sounds natural but captures the whole room, so avoid it unless your space is treated.
- Bidirectional hears front and back, designed for two people facing each other across one microphone.
- Stereo patterns suit ambience and music, not speech.
Multi-pattern microphones look appealing, but be honest: most people set cardioid on day one and never change it. Spending extra for patterns you will not use is money better spent on a boom arm or acoustic panels.
USB, XLR, or Both
A USB microphone contains its own preamp and converter, so it plugs straight into your computer and works immediately. It is the right answer for solo creators who want to publish rather than configure, and modern USB models frequently include headphone monitoring, a gain dial, and a physical mute button.
An XLR microphone needs an audio interface, which supplies gain, phantom power for condensers, conversion, and zero-latency monitoring. It costs more overall but gives you a modular setup you can upgrade one piece at a time, and it is the only sane way to record two or more microphones in sync for in-person interviews. Hybrid microphones with both outputs let you start simple and migrate later. Decide by asking whether you will ever record a second person in the same room; if yes, plan for XLR from the beginning.
Arms, Shock Mounts and Pop Filters
These are not accessories to add later. They are part of the microphone.
A boom arm clamps to your desk and holds the microphone where you want it, close to your mouth and out of your camera framing. Just as importantly, it isolates the mic from the desk surface, so keystrokes and mouse clicks do not thump straight into your recording. Check the arm’s weight rating against your microphone, since heavy dynamic mics droop on cheap arms, and prefer internally routed cables for a tidy look on camera.
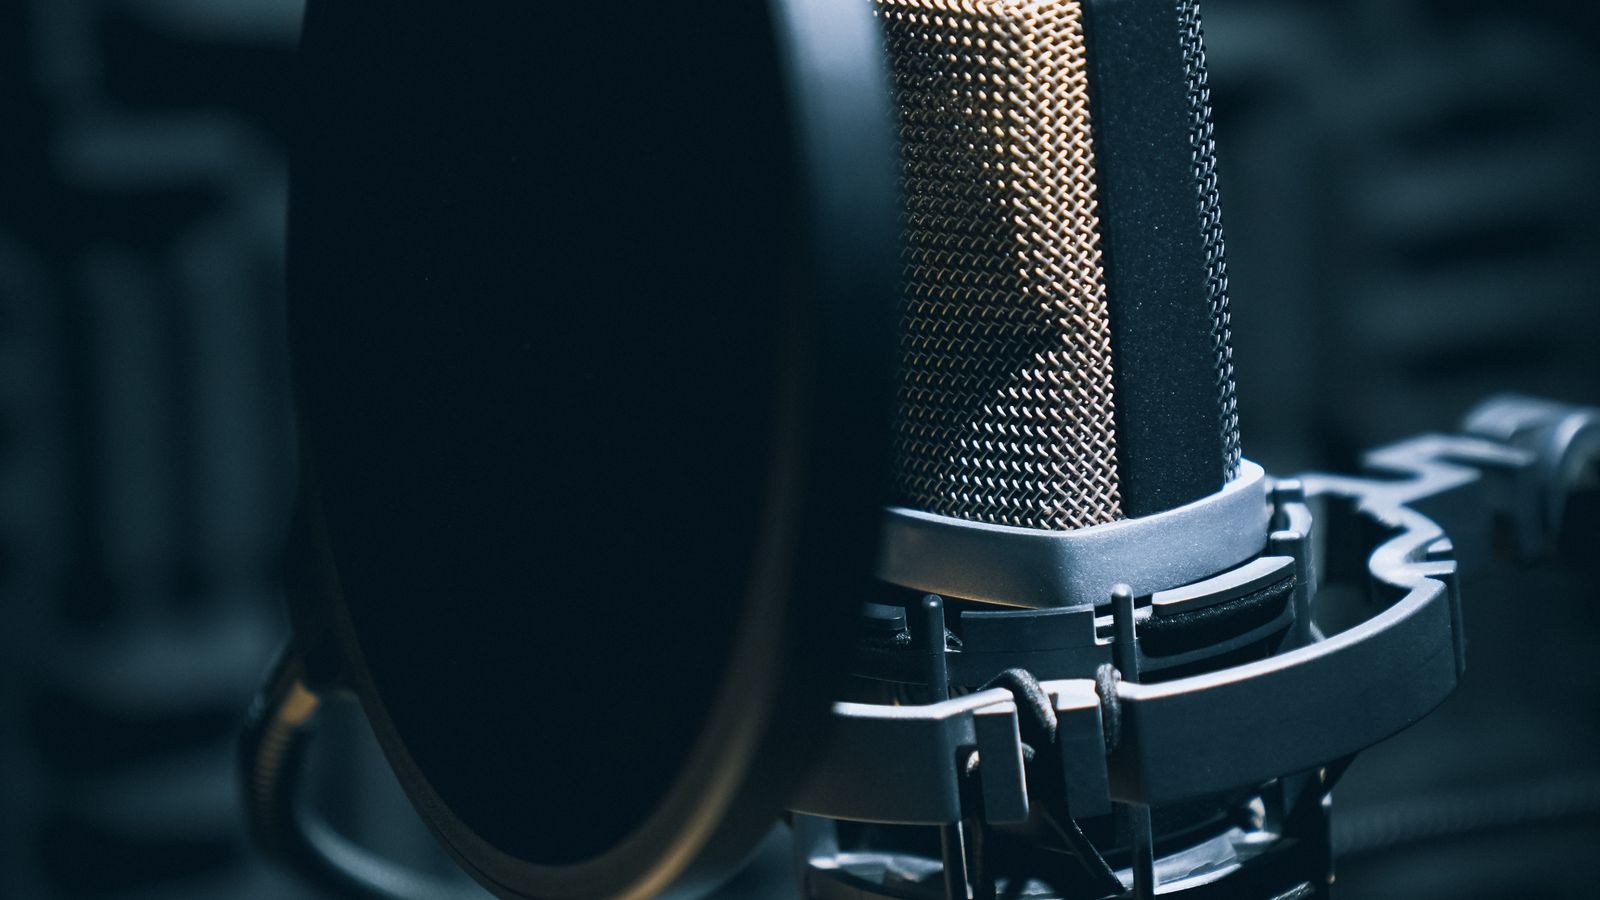
A shock mount suspends the microphone in elastic bands, absorbing vibration that travels up the arm. Many microphones include one; if not, buy the model-specific version rather than a generic clamp.
A pop filter sits between you and the capsule to disperse the blast of air from plosive sounds like P and B. A mesh or foam screen costs very little and prevents a problem that editing cannot fully repair. Position it roughly two inches from the microphone, not touching it.
Placement and Gain Staging
Placement is worth more than the price difference between two microphone tiers. Sit four to eight inches away, closer for a dynamic, slightly further for a condenser. Angle the microphone so you speak across it rather than directly into it, which reduces plosives and sibilance naturally. Keep the distance consistent, because leaning in and out changes both level and tone.
Set your gain so normal speaking peaks around minus twelve decibels, leaving headroom for laughter and raised voices. Too low and you will amplify noise later; too high and you clip permanently. Monitor through closed-back headphones so you hear exactly what your audience hears, and never through speakers, which cause feedback. Record a thirty-second test at the start of every session and actually listen to it before going live.
Budget Tiers
- Under $100: entry USB microphones. A huge upgrade over laptop and webcam audio. Plan to replace the bundled desk stand with an arm immediately.
- $100 to $200: the value sweet spot. Metal bodies, headphone monitoring, better capsules, and the first genuinely broadcast-capable dynamic options.
- $200 to $400: quality dynamic or condenser plus a two-channel interface, or a premium hybrid. Where most established podcasters settle.
- Above $400: refined preamps, more inputs, higher-end capsules. Only worth it once your room is treated, since acoustics become the limiting factor long before the microphone does.
Set aside roughly a quarter of your total budget for the arm, mount, filter, and cabling. A $150 microphone properly mounted and placed beats a $350 microphone sitting on a desk stand every single time.
Fitting Audio Into the Rest of Your Setup
Audio does not exist in isolation. The microphone competes with your camera for desk space and framing, your PC needs headroom to encode without fan noise spiking, and your monitoring path determines whether you catch problems live. Plan the whole desk at once: camera first for framing, then the mic arm entering from the side or below the shot, then lighting.
If you are also choosing video gear, our roundups of the best webcams for podcasting and the best webcams for streaming cover framing and low-light performance, which affect where the microphone can physically sit. For the system side, our guide on how to optimize your PC setup for live streaming explains how to keep encoding load, and therefore fan noise, under control.
Monitoring and the Headset Question
You need to hear yourself, and you need closed-back headphones to avoid bleed into the microphone. Some creators skip the standalone mic entirely and use a quality boom headset, which is a legitimate choice for gameplay-focused streams where consistent levels and a clear desk matter more than tonal richness. Models built for that job appear in our best headsets for streaming and best headsets with microphone lists, and they remain a sensible interim step while you build toward a full setup.
Common Mistakes
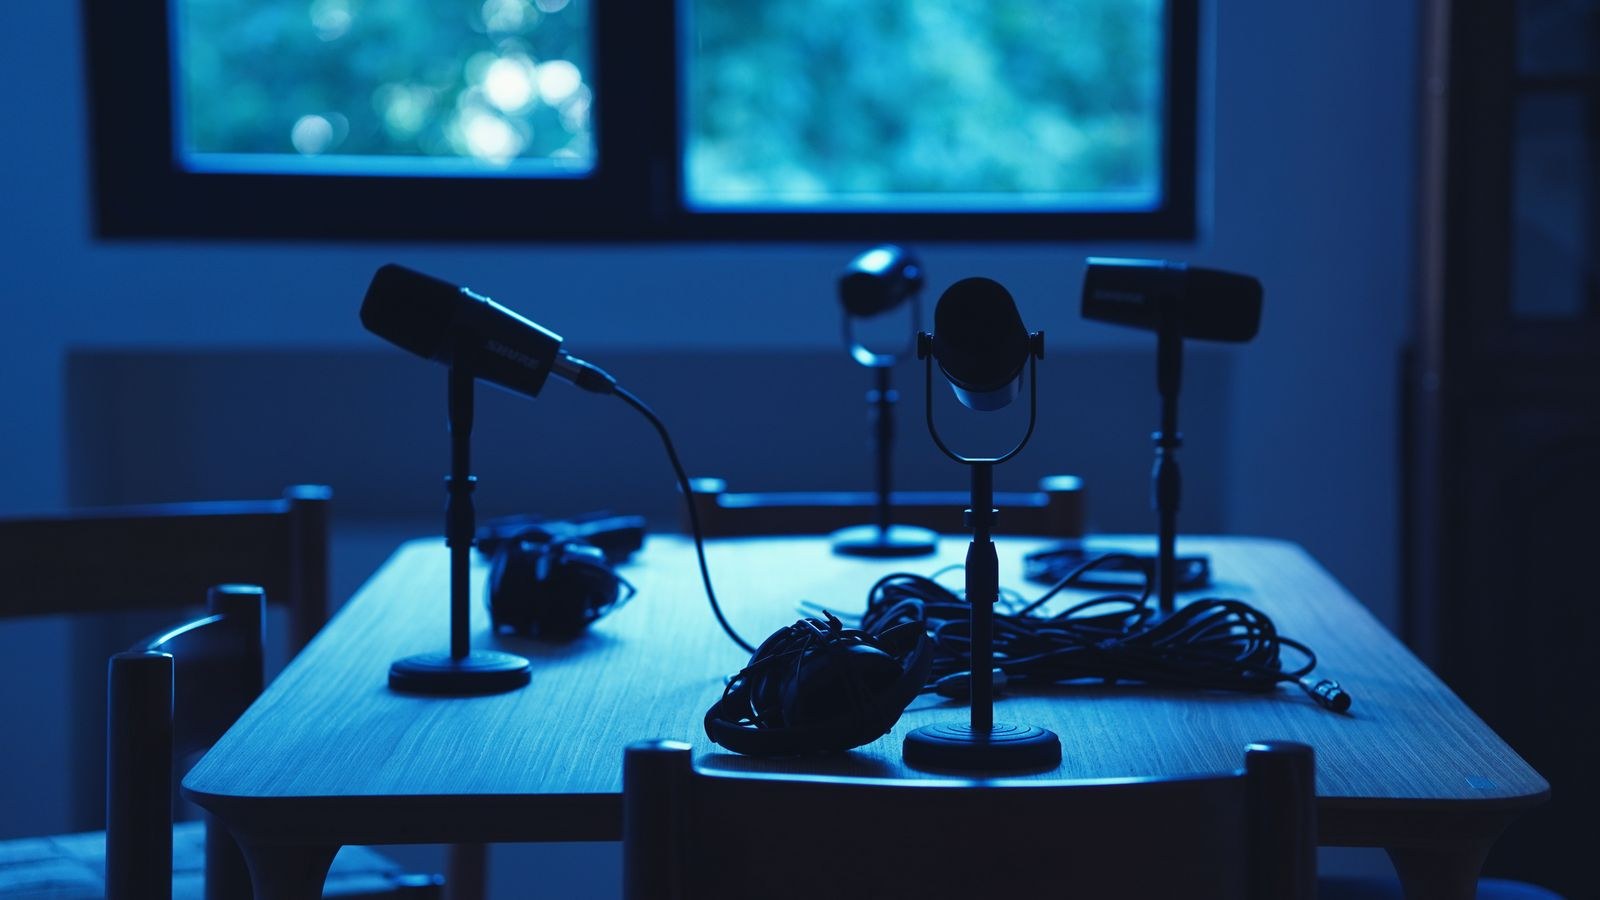
The most frequent error is buying a large-diaphragm condenser because it looks the part in studio photos, then discovering it captures every keystroke and every wall reflection. The second is placing the microphone too far away, usually to keep it out of frame, which pulls in room sound and thins the voice; solve framing with arm position, not distance.
Third is skipping the boom arm and leaving the mic on a desk stand, guaranteeing that every typed message transmits through the desk. Fourth is stacking software noise suppression to compensate for a bad room, which strips warmth and creates the watery artefacts listeners immediately notice. Fifth is never listening back critically; record yourself, play it on phone speakers and headphones, and fix what you hear rather than what you assume.
Frequently Asked Questions
Do I need an expensive microphone to start?
No. A well-placed microphone in the $100 to $150 range, mounted on an arm in a softly furnished room, sounds better than most listeners expect. Upgrade when you can clearly identify what your current setup lacks.
Should my first microphone be condenser or dynamic?
For most home setups, dynamic. It forgives an untreated room, rejects keyboard and fan noise, and produces the warm, close broadcast sound audiences associate with professional podcasts.
How do I stop my keyboard being audible?
Use a cardioid dynamic microphone positioned close to your mouth with the rear facing the keyboard, mount it on a boom arm rather than the desk, and consider quieter switches. Physical isolation beats software gates.
Is a mixer necessary?
Not for most creators. A two-channel audio interface covers solo and two-person recording. Mixers make sense when you juggle several sources live, such as guests, music beds, and call-ins, and want physical faders for each.
Can I record with the microphone off camera?
Yes, but keep it close. Boom it in from below the frame or just outside the shot edge rather than pushing it back a foot to hide it. Distance, not visibility, is what damages your sound.
Final Thoughts
Choosing a microphone for streaming comes down to a short, honest sequence. Assess your room and treat it cheaply. Pick a dynamic capsule unless your space is genuinely quiet. Choose cardioid. Decide USB or XLR based on whether you will ever record a second person in the room. Budget for an arm, a shock mount, and a pop filter as part of the microphone, not as extras.
Do that and a mid-priced setup will carry you comfortably through 2026 and well beyond, sounding better than far more expensive gear used carelessly. The people who sound best are rarely the ones who spent the most; they are the ones who got placement, pattern, and acoustics right before they ever opened a shopping page.









