
 Owen Bradley
 Streaming smoothly to a live audience takes more than pressing “Go Live.” Your PC needs enough processing headroom to run the game, the encoder, chat overlays, and any capture devices simultaneously without dropping frames, all while pushing a steady video feed out over your internet connection. This guide walks through optimizing your hardware, software, and physical desk setup so your stream looks and sounds professional from the very first broadcast.
Understanding the Streaming Workload
Live streaming is unusually demanding because your PC does several heavy jobs at once. It renders the game, captures and encodes that footage into a compressed video stream, mixes in your microphone and webcam, and uploads the result in real time. Any weak link, whether it is CPU, GPU, or upload bandwidth, shows up immediately as dropped frames or buffering for your viewers. Optimizing means balancing all of these pieces rather than fixing just one.
What You Need Before You Start
- A PC with a modern multi-core CPU and a GPU that has a dedicated hardware encoder such as NVENC, AMF, or Quick Sync
- Streaming software, either an open-source broadcaster or a platform-native app
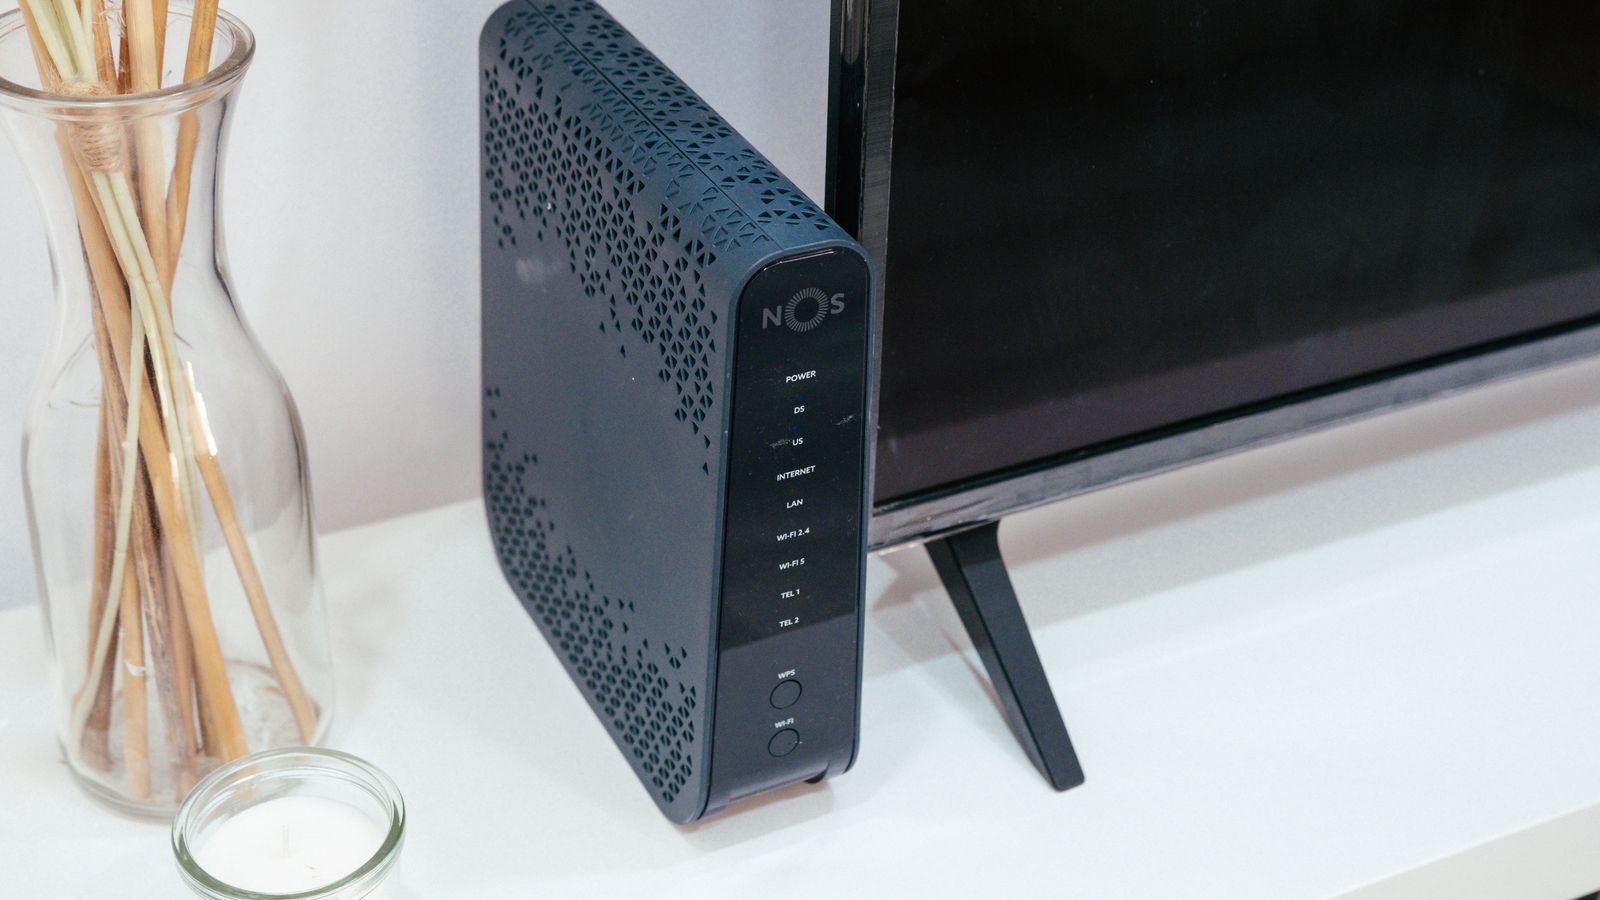
- A stable upload connection, ideally wired Ethernet rather than Wi-Fi
- A capture card if you plan to stream from a console alongside your PC
- A microphone and, optionally, a webcam with decent lighting
Step-by-Step: Optimizing Your Streaming PC
- Check your upload bandwidth. Run a speed test and confirm you have at least 5 to 6 Mbps of consistent upload for 1080p streaming, with more headroom for higher bitrates and resolutions.
- Connect via Ethernet, not Wi-Fi. A wired connection removes the variability that causes dropped frames and viewer-side buffering.
- Choose the right encoder. Use your GPU’s hardware encoder rather than software CPU encoding whenever possible, since it frees up CPU resources for the game and produces smooth output on most modern cards.
- Set output resolution and bitrate appropriately. For 1080p at 60fps, a bitrate around 6000 kbps is a solid starting point; adjust based on your platform’s guidance and your real upload speed.
- Build dedicated scenes. Create scenes for starting soon, in-game, and be-right-back states so transitions look intentional rather than chaotic.
- Configure audio sources and levels. Add separate tracks for game audio, microphone, and any alerts, and balance them so your voice sits clearly above game sound.
- Close unnecessary background apps. Browser tabs, update services, and chat programs all compete for CPU and RAM, so shut down anything not needed for the stream.
- Run a private test stream. Most platforms allow an unlisted broadcast so you can check video quality, audio balance, and frame drops before going live publicly.
- Monitor performance while live. Keep an eye on dropped frames and CPU or GPU usage, and lower bitrate or resolution if you see consistent drops.
Hardware vs Software Encoding Explained
One of the most important decisions is how your PC compresses video. Software encoding uses your CPU and can produce slightly higher visual quality at a given bitrate, but it steals processing power from the game itself, which can hurt your in-game performance. Hardware encoding offloads the job to a dedicated block on your GPU, leaving your CPU free for gameplay. On modern graphics cards, hardware encoders have improved so much that the quality difference is minimal, making them the right choice for the vast majority of single-PC streamers.
Building a Streaming-Friendly Desk
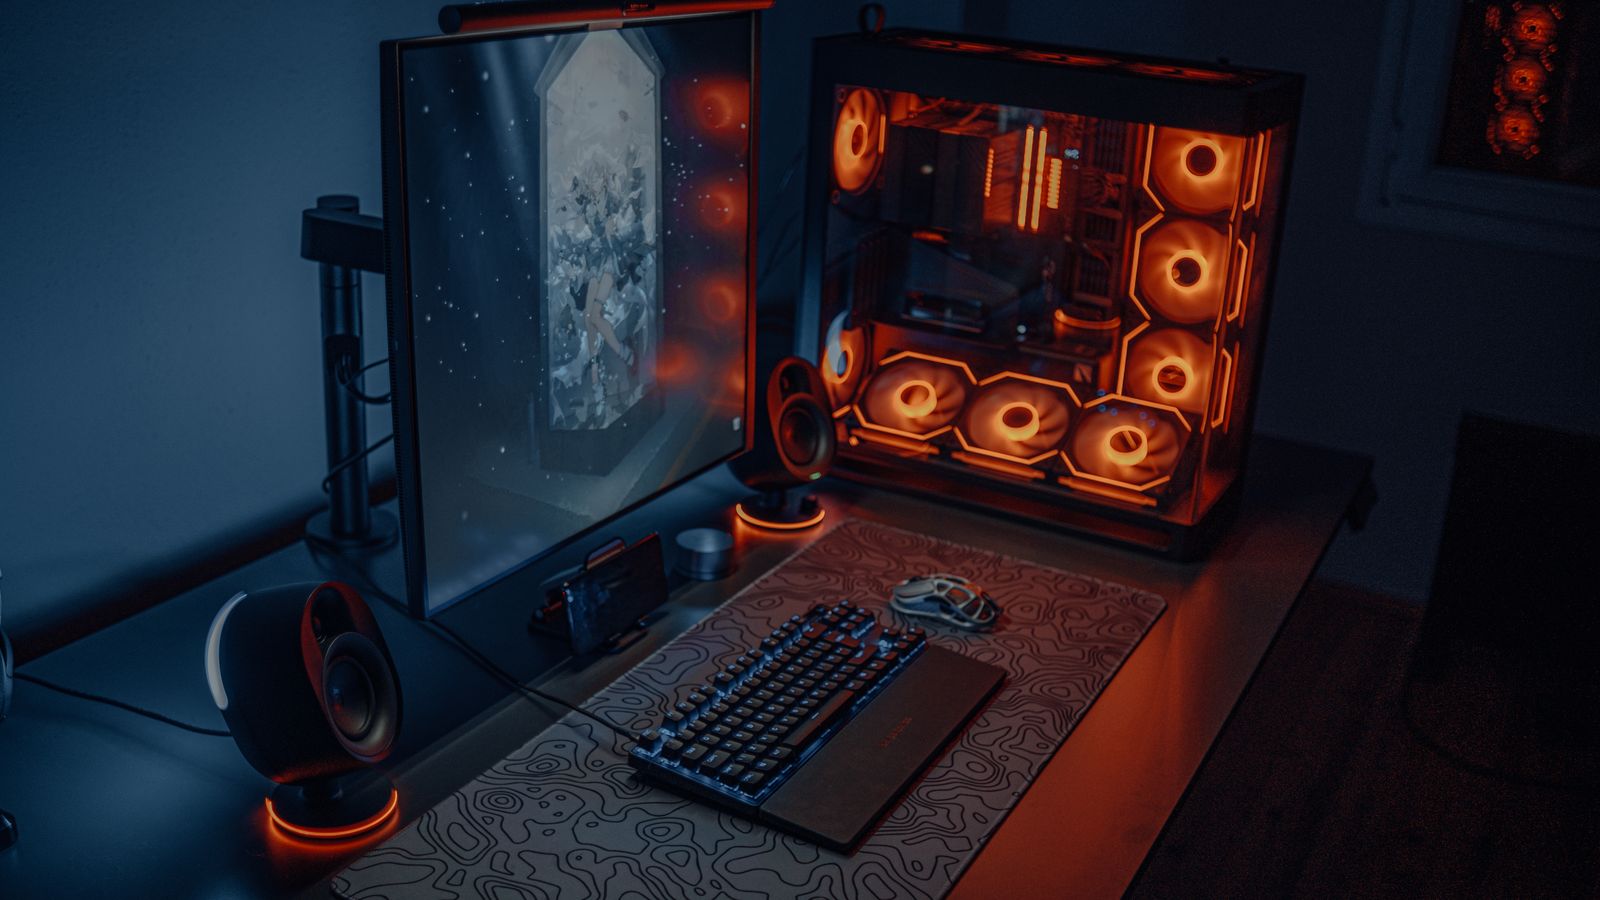
Once your software is dialed in, your physical setup matters just as much. A dedicated workspace keeps your webcam, lighting, and microphone positioned consistently between sessions, and clean cable management around your capture equipment reduces accidental disconnects mid-stream. Position your key light to avoid harsh shadows, keep your microphone on a boom arm out of the camera frame, and leave enough desk room to operate comfortably without knocking cables loose.
Hardware Worth Investing In
If your PC struggles to run games and encode video at the same time, the bottleneck is usually processing power rather than internet speed. Streamers who also edit highlight clips or full videos afterward often benefit from a machine built for heavier workloads. Comparing the best desktop computers for video editing is a useful way to find a system with enough CPU cores and GPU headroom to handle both live encoding and post-production editing without slowing down.
Optimizing Audio, Overlays, and Alerts
Viewers forgive imperfect video far more readily than bad audio, so treat sound as a priority. Use a noise gate and light compression on your microphone so your voice stays consistent and free of background hum. Keep overlays and browser-based alerts to a reasonable number, since each one adds CPU overhead and too many can cause frame drops on their own. A clean, lightweight layout usually looks more professional than a cluttered one anyway.
Common Mistakes to Avoid
- Streaming over Wi-Fi when Ethernet is available. Even strong Wi-Fi can introduce packet loss under load.
- Setting bitrate too high for your upload speed. This causes viewer buffering even when your local recording looks fine.
- Forgetting to balance audio levels. Game audio drowning out your microphone is one of the most common viewer complaints.
- Running too many overlays or plugins. Excessive browser sources and widgets add overhead that can cause frame drops.
- Skipping the private test. Always test unlisted before a public debut to catch problems no one else sees.
Choosing the Right Bitrate and Resolution
Bitrate is the amount of data your stream sends per second, and it directly controls image clarity. Too low, and fast motion turns blocky; too high, and viewers on slower connections buffer. Match your bitrate to both your upload speed and your platform’s limits, leaving roughly 20 to 30 percent of your upload bandwidth free as headroom. Resolution and frame rate also trade off against each other: a smooth 1080p at 30fps often looks better for slow-paced content, while fast games benefit from 60fps even at a slightly lower resolution. Test a few combinations privately and pick the one that stays consistently smooth.
Reducing Latency for Interactive Streams
If you interact heavily with chat, stream latency, the delay between your action and what viewers see, matters a great deal. Many platforms offer a low-latency mode that shrinks this delay to just a couple of seconds, making conversation feel natural. The trade-off is that low-latency modes give viewers a smaller buffer, so anyone on an unstable connection may see more rebuffering. Enable it if audience interaction is central to your stream, and leave it off if maximum playback stability matters more than real-time chat.
Protecting Performance Over Long Sessions
- Monitor your CPU and GPU temperatures, since thermal throttling during a long stream causes gradual frame drops.
- Ensure your case has good airflow, especially when the GPU is both gaming and encoding.
- Set your streaming software to run at a higher process priority so it is not starved by the game.
- Restart the PC before long broadcasts to clear memory leaks from earlier sessions.
- Keep graphics drivers and streaming software updated for the latest encoder improvements.
Frequently Asked Questions
Do I need a second PC to stream well?
Not necessarily. A single modern PC with a GPU hardware encoder can handle both gaming and streaming for most titles. A dedicated second encoding PC only becomes worthwhile for very demanding games or professional-level production.
What upload speed do I actually need?
For standard 1080p streaming, 5 to 6 Mbps of upload is typically enough, but faster upload speeds give you more headroom for higher bitrates and resolutions without risking buffering.
Why do viewers see buffering when my stream looks fine locally?
This usually means your bitrate exceeds your available upload bandwidth. Lower the bitrate or resolution and retest with a private stream until the feed stays smooth for viewers.
Should I stream at 1080p or 720p?
If your upload speed and PC can sustain it, 1080p looks sharper, but a stable 720p stream beats a stuttering 1080p one every time. Match your resolution to what your connection and hardware can reliably deliver.
Final Thoughts
Optimizing your PC for live streaming is a mix of the right hardware, correctly configured encoder settings, a stable wired connection, and a workspace that keeps your gear organized and consistent. Work through each step methodically, prioritize clean audio, and always test privately before going live. Do that, and your stream quality will noticeably improve for every viewer who tunes in.









