Owen Bradley
 Outdoor lighting is one of the few home improvements that changes how a property looks, feels and functions after dark, and it can be done incrementally without touching a wall. The difficulty is that “landscaping lights” covers a dozen genuinely different fixture types, three different power systems and a range of quality that runs from throwaway to lifetime. This guide explains how the categories differ, how to work out brightness and colour temperature without guessing, what the weather ratings actually promise, and how to lay out a scheme that lights the garden rather than blinding the neighbours.
Decide What the Lighting Is For Before You Shop
Outdoor lighting serves three separate purposes, and most disappointing installations come from buying for one and expecting all three. Be explicit about which you need.
- Safety and navigation. Marking steps, changes in level, path edges and driveway boundaries so nobody trips. This needs modest, low, evenly spaced light — not brightness.
- Security and deterrence. Removing dark hiding places near doors, side returns and ground-floor windows. This usually means motion-triggered fixtures at height with wide coverage.
- Atmosphere and display. Making the garden a place worth looking at from the kitchen window and worth sitting in on a summer evening. This is the most creative use and the one that rewards restraint.
Walk the property after dark before buying anything. Note where you actually stumble, where you feel uneasy, and which features — a specimen tree, a stone wall, a water feature — would reward a beam. That ten-minute walk prevents more waste than any spec sheet.
The Main Fixture Types Explained
Each type does one job well. Mixing three or four is how a garden ends up looking designed rather than dotted.
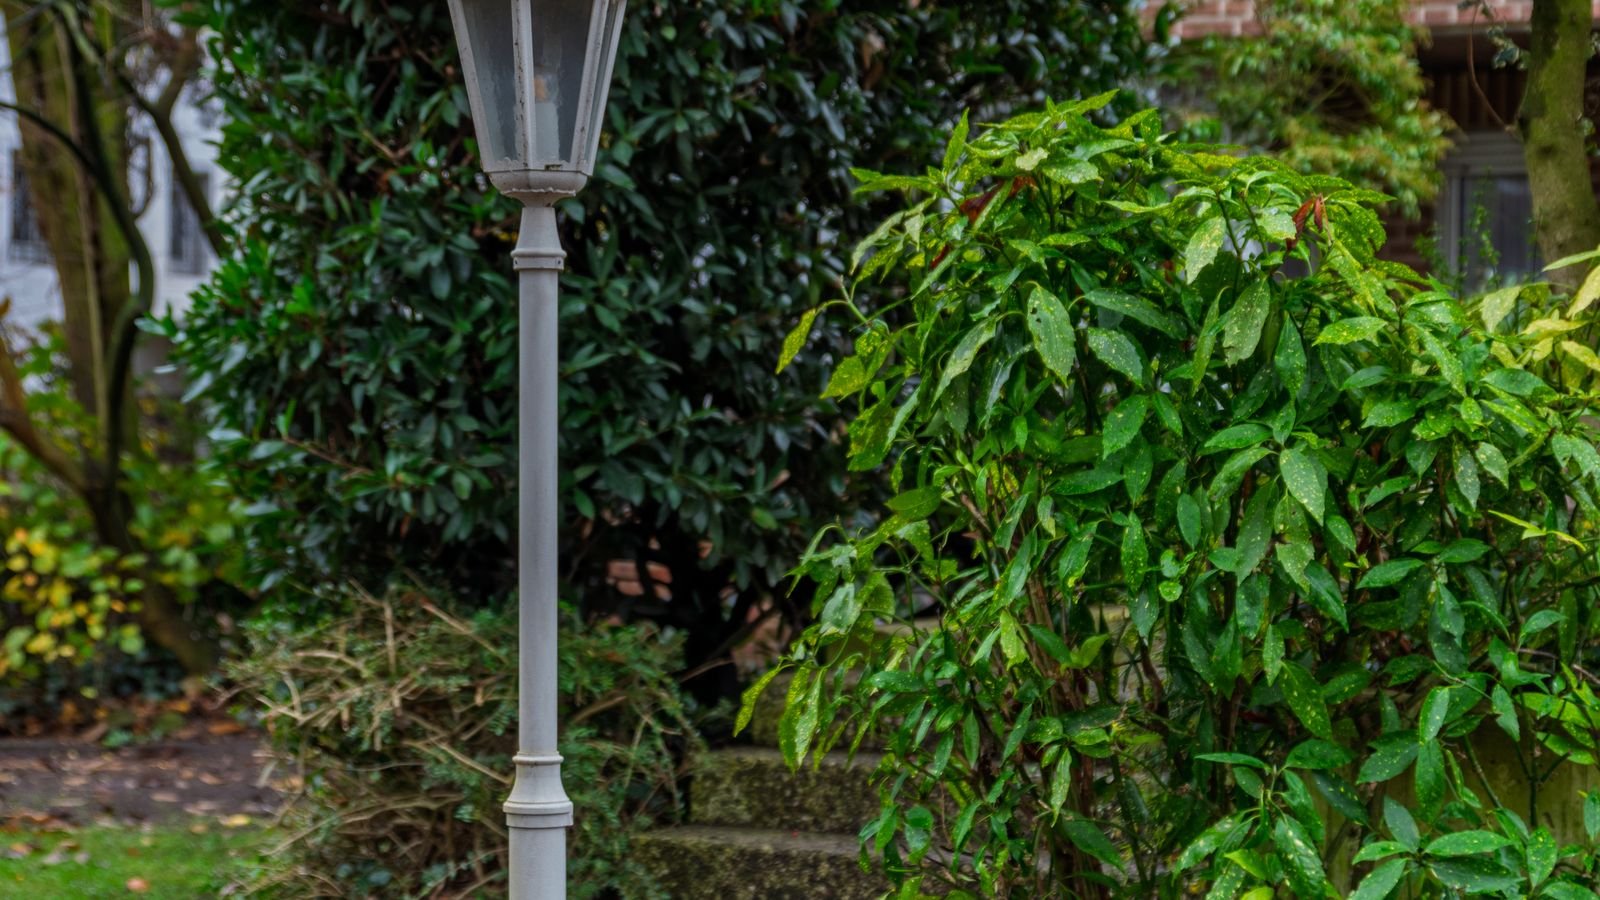
- Path lights. Short stakes with a shade that throws light down and outward in a pool. They mark routes; they do not illuminate the garden. Space them for gentle overlap, never in a rigid runway line.
- Spotlights and uplights. Narrow-beam fixtures aimed up at a tree trunk, a chimney, a textured wall or a sculpture. The single highest-impact type, and the one most often skipped.
- Floodlights. Wide beams that wash a large area such as a driveway, patio or workshop wall. Powerful, and easy to overdo.
- Well lights. Recessed into the ground so the fixture disappears and only the effect remains. Ideal near patios and in lawns you mow.
- String and festoon lights. Overhead ambience for a seating area or pergola. Choose weatherproof commercial-grade strands, not indoor decorations.
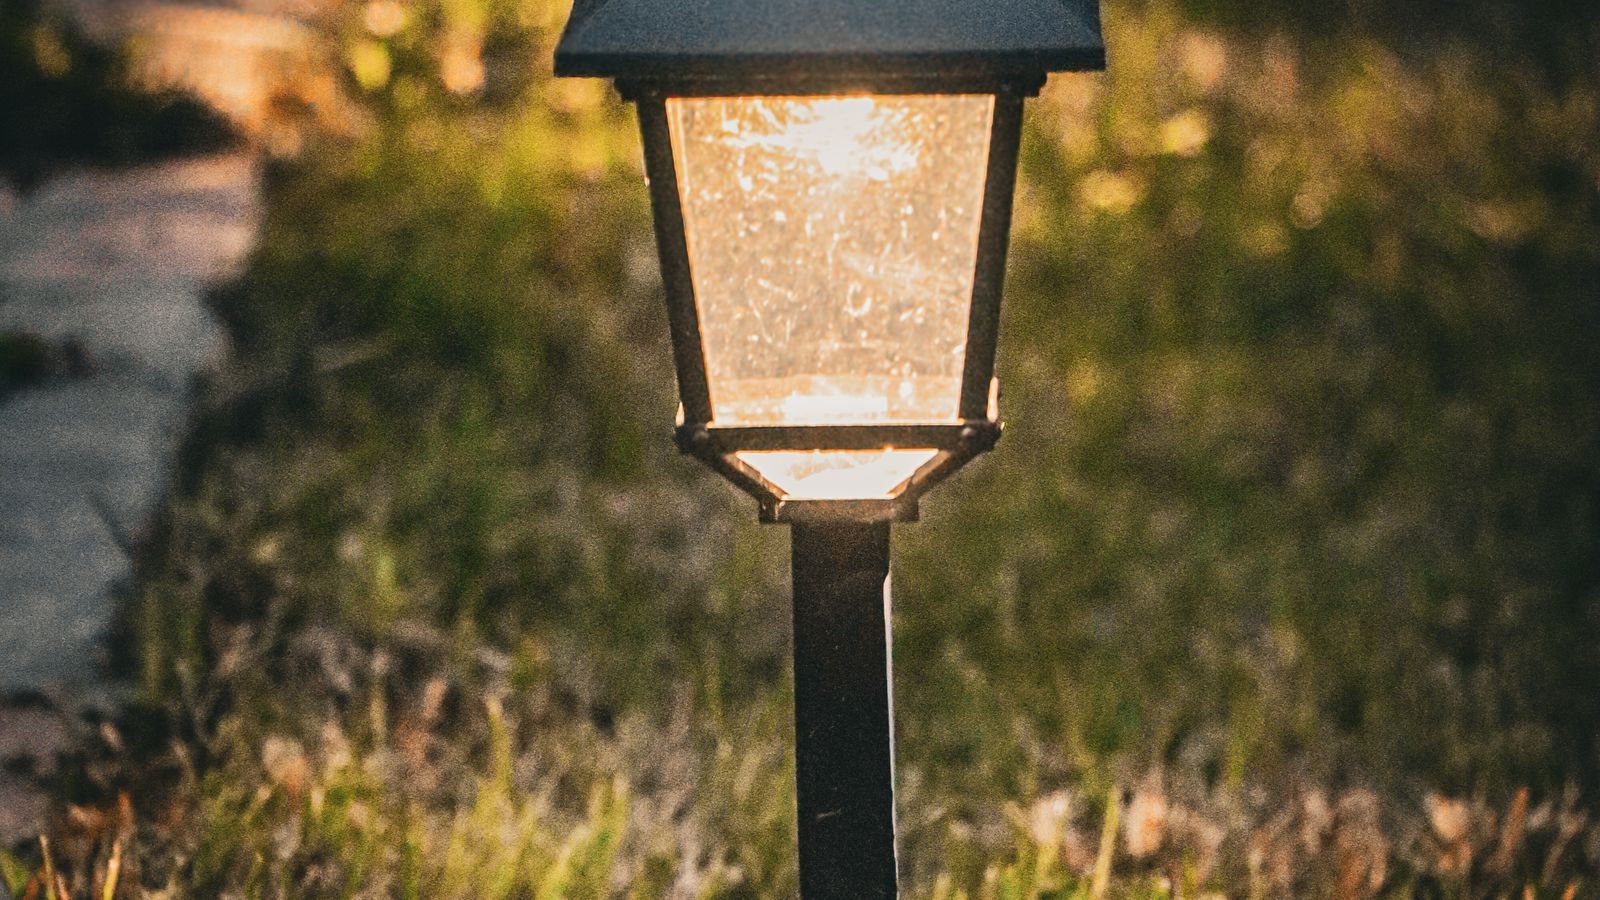
- Wall and post lanterns. Architectural fixtures flanking a front door or gate, carrying much of the property’s kerbside character.
Our roundup of the best landscaping lights compares path stakes, spotlights and well lights side by side, which is the fastest way to see how the categories differ in practice.
Solar, Low Voltage or Line Voltage?
The power system determines cost, brightness ceiling and how much work installation involves. This is the biggest decision in the whole project.
Solar needs no wiring at all. Each fixture carries a panel, a battery and an LED, so you push it into the ground and you are done. That makes it perfect for renters, remote corners with no cable route, and anyone unwilling to dig trenches. The trade-off is real: output is modest, run time collapses in winter and after cloudy days, panels need genuine direct sun for six hours or more, and rechargeable cells typically need replacing every couple of years. Solar is excellent for path marking and decorative accents, and poor for anything that must be reliably bright at a fixed time.
Low voltage — usually 12V fed from a transformer plugged into an outdoor socket — is the standard for serious garden schemes. Cable can be buried shallowly and is safe to cut and extend, output is consistent regardless of weather, fixtures are far better built, and one transformer runs a whole system on a timer or photocell. Expect a higher initial outlay and a weekend of cable laying.
Line voltage at full mains supply delivers the most power and suits large floodlights and permanent architectural fixtures, but installation is a job for a qualified electrician with proper burial depth, conduit and weatherproof junctions. For most gardens it is overkill outside of security floods.
Brightness, Beam Angle and Colour Temperature
Buy on lumens, not watts. Watts describe consumption; lumens describe light. As a working guide, path lights need roughly 100 to 200 lumens, step lights 12 to 100, spotlights aimed at a small tree 120 to 300, uplights on a large mature tree 300 to 700, and wall-washing floods 700 to 1300. Security floods run higher still, though anything above about 2000 lumens aimed carelessly becomes a nuisance.
Beam angle matters as much as output. A narrow 15 to 25 degree beam concentrates light on a trunk or column; a 40 to 60 degree beam washes a wall or hedge; 90 degrees and wider covers open ground. The same lumen figure in a narrow beam looks dramatically brighter than in a wide one, which is why two lights with identical specifications can look nothing alike.
Colour temperature sets the mood. Warm white around 2700K flatters brickwork, timber and skin tones and is the safe default for gardens and patios. Neutral white near 3000K to 3500K reads cleaner and suits modern architecture and stone. Anything at 4000K and above looks clinical, blue and institutional outdoors — reserve it for a workshop or security area where you want alertness rather than atmosphere. Above all, keep one colour temperature across the whole scheme; mixed warm and cool fixtures are the most common visual mistake in domestic gardens.
Weather Ratings, Materials and Build Quality
Outdoor fixtures fail for boring reasons: water ingress, corrosion and UV degradation. Three things predict longevity.
IP rating. The two digits describe dust and water protection. IP44 handles splashing and is the bare minimum for a sheltered position. IP65 resists jets of water and is the sensible standard for anything exposed. IP67 survives temporary immersion and is required for well lights and anything set at ground level where water pools. Anything going near a pond or fountain should be IP68.
Housing material. Cast brass and copper are the premium choice, developing a patina and lasting decades. Marine-grade stainless steel resists rust well but can pit near the coast. Powder-coated aluminium offers a good balance of price and durability provided the coating is intact — chips lead to corrosion. Plastic and resin are inexpensive and fine indoors of a sheltered porch, but they become brittle and chalky after a few seasons of UV.
Lens and seals. Tempered glass stays clear; cheap acrylic yellows and clouds within two or three years, quietly halving output. Check that gaskets are replaceable and that cable entries are properly glanded.
Also check whether the LED is integrated or replaceable. Integrated LEDs are sealed and often last 25,000 to 50,000 hours, but when they fail the whole fixture is scrap. Fixtures taking a standard replaceable bulb cost slightly more up front and are repairable indefinitely.
Control: Timers, Sensors and Smart Systems
How the lights switch on matters more day to day than the fixtures themselves. Photocells turn lights on at dusk automatically and are the simplest reliable option. Astronomical timers track sunset through the year and can also shut everything off at a set hour, which saves energy and avoids annoying neighbours at three in the morning.
Motion sensors belong on security fixtures, not decorative ones — a garden that flashes on every time a cat crosses it is exhausting. Look for adjustable sensitivity, an adjustable detection range and a settable on-duration, and mount the sensor where it looks across the approach rather than straight down it.
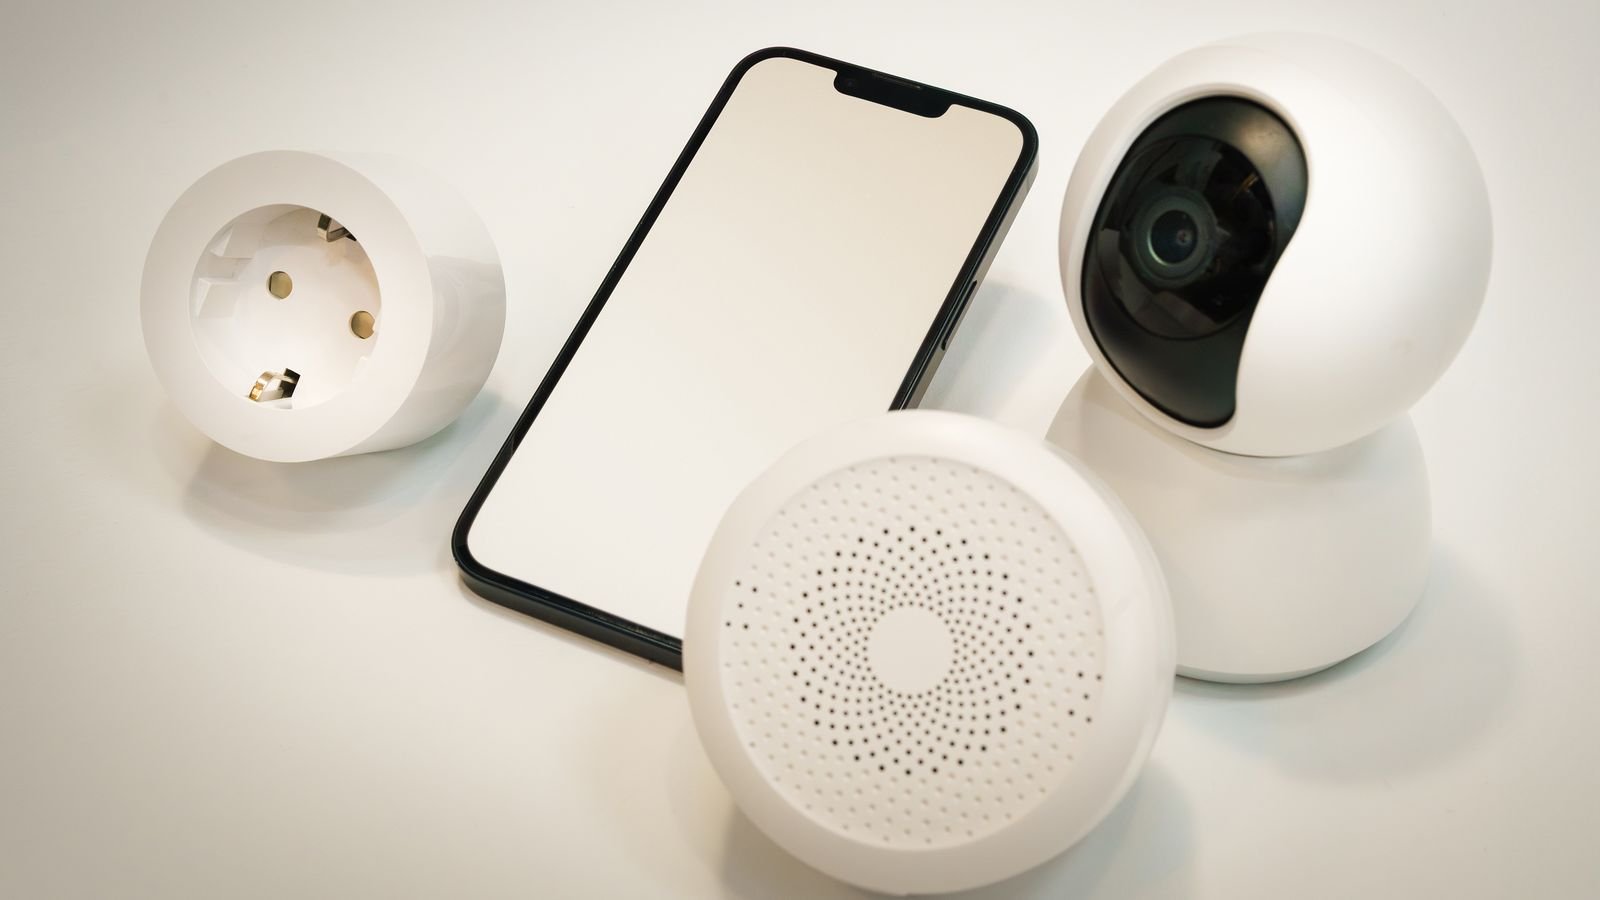
Smart control adds scheduling, dimming, scenes and colour changing from a phone or voice assistant. It is genuinely useful for seasonal scenes and holiday colour, but it adds cost and a dependency on your network, and outdoor smart fixtures need a controller with adequate range. If you are already invested in a connected home, the same ecosystem that runs your best smart bulbs indoors will usually extend outside.
For entrance and driveway coverage specifically, compare the best motion sensor outdoor lighting options, which are designed around detection geometry rather than looks.
Designing a Scheme That Looks Professional
A few techniques separate a considered garden from a scattering of stakes.
- Layer. Combine low path light, mid-level accents on planting, and one or two high features such as an uplit tree. Flat single-layer lighting looks like a car park.
- Hide the source. You should see the effect, not the fixture. Tuck spotlights behind planting, use shielded path lights, and angle beams away from sight lines.
- Less is more. Darkness is part of the composition. Three well-aimed lights beat twelve dim ones, and contrast is what makes a lit feature read.
- Avoid the runway. Stagger path lights on alternating sides rather than lining them up in pairs.
- Mind the neighbours and the wildlife. Aim beams down and inward, use shields, and switch decorative lighting off late. Excess night lighting genuinely disrupts insects, birds and bats.
- Think about the view from inside. Much of the year you will see the garden through a window, so light what looks good from the sofa, not only from the gate.
Indoors, the same layering logic applies, and a well-placed best floor lights comparison is worth reading if you want the interior and exterior schemes to feel coherent from either side of the glass.
Budget Tiers and What You Actually Get
Entry level. Solar path stakes and plastic spotlights bought as a multi-pack. Cheap, instantly installed, visually pleasant for a season or two. Expect fading lenses, weakening batteries and a replacement cycle of two to three years. Fine for a rented garden or a first experiment.
Mid range. Low-voltage aluminium fixtures with a decent transformer, sealed to IP65, warm white and dimmable. This is where most homeowners should land: reliable, repairable, expandable and good for a decade with light maintenance.
Premium. Solid brass or copper fixtures, glass lenses, replaceable lamps, a robust multi-tap transformer and proper direct-burial cable. Significant outlay, but these outlast several rounds of cheaper kit and can be reconfigured as the planting matures.
Common Mistakes to Avoid
- Buying on watts or on the pictured effect rather than lumens and beam angle.
- Mixing colour temperatures across one garden.
- Placing solar fixtures in shade and expecting full run time.
- Over-lighting until there is no contrast left and the garden looks like a forecourt.
- Undersizing the transformer so the system cannot grow.
- Aiming spotlights at eye level along a path, creating glare that makes the route harder to see, not easier.
Frequently Asked Questions
How many path lights do I need?
Fewer than most packs suggest. Space them six to eight feet apart on a narrow path so the pools of light just touch or nearly touch, and stagger the sides. Marking direction is the goal, not continuous illumination.
Are solar lights bright enough to be useful?
For path marking, accenting planting and decorative use, modern solar fixtures are perfectly adequate. For security, driveway coverage or uplighting a large tree, they are not — those jobs need a wired supply and a stable output that does not depend on yesterday’s weather.
Will outdoor lighting increase my electricity bill much?
Barely. LED landscape fixtures typically draw between 2 and 12 watts each, so a full low-voltage garden scheme running five hours a night usually costs less than a single household appliance. Add a timer and the running cost becomes trivial.
What is the single most effective fixture to add first?
One well-aimed uplight on a mature tree or a textured wall. It creates height, shadow and depth, and it changes the character of a garden more than an entire set of path stakes.
Final Thoughts
Good landscape lighting is a design exercise supported by hardware, not a hardware purchase that happens to produce a design. Start with what you need to see and what you want to look at, choose a power system that matches your appetite for installation work, keep colour temperature consistent, and buy fixtures whose IP rating and housing suit where they will actually sit. Build in layers, resist the urge to light everything, and add gradually as the planting matures.