Owen Bradley
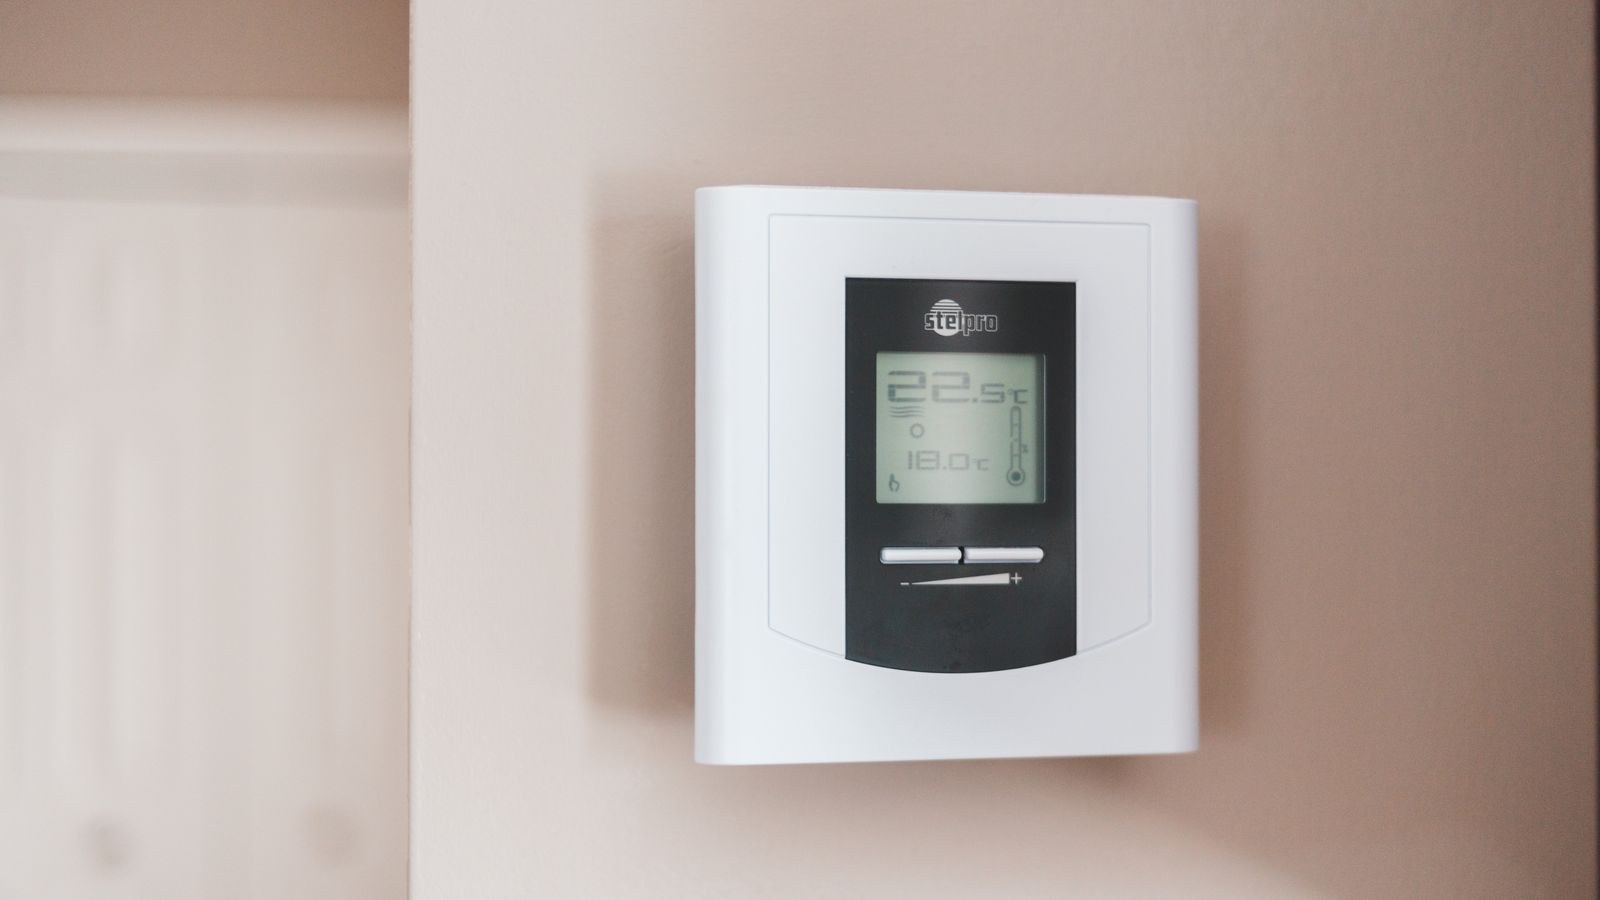
 You pull the old thermostat off the wall, ready to mount something modern, and find four wires where the instructions expect five. The missing one is the common wire, and without it your new thermostat has no continuous source of power for its display, WiFi radio and processor. This is the single most frequent roadblock in a smart thermostat no c wire installation, and it stops far more upgrades than any other issue. The good news is that it is entirely solvable. There are three reliable approaches, each suited to a different wiring situation, and none of them requires tearing open walls.
What the C-Wire Actually Does
Low voltage HVAC control runs on a 24-volt transformer. The R wire delivers that power to the thermostat, and each call wire (W for heat, Y for cooling, G for the fan) completes a circuit back to the equipment when the thermostat closes a relay. Under that arrangement, the thermostat only draws current while it is actively calling for something.
Old mechanical and battery-powered digital thermostats were fine with that. A smart thermostat is a small networked computer that must stay awake constantly to hold a WiFi connection, run a schedule, listen for app commands and drive a bright display. The C wire, or common, closes a permanent circuit back to the transformer so the thermostat can draw continuous power without switching anything on.
Without it, some thermostats resort to power stealing: pulsing tiny amounts of current through a call wire while the relay is nominally open. It works sometimes, but it is the leading cause of chattering relays, phantom fan runs and thermostats that drop offline overnight. That is why the fixes below are worth doing properly.
Before You Touch Anything: Safety and Documentation
- Kill power at the breaker. Switch off the circuit feeding your furnace or air handler, not just the thermostat. Twenty-four volts will not hurt you, but shorting two wires at the control board can destroy a fuse or a transformer.
- Confirm power is off at the equipment. Many furnaces also have a service switch on or near the unit that looks like a light switch. Turn that off too.
- Photograph the existing wiring at the thermostat before removing a single wire, with the terminal letters legible. Do the same at the furnace control board.
- Label each wire with masking tape marked with the terminal it came from, since installers do not always follow color conventions.
- Tape the wire bundle to the wall so it cannot slip back into the cavity. Retrieving a dropped bundle is the worst part of this job.
Count your conductors carefully. Look at the cable, not just the terminals. It is remarkably common to find a fifth wire pushed back into the wall unused, which turns this whole project into a five minute fix.
Option 1: Find and Use an Unused Wire
Start here, because it is free and gives you a true C wire rather than a workaround. Pull the thermostat cable gently forward and look for a spare conductor, usually blue or sometimes a bare, unstripped strand tucked behind the plate.
- With the power off, strip about a quarter inch of insulation from the spare wire at the thermostat end.
- Go to the furnace or air handler and open the control board cover. Find the same cable and identify the matching spare conductor by color.
- Strip that end and land it on the terminal marked C or COM on the control board.
- Back at the thermostat, land the other end on the C terminal of the new base plate.
- Restore power and confirm the thermostat boots and shows a stable, wired power indicator in its settings menu rather than a battery symbol.
If there is no spare in the bundle, do not despair. Many homes have a G wire driving a fan that is rarely used independently, and some thermostats let you repurpose G as C. This costs you manual fan control, so only do it if you never run the fan on its own. The thermostat’s installer settings will tell you whether the model supports it.
Option 2: Install a Power Extender Kit
A power extender kit, sometimes called a common wire adapter or PEK, is the manufacturer-sanctioned answer. It mounts at the furnace, multiplexes signals over your existing four wires and delivers continuous power to the thermostat. Several major smart thermostat brands include one in the box or sell it as a matched accessory.
- Confirm compatibility. The kit must be designed for your specific thermostat family. Generic adapters can work but the matched ones handle staging and reversing valve signals correctly.
- With power off, mount the kit inside or beside the air handler cabinet, ideally on a metal surface with the supplied screws.
- Move the R, W, Y and G wires from the furnace control board to the corresponding terminals on the extender, following the kit’s diagram exactly.
- Run the short jumper leads supplied with the kit from the extender back to the R, W, Y, G and C terminals on the control board.
- At the thermostat, wire according to the kit’s thermostat-side diagram. Typically the existing G wire is repurposed as the common path while the kit reconstitutes the fan signal at the furnace end.
- Restore power, let the thermostat boot, then run a full test of heat, cool and fan from the thermostat and confirm each stage engages within its normal delay.
Power extender kits are the most robust fix short of running new cable, and they preserve full functionality including independent fan control. Not every thermostat supports one, so check before committing. Our comparison of the best smart thermostats flags which models ship with an adapter, and the best Nest thermostats and best ecobee thermostats roundups cover the two ecosystems with the most mature adapter hardware.
Option 3: Use a 24V Plug-In Transformer
If the thermostat sits near an outlet and neither of the above works, a small plug-in 24-volt transformer can supply R and C directly at the thermostat. This is the least elegant option because a visible cable runs from the wall plate to a receptacle, but it is quick and it works.
- Buy a 24V AC transformer rated at least 750mA, matched to the thermostat’s requirement.
- Cut and strip the low voltage leads. Land one on the thermostat’s C terminal.
- The other lead goes to R, but only if you isolate the HVAC R wire from it. Never back-feed a second transformer into your furnace’s R circuit; two transformers fighting each other will blow a fuse at best.
- Where the thermostat has separate Rc and Rh terminals, use one for the plug-in supply and consult the wiring diagram for how to keep the HVAC side isolated. If the diagram does not clearly permit it, use option 1 or 2 instead.
- Restore power and verify continuous power in the thermostat’s system information screen.
Because the isolation requirement varies by thermostat, treat this as a fallback rather than a first choice. If you are still shopping, the best WiFi smart thermostats comparison and the smart thermostat buying guide both cover which models tolerate four-wire installs gracefully and which insist on a true common.
Testing and Verifying the Install
Do not judge success by a lit screen alone. Work through this sequence.
- Open the thermostat’s technical or system information menu and confirm it reports wired power, not battery or power stealing.
- Call for heat and time how long until the burner or heat strip engages. Normal is within a couple of minutes.
- Call for cooling and confirm the compressor starts and the indoor fan follows.
- Run the fan alone and confirm it starts and stops on command.
- Leave the system idle for a full evening and check the app for connectivity dropouts.
- Check the furnace control board fuse the next day. A blown 3A or 5A fuse indicates a wiring short you need to find before continuing.
Once the hardware is stable, finish the software side. The walkthrough on how to set up a smart thermostat covers account pairing, schedules and equipment type selection, all of which assume the power situation is already sorted.
Common Mistakes and Troubleshooting
Thermostat reboots when the heat cycles. Classic power stealing behaviour. The unit charges between calls and browns out during them. Nothing but a real common wire or an extender kit will fix it reliably.
Fan runs constantly after using the extender. The G lead was landed on the wrong side of the kit. Recheck the furnace-side jumpers against the diagram.
Blown control board fuse. Almost always R touching C or a bare strand bridging terminals inside the wall plate. Trim the exposed copper so no more than a quarter inch shows and reseat every wire.
Thermostat drops offline nightly. If wired power is confirmed, the culprit is usually WiFi, not wiring. Check band selection and signal strength at the thermostat location.
Nothing powers on at all. Verify the furnace service switch and door safety switch. Many air handlers cut all power when the access panel is not fully seated.
Frequently Asked Questions
Can a smart thermostat run on batteries alone?
A few models with monochrome displays and low-power radios can, but battery life is short and reliability suffers. Any model with a color screen or always-on sensing needs continuous power.
Is running a new five-conductor cable worth it?
If the thermostat wall backs onto an accessible basement or attic run, yes. New 18/5 cable is inexpensive and permanently removes the problem, including for whatever thermostat you install in 2026 and beyond.
Will an extender kit work with a heat pump?
Usually, but check the kit’s specification for reversing valve and auxiliary heat support. Systems with multiple stages need a kit rated for that wire count.
Do I need an electrician?
For low voltage work with the breaker off, most homeowners manage fine. Call a professional if you find line voltage at the thermostat, if wiring is unlabeled and undocumented, or if the equipment is under warranty terms that require licensed service.
Final Thoughts
A missing common wire is an inconvenience, not a dead end. Check for a hidden spare conductor first, since that is the cleanest and cheapest outcome. If none exists, a matched power extender kit gives you full functionality with no visible compromise. Keep the plug-in transformer as a last resort, and never wire two transformers into the same R circuit. Take photographs before you disconnect anything, work with the breaker off, and test every mode before you close up the furnace cabinet.