Owen Bradley
 Hooking up a set of speakers looks simple until you are kneeling behind a rack with a fistful of copper, wondering which terminal takes which conductor and why the receiver keeps shutting itself off. Learning how to wire speakers to receiver terminals properly pays off for years: it protects your amplifier, keeps stray strands from shorting a binding post, and keeps the soundstage where it should be. This walkthrough covers planning the layout, choosing gauge, terminating conductors, respecting polarity and impedance, and testing the system before you settle in for a movie. Most rooms can be wired end to end in an afternoon.
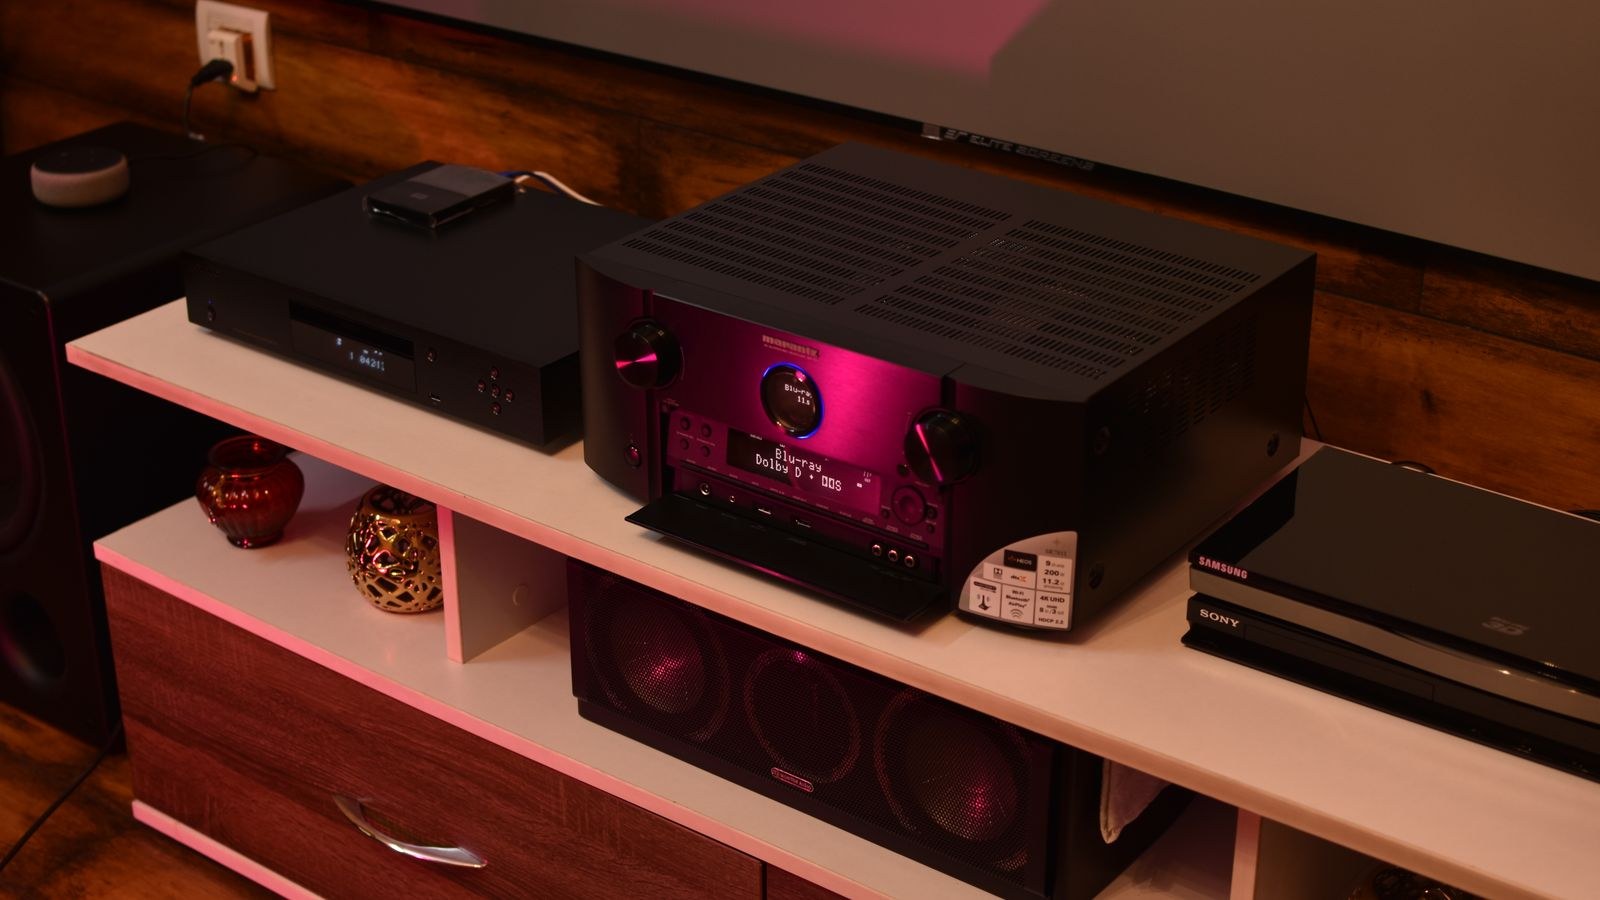
Tools and Materials You Will Need
Gather everything before you start pulling the rack out, because half-finished wiring left dangling behind furniture is how shorts happen. The list is short and inexpensive.
- Speaker cable in the right gauge for your run lengths, ideally with a printed polarity stripe or a coloured conductor.
- Wire strippers sized for 12 to 18 AWG; a knife works but nicks strands and weakens the conductor.
- Banana plugs, spade lugs or pin connectors if your receiver and speakers use five-way binding posts.
- A crimp tool or soldering iron depending on the connector style you chose.
- A multimeter for continuity and impedance checks, plus a small torch for reading terminal labels in a dark cabinet.
- Cable ties, labels and a tape measure so every run is identified and tidy from day one.
Cable quality matters less than cable size. Oxygen-free copper in a sensible gauge outperforms exotic marketing wire every time, and our roundup of the best wire for speakers explains which constructions are genuinely worth paying for on long runs.
Step 1: Plan the Layout and Measure Every Run
Sketch the room and mark the receiver position, then measure the actual path each cable will take: along skirting boards, up and over a doorway, behind a sofa. Cable runs are always longer than the straight-line distance, often by half again. Add roughly 2 feet of slack per end so you can pull the receiver forward for service.
Write the length on your sketch for each channel. Surrounds and rear channels are frequently 30 to 50 feet, and those long runs drive your gauge decision.
Step 2: Choose the Correct Wire Gauge
Gauge determines resistance, and resistance steals power and damping factor before the signal ever reaches the driver. The general rule is that cable resistance should stay under about 5 percent of the speaker’s impedance. In practice:
- 16 AWG is fine for runs under about 25 feet into 8 ohm speakers.
- 14 AWG covers runs up to roughly 50 feet, or shorter runs into 4 ohm loads.
- 12 AWG is the safe choice beyond 50 feet, for low-impedance speakers, or for anything buried in a wall you never want to revisit.
Buying one gauge heavier than the minimum costs a few dollars and removes the question entirely. If a run passes through a wall or ceiling cavity, use cable with a CL2 or CL3 in-wall rating, which is a fire-code requirement in most jurisdictions rather than an upgrade.
Step 3: Power Down and Discharge Before Touching Terminals
Switch the receiver off at the front panel and then unplug it from the wall. Output stages hold charge in their supply capacitors briefly after shutdown, and brushing a live output with a loose strand can blow an output device instantly. Wait a minute, then work.
Pull the receiver far enough forward that you can read the terminal labels head on. Guessing at cramped binding posts in a dim cabinet is how channels end up swapped.
Step 4: Strip and Terminate the Conductors
Separate the two conductors of the cable by about 3 inches, then strip roughly half an inch of insulation from each. Twist the exposed strands tightly clockwise so nothing frays. A single loose strand bridging positive to negative is the classic cause of a receiver dropping straight into protection mode.
- Set your strippers to the cable gauge and remove the insulation in one clean pull, without cutting strands.
- Twist the bare strands into a compact bundle you can feel is solid between finger and thumb.
- Slide on your chosen connector: banana plugs push straight into binding posts, spades clamp under the post collar, and pins suit spring clips.
- Crimp or solder the connector, then tug firmly to confirm mechanical grip before moving on.
- Repeat for every conductor, keeping the polarity stripe on the same side of every connector so you never have to guess later.
Bare wire into a binding post works perfectly well electrically, but connectors make future changes fast and eliminate stray-strand risk. If you plan to swap components often, terminating everything once is time well spent.
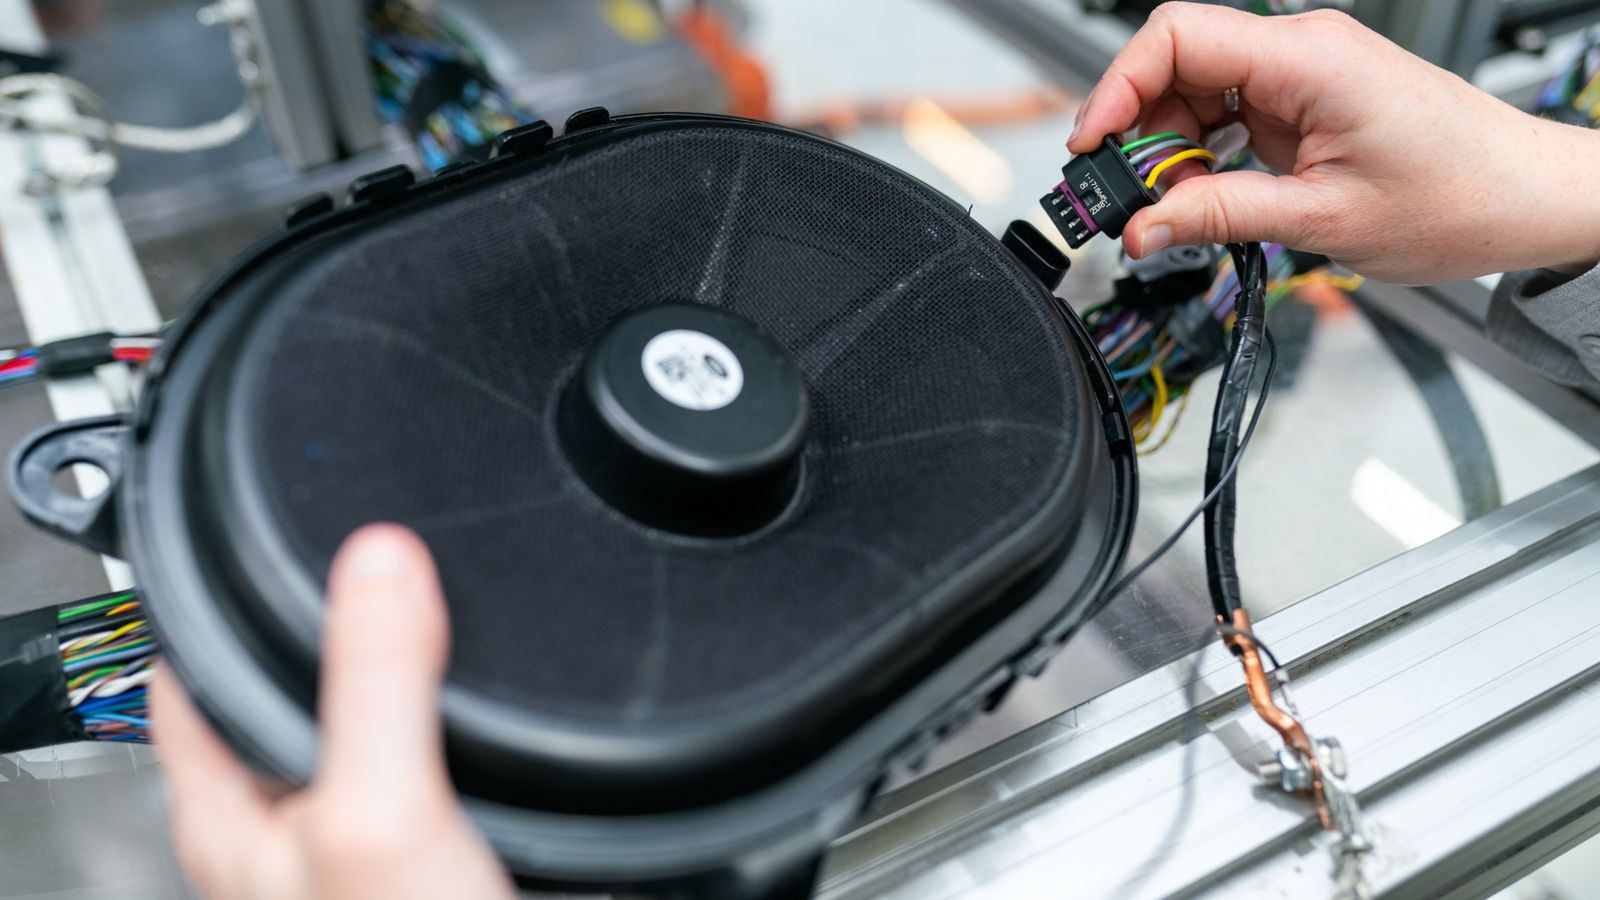
Step 5: Observe Polarity on Every Single Channel
Speaker cable carries an alternating signal, and both drivers in a stereo pair must move outward at the same instant. Connect one speaker backwards and the two cones fight each other, cancelling bass and smearing the centre image so voices float off to the side.
The convention is straightforward: the red terminal on the receiver connects to the red terminal on the speaker, and black connects to black. Your cable identifies one conductor with a stripe, a ridge, printed text, or a colour difference. Pick one marker to mean positive and apply it identically to every channel. If you are wiring passive towers or standmounts, browse the best passive speakers for models whose terminals are clearly labelled and easy to reach.
Step 6: Understand Impedance and Protection Mode
Every speaker presents a nominal impedance, typically 8, 6 or 4 ohms. Receivers state a minimum they can drive safely, and going below it makes the amplifier deliver more current than its output stage or heatsinks can handle. The result is a hot chassis followed by an abrupt shutdown into protection mode, usually mid-film.
Two rules keep you safe. Never wire two pairs of speakers to a single channel pair unless the manual permits it, because parallel speakers halve the impedance. And if your receiver has an impedance selector switch, set it to match your speakers. Where the load is genuinely demanding, an external power amplifier is the answer, and the best amplifier for speakers comparison shows which designs comfortably drive 4 ohm loads.
Bi-Wiring and Bi-Amping
Some speakers carry two pairs of terminals joined by metal jumper straps. Leave the straps in place for a normal single-cable connection. Remove them only if you are genuinely running separate cables to the bass and treble sections, and never remove them and then connect a single cable to just one pair, which silences half the speaker. Large floor standing speakers are the most common place to meet this arrangement.
Step 7: Assign Channels Correctly at the Receiver
Multichannel receivers label their terminals by channel: front left, front right, centre, surround left, surround right, and often height or rear pairs. Match each cable to the position that speaker actually occupies in the room. Label both ends of every cable with masking tape as you go, because once six identical black cables disappear behind a cabinet, tracing them by hand is miserable.
Route cables away from mains leads, and cross them at right angles when they must meet, which minimises induced hum. If you are still assembling the system, the best home theater speakers guide covers matched packages where the timbre stays consistent as sound pans across the front stage.
Step 8: Test Before You Push the Rack Back
Before restoring power, run a multimeter across each pair at the receiver end with the speaker connected. You should read a few ohms, close to the speaker’s rated impedance. A reading near zero indicates a short in the run or at a terminal, and an open circuit reading means a break or a connector that never bit properly.
- Reconnect mains power and set the volume very low before switching on.
- Use the receiver’s built-in test tone to step through each channel one at a time.
- Confirm the sound arrives from the physical speaker the display names.
- Listen for buzz or rattle at moderate level, which usually indicates a loose terminal rather than a faulty driver.
- Run the automatic room calibration last, once you are certain every channel is correct.
Only when all channels check out should you dress the cables and slide everything back into place.
Safety Notes Worth Repeating
Always unplug the receiver before touching terminals, never operate an amplifier with bare conductors hanging loose, and keep speaker cable out of walking paths where it can be crushed. In-wall runs must use rated cable. If a receiver runs hot, give it several inches of ventilation above and behind rather than stacking components on top of it.
Troubleshooting Common Problems
The receiver shuts down after a few seconds. This is protection mode, almost always caused by a stray strand shorting a terminal or by an impedance below the amplifier’s rating. Disconnect all speakers, power up, and reconnect one channel at a time to isolate the offender.
One channel is silent. Check the connector grip first, then swap the suspect cable with a known-good channel. If the fault follows the cable, the run is at fault; if it stays with the channel, look at the receiver’s speaker configuration menu.
Bass sounds thin and the image wanders. That is the signature of reversed polarity on one speaker. Recheck every red-to-red connection across the whole system.
A steady hum at idle. Speaker cable running parallel to mains cable is the usual culprit. Separate them, and check that every source component shares a single outlet.
Mistakes to Avoid
- Stripping too much insulation, leaving bare copper close to the adjacent terminal.
- Using thin bell wire on a long surround run, then wondering why the rear channels sound weak.
- Removing bi-wire jumper straps without fitting a second cable pair.
- Skipping the labelling step and having to trace six cables by hand at calibration time.
Frequently Asked Questions
Does expensive speaker cable improve sound?
Adequate gauge and a secure, clean connection deliver essentially all the available benefit. Once resistance is low enough for the run length, further spending on exotic cable produces no measurable change.
Are banana plugs better than bare wire?
Electrically they are equivalent when both are done well. Banana plugs are more convenient, more repeatable, and far less likely to leave a stray strand shorting across a binding post.
How long can a speaker run be?
With 12 AWG cable, runs well past 100 feet remain practical for 8 ohm speakers. The limiting factor is cable resistance relative to speaker impedance, so heavier gauge simply extends the workable distance.
Do I need to recalibrate after rewiring?
Run the automatic setup again whenever you change speakers, move them, or alter the wiring. Calibration measures distance and level per channel, and stale data undermines the surround effect you just wired for.
Final Thoughts
Wiring speakers well comes down to five habits: measure the real cable path, choose a generous gauge, terminate cleanly so no strand can wander, keep polarity identical on every channel, and verify the load against your receiver’s impedance rating before applying power. Do those in order, label as you go, and test with tones before pushing the rack back. The reward is a system that plays for years without a protection shutdown, with solid bass and dialogue locked to the centre of the screen.