Owen Bradley
 An NVR is the quiet centre of a wired camera system: it powers the cameras, records everything they see, and decides how long that footage survives. Get the configuration right and you can pull up any moment from the past month in seconds. Get it wrong and you discover, on the one day it matters, that the drive was overwriting every 36 hours or that remote viewing never worked outside your home. This walkthrough takes you from unboxing to a fully configured recorder you can reach from anywhere, in the order that avoids rework.
Understand What an NVR Actually Does
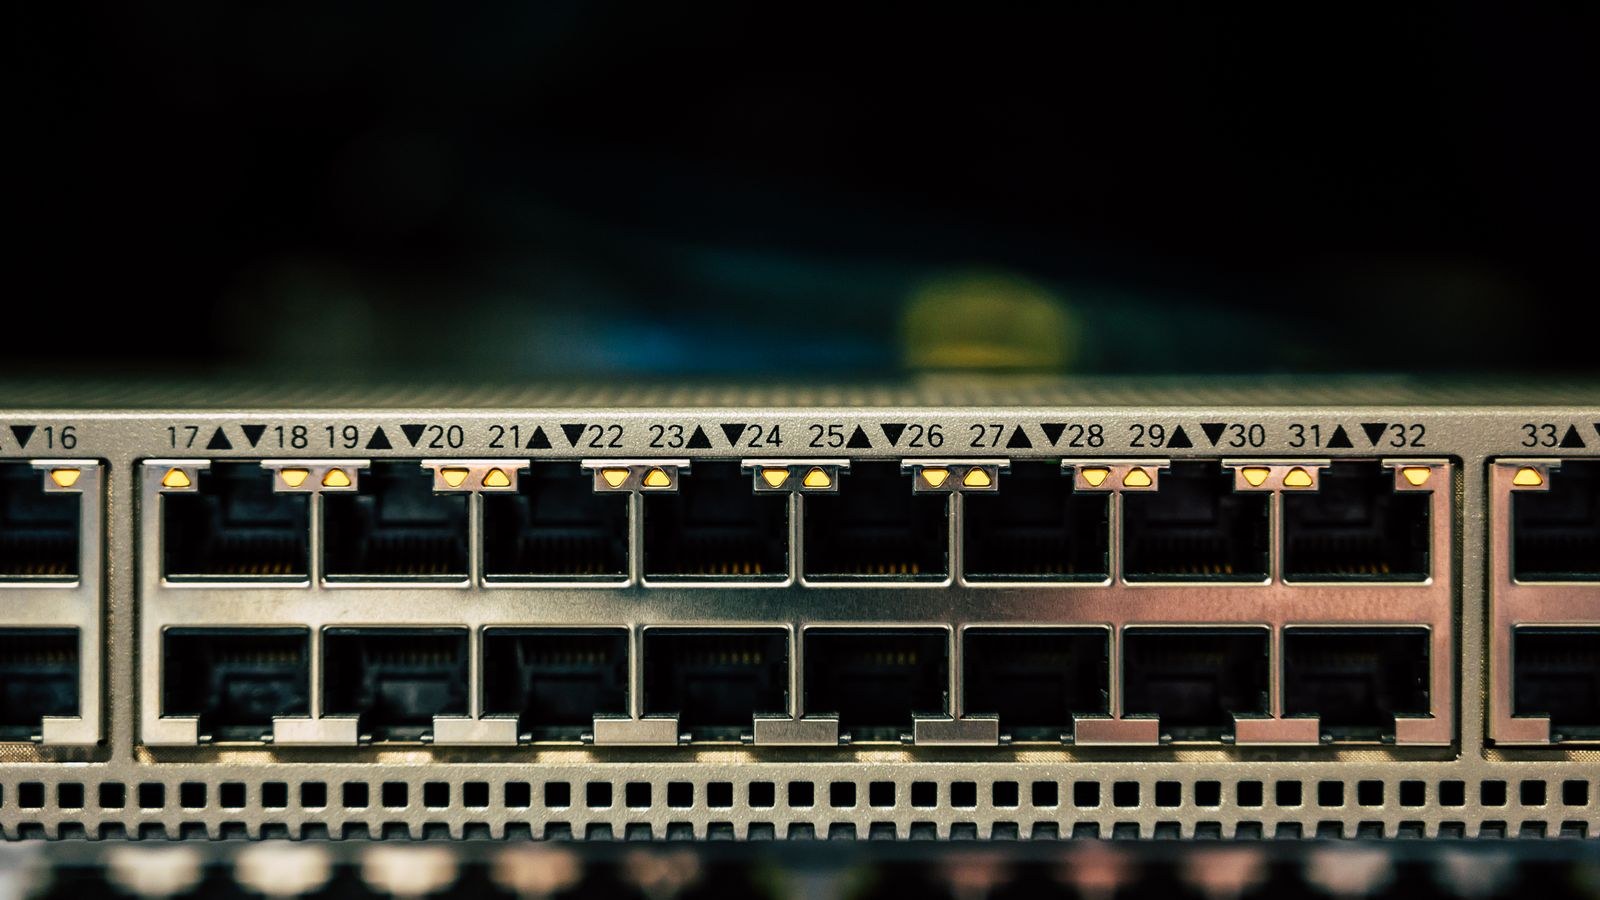
A network video recorder differs from the older DVR in one important way: the cameras do the encoding and send finished video streams over Ethernet, so the recorder mostly manages, stores, and serves that video. Most home units include built-in PoE ports that both power the cameras and put them on an isolated internal network, which simplifies wiring enormously and keeps camera traffic off your main home network.
Two numbers define what a given unit can handle. Channel count is the maximum number of cameras, and incoming bandwidth, expressed in Mbps, is the total video it can absorb at once. A 8-channel recorder rated at 80Mbps comfortably handles eight 4MP cameras at moderate bitrate, but not eight 4K cameras at maximum quality. Check both before you buy, because exceeding bandwidth causes dropped frames that no setting will fix.
What You Need Before You Start
- The NVR, its power supply, and a monitor with HDMI or VGA plus a USB mouse for initial setup
- A surveillance-rated hard drive sized for your retention target, not a spare desktop drive
- Cameras already mounted and cabled, with each run tested end to end
- A short patch cable from the recorder WAN or LAN port to your router
- A password manager entry ready for the admin credentials you are about to create
- Ventilated shelf space, because recorders run continuously and dislike enclosed cupboards
Surveillance drives matter more than people expect. They are designed for continuous sequential writes from many streams simultaneously, tolerate higher workload ratings, and handle vibration in multi-bay chassis. To estimate size, multiply the total bitrate of all cameras by the number of days you want to keep. As a rough figure, one 4MP camera recording continuously at 4Mbps consumes roughly 40GB per day, so eight of them for 30 days needs close to 10TB. Motion-only recording cuts that dramatically, often by 60 to 80 percent.
Step-by-Step NVR Setup
- Install the hard drive first. Power the unit down, open the chassis, seat the drive on its SATA and power connectors, and screw it down on all four points so vibration does not shorten its life. Adding a drive later means reformatting and losing any footage already recorded.
- Connect the monitor, mouse, and network before powering on. Plug the recorder LAN port into your router so it can reach the internet for time sync and updates. Leave the cameras disconnected for this first boot.
- Run the startup wizard and set a strong admin password. Never keep the default credentials. Choose a long unique password, record it in your password manager, and set the security questions or recovery email honestly, because recovering a locked recorder without them usually means a factory reset.
- Set the time zone, date format, and NTP server. Accurate timestamps are what make footage useful as evidence. Enable automatic time sync and check that daylight saving handling matches your region, then confirm the clock again after the first restart.
- Format the hard drive from within the recorder. Use the built-in storage menu rather than formatting on a computer. The recorder writes its own filesystem, and a drive formatted elsewhere will either be rejected or reformatted anyway. Wait for the process to complete before continuing.
- Add the cameras one at a time. Plug the first camera into PoE port one, wait for the recorder to detect it, and confirm the picture appears on the correct channel. Repeat port by port so channel numbers match your physical layout instead of the random order of discovery.
- Adjust resolution, frame rate, and bitrate per channel. Fifteen frames per second is plenty for most fixed views and roughly halves storage compared with 30. Enable the smart codec option if available, since it cuts bitrate sharply on static scenes with no loss of detail on movement.
- Configure the substream for remote viewing. Each camera sends a high-quality main stream to the drive and a low-bandwidth substream for phone apps. Set the substream to a modest resolution so live viewing works on mobile data without stuttering.
- Build a recording schedule. A practical pattern is continuous recording overnight and motion-triggered recording during the day, with pre-record set to about five seconds and post-record around fifteen so you never lose the approach or the departure. Apply the schedule to every channel, then verify it copied correctly.
- Tune motion detection zones and sensitivity. Mask out roads, trees, and neighbouring property. Enable person or vehicle classification where the cameras support it, then watch a full day of alerts and tighten anything that fires without a real cause.
- Set overwrite behaviour and storage alerts. Choose to overwrite the oldest footage when full rather than stopping recording, and enable a disk error notification so a failing drive tells you before it dies silently.
- Enable remote access deliberately. Use the manufacturer cloud service with two-factor authentication, or a VPN back into your home network. Do not forward ports directly to the recorder from the internet, since exposed recorders are scanned and attacked constantly.
- Update the firmware, then test playback. Apply any pending update, reboot, and then search back through recorded footage on several channels. Export one clip to a USB stick so you know the export process works before you ever need it urgently.
Getting Storage and Retention Right
Retention is a negotiation between quality, coverage, and drive size. Rather than dropping resolution everywhere, cut where it does not matter: reduce frame rate on scenes with little motion, switch low-traffic side views to motion-only recording, and reserve continuous high-bitrate recording for the entry points that would actually be examined after an incident.
Aim for at least 14 days of retention, and 30 if you travel or manage a rental. Anything shorter and a problem discovered on your return may already have been overwritten. Check the actual consumption after a week rather than trusting the calculator, because real motion patterns rarely match the estimate. If the numbers do not add up, a larger drive is nearly always cheaper than compromising the footage quality that makes a recording identifiable.
Choosing Cameras That Suit the Recorder
Mismatched cameras are the most common cause of setup pain. Confirm the recorder supports either your camera brand natively or the ONVIF standard, and check that the PoE budget covers every camera at night when infrared illuminators are active. Mixing brands is possible through ONVIF but often costs you advanced features such as smart detection and two-way audio.
If you are still choosing hardware, our roundup of the best IP security cameras lists resolution, bitrate, and power draw side by side, while the best home CCTV systems guide covers matched kits where the recorder and cameras are guaranteed to work together. Bundles in our best CCTV camera systems comparison ship with the recorder, drive, and cameras already matched on bandwidth and PoE budget, which removes most of the guesswork. For a breakdown of what each part of the chain does, our explainer on home CCTV system components is a useful primer, and the wider best security camera systems comparison helps if you are weighing wired against hybrid setups.
Troubleshooting the Usual Problems
A channel showing no video with the camera powered usually means an IP conflict on the internal PoE network. Use the recorder camera management page to reassign addresses automatically. If a camera reboots repeatedly at night, suspect insufficient PoE power or voltage drop on a long cable run rather than a faulty camera.
Choppy playback with fine live video points at the drive rather than the network: check the disk health status and workload, and confirm you have not exceeded the recorder incoming bandwidth rating. Remote viewing that works at home but not away is almost always a cloud registration or app account problem, not a router problem, so verify the recorder shows as online in the manufacturer service before touching any firewall settings.
Common Mistakes to Avoid
Leaving default passwords in place is the single most dangerous shortcut, and it is how most publicly exposed camera feeds end up online. Port forwarding to the recorder is a close second. Beyond security, the frequent errors are using a desktop hard drive that fails within a year of continuous writing, recording everything at maximum resolution and then discovering three days of retention, and never testing playback until an incident happens.
Two more worth naming: placing the recorder in a sealed cupboard where heat shortens drive life, and mounting the recorder in the same room as the front door, where an intruder can simply take it. Put it somewhere discreet, and if the unit supports uploading clips to cloud storage or a network share, enable that as an off-site copy.
Frequently Asked Questions
Can I add cameras from a different brand later?
Usually yes, through ONVIF, provided the recorder allows manual channel addition. Expect to lose brand-specific extras such as smart classification, and always test one camera before buying several.
Do I need to connect the NVR to the internet?
Not strictly. It will record perfectly on an isolated network. You will lose remote viewing, push notifications, accurate time sync, and firmware updates, so most people connect it and secure it properly instead.
How long do surveillance hard drives last?
Three to five years of continuous recording is typical. Enable the health monitoring alerts, and replace the drive proactively once it reports reallocated sectors rather than waiting for total failure.
Is continuous recording better than motion-only?
Continuous never misses anything but eats storage. A blended schedule, with continuous recording on entry points and motion-based recording elsewhere, gives most of the benefit at a fraction of the space.
Final Thoughts
Setting up an NVR properly is less about the hardware than about the decisions you make in the first hour: a surveillance drive sized for real retention, an admin password that is not the default, a schedule that matches how you actually use the property, and remote access secured through the cloud service or a VPN rather than an open port. Spend that hour carefully, test playback and export before you need them, and check the disk health every few months. Do that and the system you commission in 2026 will still hand you clear, timestamped footage the day something finally happens.