Owen Bradley
 A failing power supply rarely announces itself clearly. It hides behind symptoms that look like a bad graphics driver, faulty memory, or an operating system problem, which is why people often replace three other components before they find the real culprit. The unit degrades quietly as its capacitors age, holding voltage well at idle and sagging the moment a game loads or a render starts. This guide covers the warning signs of a failing power supply, the tests that confirm the diagnosis, and how to judge when a unit is merely tired versus genuinely dangerous to the rest of your hardware.
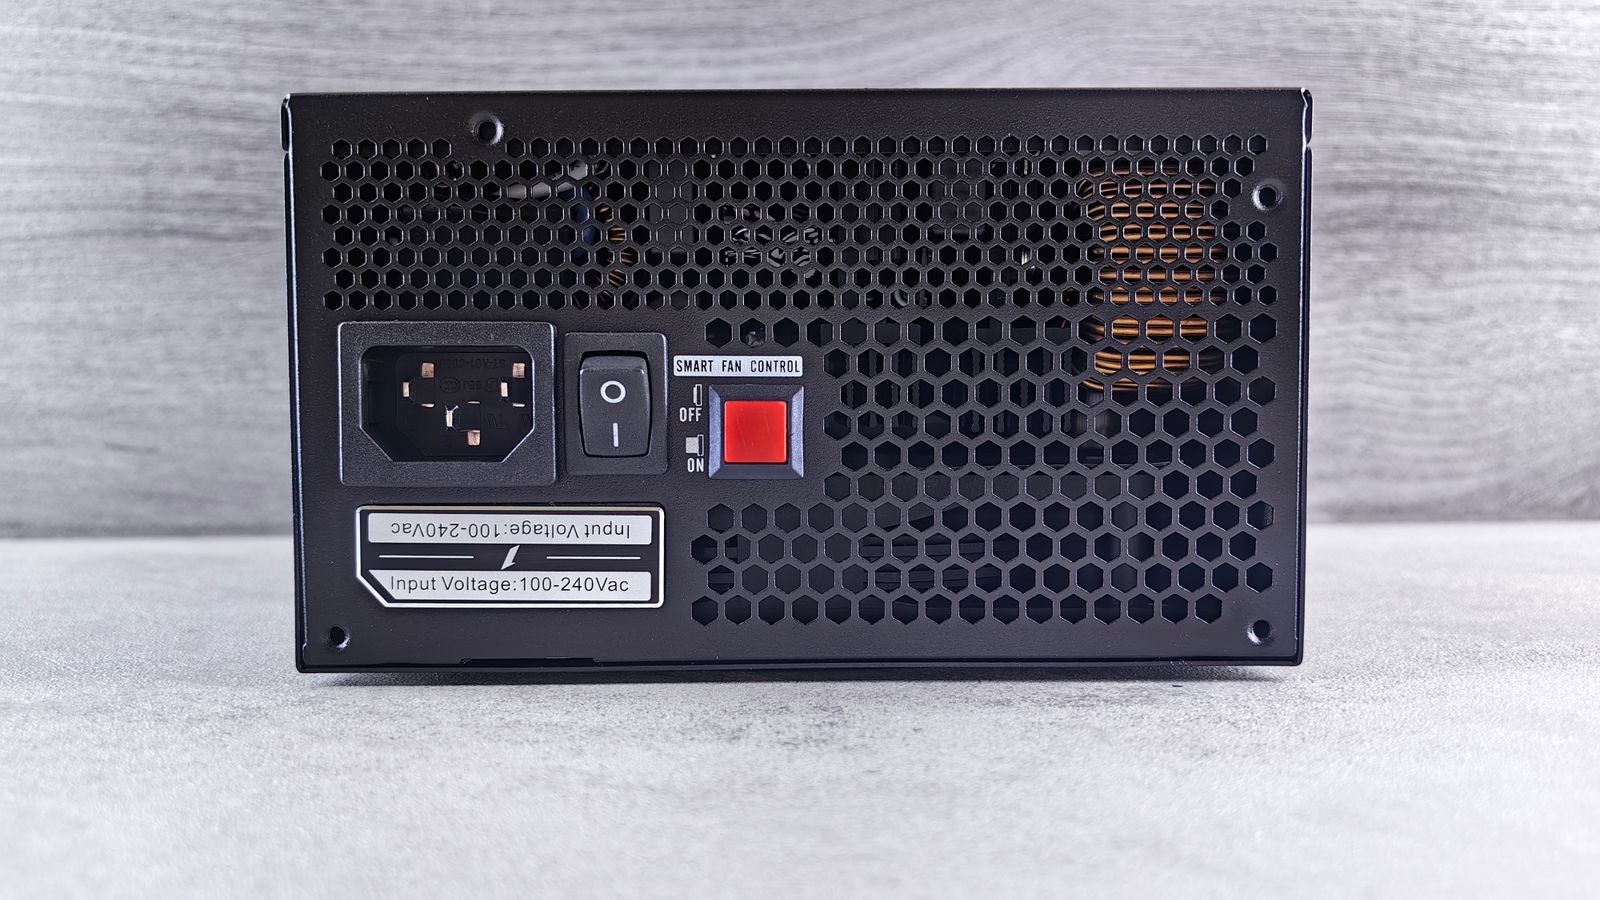
Warning Signs of a Failing Power Supply
No single symptom proves a PSU is dying, but the pattern is distinctive. Look for problems that scale with load rather than with a particular application.
- Shutdowns under load with no blue screen or error. The machine simply cuts out mid-game and reboots, or stays dead until you flip the rear switch. A software fault usually produces a crash report; a power fault produces silence.
- Random restarts that cluster around heavy scenes. If the failures happen in demanding titles and never during office work, the transient spikes are exceeding what the unit can still deliver.
- Failure to power on at all, or several button presses needed. Weak standby rails often show up as a machine that starts on the third attempt.
- Buzzing, clicking or a rising whine from the PSU itself. Coil noise under load is common and harmless, but clicking or an intermittent buzz is not.
- A burnt or acrid smell near the rear exhaust. Stop immediately and unplug. This is the one symptom that never warrants further testing.
- Drives dropping out or USB devices disconnecting. Sagging 5V and 12V rails often hit storage before they hit anything else.
- Fans spinning briefly then stopping. A half-second twitch on power-up indicates the unit is attempting to start and failing its own internal checks.
Rule Out the Easy Causes First
Before condemning the supply, eliminate the cheap explanations. Swap the mains lead for a known-good one and try a different wall socket, ideally on a different circuit. Check that the surge protector or extension block is not itself failing, since these degrade far faster than most people expect. Reseat the 24-pin motherboard connector and both CPU power connectors, pressing until the retention clips click.
Then check temperatures and dust. A machine that shuts down under load can equally be a processor hitting thermal limits or a heat-soaked PSU choking on a clogged intake filter. Run a monitoring utility and watch package temperature during the crash window. If the readings climb steeply just before the shutdown, heat is the story, not power. Finally, test with a single memory module and with the graphics card removed if the board has integrated video, which isolates whether the load itself triggers the fault.
How to Test a Failing Power Supply
- Log voltages under real load. Install a hardware monitoring tool and record the 12V, 5V and 3.3V readings at idle, then during a sustained stress test. The tolerance is five percent, so 12V should stay between 11.4V and 12.6V. Motherboard sensors are not laboratory instruments, but a rail that reads fine at idle and drops toward 11.2V under load is a strong signal.
- Check the event log after a crash. An unexpected shutdown recorded with no preceding error, repeated across several incidents, points to power rather than software. A recurring driver fault before each crash points elsewhere.
- Run a load test in stages. Stress the processor alone, then the graphics card alone, then both together. A unit that survives each individually but fails the combined test is running out of headroom rather than suffering a component fault.
- Try the paperclip test to confirm it starts. Disconnect the PSU from everything, unplug the mains, then bridge the green wire on the 24-pin connector to any adjacent black wire with a straightened paperclip or a jumper. Plug in and switch on. If the fan spins, the unit will at least start; if nothing happens, it is dead. This test proves only that the supply powers up, not that its rails are stable, so treat a pass as inconclusive.
- Use a dedicated PSU tester for a fuller picture. An inexpensive tester plugs into the 24-pin and the peripheral connectors and displays each rail’s voltage plus the power-good signal delay. It measures at very light load, so a good reading still does not clear a unit that sags under real demand, but a bad reading is conclusive.
- Swap in a known-good supply. This is the only definitive test. Borrow a unit of adequate wattage, connect it outside the case if necessary, and see whether the symptoms disappear. If they do, you have your answer; if they persist, the fault lies with the board, memory or graphics card.
Safety Rules for PSU Testing
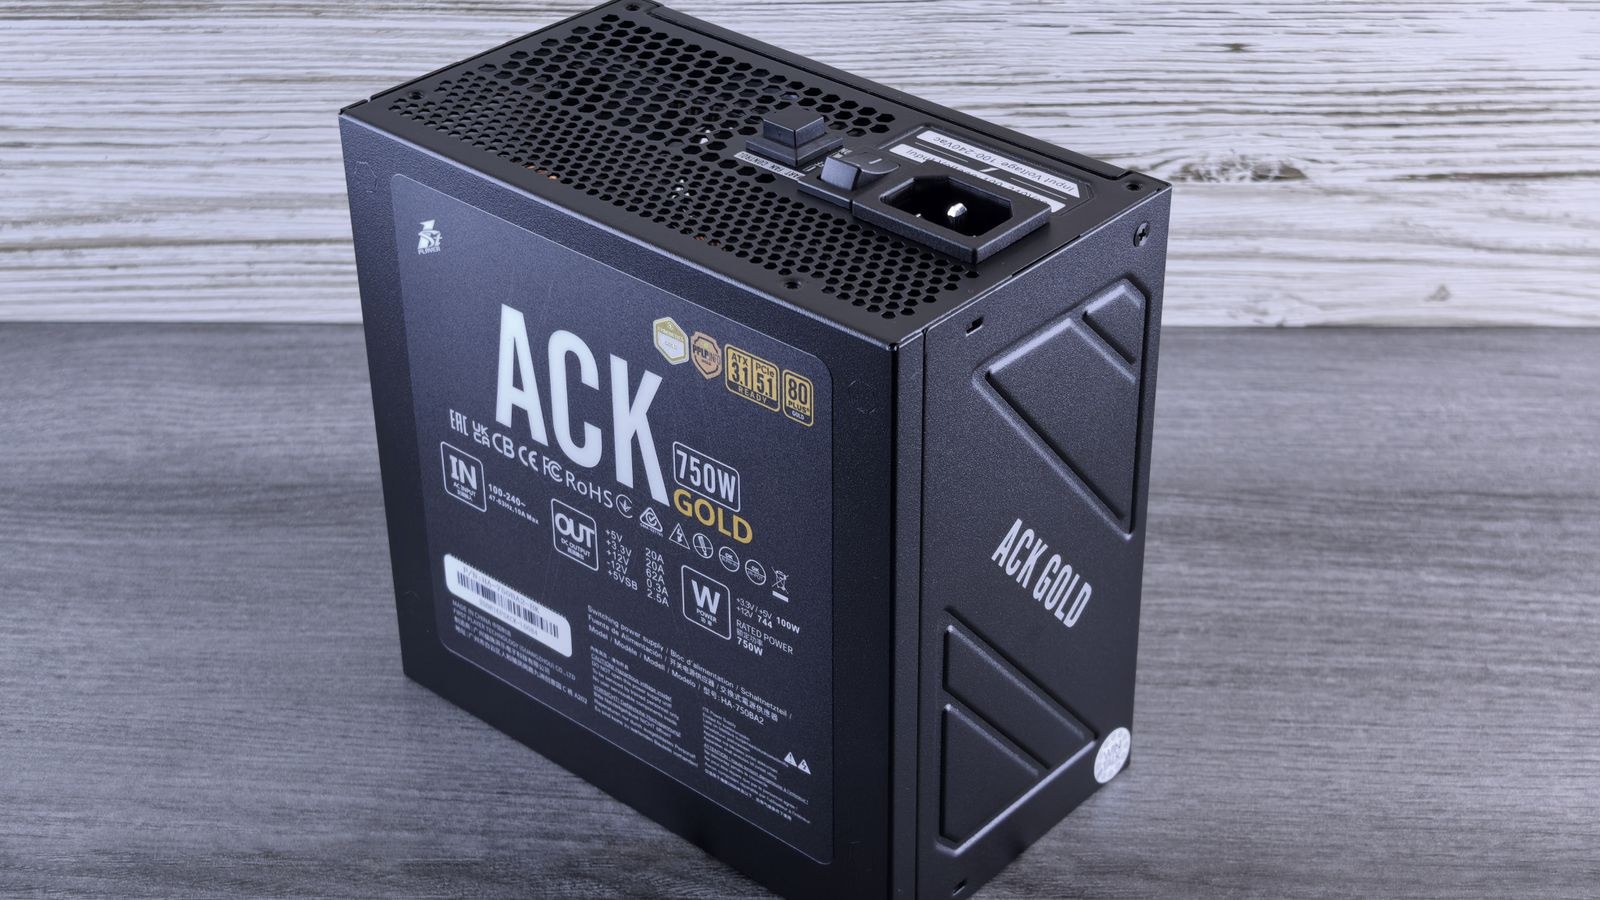
Always unplug the mains cable and hold the case power button for ten seconds to drain residual charge before touching any connector. Never open the PSU casing under any circumstances: the capacitors inside store a dangerous charge long after the unit leaves the wall, and there is nothing serviceable behind the shell. When performing the paperclip test, keep the unit on a non-conductive surface, use a single insulated jumper, and keep fingers away from the connector while it is live. If you smell burning, see scorch marks, or find bulging capacitors visible through the vents, stop testing and replace the unit.
Reading the Symptoms: Is It Age or Overload?
There is an important difference between a supply that has degraded and one that was never big enough. Electrolytic capacitors lose capacity over years of heat cycling, so a unit that ran a build happily for six years may now sag on the same workload. That is age. By contrast, a machine that started shutting down immediately after a graphics card upgrade is almost certainly hitting a capacity ceiling rather than a fault.
The tell is timing. If the symptoms appeared gradually and worsen over months, suspect ageing. If they appeared the week a new component went in, calculate your draw again. Add board power for the graphics card, peak package power for the processor, and about 75W for everything else, then aim for roughly 1.5 times that figure. Modern cards also produce microsecond transient spikes well above their rated draw, which is exactly what trips the protection circuits on a marginal unit.
Choosing a Replacement Unit
If testing points to the supply, replace it rather than nursing it. A failing PSU can pass out-of-spec voltage to the motherboard and drives, and the repair bill for that is far larger than the unit itself. Look for a current platform with genuine headroom, the connectors your graphics card needs, and an efficiency rating that keeps waste heat out of the case.
For a mainstream gaming build, our roundup of the best PSUs for gaming covers the wattage tiers that suit most desktops, while high-draw systems with a large graphics card are better matched to the best 850W PSUs. If running costs and heat matter to you, the best 80 Plus Gold PSUs waste less energy at typical loads, and if the noise from your old unit was part of what prompted this investigation, the best quiet PSUs use larger, slower fans with zero-RPM modes at low load.
Protect the New Unit From the Wall
Many premature PSU failures trace back to dirty mains power rather than the unit itself. Brownouts, surges and frequent brief outages stress the input stage every time they occur. A battery backup smooths those events and gives the machine time to shut down cleanly during a cut, which also protects your storage. Our guide to UPS power protection for gaming PCs explains how to size one correctly for your draw.
Common Mistakes When Diagnosing PSU Problems
- Treating the paperclip test as proof of health. It only shows the unit will start with no load. Plenty of failing supplies pass it easily.
- Trusting software voltage readings absolutely. Motherboard sensors drift. Use the trend between idle and load, not the absolute figure.
- Replacing memory or the graphics card first. Expensive, and rarely the cause when the failures scale with load rather than with a specific application.
- Buying the same wattage as before. If the build has grown since the original purchase, matching the old figure repeats the original mistake.
- Continuing to use a unit that smells or clicks. The risk to the rest of the hardware is not worth the few weeks of extra service you might get.
- Ignoring the surge protector. A worn protection block can cause exactly the same intermittent symptoms and costs far less to replace.
Frequently Asked Questions
Can a failing power supply damage other components?
Yes. As protection circuitry degrades, a unit can deliver voltage outside specification or fail without cleanly cutting power, which puts the motherboard, drives and graphics card at risk. Replace rather than tolerate a unit you suspect.
How long should a power supply last?
A quality unit running well below its rated capacity commonly lasts seven to ten years. One run near its limit in a hot case ages considerably faster, because heat is what wears the capacitors out.
Is coil whine a sign of failure?
Usually not. High-pitched whine that tracks frame rate or load is a vibration in the inductors and is annoying rather than dangerous. Clicking, buzzing or crackling is a different matter and warrants immediate investigation.
Does a PSU tester give a definitive answer?
Only when it fails. A tester applies very little load, so a unit that reads perfectly can still collapse under a real workload. Substituting a known-good supply remains the reliable confirmation.
Final Thoughts
Diagnosing a failing power supply is a process of elimination that rewards patience. Start with the cable, the socket and the connectors, rule out heat, then log voltages under genuine load rather than at idle. Use the paperclip test and a plug-in tester to rule a unit out, never to rule it in, and treat a known-good substitute as the real confirmation. If the symptoms are age-related, replace with genuine headroom rather than matching the old wattage, choose an efficient platform, and put clean power in front of it. Doing that in 2026 turns an unpredictable machine back into a stable one and protects everything else in the case at the same time.