Owen Bradley
 Height channels are what separate Dolby Atmos from ordinary surround. Instead of placing sounds only around you, Atmos places them above you — rain on a roof, a helicopter crossing overhead, the ceiling of a cathedral. Getting that effect at home means adding two or four speakers that fire down from above, or bounce sound off the ceiling to fake the same result. Both approaches work, but each has strict rules about angle, spacing, and ceiling construction. This guide covers how to choose between them, where exactly the speakers go, how to wire them, and which receiver settings decide whether the overhead layer actually appears.
Understanding the Three Height Speaker Options
Atmos supports several physical implementations, and your ceiling decides which one is realistic.
- In-ceiling speakers mount flush in the ceiling and fire straight down. This is the reference approach and the most convincing, since sound genuinely arrives from overhead. It requires cutting holes and running wire through the ceiling cavity.
- Upfiring modules sit on top of your front and surround speakers and bounce sound off the ceiling back down to the seat. No construction required, but they depend entirely on a suitable ceiling.
- Wall-mounted height speakers go high on the front and rear walls, angled down toward the listening position. A middle ground when you cannot cut the ceiling but upfiring will not work.
Whichever route you take, the count matters. Two height channels give a clear sense of elevation; four give real movement across the ceiling. Most receivers label these layouts as 5.1.2, 5.1.4, or 7.1.4, where the final digit is the number of height channels. If you already run seven bed channels, packages listed among the best 7.1 speakers often expand cleanly to a 7.1.4 configuration.
What You Need Before You Start
- An Atmos-capable AV receiver with enough amplified channels for your bed layout plus two or four heights.
- Height speakers — in-ceiling, upfiring modules, or on-wall models with mounting brackets.
- Speaker wire, 16 AWG for typical runs, and CL2 or CL3 rated cable for anything passing through a wall or ceiling.
- A stud finder, drywall saw, and hole template if cutting in-ceiling speakers.
- A tape measure, laser level or angle app, and a stable ladder.
- The receiver’s calibration microphone and a tripod.
Step 1: Check Whether Your Ceiling Can Do the Job
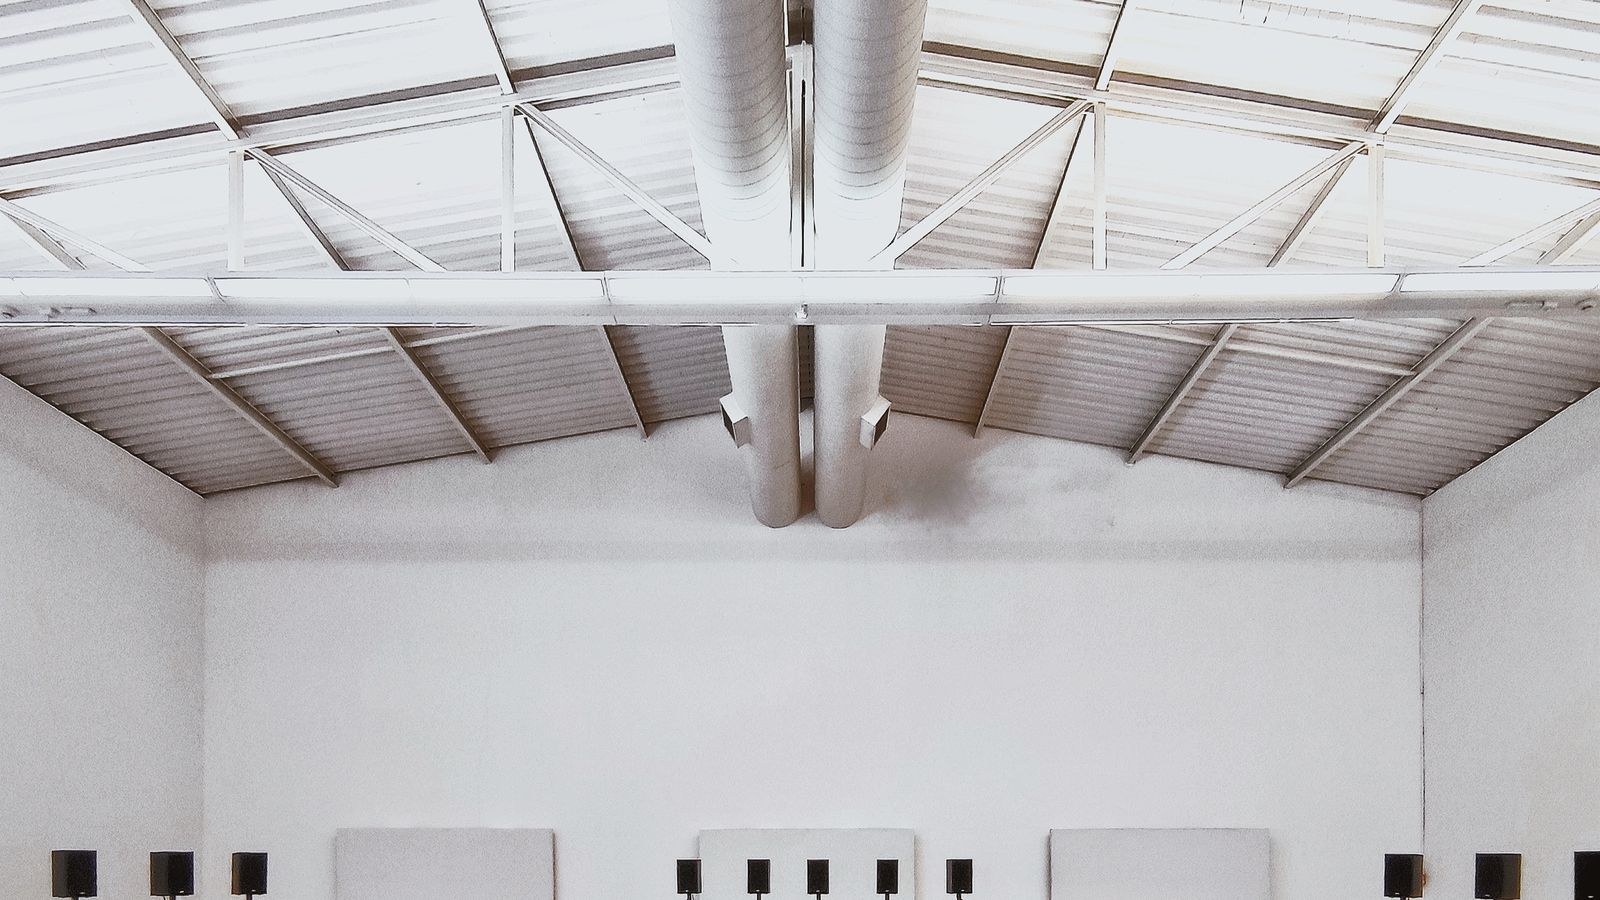
This decision comes first because it eliminates options. Upfiring modules need a flat, hard, reflective ceiling between roughly 8 and 12 feet high. Drywall or plaster works. Vaulted, sloped, beamed, popcorn-textured, acoustic-tile, and very high ceilings all scatter or absorb the bounce, and the overhead effect collapses into vague diffusion.
In-ceiling speakers work under almost any ceiling that has cavity depth, but need joist access and a clear path for wire. Check joist spacing and depth before buying, since some models need more back-box clearance than a shallow cavity provides. Wall-mounted heights work almost anywhere but produce a lower, less convincing elevation than true overheads.
If your ceiling rules out bouncing, buy in-ceiling models rather than fighting physics with upfiring modules. Comparisons among the best ceiling speakers cover the depth, bracket, and pivot-tweeter differences that matter for this decision.
Step 2: Mark the In-Ceiling Positions
Dolby specifies height positions as angles measured from the main listening seat, looking up. Translate them to marks on the ceiling before you cut anything.
- Find the main seat and mark its position on the floor. Every angle references this point.
- For a two-speaker (.2) layout, place both speakers slightly in front of the seat, at roughly 45 degrees of elevation — practically, about level with or just ahead of the listening position, not directly overhead.
- For a four-speaker (.4) layout, place the front pair around 45 degrees ahead of the seat and the rear pair around 135 degrees, meaning roughly the same distance behind the seat as the front pair sits ahead of it.
- Set the lateral spacing so the pairs sit slightly wider than your front left and right speakers, mirrored equally about the room’s centre line.
- Verify joists with a stud finder at every mark, and shift the position a few inches rather than cutting into a joist. Small lateral adjustments are acoustically harmless.
- Check above the ceiling for wiring, plumbing, and ducts before cutting. Drill a small pilot hole and probe with a bent wire first.
Symmetry matters more than hitting the angles exactly. Two speakers a few degrees off but perfectly mirrored will sound better than two at textbook angles that are unequal side to side.
Step 3: Install In-Ceiling Speakers
- Cut the opening using the manufacturer’s template and a drywall saw. Cut slightly inside the line; you can enlarge, but you cannot shrink.
- Pull the wire through the cavity to each opening, leaving two feet of slack. Secure runs away from ducts and sharp metal edges.
- Terminate carefully, keeping polarity consistent across every speaker in the system. Reversed height polarity smears the overhead image badly.
- Seat the speaker and tighten the dog-ear clamps evenly in a cross pattern until snug. Overtightening crushes drywall and creates buzz.
- Aim the pivoting tweeter, if the model has one, toward the main listening seat. This recovers much of the treble that a straight-down driver loses at an angle.
- Fit the grille and repeat for each position.
Step 4: Set Up Upfiring Modules Instead
Upfiring is far simpler, but the setup rules are unforgiving. Place the modules on top of your front left and right speakers, and for a four-channel layout on top of the surrounds as well. Keep them level — the drivers are angled internally, so tilting the module aims the bounce at the wrong ceiling spot.
Height matters: modules should sit at or slightly above ear level and no more than a few feet above it. Do not place them inside cabinets, under shelves, or anywhere with an obstruction in the upward path. Make sure the ceiling patch directly above and slightly ahead of each module is bare drywall, not a light fixture, fan, or skylight. A ceiling fan sitting in the reflection path is one of the most common reasons upfiring Atmos sounds like nothing at all.
Step 5: Configure the Receiver
The receiver has to be told what you installed, because it cannot detect speaker type on its own.
- Open the speaker configuration menu and set the layout to match, such as 5.1.2 or 5.1.4.
- Select the correct height speaker type: Top Front, Top Middle, Top Rear, Front Height, or Dolby Enabled Speaker for upfiring modules. Choosing the wrong type applies the wrong processing.
- Set the height channels to Small with an 80 Hz crossover. Height speakers rarely produce useful deep bass and should never be asked to.
- Enter the distance from each height speaker to the seat. For upfiring, measure the bounce path — module to ceiling, then ceiling to seat — not the straight line.
- Run auto-calibration with the mic on a tripod at seated ear height and the room silent.
- Confirm the source is sending Bitstream audio so the Atmos track survives the trip, and check the receiver’s display reads DOLBY ATMOS during playback.
Once running, use the receiver’s test tone to verify each height channel plays from the right position. It is easy to swap front and rear pairs at the terminal block, and the mistake is hard to hear without a tone.
Safety Notes for Overhead Installation
Cutting into a ceiling means working overhead on a ladder with debris falling. Wear eye protection and a dust mask, and have someone steady the ladder. Switch off the circuit for nearby lighting before probing the cavity, and never assume a cavity is clear — probe every opening before the saw goes in. Any speaker mounted on a wall or hung below a ceiling must be anchored to structure or rated anchors well beyond its weight. Use CL2 or CL3 rated cable for in-wall and in-ceiling runs; standard zip cord is a fire-code violation inside building cavities in most jurisdictions.
Troubleshooting Weak or Missing Height Effects
No overhead sound at all. Check the source first. If the player or streaming app outputs PCM instead of Bitstream, the Atmos metadata is stripped before it reaches the receiver. Confirm the receiver display shows the Atmos logo.
Heights barely audible with Atmos confirmed. This is often correct behaviour, since mixers use the overhead layer sparingly. Verify with test tones, then raise height trims two or three decibels if you want the effect emphasised.
Upfiring sounds vague. Almost always a ceiling problem: too high, sloped, textured, or blocked by a fan. Try moving modules slightly forward or back to shift the bounce point, and if that fails switch to in-ceiling or wall-mounted heights.
Effects appear to come from the wrong direction. Front and rear height pairs are swapped at the receiver, or the speaker type is set incorrectly in the menu. Recheck both.
Matching Heights to the Rest of the System
Height channels should share a family resemblance with your bed layer so that sounds moving from ear level to overhead do not change character on the way up. Perfect matching is less critical than for the front three, but a wildly different tweeter or cabinet style is audible on panning effects. If you are building the surround layer at the same time, sets covered among the best surround sound speakers and full packages in the best home theater speakers roundup make matching straightforward. On the display side, Atmos content usually arrives alongside high dynamic range video, so pairing with a set from the best gaming TVs with Dolby Vision keeps the picture on par with the sound.
Frequently Asked Questions
Are two height speakers enough?
Two produce a clear sense of elevation and are a genuine upgrade over none. Four give smoother front-to-back movement overhead and are worth the extra effort in rooms where you can run the wire.
Do upfiring modules work as well as in-ceiling speakers?
Under ideal conditions — a flat, hard, 8 to 10 foot ceiling — they come surprisingly close. Under any other ceiling they fall well short, because the effect depends entirely on a clean reflection.
What crossover should height speakers use?
80 Hz is the sensible default, sending everything below to the subwoofer. Small in-ceiling or module drivers may benefit from 100 to 120 Hz if they sound strained on heavy effects.
Final Thoughts
Height channels reward planning far more than spending. Start by judging your ceiling honestly, because that single fact decides between in-ceiling, upfiring, and wall-mounted heights. Then place the speakers by angle from the seat, keep the pairs mirrored, wire with consistent polarity using rated cable, and finish in the receiver by declaring the correct layout, speaker type, crossover, and distances. Verify with test tones before judging anything by ear. Do it in that order and the overhead layer you add in 2026 will feel like part of the room rather than an effect switched on top of it.