Owen Bradley
 Most homes with security lighting are not actually well lit. They have one very bright fixture over the driveway, a black void along the side of the house, and a motion sensor angled so that it triggers every time a car passes on the street. The result is a property that feels defended but is, in the places that matter, easier to approach unseen than a house with no lighting at all. Good outdoor security lighting is a placement problem before it is a product problem. This guide covers where fixtures actually need to go, how bright they should be, why glare works against you, and how to combine motion detection, dusk-to-dawn light and cameras into something that works every night rather than just impressively.
What Security Lighting Is Actually For
Lighting deters intrusion in two ways. It removes concealment, so anyone approaching the house can be seen from the street, from neighbouring properties and by cameras. And it signals occupancy and attention, which pushes an opportunist toward an easier target down the road.
Neither of those benefits comes from raw brightness. A single 5000-lumen floodlight blasting the front yard creates deep shadows behind every bush and vehicle, and blinds anyone looking toward the house so that the areas beside the light are effectively invisible. Even, moderate illumination across every approach beats one intense pool of light in a single spot, every time.
It also helps to think about who your lighting is for. A camera needs enough light to produce a usable image without blowing out highlights. A neighbour glancing out of a window needs to be able to see movement. You, arriving home at night, need to see the ground, the lock and anyone standing near the door. Those three audiences want the same thing: consistent, glare-free coverage.
Where Fixtures Actually Need to Go
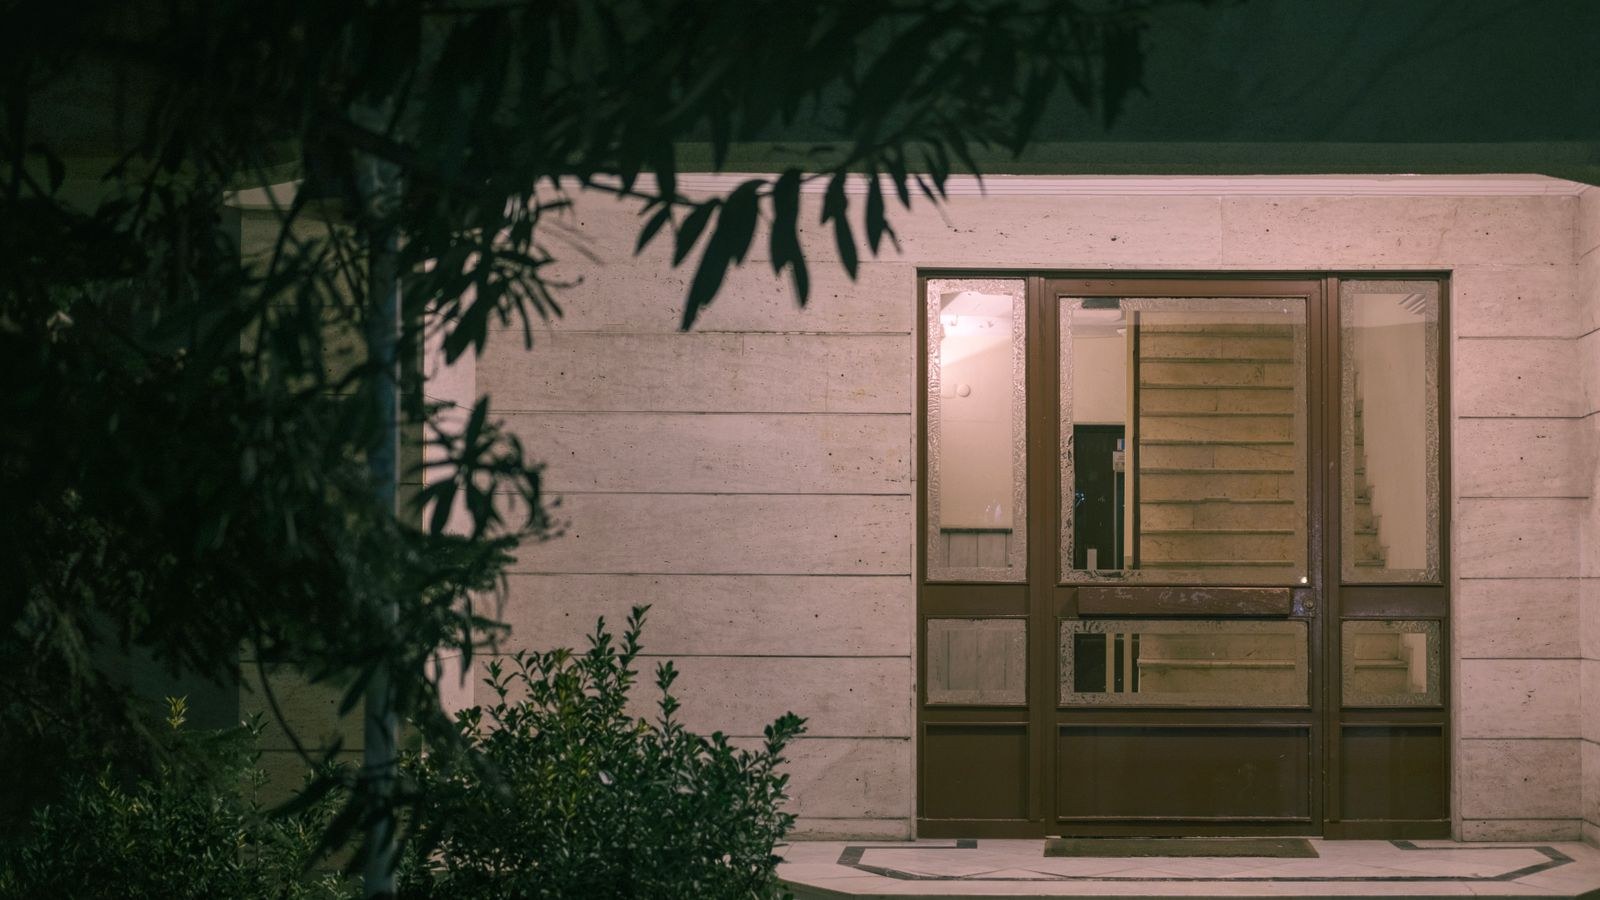
Walk the property after dark with the existing lights on and note every place a person could stand without being seen. Those spots are your fixture positions. In almost every house they fall into the same categories.
Every entry door. Front, back, side and basement doors all need light, and the back and side doors matter more than the front because that is where forced entry actually happens. A door in darkness is the single biggest gap in most installations.
Ground-floor windows out of street view. Side yards between houses and rear elevations are the classic approach routes. They rarely need much light, but they need some.
The driveway and any parked vehicles. Cover both the vehicle and the walk from the vehicle to the door.
Garage and shed doors, including detached structures at the rear of a lot.
Fence gates and the path from any gate to the house.
Blind corners created by chimneys, bay windows, tall hedges and recycling stores, where someone can stand within a few feet of the house and remain unseen from every direction.
Aim for Overlap, Not Coverage Islands
Place fixtures so that the edge of one light’s coverage reaches the edge of the next. A continuous ribbon of moderate light around the house is much harder to move through unnoticed than four intense circles with darkness between them. If you have a fixed budget, more fixtures at lower output almost always outperforms fewer fixtures at maximum output.
Mounting Height and Aiming
Height is a balance. Mounting between 8 and 10 feet is right for most residential fixtures: high enough that the light spreads usefully and is out of easy reach, low enough that it illuminates faces rather than only the tops of heads, and low enough that a ladder is not needed for maintenance. Fixtures above 12 feet spread light thinly and tend to produce a washed-out, flat scene with poor camera detail.
Aim fixtures downward, ideally between 30 and 45 degrees from horizontal, so the beam lands on the ground within your property rather than crossing the boundary. A floodlight aimed level with the horizon lights the neighbour’s bedroom, blinds the street and puts your own yard in the fixture’s shadow.
Mount so the light source itself is not in the primary line of sight from where you want to observe. If you can see the bare LED from the kitchen window, so can a camera, and both will struggle to resolve anything behind it.
Brightness, Colour and Glare
For residential use, most areas are well served by 700 to 1500 lumens per fixture. Driveways and large rear yards can justify 1800 to 3000. Fixtures above 4000 lumens belong on commercial yards and warehouse loading bays, not a suburban side wall, where they mainly generate complaints and shadows.
Colour temperature between 3000K and 4000K is the sweet spot. It renders colours accurately enough for a camera to describe clothing and vehicles, without the harsh blue-white of 5000K to 6500K that reads as institutional and increases perceived glare. Warmer 2700K light is friendlier but does slightly less for camera colour accuracy.
Glare control is the detail that separates a good installation from an unpleasant one. Look for fixtures with shields, hoods, recessed light sources or frosted lenses rather than bare arrays of exposed diodes. A shielded 1200-lumen fixture illuminates a yard better than an unshielded 3000-lumen one, because your eyes are not fighting the source.
Motion Activated or Always On?
Both approaches have a place, and the strongest installations use each where it fits.
Motion-activated lighting creates a sudden change that draws attention, which is the main deterrent effect. It also saves energy and avoids annoying neighbours all night. Its weakness is that it only works if the sensor actually detects the approach, and passive infrared sensors are directional, temperature-dependent and easily defeated by slow movement along the sensor’s axis rather than across it. Motion lighting suits driveways, side yards, rear doors and gates. The sensor performance differences that matter here are compared in our roundup of the best security lights with motion sensors.
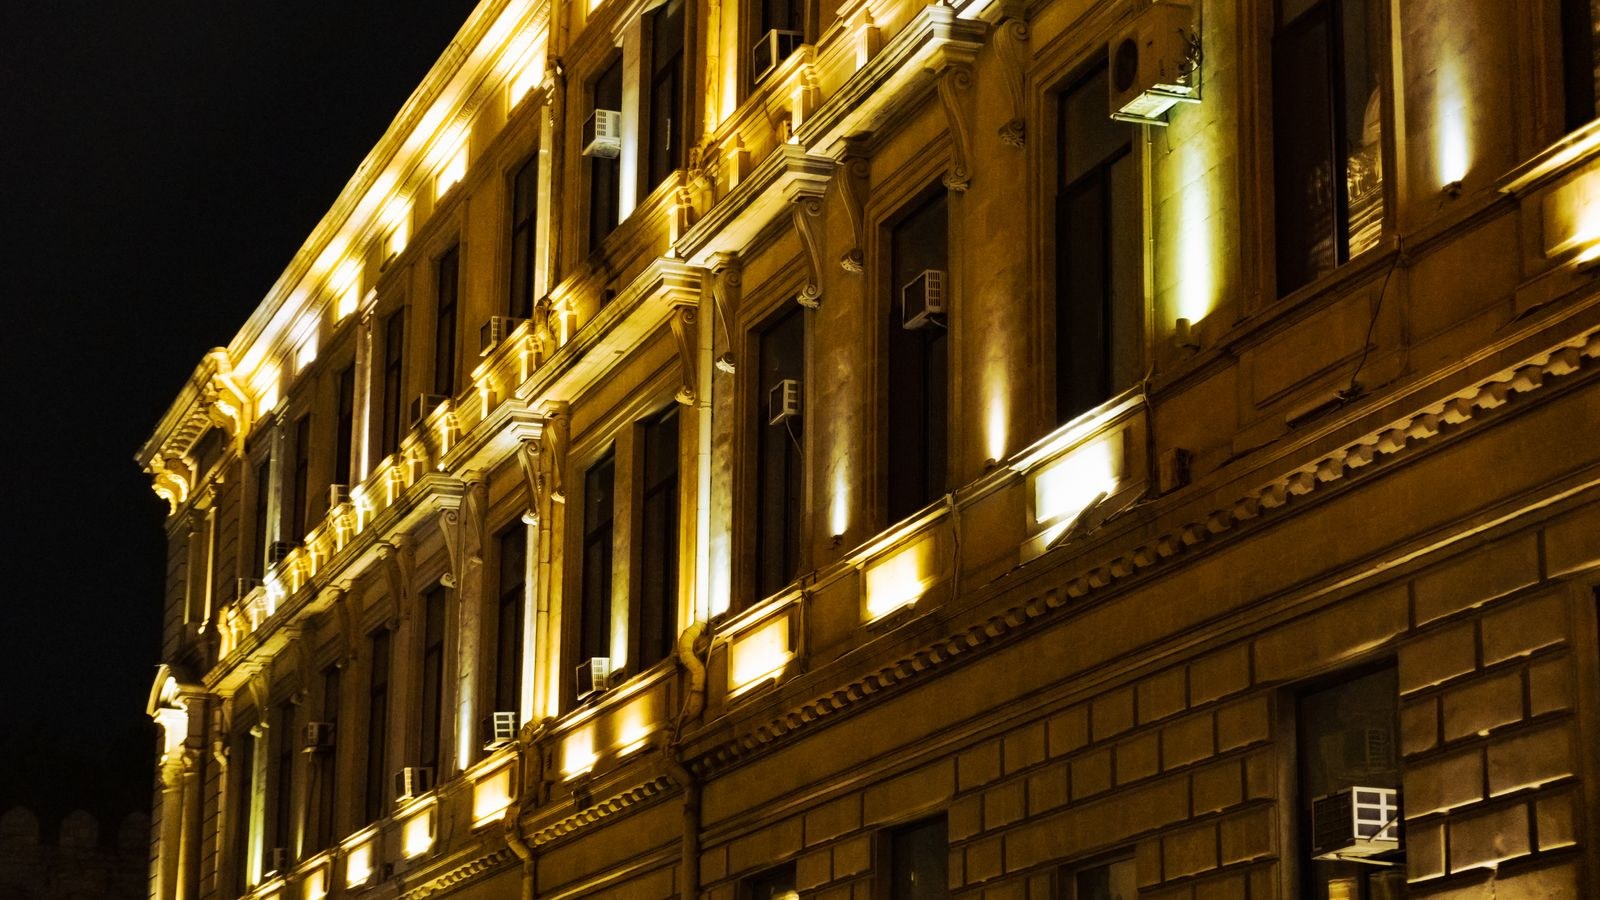
Dusk-to-dawn lighting removes concealment continuously and gives cameras a stable exposure all night, which usually produces better footage than a scene that jumps from black to blinding. It suits entry doors and the immediate perimeter of the house.
The hybrid approach is best: low-level continuous light everywhere, with fixtures that step up to full output on motion. Many modern fixtures support exactly this, sitting at 10 to 20 percent brightness all night and jumping to full when triggered. This gives you constant visibility plus the attention-grabbing change.
Setting Up Sensors So They Work
Passive infrared sensors detect heat crossing their field of view, so they are far more sensitive to movement across the beam than movement straight toward it. Aim sensors so that likely approach paths cross the detection zone sideways. Mount them 6 to 10 feet up, angled slightly down.
Set sensitivity and range to cover your property, not the pavement. A sensor triggering on street traffic makes the whole system noise you learn to ignore, which destroys its value. Use the masking tabs many sensors include to block the portion of the field pointing at a road or a neighbour’s yard. Keep sensors away from heat sources such as air conditioner exhausts, dryer vents and sun-warmed metal, all of which cause false triggers. A ninety-second to three-minute hold time is usually right; anything shorter cuts out mid-approach and anything longer defeats the point. The setup and adjustment differences across fixture types are covered in the best motion detector lights for security comparison.
Lighting and Cameras Together
Cameras and lights interact in ways that are easy to get wrong. Never mount a bright fixture directly beside or above a camera facing the same direction, because insects attracted to the light will fly through the frame and trigger recordings all night, and the illuminated bug cloud will ruin the image. Offset lighting to the side of the camera’s field of view.
Avoid pointing a camera at a light source. A fixture in frame forces the camera’s exposure down and turns everything else into silhouette, which is precisely the failure mode that produces useless footage of an unidentifiable dark shape.
Combination fixtures that pair a floodlight with a camera solve much of this by design, since the manufacturer has already worked out the geometry, and they save you running two sets of wiring to the same corner. The current options and their trade-offs are covered in the best smart flood lights roundup. Where you want camera coverage without any new wiring at all, screw-in fixtures that occupy an existing socket are worth considering, and the practical limits of that approach are discussed in the best light bulb security cameras guide.
Layering the Whole Property
Think of a finished installation as three layers. The perimeter layer marks the boundary and the approach: gate lights, path lights and driveway entrance fixtures at low output. The approach layer covers the ground between the boundary and the house, including the driveway, side passages and the rear yard, usually motion-activated. The structure layer covers doors, windows and the wall face itself, generally on dusk-to-dawn.
Trim the landscaping to match. A well-lit yard with a six-foot hedge in front of a ground-floor window has simply moved the hiding place. Keep shrubs near windows below about three feet and lift tree canopies so light reaches the ground beneath them.
Common Mistakes to Avoid
- Installing one very bright floodlight instead of several moderate fixtures, creating hard shadows.
- Aiming fixtures horizontally, which blinds observers and lights the neighbour’s house.
- Leaving rear and side doors dark while over-lighting the front, which is the least likely entry point.
- Setting motion sensors to cover the street so the light cycles constantly and everyone stops noticing it.
- Mounting a light directly beside a camera, guaranteeing insect-triggered recordings.
- Choosing 6000K fixtures because they look brightest in a shop, then living with the glare.
- Ignoring vegetation, so lighting improves while concealment stays exactly as it was.
Frequently Asked Questions
How many lumens do I need for security lighting?
Around 700 to 1500 lumens for most wall-mounted fixtures, and 1800 to 3000 for a large driveway or rear yard. Higher output mainly buys glare rather than useful visibility on a residential lot.
Should security lights stay on all night?
A mix works best. Keep entry areas and the immediate perimeter on continuously at moderate output for camera consistency, and use motion activation on driveways, side passages and gates where a sudden change in light is the deterrent.
How high should motion sensor lights be mounted?
Between 8 and 10 feet for the fixture, with the sensor angled slightly downward. Higher mounting reduces sensitivity and thins the light; lower mounting puts the fixture within easy reach.
Does security lighting actually deter burglars?
Well-designed lighting does, because it removes concealment and increases the chance of being observed. Poorly placed lighting that leaves shadowed approach routes intact offers far less benefit than the fixture count suggests.
Will my neighbours complain about security lights?
Only if the fixtures spill light across the boundary. Aim everything downward, use shielded fixtures, keep output moderate, and mask the sensor so it does not trigger on their movement. Done properly, a good installation is barely noticeable next door.
Final Thoughts
The most effective security lighting is unremarkable to look at. It covers every door, every hidden corner and every approach with even, downward, moderately bright light, so there is nowhere on the property to stand unseen. Start by walking your yard in the dark and mapping the shadows rather than by shopping for the brightest fixture available. Aim everything down, keep colour temperature in the 3000K to 4000K range, mix continuous and motion-triggered light, offset fixtures from cameras, and cut back the shrubs that undo all of it. That approach costs no more than a single oversized floodlight and works far better on the night it matters.