Owen Bradley
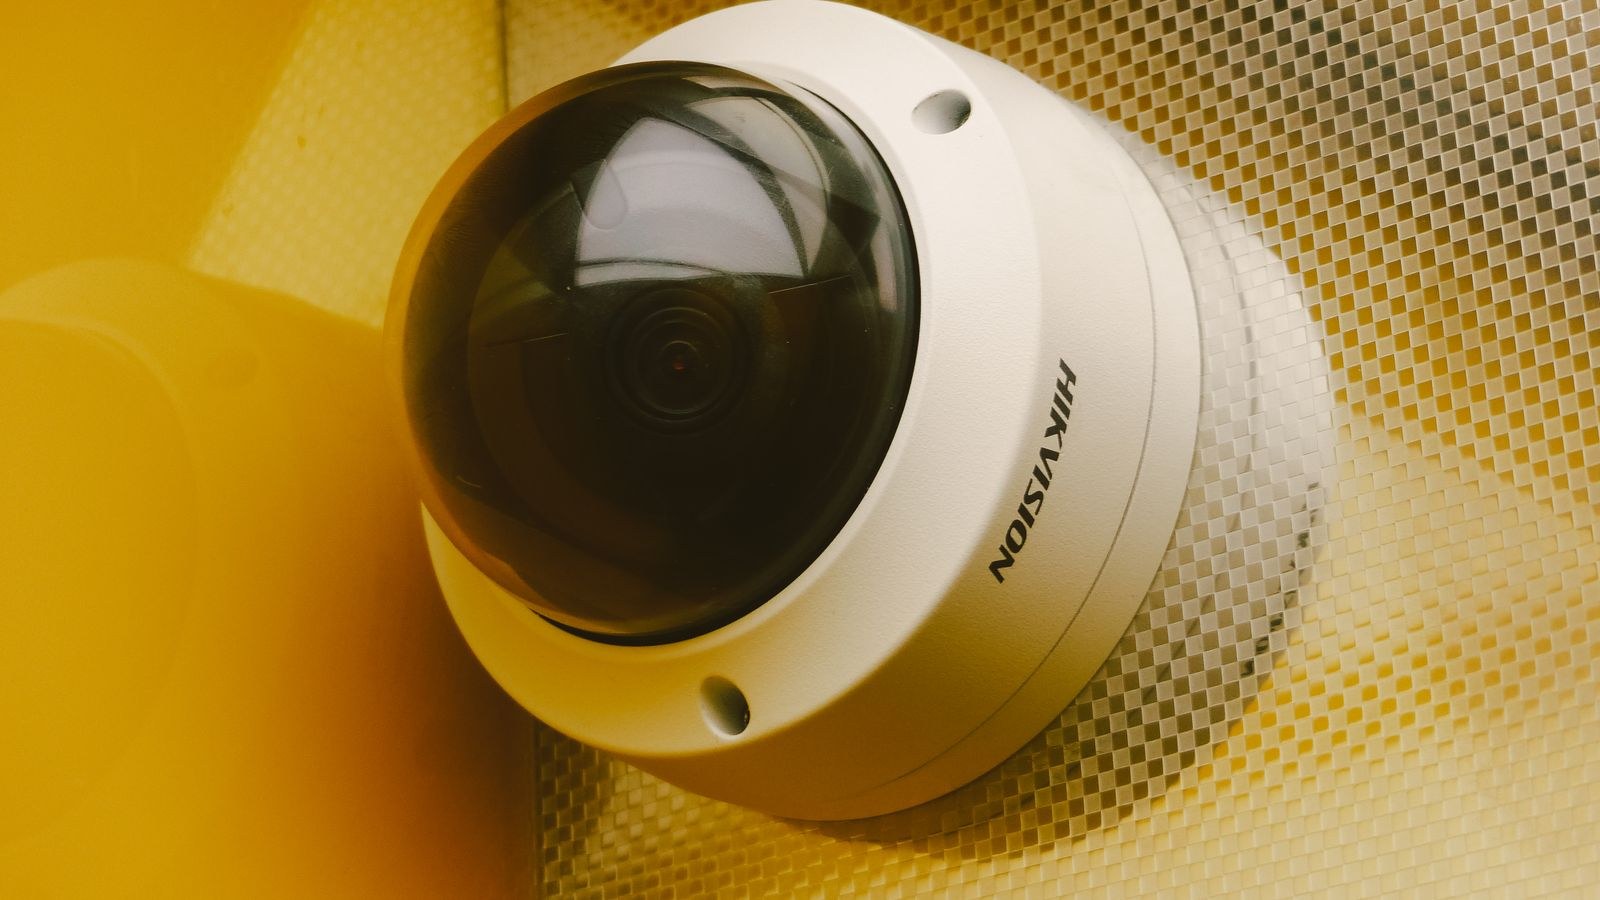
 Most failed camera installs are not camera failures at all. They are wiring failures: a run that is too long, a connector crimped in the dark, an outdoor splice that filled with water after the first storm, or a cable pulled beside a mains line that now dumps noise into the video. Cameras are the visible part of a surveillance system, but the cable is what decides whether the picture arrives clean, whether the camera keeps power on a cold night, and whether you can expand later without opening the walls again. This security camera wiring guide walks through the cable types you will actually encounter, the run lengths each one supports, how to plan a route before you drill anything, and the code and safety rules that keep the job legal and tidy in 2026.
The Three Wiring Approaches
Nearly every home and small business install falls into one of three wiring families, and picking the right one first saves you from buying cable twice.
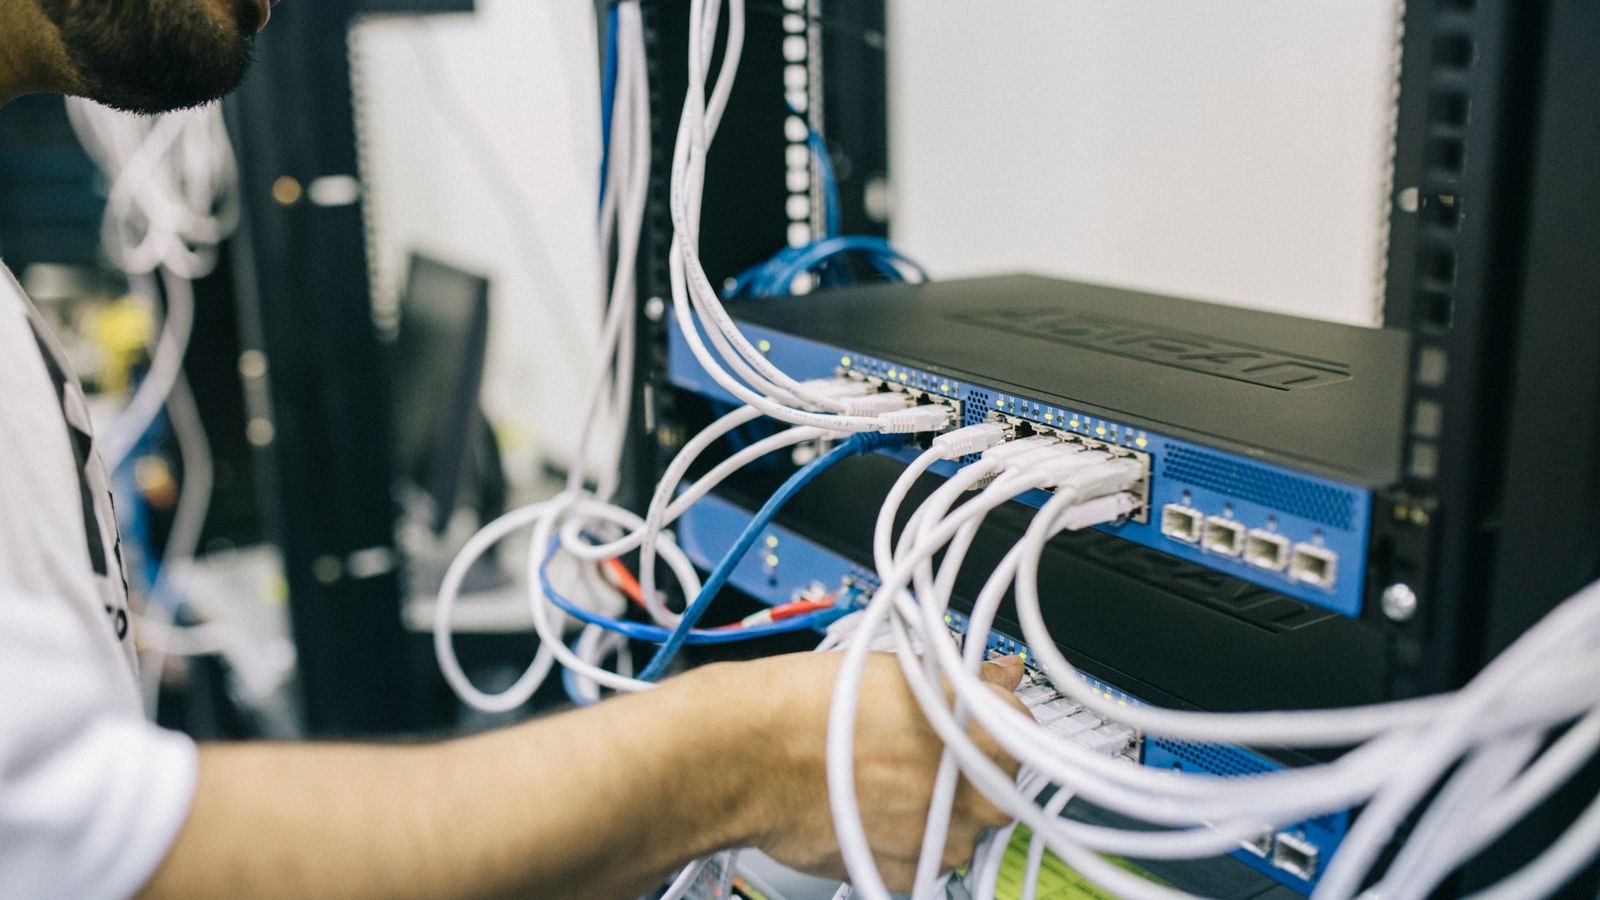
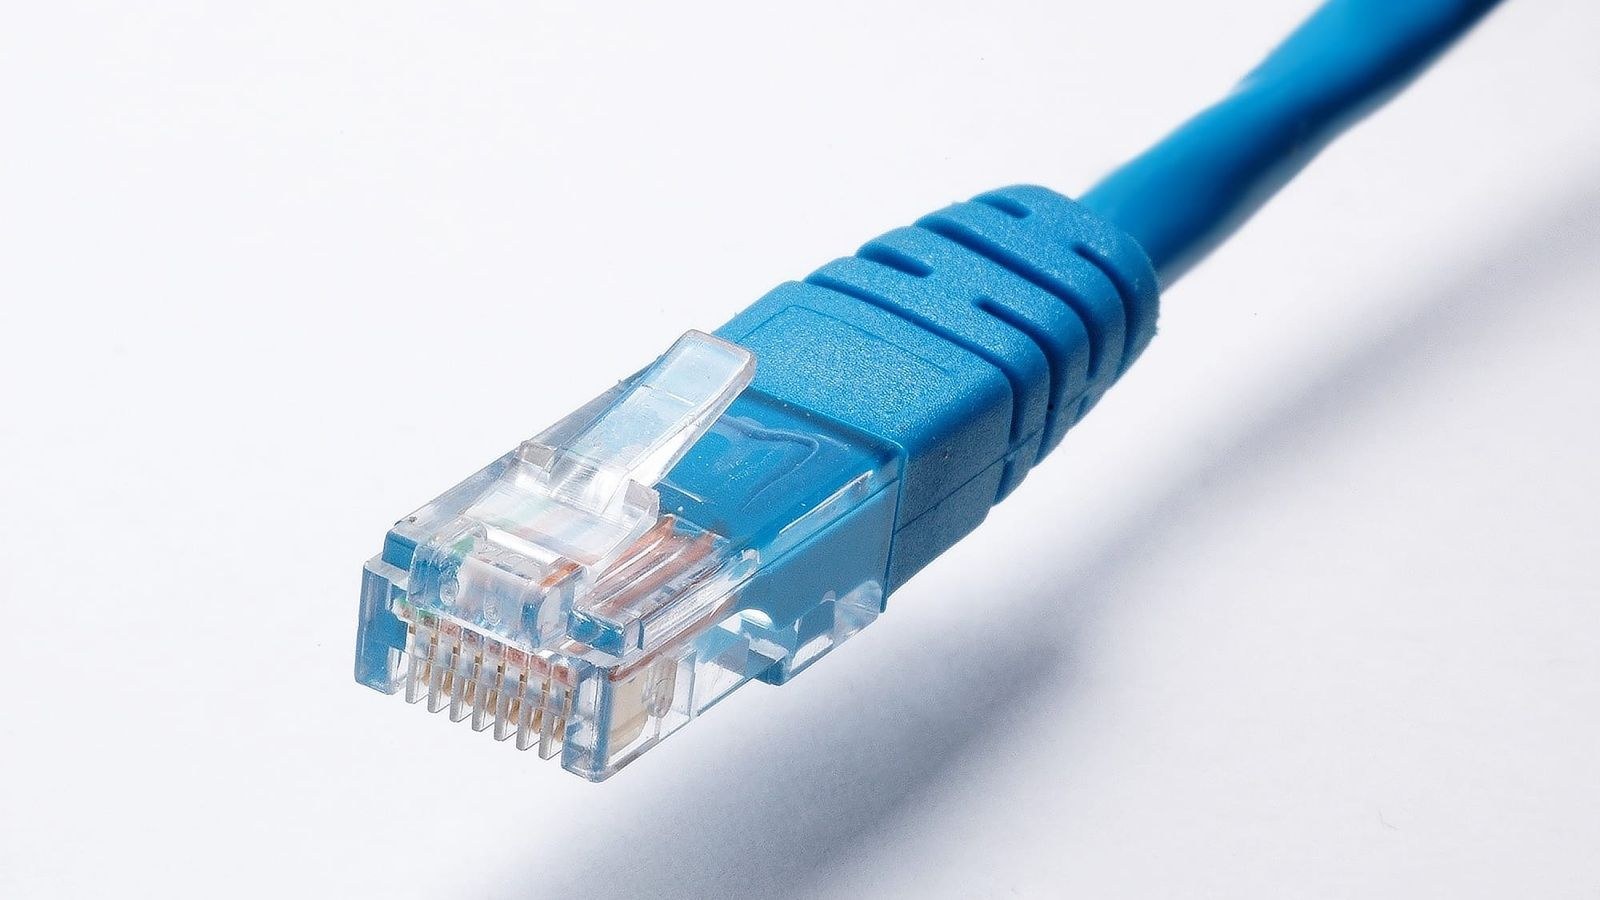
Network cable with Power over Ethernet is the modern default. A single Cat5e or Cat6 run carries both the video data and the power for the camera, so each camera needs exactly one cable back to a switch or recorder. Coaxial with a separate power pair, usually sold as siamese cable, is the analog and HD-over-coax approach still common in retrofits and in systems built on existing RG59. Wireless with a local power drop is not truly wireless: the video travels over Wi-Fi, but you still need a power cable at each camera, which means you are still running wire, just a shorter one.
If you are starting from scratch and pulling new cable anyway, network cabling almost always wins on flexibility, since the same run can later feed a doorbell, an access point, or a different camera brand entirely. Systems built around network cameras are covered in depth in our roundup of the best IP security cameras, which explains how resolution and power draw affect what your cable has to carry.
Cat5e, Cat6, and Cat6a Compared
For network cameras, the cable category question is simpler than the marketing suggests. Cat5e handles gigabit speeds and every common PoE standard perfectly well, and a single 4K camera stream rarely exceeds 20Mbps, so bandwidth is almost never the constraint. Cat6 uses thicker conductors and a tighter twist, which lowers resistance and slightly reduces voltage drop and heat on long PoE runs. Cat6a adds heavier shielding and matters mainly in electrically noisy commercial spaces or where cables are bundled tightly in large groups.
Two specification details matter far more than the category number. The first is solid copper versus copper-clad aluminium. Copper-clad aluminium cable is cheaper and appears everywhere online, but it has higher resistance, delivers less power at distance, is more brittle when pulled, and is not rated for PoE by any serious standard. Insist on pure solid copper. The second is conductor gauge, usually 23AWG or 24AWG. The lower the number, the thicker the wire and the less power you lose over a long run.
Solid Versus Stranded Cable
Solid conductor cable is for permanent runs inside walls, ceilings, and conduit. It punches down cleanly and carries power more efficiently. Stranded cable is flexible and belongs in short patch leads between a switch and a recorder, where it will be bent and moved. Using stranded cable for a 150 foot in-wall run is a common beginner mistake that costs both power and signal.
Maximum Run Lengths You Can Rely On
Network cabling has a firm limit: 328 feet, or 100 metres, from the switch port to the camera, including patch leads at both ends. That figure covers both data and standard PoE. In practice, plan for no more than 290 to 300 feet of actual cable so slack, service loops, and the vertical drop inside the wall do not push you over.
Exceeding the limit is not a soft failure. You get a link that negotiates, drops, and renegotiates, or a camera that boots, streams for a minute, then restarts when the infrared illuminators kick in and current demand spikes. If you must go further, the fixes are a PoE extender at roughly the halfway point, a small outdoor-rated switch in a weatherproof enclosure closer to the cameras, or a fibre link with a media converter at each end for very long spans between buildings.
Coaxial tolerates far longer distances. RG59 with a copper core reliably carries analog and HD-over-coax video around 750 to 900 feet depending on the format, and RG6 pushes further still. The catch is the power conductor bundled alongside it: an 18AWG pair loses meaningful voltage past about 250 to 300 feet for a 12V camera, so long coax runs usually need a higher supply voltage, a heavier power gauge, or a local power source at the camera end. Coax-based kits and their run limits are compared across our guide to the best CCTV security cameras.
Understanding PoE Budgets and Power Draw
Power over Ethernet comes in tiers, and matching the tier to the camera is the difference between a stable system and mystery reboots. The original 802.3af standard delivers about 15.4W at the switch port and roughly 12.95W at the far end after cable loss. The 802.3at standard, often labelled PoE+, delivers about 30W at the port. The newer 802.3bt tiers go higher and are aimed at pan-tilt-zoom domes with heaters and wipers.
A typical fixed bullet or turret camera draws 4W to 8W. Add infrared illuminators at night and it may climb to 12W. A camera with a built-in heater for freezing climates, or a motorised PTZ, can demand 25W or more. Then check the switch’s total power budget, not just the per-port rating: an eight-port switch advertising PoE+ on every port may only have a 60W total budget, which is nowhere near enough for eight cameras running infrared at 3am. Add at least 25 percent headroom over your calculated total.
If your network gear is doing double duty for both cameras and household internet, our comparison of the best PoE routers explains which units can power cameras directly and which need a separate injector or switch behind them.
Voltage Drop on Low-Voltage Power Runs
For non-PoE cameras fed by a 12V DC supply, voltage drop is the silent killer. A camera rated 12V often misbehaves below about 10.8V, and thin 22AWG wire over 200 feet can lose that much. The cures are thicker conductors, a 24V AC supply, or a power supply placed nearer the camera. Measure voltage at the camera end under load with the infrared active.
Planning the Route Before You Drill
Walk the whole path with a torch before touching a drill. Start at the recorder or switch location, which should be somewhere ventilated, dry, physically secure, and reachable for maintenance, then trace each run outward. Note every stud bay, fire block, joist, HVAC duct, plumbing stack, and electrical run you will cross.
- Measure twice and add 15 percent. Cable is cheap; a run that lands two feet short is a whole afternoon.
- Leave a service loop of three to six feet coiled in the attic or ceiling near each camera so it can be repositioned later.
- Keep low-voltage cable at least 12 inches from parallel mains wiring and cross it at 90 degrees where you must cross at all.
- Label both ends of every cable as you pull it, before it disappears into the wall.
- Pull a spare run to any location you might expand into. The second cable costs almost nothing while the wall is already open.
Outdoor Runs, Conduit, and Weatherproofing
Cable rated for indoor use degrades fast outdoors. For exterior and underground runs, use cable marked for direct burial or outdoor use, with a UV-stable jacket and, ideally, a gel-filled or flooded core that blocks water migration. For runs inside walls and ceilings, check whether your local code requires riser or plenum rated jacket; plenum rated cable is mandatory in shared air-handling spaces because of its low-smoke behaviour in a fire.
Any exterior cable within reach is a vulnerability, so conduit is worth the cost. Bury conduit rather than bare cable so the run can be replaced later without digging. Keep every connector inside a weatherproof junction box, drip-loop the cable so water runs away from the entry point, and seal wall penetrations with exterior-grade sealant.
Where a camera cable must run visibly, plan the route to disappear along trim, soffits, and downpipes. Our walkthrough on how to hide security camera wiring covers raceway options, soffit entry points, and the trick of exiting behind the camera bracket so no cable is exposed at all.
Termination: Where Most Installs Go Wrong
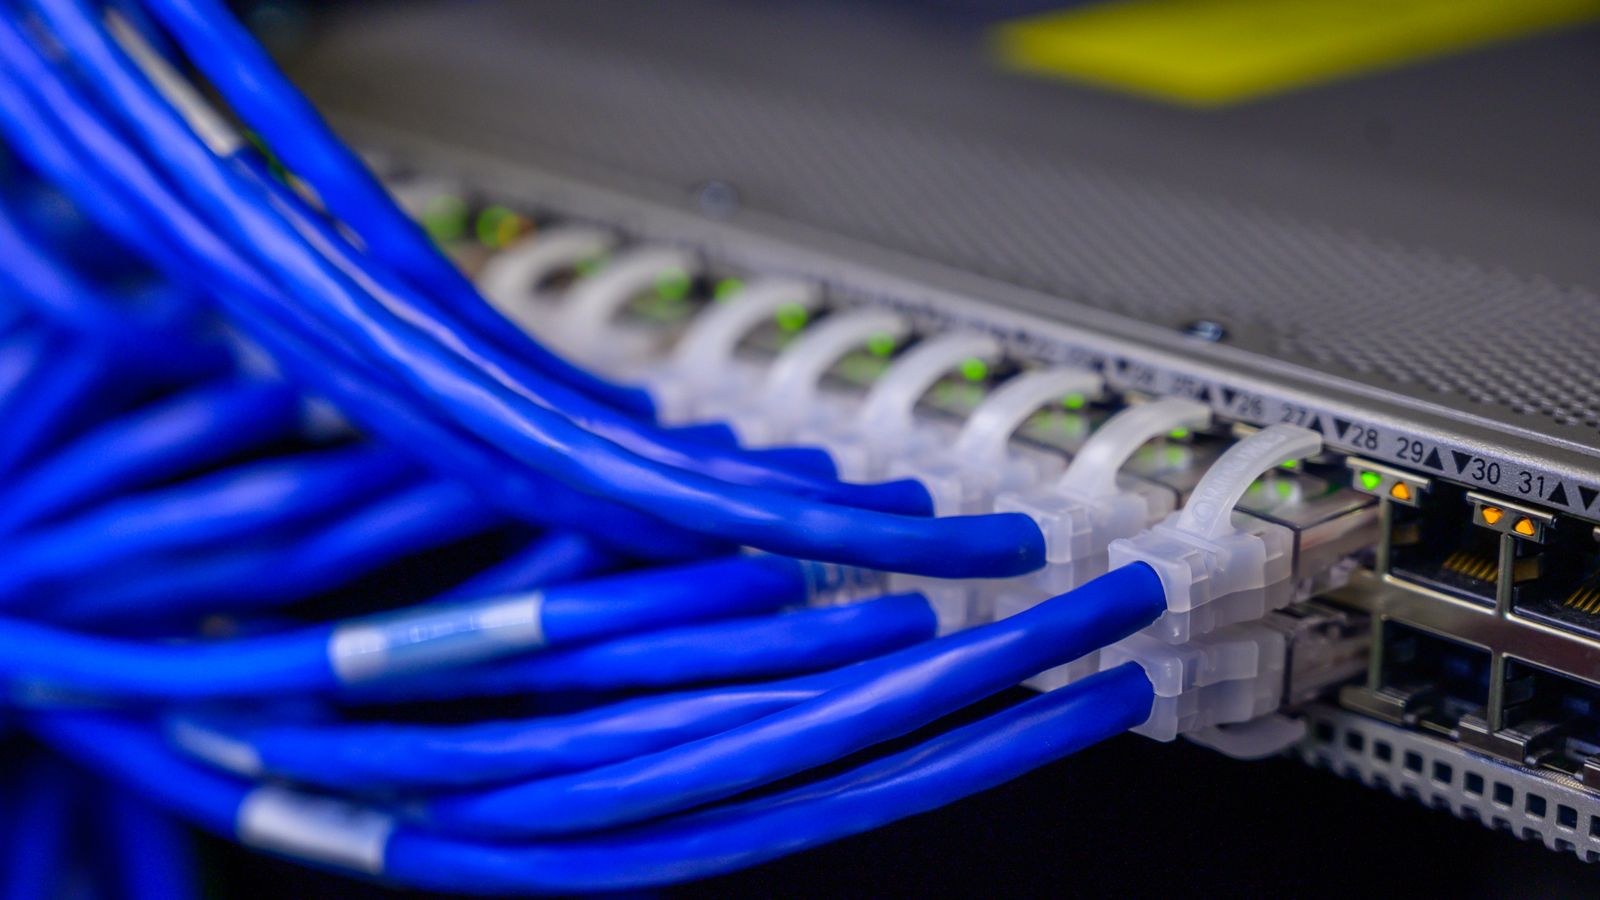
The failure rate of a camera system tracks the quality of its terminations. Keep the twist intact right up to the connector, since untwisting an inch of pair to ease crimping is exactly what creates crosstalk. Use pass-through connectors with a ratcheting crimp tool, follow the same standard, usually T568B, at both ends, and test each run with a cable tester.
For coax, compression connectors beat twist-on types by a wide margin outdoors. On both cable types, resist the urge to make a mid-run splice; pull a fresh cable instead, because splices are where corrosion and intermittent faults live.
Sizing the Recorder and Switch Location
Cable planning and equipment placement are the same decision. Every run converges on one point, so that point needs mains power on a circuit you can protect with a surge suppressor or small uninterruptible supply, enough airflow for a recorder that runs hot around the clock, physical security so an intruder cannot simply take the recorder, and space for a patch panel if you have more than about six cameras.
A patch panel is worth it beyond a handful of cameras, because punching solid cable down onto a panel and using short patch leads to the switch is more reliable than crimping connectors onto stiff in-wall cable. Complete kits that bundle recorder, switch, and pre-terminated cable are compared in our guide to the best home CCTV systems, which is a sensible option if you would rather not terminate cable yourself.
Common Wiring Mistakes to Avoid
The most expensive mistake is buying copper-clad aluminium cable to save a modest amount up front, then rewiring the entire property when the cameras will not hold power. Close behind it is running cable in the same bundle or conduit as mains wiring, which introduces induced noise and, in most jurisdictions, breaks code outright.
Other frequent errors include exceeding the 328 foot limit and blaming the camera, stapling cable tightly enough to crush the pairs, leaving no slack for reaiming, terminating outdoors without a weatherproof enclosure, and undersizing the PoE budget so the system collapses when every illuminator turns on at dusk. Test every run before you close a wall.
Frequently Asked Questions
Can I use ordinary Cat5e from a hardware store?
Yes, provided it is solid pure copper and rated for the environment it runs through. Avoid copper-clad aluminium entirely for PoE, and use outdoor or direct-burial rated cable for anything exposed to weather or soil.
How far can a PoE camera really be from the switch?
328 feet of total cable length is the reliable maximum, including patch leads. Beyond that, use a PoE extender, a midspan switch in a weatherproof enclosure, or fibre with media converters at both ends.
Do I need conduit for outdoor camera cable?
It is not always required by code for low-voltage cable, but it is strongly recommended. Conduit protects against UV damage, rodents, and deliberate cutting, and it lets you replace or add cable later without disturbing the route.
Can I run camera cable in the same hole as mains wiring?
No. Keep low-voltage and mains wiring separated, ideally by 12 inches when running parallel, and cross at right angles when a crossing is unavoidable. Sharing a conduit or bore hole invites both interference and a code violation.
Final Thoughts
Good camera wiring is unglamorous work that quietly determines everything else. Choose solid copper network cable for new installs, respect the 328 foot limit, size the PoE budget with headroom for night-time infrared, and keep low-voltage runs well away from mains. Plan the whole route on paper, leave service loops, label both ends, and use weatherproof enclosures and proper compression or ratcheted terminations wherever the cable meets equipment. Do that groundwork once and your system will simply work, year after year, letting you upgrade cameras in 2026 and beyond without ever opening a wall again.