
 Owen Bradley
 Nothing undermines a security camera install faster than a cable stapled diagonally across a living room wall. Exposed wiring looks unfinished, invites people to trip over it or yank it, and in an outdoor install it gives an intruder an obvious thing to cut. Hiding camera wiring well is mostly patience and route planning rather than specialist skill — you decide where the cable will travel before you mount anything, then use the paths a house already provides: baseboards, attics, crawl spaces, soffits, and existing conduit. This guide covers planning the run, the indoor and outdoor concealment methods that actually look good, the tools worth owning, and the mistakes that force people to redo the job.
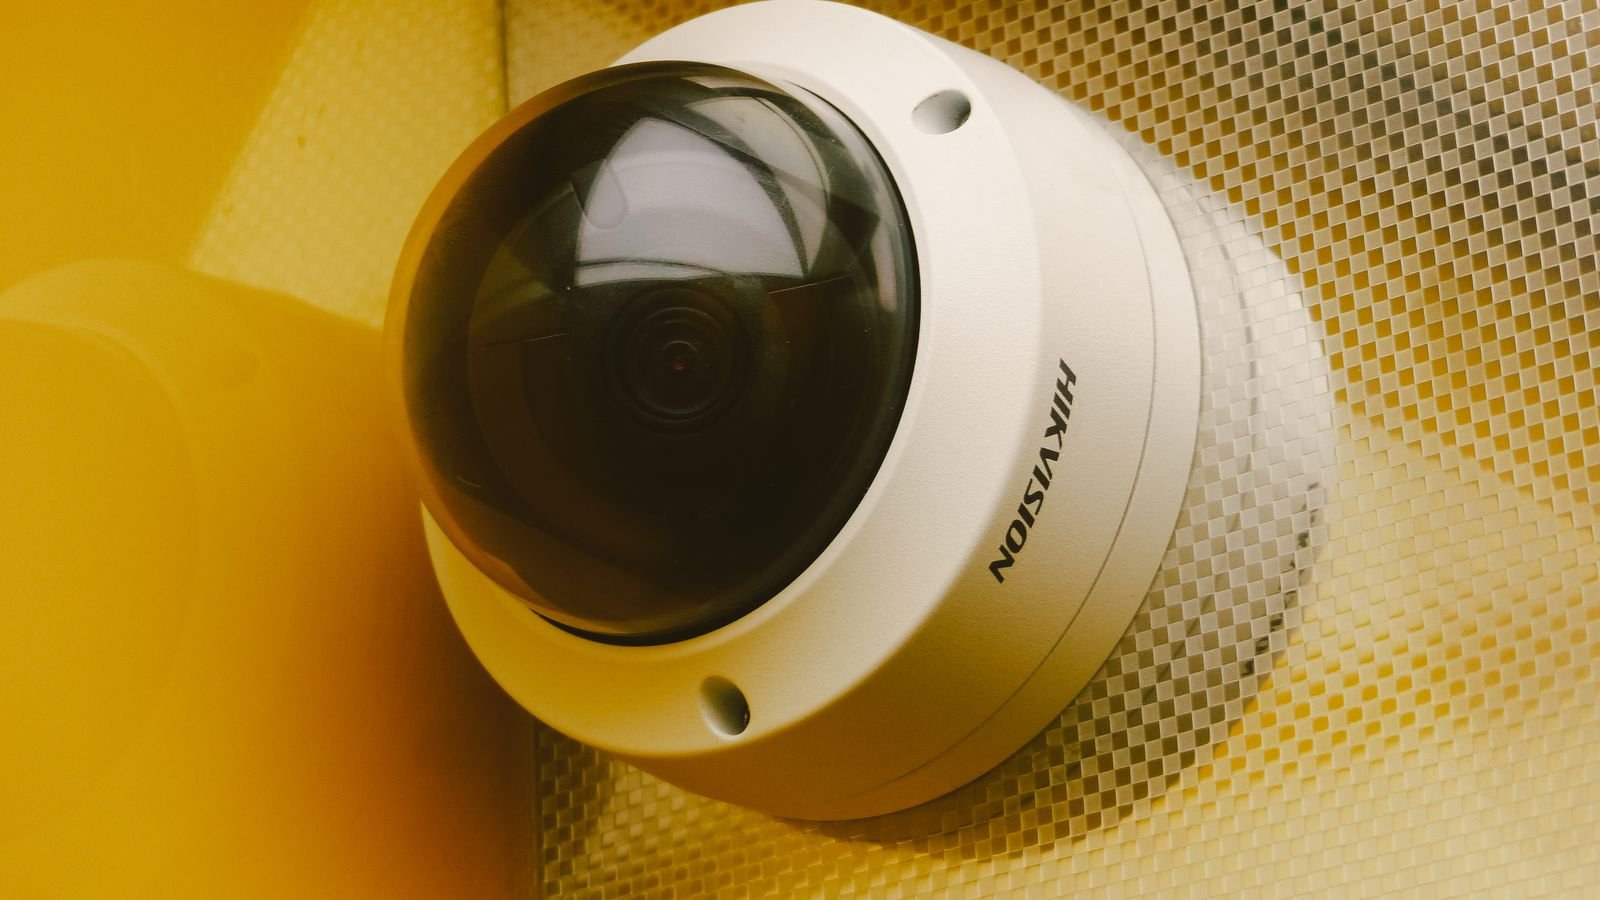
Plan the Cable Route Before You Mount Anything
The single biggest mistake is mounting the camera first and then working out where the cable goes. Reverse that. Start at the recorder or power source and work toward the camera position, asking at each step: is there an existing cavity, channel, or trim line I can follow?
Walk the route with a tape measure and write down the total length, then add 15 to 20 percent for slack, drip loops, and the vertical drops you always forget. Running short is the one error you cannot fix without pulling everything out again. Note every obstacle: fire blocking in walls, HVAC ducts, plumbing stacks, and any structural beam that will force a detour.
Decide the cable type at this stage too. Cat6 for PoE cameras gives you power and data on one cable and is by far the tidiest option. If you are working with battery or Wi-Fi indoor units, you may only be hiding a short power lead — a much simpler job. Reviewing the mounting and cabling requirements across the best home indoor security cameras before you buy will tell you whether you are planning a full structured run or a two-foot power drop.
Tools and Materials Worth Having
- Stud finder with AC wire detection
- Fish tape or glow rods for pulling cable through cavities
- Drill with a long flexible auger bit and a spade bit for top plates
- Drywall saw and low-voltage old-work mounting brackets
- Paintable raceway or cord channel for surfaces you cannot open
- Cable clips, hook-and-loop ties, and a label maker
- Exterior-grade silicone sealant and weatherproof cable glands
- Voltage tester, headlamp, and safety glasses
Step-by-Step: Hiding Wiring Indoors
- Locate studs and existing wiring. Map the wall before cutting. A stud finder with AC detection keeps you from drilling into a live circuit or a water line. Mark stud edges in pencil.
- Cut an entry and an exit port. Use a low-voltage old-work bracket at the camera position and another near the recorder or outlet. These brackets give you a clean, finished opening and a mounting point for a wall plate — far tidier than a ragged hole.
- Drop or fish the cable through the cavity. Feed glow rods from the upper opening down to the lower one, tape the cable to the rod, and pull it through. Pull steadily; a jerk can strip the tape or damage the connector.
- Use the attic when the run crosses rooms. Drill through the top plate above the wall, run the cable along the joists in the attic, and drop it down the destination wall. Keep the cable off the insulation face and secure it to joists every four to six feet so it does not sag onto a light fixture.
- Use the basement or crawl space on lower floors. The same method in reverse — drill the bottom plate, run along joists below, come up in the destination wall. Basements are usually far easier than attics because everything is visible.
- Follow baseboards and crown when you cannot open a wall. Pry the baseboard off carefully, cut a shallow channel in the drywall behind it or run the cable in the gap above the floor, then reinstall. Done properly this is completely invisible.
- Use paintable raceway as a last resort. On masonry, tile, or a rental where you cannot cut, a slim self-adhesive raceway painted to match the wall almost disappears. Run it along an architectural line — the top of the baseboard, a door casing, a corner — never diagonally across open wall.
- Terminate and dress the ends. Leave a service loop of eight to twelve inches at each end, coiled neatly inside the wall box. Fit the wall plate, label both ends of the cable, and only then mount the camera.
Step-by-Step: Hiding Wiring Outdoors
- Enter through the soffit or eave. This is the cleanest exterior route. The cable travels through the attic, exits into the soffit, and drops directly behind the camera mount, with no exposed length at all.
- Follow existing trim lines. Where cable must run on the surface, hug the joint between siding and fascia, or tuck it under a lap in the siding. Straight lines that follow the building’s geometry read as intentional; free-form runs do not.
- Use UV-rated conduit on exposed sections. Grey PVC or metal flex conduit protects against sunlight, weather, and cutting. Paint it to match the wall and it becomes near-invisible from the street.
- Seal every penetration. Every hole through the exterior envelope gets exterior-grade silicone. Angle the hole slightly downward toward the outside so water cannot track inward.
- Add a drip loop. Leave a small downward loop in the cable just before it enters any hole or connector so rain runs off the low point instead of following the cable inside.
- Protect connectors. PoE connections outdoors belong in a weatherproof junction box or inside a rated cable gland. A bare RJ45 taped with electrical tape will fail within a season.
- Keep cable out of reach where possible. Mount runs above the first-floor reach line. A cable an adult can grab from the ground is a cable that can be pulled or cut.
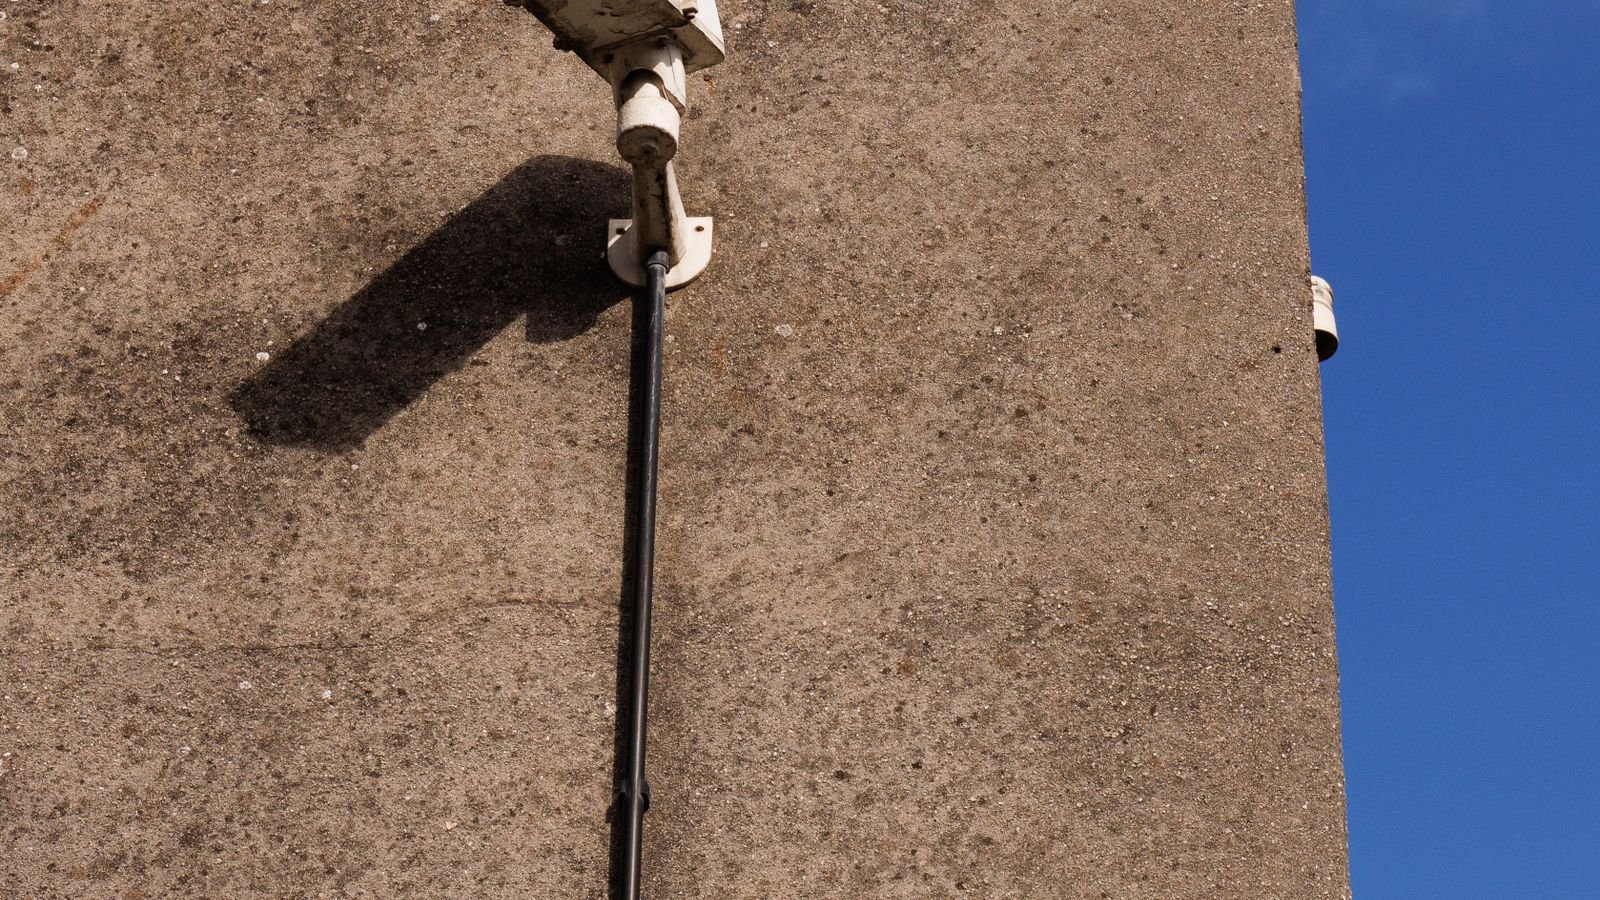
Concealment Options When You Cannot Open a Wall
Renters and anyone with plaster, brick, or tile walls still have good options. Flat adhesive cable strips fit under paint and behind furniture. Cord covers designed for TV mounts work equally well for cameras and come in paintable white. Running cable behind bookcases, along the back edge of built-in shelving, or inside the cavity of a hollow curtain rod pocket are all legitimate approaches.
Furniture placement is the free version of all this: a camera positioned above a bookcase can drop its cable straight down behind the case and reach an outlet with nothing visible at all. Take twenty minutes to consider camera placement relative to existing furniture before you settle on a mounting spot.
Safety and Code Considerations
- Never run low-voltage camera cable in the same drilled hole or stapled bundle as line-voltage wiring. Keep at least a few inches of separation to avoid induced noise and to comply with common practice.
- Use plenum-rated cable in any air-handling space if your local code requires it.
- Do not drill through structural members without checking allowable hole size and location — the centre third of a joist depth is generally the safe zone, but confirm locally.
- Maintain fire-stopping. If you drill through a fire-rated assembly, seal the penetration with an approved firestop product.
- Turn off the relevant breaker before cutting into any wall where you suspect wiring runs.
Common Mistakes to Avoid
Cutting the cable to exact length. Always leave slack. Service loops let you re-terminate a damaged connector or reposition the camera a few inches without re-pulling.
Stapling the cable too tightly. Crushing a data cable with a hammered staple changes its electrical characteristics and can cost you bandwidth or PoE reliability. Use insulated staples and leave the cable able to move slightly.
Ignoring bend radius. Sharp 90-degree kinks in Cat6 degrade performance. Keep bends gentle — roughly four times the cable diameter as a minimum radius.
Sealing before testing. Always confirm the camera powers up and streams before you close walls, replace baseboards, or caulk penetrations. Test at every stage.
Forgetting the recorder end. A beautifully hidden run that terminates in a tangle of cables behind the TV is only half a job. Bundle and label at the recorder too.
Frequently Asked Questions
Can I run camera cable in the same hole as electrical wiring?
You should not. Separate the runs to avoid interference and to stay on the right side of common wiring practice.
Is it better to hide the cable or the camera?
Hide the cable, leave the camera visible. A visible camera is a deterrent; a visible cable is a vulnerability. That is the ideal combination.
What if I cannot get into the attic?
Use baseboard channels, paintable raceway, or route through closets and cabinets. Closets in particular often give you a vertical path between floors that nobody ever sees.
How much extra cable should I buy?
Measure the route and add at least 15 to 20 percent. Cable is cheap; a second pull is not.
Do wireless cameras solve the problem entirely?
They remove the data cable but most still need power, so you are hiding a shorter lead rather than none. Battery models eliminate cabling altogether at the cost of recharging.
Final Thoughts
Hiding security camera wiring neatly is a planning exercise dressed up as a wiring job. Walk the route first, exploit the attic, basement, and baseboards before you consider surface raceway, leave generous slack, and seal and drip-loop every outdoor penetration. Test the camera before you close anything up, and label both ends so the next person — probably you, three years from now — can trace the run without guessing. Do it that way and the finished install looks like it came with the house, which is exactly the standard to aim for.









