Owen Bradley
 A stock PC often behaves in one of two annoying ways: it whirs constantly at idle when nothing is happening, or it sits silent until a game loads and then screams like a hairdryer. Both problems come from the same source, which is a default fan curve written to be safe for every possible configuration rather than tuned for yours. Setting a custom fan curve in your BIOS fixes it in about fifteen minutes, using controls your motherboard already has. This guide covers what a fan curve is, how to enter and navigate the BIOS fan controls, sensible temperature and speed targets to copy, and how to test the result.
What a Fan Curve Actually Is
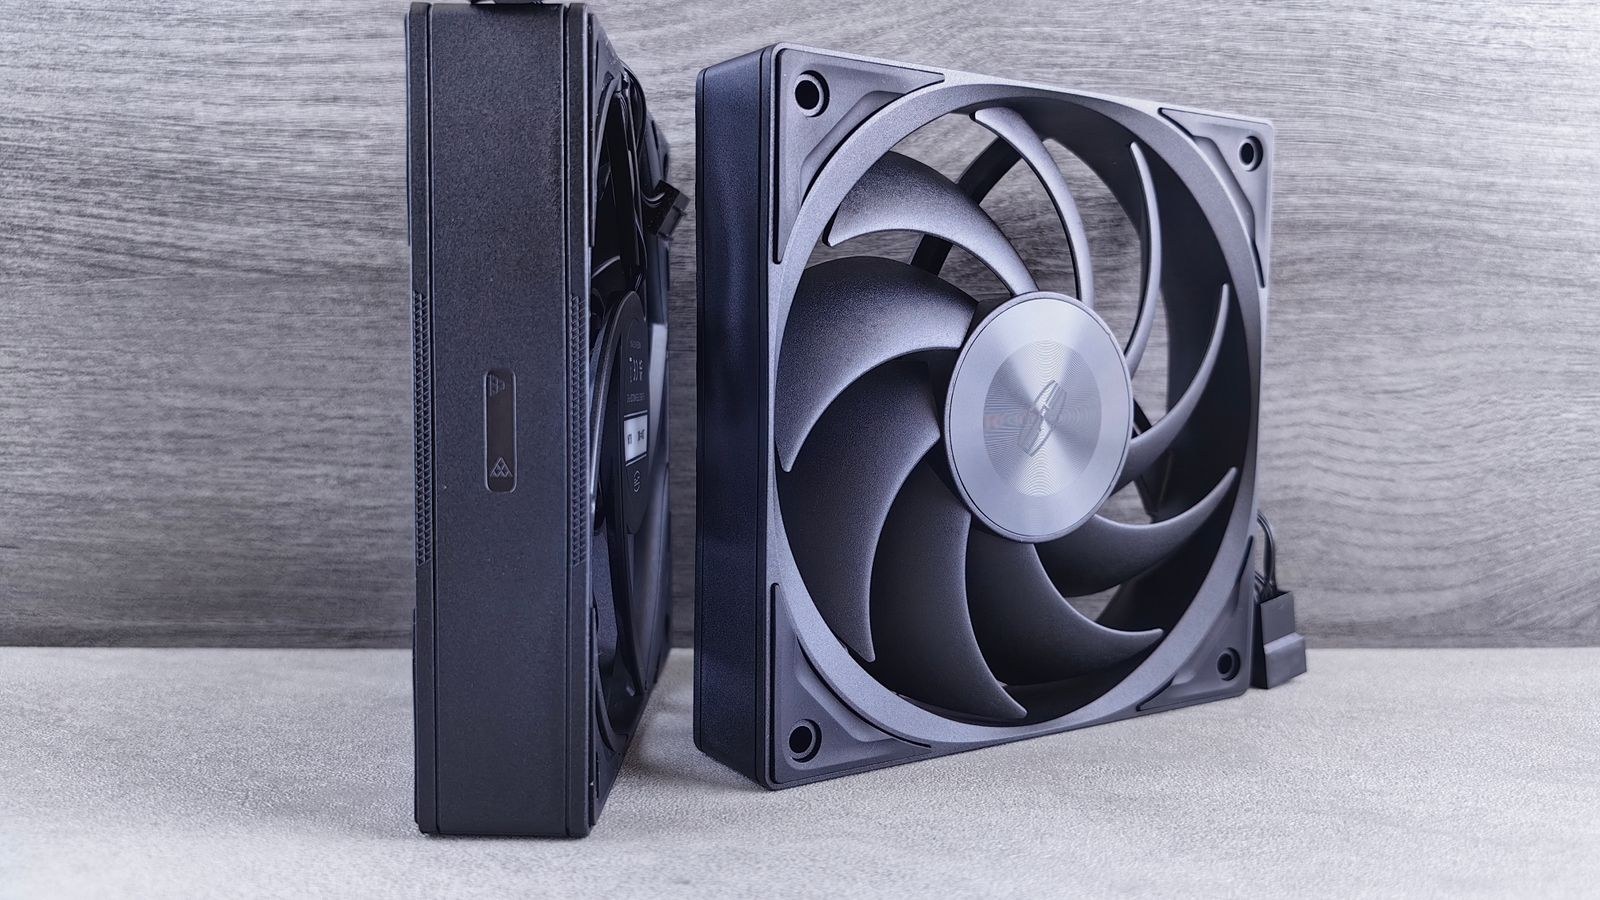
A fan curve is a simple map: at this temperature, run the fan at this speed. Your motherboard reads a temperature sensor several times a second, looks up the corresponding speed on the curve, and adjusts the fan accordingly. Most boards let you define four or five points along the curve and interpolate between them, which is more than enough control for a quiet, responsive system.
Default curves are conservative because manufacturers cannot know whether you installed a large tower cooler or a thin stock heatsink. They ramp early and react instantly, producing the constant fluctuations that make a PC audible even at idle. Ears notice change more than steady sound, so a flat curve often sounds quieter than a lower average speed that keeps moving.
Before You Start: PWM Versus DC Control
There are two ways a motherboard controls fan speed, and knowing which yours uses affects your minimum speed setting. Four-pin PWM fans receive a constant twelve volts and a separate control signal that pulses the motor, which allows precise speed control right down to very low RPM. Three-pin DC fans are controlled by varying voltage instead, which is coarser and usually cannot hold a stable speed below roughly forty percent.
Most motherboard headers can do both and will auto-detect, but you can force the mode in BIOS. If you have three-pin fans, set the header to DC and keep your minimum duty higher, around forty to fifty percent, so the fan reliably starts spinning. If you have four-pin fans, choose PWM and you can safely set minimums as low as twenty percent. PWM fans are worth the small extra cost specifically for this reason, and many CPU coolers now ship with them by default. Our roundup of the best CPU coolers with PWM fans covers models that respond well to custom curves.
Step-by-Step: Setting a Custom Fan Curve
- Note your current temperatures first. Before rebooting, check idle and load CPU temperatures in your operating system with a monitoring utility. You need a baseline to judge whether your new curve helped.
- Enter the BIOS. Restart and press the setup key repeatedly as the system powers on. It is usually Delete on desktop motherboards, sometimes F2. If your system boots too fast to catch it, use the operating system’s advanced startup option to reboot directly into firmware settings.
- Find the fan control section. Every vendor names it differently: look for Q-Fan Control, Smart Fan, Fan Xpert, Hardware Monitor, or simply Fan Control, usually under a Monitor, Advanced, or Tools heading. Many boards have a simplified home screen with a fan icon that jumps straight there.
- Run the automatic calibration if offered. Most boards include a routine that spins each connected fan through its range to learn its minimum start speed and maximum RPM. Run it once. It takes a minute and makes manual settings far more accurate.
- Select the fan header you want to configure. Configure the CPU fan header first, then case fan headers. Confirm each header is set to PWM or DC to match the fan plugged into it.
- Choose the source sensor. The CPU fan should follow the CPU temperature. Case fans often default to CPU temperature too, but many boards let you select the motherboard or chipset sensor instead, which changes far more slowly and therefore produces a much steadier fan speed.
- Set the lower points for quiet idle. A good starting shape for a CPU fan is roughly twenty to thirty percent duty up to about 45 degrees Celsius, then holding near thirty-five percent through 55 degrees. This keeps the system near-silent during browsing and light work.
- Set the middle points for gradual ramp. Around 65 degrees, aim for roughly fifty to sixty percent duty. This is the range where sustained gaming and video encoding live, so it should be audible but not intrusive.
- Set the upper points for safety. By 80 degrees, the fan should be at eighty to ninety percent, and by 90 degrees it should be at one hundred percent. Never leave the top of the curve below full speed, because that point is your thermal safety net.
- Adjust the response time settings. Look for step-up and step-down time, sometimes called spin-up and spin-down or hysteresis. Setting these to a few seconds rather than instant stops the fan from surging every time a background task briefly spikes the CPU.
- Repeat for your case fans with a gentler curve. Case fans move bulk air and do not need to react quickly. A flatter curve, perhaps thirty percent to 50 degrees and seventy percent by 75 degrees, keeps them quiet while still clearing heat.
- Save and exit. Press F10 or use the save-and-exit menu. The system reboots with the new curve applied at the firmware level, so it works before the operating system loads and regardless of which OS you use.
Testing Your New Curve
Verify in three stages. First, let the machine idle at the desktop for ten minutes and listen. If you hear speed changes, the lower points are too steep or the step-down time is too short.
Second, run a sustained load for at least fifteen minutes and watch the temperature. It should stabilize well below the manufacturer’s thermal limit, typically under 85 degrees for most desktop processors. If it climbs past that, raise the middle of your curve rather than the top.
Third, test a burst workload such as opening a large application. The fan should ramp smoothly rather than jumping to full speed and back. If it lurches, lengthen the step-up time.
Choosing Targets That Suit Your Hardware
The numbers above are a starting template, not gospel. A large air cooler with two 140mm fans can hold much lower duty cycles at the same temperature than a compact cooler, so you can shift the entire curve down. Adjust based on your own readings after testing.
Case choice also constrains what a curve can achieve. A dampened, sound-insulated chassis lets you run higher fan speeds for the same perceived noise, which effectively widens your tuning room. If noise is your main concern, the best quiet PC cases combine insulation with sensible ventilation, and pairing one with a cooler from the best CPU coolers for low noise list gives a custom curve much more headroom to work with.
Safety Notes
The main risk in fan tuning is setting a curve so gentle that the system overheats under sustained load. Never disable the CPU fan header entirely, never set the top of the curve below one hundred percent, and never turn off the low-RPM warning without a good reason, since that alert is how you learn a fan has failed.
Leave the emergency thermal protection settings alone. Modern processors throttle and then shut down automatically at critical temperatures, and that behavior should stay enabled. Also confirm each fan is physically on the header you think it is, or your carefully tuned curve will control the wrong thing.
Troubleshooting Common Problems
If the fan control screen shows no speed for a header, the fan is either unplugged, plugged onto the wrong pins, or connected to a splitter whose tachometer wire only reports one fan. Reseat the connector and confirm all four pins engage.
If your settings vanish after a reboot, suspect a failing CMOS battery, an OS utility overriding the firmware curve, or a BIOS update that reset defaults.
Fans that oscillate up and down rhythmically usually indicate too little hysteresis. Increase the step-down time or flatten the curve section around your typical idle temperature. Fans stuck at full speed regardless of settings often mean the header is set to DC while a PWM fan is attached, or the fan is plugged into a header configured for a water pump, which many boards run at full speed by default. If noise persists even with a well-shaped curve, the fans themselves may be the limit, and higher-quality bearings help. Our list of the best cooling fans for PCs and this guide to reducing fan noise on a gaming PC cover the next steps.
Mistakes to Avoid
The most common mistake is chasing silence too aggressively. A curve that holds twenty percent duty up to 70 degrees will be beautifully quiet and will also let heat soak into every component around the socket, shortening the life of nearby parts. Quiet at idle is the goal, not quiet under load.
Another is setting an unnecessarily steep ramp between two adjacent points. A jump from thirty to eighty percent across five degrees creates a very audible surge every time the temperature crosses that threshold. Spread changes across a wider range so the transition is gradual.
Builders also frequently tie case fans to the CPU temperature sensor, which swings by twenty degrees within a second during normal use, so those fans never settle. Use a motherboard or chipset sensor for chassis fans wherever your board allows it.
Frequently Asked Questions
Is BIOS fan control better than software?
BIOS control is more reliable because it runs at the firmware level, applies before the operating system loads, and cannot be broken by a driver update or a crashed background application. Software tools often offer more sensor options and nicer interfaces, so many people use software for experimentation and then transfer the final curve into BIOS.
What is a safe minimum fan speed?
For four-pin PWM fans, twenty percent duty is usually safe and still spins reliably. For three-pin fans controlled by voltage, keep the minimum at forty percent or higher, since lower voltages may not provide enough torque to start the fan from a standstill.
Should I let fans stop completely at idle?
Zero-RPM modes are genuinely silent and safe on capable coolers, but only if the curve brings the fan back on well before temperatures become a problem. Set the restart point around 50 degrees and confirm during testing that the fan actually resumes.
Final Thoughts
A custom fan curve is the rare tweak that costs nothing, carries almost no risk, and improves daily use immediately. Get into the BIOS, run the calibration, keep the low end gentle and flat, ramp gradually through the middle, and always finish at one hundred percent. Lengthen the response times so the fans stop reacting to every momentary spike, and point case fans at a slow-moving sensor instead of the CPU.
Then test properly, at idle, under sustained load, and during bursts, and adjust one section at a time. Fifteen minutes of tuning usually buys a machine that is inaudible while you work and still comfortably cool when you play, and the settings will keep serving you through 2026 without another thought.