
 Owen Bradley
 When a processor runs hot, the instinct is to shop. A bigger cooler, more fans, a new case: all of it is available and all of it costs money. Yet in most systems that run hotter than they should, the cause is something free to fix. Dried paste, a cooler mounted unevenly, a fan curve that never ramps, a filter clogged with dust, or a firmware setting quietly feeding the chip more power than it needs. Working through those in order routinely drops sustained temperatures by 10 to 20 degrees Celsius without a single purchase. This guide covers how to lower CPU temperatures using the free fixes first, in the order that returns the most degrees per minute of effort, and then identifies the upgrades genuinely worth paying for.
Diagnose Before You Change Anything
Record where you are starting from, or you will have no idea whether anything you do helps. Note the room temperature, then log idle package temperature over ten minutes and sustained load temperature over thirty minutes of heavy use. Record the clock speed alongside each figure.
The shape of the curve tells you where to look. A near-instant spike to the thermal ceiling within the first minute means heat is not leaving the die properly, which is a paste or mounting problem. A slow, steady climb across twenty or thirty minutes means the cooler is working but the case cannot expel the heat, which is an airflow problem. High idle temperatures with a quiet system usually mean a fan curve that never ramps. Treat the pattern as your diagnosis and work on that first rather than doing everything at once.
What You Need for the Free Fixes
- A Phillips screwdriver, ideally magnetic, and a small flat blade for clips.
- Isopropyl alcohol at 90 percent or higher, plus lint-free cloths or coffee filters.
- Compressed air or an electric duster, and a soft brush.
- A monitoring tool that logs temperature, clock speed, and fan RPM.
- Existing thermal paste if you plan to remount, since you cannot reuse the old layer.
Power the machine down fully, switch off the power supply, unplug it, and hold the power button for five seconds to discharge before you touch anything inside.
How to Lower CPU Temperatures, Step by Step
- Clean the dust out thoroughly. This is the highest-value free fix on any machine more than a year old. Dust on heatsink fins acts as insulation and a clogged intake filter starves the whole case of air. Remove the filters and wash or brush them, blow the heatsink fins clear from the exhaust side outward, and hold each fan blade still while you clean it so the motor is not spun backwards. A machine that has never been cleaned commonly drops 5 to 10 degrees from this step alone. The detailed walkthrough on how to clean dust out of a gaming PC covers the technique properly.
- Fix your fan curves. Default profiles are tuned for silence, not cooling, and often leave fans idling until the processor is already hot. Set a curve that begins ramping around 45 degrees rather than 70, and reaches a meaningful speed by 70 degrees. Add a short response delay so the fans do not surge with every brief spike. Slightly more noise for ten fewer degrees is usually a trade worth taking.
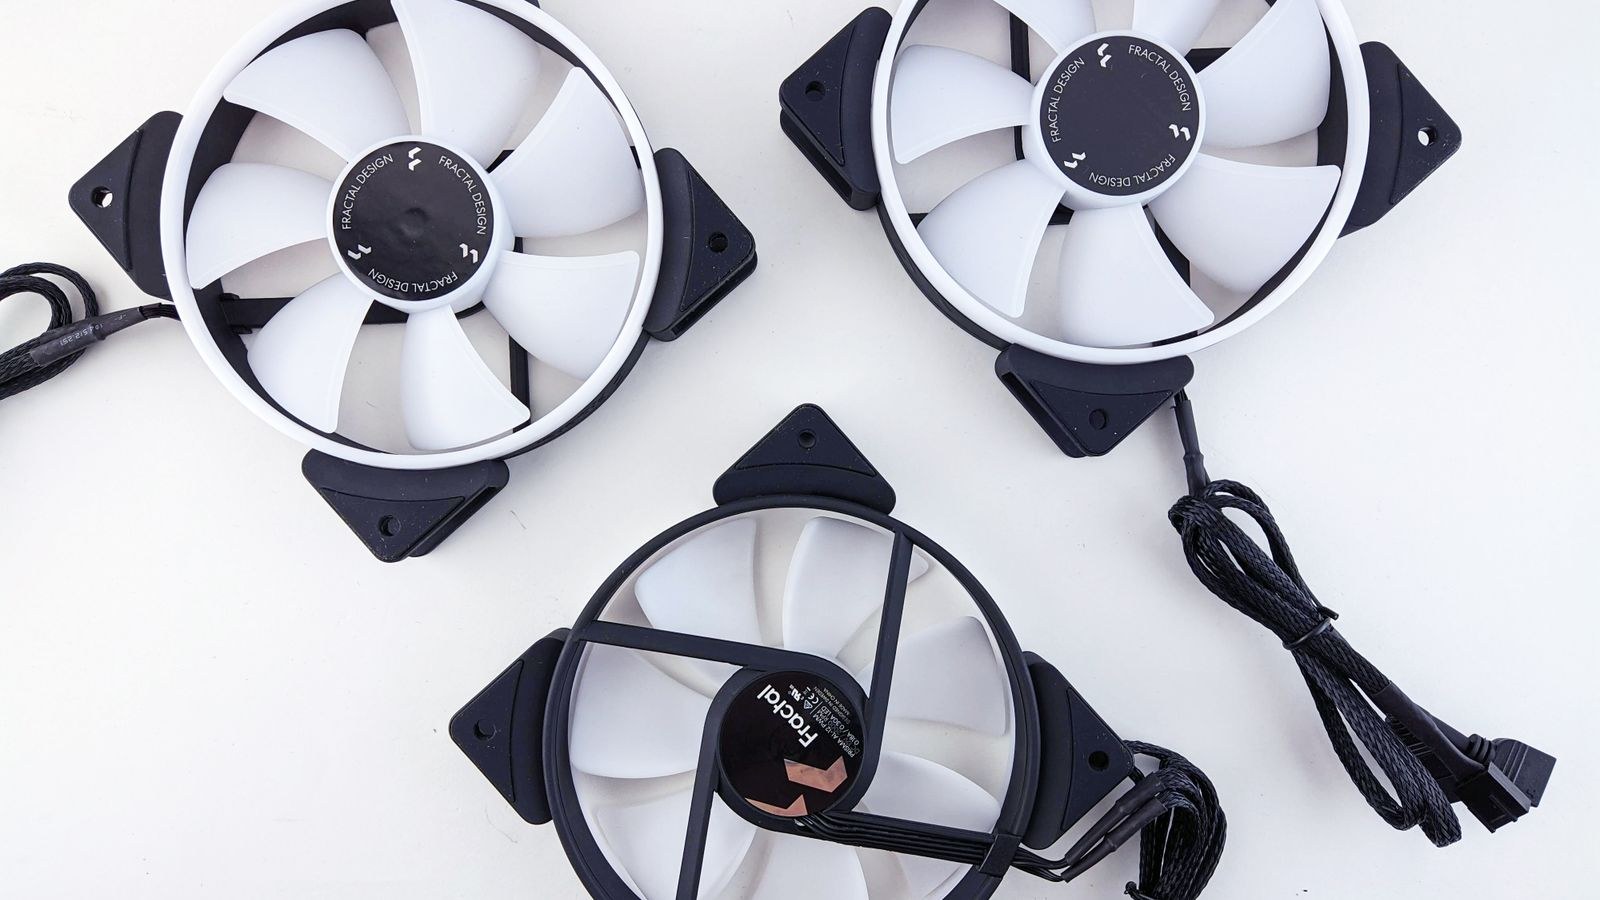
- Check the case airflow direction. Front and bottom fans should pull air in, rear and top fans should push it out. A case with every fan set as exhaust creates negative pressure that drags dust through every gap, and one with everything as intake traps heat. Aim for slightly more intake than exhaust. Make sure nothing blocks the intake: a case pressed against a wall or sitting inside a closed desk cabinet loses a large fraction of its cooling for free.
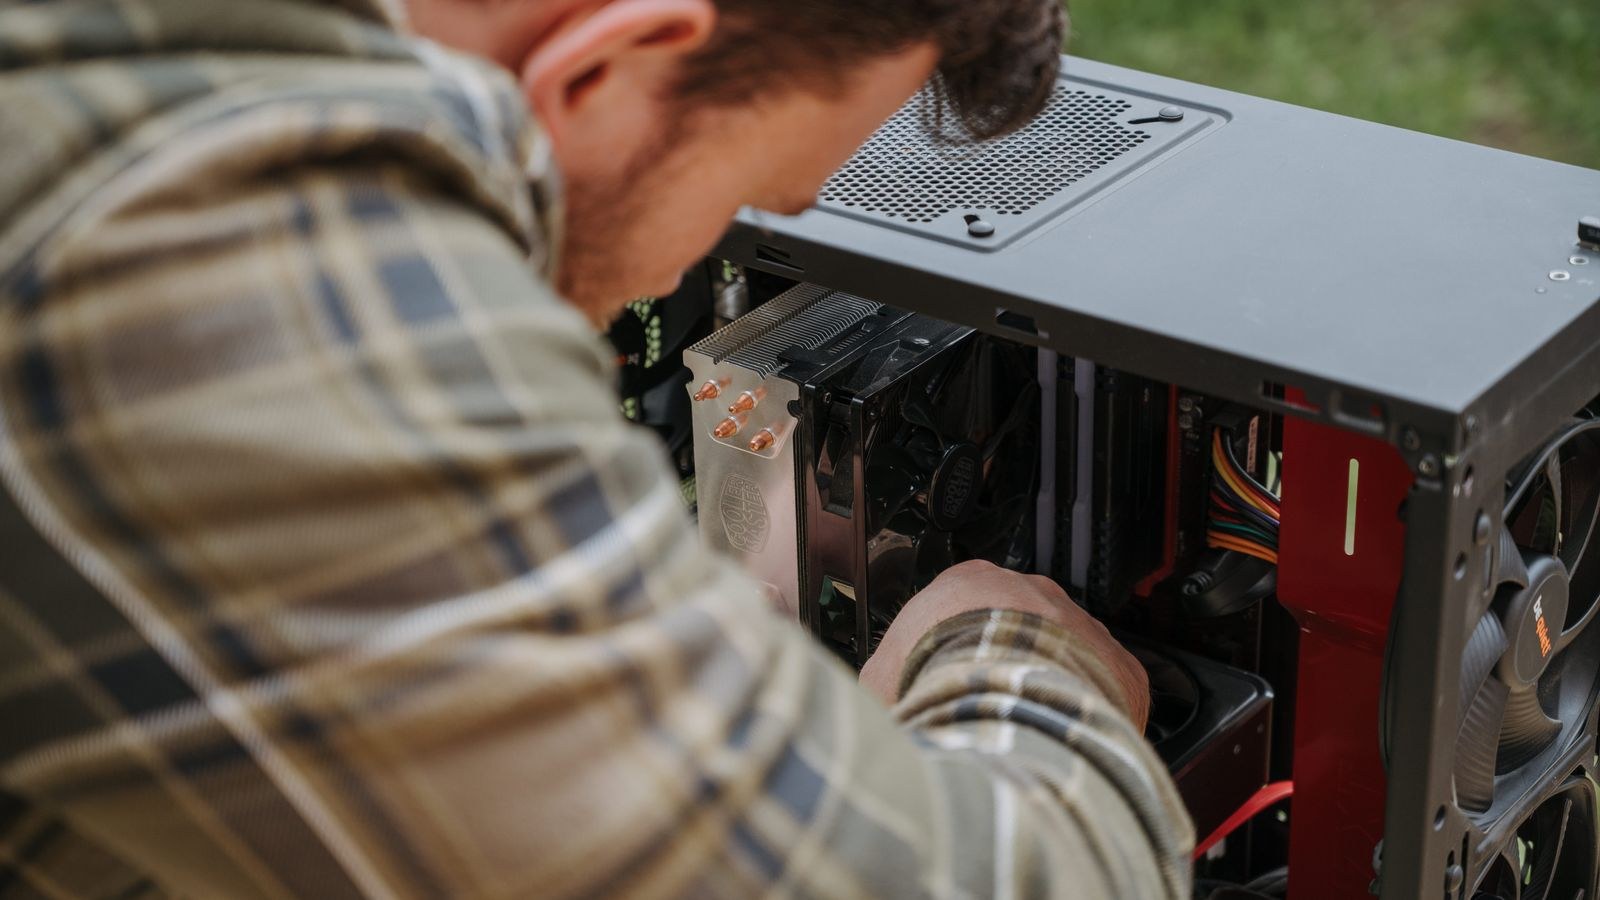
- Reseat the cooler. If your diagnosis pointed at contact, this is the fix. Remove the cooler, clean both surfaces down to bare metal with alcohol, apply fresh paste, and tighten the mounting screws in a diagonal cross pattern a few turns at a time so pressure lands evenly. Uneven mounting is extremely common and produces exactly the fast-spike temperature curve described earlier.
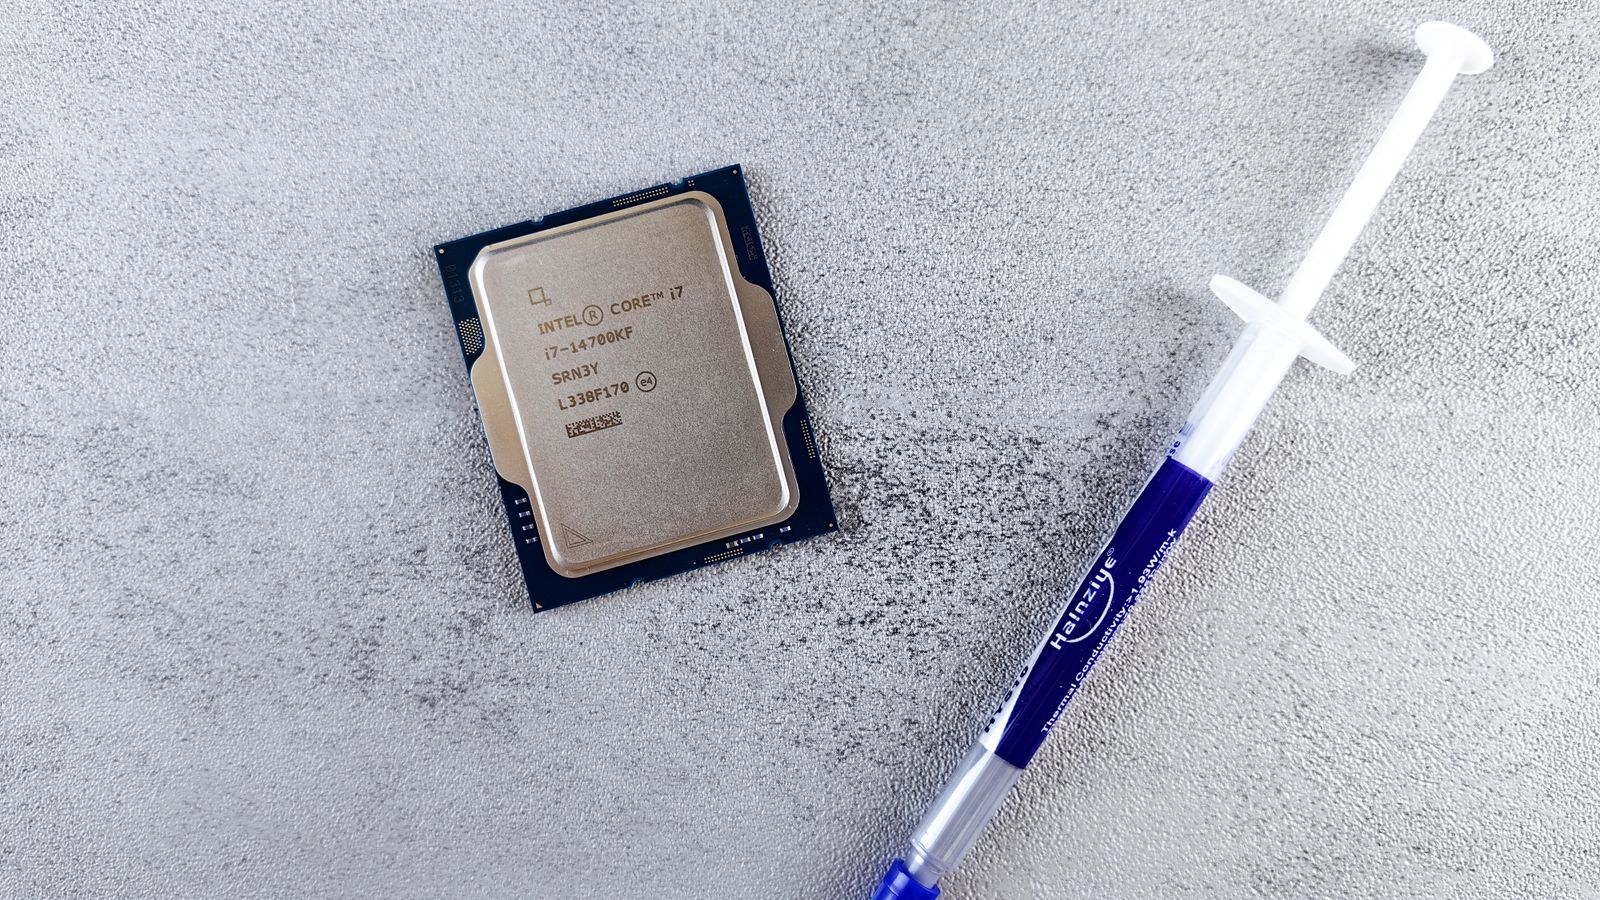
- Apply the paste correctly. A pea-sized dot in the centre works for most square dies, while a thin line along the long axis suits rectangular ones. Do not spread it by hand and do not use too much; excess paste insulates rather than conducts. Choosing a good compound matters here, and the comparison of the best CPU thermal paste shows the realistic difference between compounds, which is usually a few degrees rather than a transformation.
- Undervolt the processor. This is the most underrated free fix. Modern chips ship with a conservative voltage margin to guarantee stability across every sample, and most will run stably with less. Reduce the voltage offset in small increments, testing stability after each step, and you can shed 5 to 15 degrees under sustained load with little or no performance loss. Back off one step the moment you see instability.
- Adjust the power limit. If your chip is allowed to draw far more power than your cooler can dissipate, it will simply heat up until it throttles. Capping the sustained power limit slightly below the stock figure often cuts temperatures sharply while costing only a few percent of multi-threaded performance, and nothing at all in games.
- Tidy the cables. Cables bunched in front of the intake or draped across the cooler disrupt airflow. Route them behind the motherboard tray and out of the main chamber.
- Retest with the panel on. Repeat the same thirty-minute load test in the same room conditions and compare against your baseline. Only then decide whether you still have a problem.
Safety Notes
Never use a household vacuum inside a PC, since the plastic nozzle can generate static that damages components. Do not let compressed air spin fans freely, because a fan driven backwards can generate a voltage spike through its header. Keep liquids away from the board and let alcohol evaporate fully before powering on. If you remove the cooler from an AMD socket, warm the system briefly first so the paste is soft; a cold, glued cooler can lift the processor out of the socket with it and bend pins.
Common Mistakes That Make Things Worse
Applying too much paste is the classic. A thick layer conducts heat worse than a thin one, and squeezing excess out around the die does nothing useful. Less is genuinely more.
Running the machine with the side panel off looks like it should help and usually does not. Cases are designed to channel air across the components, and removing the panel breaks that path so hot air simply pools around the cooler. Test with the panel on.
Adding fans without a plan is the third. Six fans fighting each other in a confused pattern move less useful air than four arranged as a clean front-to-back path. Think about the route air takes through the chassis, not the fan count.
Finally, blaming the cooler before checking the settings wastes money. A chip pulling well above its rated power because of an aggressive default firmware profile will run hot on almost any cooler.
When an Upgrade Is Genuinely Justified
If you have cleaned, remounted, tuned the curves, and undervolted, and the processor still throttles in ordinary use, the hardware is the limit. That happens most often with high-power chips paired with a cooler sized for a lesser one. Comparing options among the best air CPU coolers shows what a large tower can absorb, and for chips with very high sustained draw the roundup of best CPU coolers for high TDP processors is the right place to look.
Where your testing pointed at the case rather than the cooler, with a slow climb over many minutes and warm exhaust air, the chassis is the constraint. Restrictive front panels and solid glass fronts choke intake badly, and a design from the best PC cases for airflow list can deliver a bigger improvement than a cooler swap for less money.
Frequently Asked Questions
How much can free fixes really lower CPU temperatures?
On a neglected machine, a thorough clean plus a fresh remount plus tuned fan curves commonly delivers 10 to 20 degrees Celsius. Undervolting can add another 5 to 15 on top. On an already clean and well-tuned system, expect much less.
How often should thermal paste be replaced?
Every three to five years for most compounds under normal use, or sooner if you see temperatures creeping up over time. There is no benefit to replacing it annually on a system that is performing well.
Will undervolting reduce performance?
Usually not measurably. Because temperature limits how long a chip can hold high boost clocks, a successful undervolt often raises sustained performance slightly. Test stability carefully after each adjustment.
Is a liquid cooler always cooler than air?
No. A large air tower matches or beats a small radiator liquid cooler on many chips. Liquid wins mainly at larger radiator sizes and with very high power processors, and it moves heat directly out of the case, which helps other components.
Final Thoughts
High processor temperatures are a symptom, and the cheapest fixes address the most common causes. Clean the dust, correct the airflow path, tune the fan curves, remount the cooler with fresh paste applied properly, and trim voltage and power limits. Measure before and after each change so you know what actually worked. Only when a properly cleaned, correctly mounted, sensibly tuned system still throttles have you earned the right to spend money, and by then you will know exactly which part to buy.









