Owen Bradley
 A solar path light that glows for ten minutes and then quits has almost always failed in the same place: the rechargeable cell buried under the solar panel. Panels last many years, but the battery inside a garden light is a consumable that fades after a couple of seasons. Learning to replace solar light batteries takes about ten minutes per fixture and usually restores full runtime immediately. This guide covers diagnosing the fault, identifying the exact cell you need, swapping it safely, and resealing the housing against moisture.
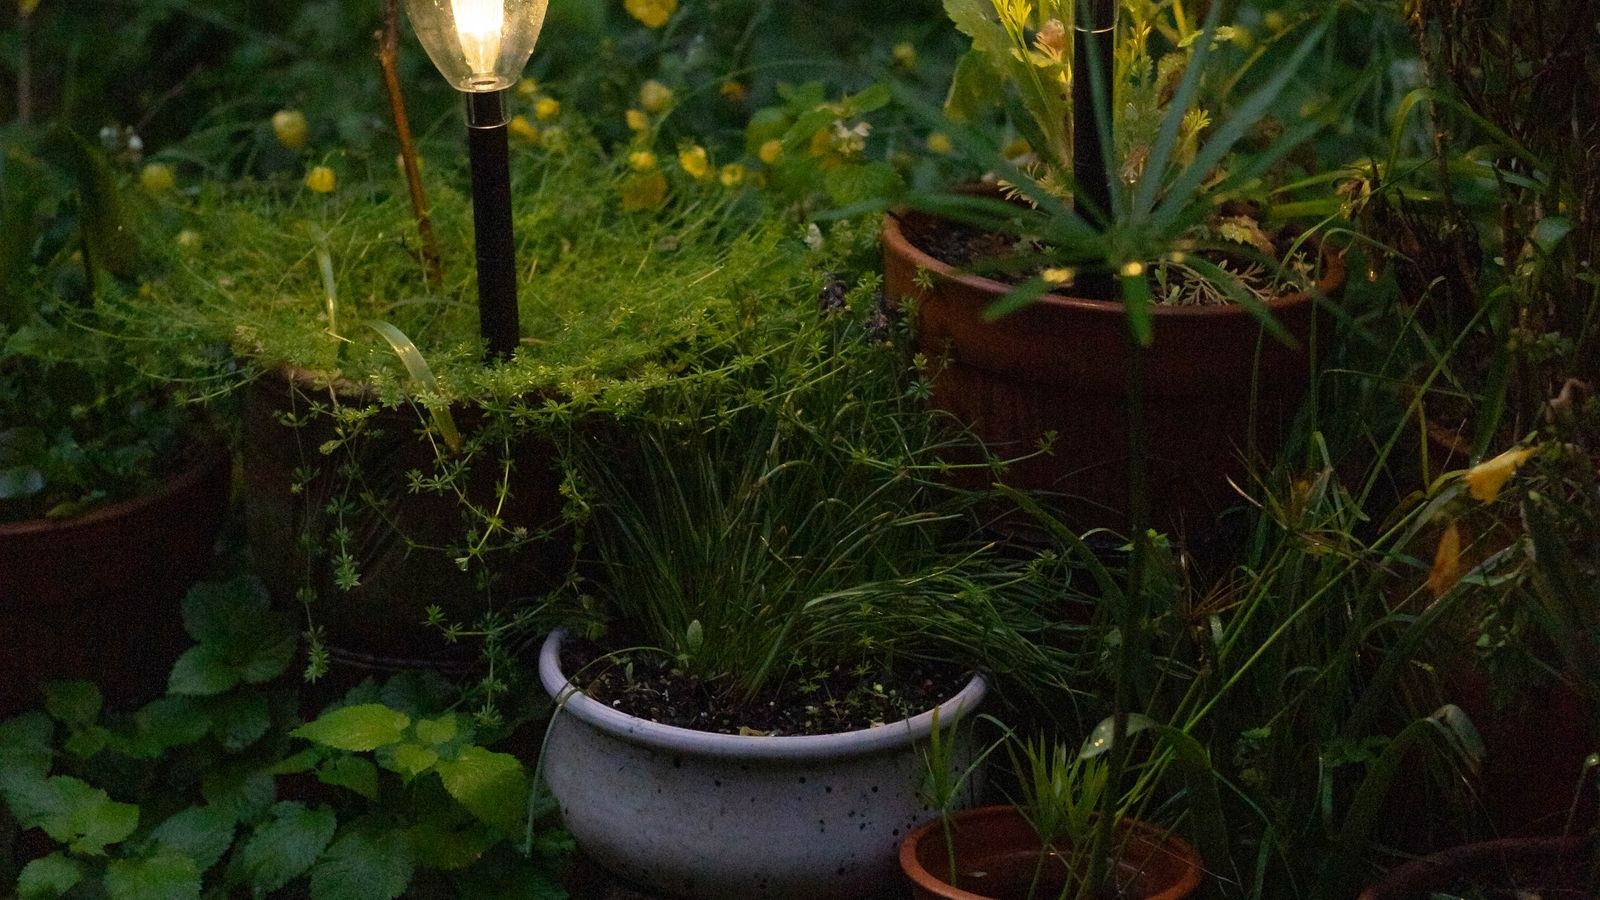
Confirm the Battery Is Actually the Problem
Before you open anything, rule out the two faults that mimic a dead battery. A dirty or clouded solar panel can cut charging current by more than half, and a light installed under a tree or a roof overhang may only see an hour of direct sun a day. Wipe the panel with a damp cloth, move the fixture into open sun for two full days, and see whether runtime recovers.
The second impostor is the on/off switch, which often corrodes shut. Toggle it several times and cover the panel with your palm in daylight; a healthy light should flicker on within seconds. If it still fails after a clean panel, a sunny day and a working switch, the cell is worn out. Tired batteries show the classic symptom: bright for a few minutes at dusk, dark by mid-evening.
Tools and Parts You Will Need
- Small Phillips screwdriver — most solar caps use two to four tiny screws.
- Replacement rechargeable cells — matched in chemistry, size, voltage and capacity to the originals.
- Contact cleaner or fine sandpaper — for cleaning corroded battery terminals.
- Silicone grease or clear silicone sealant — to reseal the gasket and screw holes.
- Multimeter — optional, but useful to confirm the old cell is genuinely flat.
- Soldering iron — only needed on sealed units where the pack is tab-welded in place.
If several fixtures in a run are fading at once, they were likely installed at the same time and will all need cells. Buying a multipack is cheaper than replacing them one at a time, and it keeps every light in the run on the same charge cycle.
Identify the Right Replacement Cell
Solar lights use rechargeable cells, never alkaline. Putting a disposable alkaline battery into a solar fixture is the single most common mistake and can cause leaking or rupture, because the panel will try to charge something that cannot accept a charge. Look at the label on the old cell and copy three things.
- Chemistry. Most garden lights use NiMH (nickel metal hydride), older ones use NiCd, and brighter modern units use lithium cells such as 18650 or LiFePO4. Replace like with like — the charging circuit is tuned to that chemistry.
- Size and voltage. AA and AAA NiMH cells are 1.2V each, not 1.5V. An 18650 lithium cell is typically 3.7V. If the fixture holds two cells in series, both must match.
- Capacity. Measured in mAh. Matching the original is safe; going modestly higher, say from 600mAh to 1000mAh, extends runtime as long as the panel can still refill it in a day. Jumping to a very large capacity in a light with a tiny panel just means the cell never reaches full charge.
While you are shopping, it is worth checking whether the fixture itself is worth saving. Very cheap units with pinhole-sized panels rarely justify new cells, whereas a well-built fixture from a roundup of the best quality solar lights will happily accept two or three battery replacements over its life.
Step-by-Step Battery Replacement
- Work in daylight, indoors. Bring the fixture to a table so you do not lose screws in the grass. Switch the light to off first so the LED is not drawing current while you work.
- Remove the cap or panel head. Most designs either twist a quarter turn or release with two to four small screws around the panel edge. Keep the screws in a dish. Some stake lights simply pull apart at a friction fit.
- Note the orientation before removing anything. Photograph the battery compartment with your phone. Polarity errors are the second most common failure after wrong chemistry, and a photo settles any doubt in seconds.
- Lift out the old cell. If it is in a spring holder, push it toward the spring and lever it out. If it is soldered to tabs, desolder the tabs rather than pulling, which can tear the circuit board pads.
- Inspect and clean the contacts. White or green crust means an old cell has vented. Scrub the terminals with fine sandpaper or contact cleaner until they are bright metal, then check the springs still have tension.
- Fit the new cell in the correct orientation. Match the photo you took. The new cell should seat firmly with no wobble; a loose contact produces intermittent charging that looks exactly like a dead battery.
- Check the seal before closing. Most caps have a rubber O-ring or foam gasket. Clean it, apply a thin smear of silicone grease, and make sure it is seated evenly in its groove.
- Reassemble and tighten evenly. Snug the screws in a diagonal pattern so the gasket compresses uniformly. Over-tightening cracks plastic housings, so stop as soon as the seam closes.
- Charge before first use. Leave the switch off and set the fixture in direct sun for one or two full days. New cells arrive partly discharged, and a full first charge helps them reach rated capacity.
- Test at dusk. Switch on and confirm the light comes up automatically as ambient light falls and holds brightness for several hours.
Safety Notes Worth Taking Seriously
Never short the terminals with a screwdriver or a metal ring; even a small NiMH cell can heat a shorted tool enough to burn. Do not puncture, crush or heat a lithium 18650, and if one is swollen or discoloured, take it straight to a battery recycling point.
Old cells never belong in household waste; most hardware stores accept rechargeable batteries free of charge. If you are soldering, keep the iron on the tab rather than the cell body.
Resealing Against Moisture
Water ingress is the reason most solar lights die a second time. Once the cap is off, the original factory seal is compromised, so plan to restore it. A thin bead of clear silicone sealant around the seam, or a smear of silicone grease on the O-ring, keeps rain out without gluing the unit shut permanently.
Screw holes on the top face let water track straight down onto the board — a dab of grease under each screw head fixes that. Keep the small vent or sensor hole clear rather than blocked with sealant. Fixtures rated IP65 or better handle the weather far more reliably, which is one reason quality matters when you are choosing replacements for a driveway or fence run of best outside solar lights.
Troubleshooting After the Swap
- Light does not come on at all. Recheck polarity, then confirm the switch is on. Cover the panel completely in daylight to simulate dusk; if nothing happens, look for a loose wire from the panel to the board.
- Runs for only an hour. The cell is not reaching full charge. Move the fixture to a spot with at least six hours of direct sun, and clean the panel again — a hazy panel is often the real culprit.
- Flickers or cuts in and out. Usually a poor contact. Re-clean the terminals and check the spring pressure holds the cell tight.
- Dies again within weeks. Either the wrong chemistry was fitted, or moisture is still getting in. Open it up, look for condensation on the inside of the panel, and reseal.
- Dim even when fully charged. The LED or driver may be failing rather than the battery, which is the point at which replacement makes more sense than repair.
Common Mistakes to Avoid
Fitting alkaline cells tops the list, followed by mixing an old cell with a new one in a two-cell fixture. The weaker cell drags the pair down and can reverse-charge, ruining both. Always replace all cells in a fixture together. Another frequent error is buying a very high capacity cell for a light with a small panel: if the panel produces 200mAh a day, a 2500mAh cell will never see a full charge and the light will underperform even though the battery is brand new.
Finally, do not store fixtures indoors for months with the switch on. The cell will slowly discharge to zero and deep-discharged NiMH cells often refuse to take a charge afterwards. If you pack lights away for winter, switch them off and give them a sunny top-up every couple of months. Portable units such as rechargeable solar lanterns especially benefit from that habit, since they spend more of the year in storage than in the garden.
How Long Should Replacement Cells Last?
A decent NiMH cell in a garden light delivers roughly 500 to 1000 charge cycles, which works out to about two to three years of nightly use before capacity noticeably drops. Lithium cells in better fixtures often stretch past that. The practical signal to replace again is when winter evenings leave you dark by 9pm.
You can extend cell life by keeping panels clean, positioning fixtures for maximum direct sun, and avoiding installations where a light runs all night at full brightness with no motion trigger or dusk-to-dawn dimming. If you are upgrading rather than repairing, comparing modern solar LED lights is worthwhile, because newer drivers and larger panels have improved runtime substantially over older designs.
Frequently Asked Questions
Can I use regular AA batteries in a solar light?
No. Only rechargeable NiMH, NiCd or the specified lithium cell should go into a solar fixture. Alkaline batteries cannot accept the charge the panel delivers and may leak or rupture inside the housing.
How do I know the capacity to buy?
Read the label on the old cell for the mAh figure and match it, or go modestly higher. Very large capacities are wasted in fixtures with small panels, because the panel cannot refill them in a single day.
Do I need to charge new cells before installing?
It is not strictly required, but leaving the assembled fixture in direct sun with the switch off for a day or two before first use helps new cells reach their rated capacity and gives you a clean baseline for testing runtime.
Why did my light die again after a month?
The usual causes are wrong battery chemistry, reversed polarity, or moisture entering through a seal that was not restored after opening the housing. Check all three, and inspect the inside of the panel for condensation.
Final Thoughts
Replacing solar light batteries is one of the highest-value ten-minute repairs around the home. Confirm the cell really is the fault, copy the chemistry, size, voltage and capacity from the original, work carefully with polarity, and reseal the housing properly on the way back together. Do that and a fading run of path lights returns to full brightness for the price of a coffee, with none of the waste of throwing working fixtures away. Keep the panels clean through the year, replace all cells in a fixture at the same time, and you can reasonably expect another two or three seasons out of every light before the job comes around again.