
 Owen Bradley
 Every smart lock has one failure mode that is entirely preventable, and it happens on a rainy evening with your arms full of shopping. Batteries do not usually die suddenly. They warn you for days or weeks through a blinking light, a chirp, a slower motor, and a notification you swiped away twice. Smart lock battery replacement takes about three minutes when you choose the moment, and turns into a genuine problem when the lock chooses it for you. This guide covers which cells to buy, how to read the warnings your lock is already giving you, the replacement procedure step by step, what to do if you are locked out, and how to make the batteries last far longer than they currently do.
How Long Smart Lock Batteries Actually Last
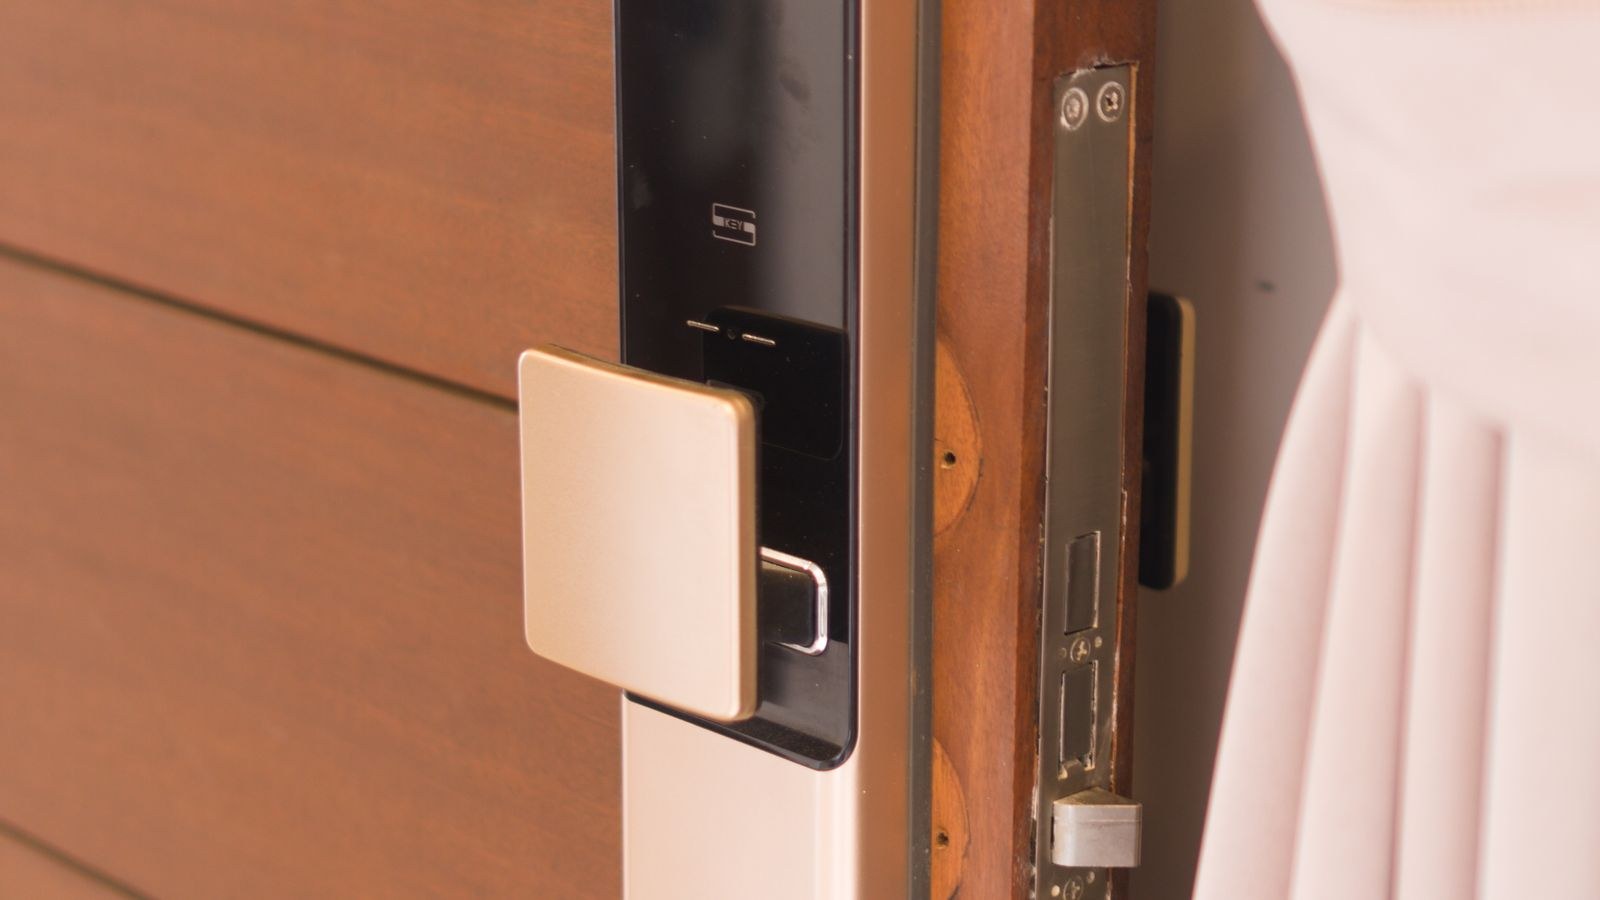
Manufacturers quote six to twelve months, and a well-matched setup often beats that. Real-world life depends far more on how the lock connects than on how many times you open the door. A lock with a direct WiFi radio that maintains a constant connection can run flat in six to ten weeks, because keeping a radio awake costs vastly more energy than turning a bolt. The same hardware bridged through a low-power protocol or a plug-in hub commonly runs a year on the same cells.
Three other factors matter. Cold weather reduces the usable capacity of alkaline cells sharply, so a lock that lasted all summer can fail in a February cold snap. A misaligned strike plate forces the motor to work against friction on every cycle, which can halve battery life on its own. And a high-traffic door with children, pets, and deliveries simply cycles more often than a back entrance nobody uses.
Reading the Warning Signs Before It Dies
Locks are generous with warnings. Learn what yours looks like and you will never be caught out.
- App notifications. Most connected locks alert at roughly 25 percent and again around 10 percent. Treat the first alert as your instruction to buy cells and the second as your instruction to fit them.
- A flashing or colour-changed status light on the keypad after a successful entry, typically red or amber instead of green.
- An audible chirp when the bolt finishes moving, often three short beeps.
- A visibly slower motor. If the bolt used to snap across and now grinds through the travel, voltage is sagging under load.
- Dropped connectivity. A radio needs more voltage than a motor, so a lock that goes offline while the keypad still works is often flagging a power problem rather than a network one.
- A keypad that needs a firm press or lights dimly is running on the last of its capacity.
Do not wait for the second warning if you are about to travel. Fitting fresh cells before a trip costs a few pounds and removes the worst scenario entirely.
Which Batteries to Buy
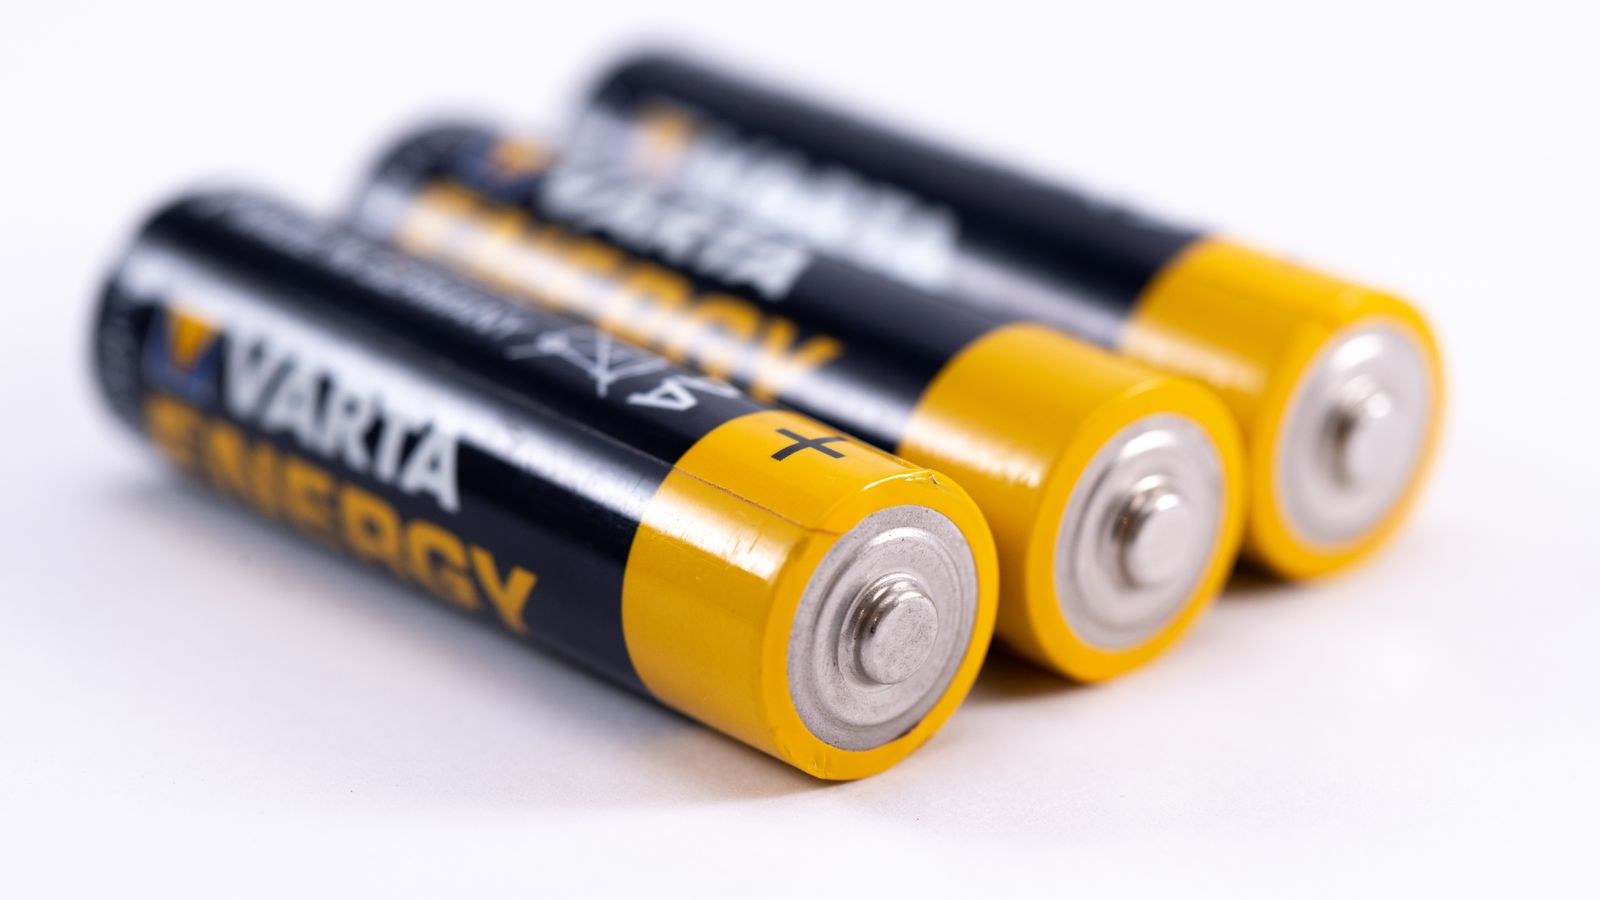
Nearly all smart locks take four AA cells, though some compact retrofit models use four AAs in two pairs, and a few use CR123A or a proprietary rechargeable pack. Check your manual, and check the battery compartment itself, since the orientation diagram is usually moulded into the plastic.
- Alkaline is the default and what most manufacturers specify. It is cheap, widely available, and performs adequately in temperate conditions. Its weaknesses are cold performance and a real risk of leaking once fully discharged.
- Lithium costs more but holds voltage far more steadily as it depletes, works properly below freezing, weighs less, and does not leak in the same way. For an exterior door in a cold climate, lithium is worth the premium.
- Rechargeable NiMH is tempting but usually a mistake. These cells sit at 1.2 volts rather than 1.5, so a set of four delivers 4.8 volts instead of 6. Many locks read that as low from the moment you install them and report inaccurate levels throughout.
Whichever you choose, buy all four from the same pack and the same brand, and check the date printed on the packaging. Never mix chemistries, never mix old and new cells, and never fit a partly used cell alongside fresh ones. Mismatched batteries force the stronger cells to drive the weaker ones, which shortens life for all of them and can cause leaking.
How to Replace the Batteries, Step by Step
- Open the door first. Do the whole job with the door standing open. If anything goes wrong mid-swap, you are inside rather than outside.
- Note your settings. Most locks retain codes and pairing through a battery change, but write down your master code and confirm you can access the app account before starting, just in case.
- Open the battery compartment. On most units the interior cover slides upward and lifts off, or is held by a single small screw at the base. Some retrofit models require unclipping the whole cover. Do not force it, and use a soft tool rather than a metal screwdriver on a painted cover.
- Remove the old cells. Note the orientation before you pull them, and if the tray has a ribbon pull, use it. Inspect the contacts for white or green crust, which indicates leakage.
- Clean the contacts if needed. Light corrosion comes off with a cotton bud dipped in white vinegar, followed by a dry bud and a few minutes of air drying. Heavy corrosion can be scrubbed gently with a pencil eraser. Never install new cells onto dirty contacts.
- Fit the new cells. Follow the moulded diagram exactly. In most trays the batteries alternate direction, which catches people out. Press each one firmly until the spring seats.
- Close the compartment and watch the startup. The lock should light up, beep, and often run a short self-test. If nothing happens, one cell is reversed or not seated.
- Test the mechanism. With the door still open, lock and unlock five times from both the keypad and the interior turn. The motor should sound consistent and complete its travel without hesitation.
- Confirm the app. Check that the battery level now reads full and the lock is back online. Some models need a minute to re-register, and a few require you to close and reopen the app to refresh.
- Close the door and test remotely. One remote lock and unlock confirms the radio came back up properly, not just the motor.
- Dispose of the old cells properly. Batteries do not belong in household waste. Most supermarkets and hardware shops have a collection point at the entrance.
What to Do If the Lock Is Already Dead
If you are outside and the keypad is unresponsive, you have more options than you might think. Check them in this order.
- Try the physical key. Many smart deadbolts retain a keyway, often hidden behind a small cover on the exterior escutcheon that slides or pops off. If you have never used it, this is a good reason to test it now while you can.
- Look for emergency power contacts. A number of keypad models expose two small metal terminals on the underside of the exterior housing. Hold a 9V battery against them and the keypad powers up long enough to accept your code. A spare 9V in the car or a bag is worth the space it takes.
- Use a USB emergency port. Some designs accept a micro-USB or USB-C power bank at the base of the exterior unit for the same purpose.
- Enter through another door. Obvious, but worth stating, and a good argument for not fitting the same battery-powered lock to every entrance at the same time.
- Call a locksmith as the last resort. Ask them to pick rather than drill, and tell them the make so they arrive with the right approach.
Once you are inside, replace all four cells rather than trying to nurse the old ones, and consider whether the lock’s design left you with enough fallbacks. Models with a reliable backup keyway suit households that travel, and the comparisons in our roundup of the best front door locks and the best digital deadbolts cover which designs include one.

Making the Batteries Last Longer
A few adjustments routinely double the interval between changes.
- Fix the alignment. If the bolt rubs the strike plate, the motor draws far more current on every cycle. Tighten the hinge screws on the frame side and check the bolt slides freely with the door closed.
- Lubricate the bolt sparingly. A dry graphite or PTFE lubricant on the bolt reduces friction. Avoid oil-based sprays, which attract grit.
- Reduce radio duty cycle. Where the app offers a choice, using a bridge or hub instead of a direct always-on WiFi connection is the single biggest saving available.
- Trim unnecessary features. Constant proximity sensing, geofencing, and frequent status polling all cost energy. Turn off the ones you never actually use.
- Ease off auto-lock. A thirty-second auto-lock timer on a door that opens repeatedly can triple the number of motor cycles per day. Sixty seconds or more is usually plenty.
- Insulate against cold. On an exposed door, lithium cells and a weather-sealed exterior housing dramatically improve winter performance.
Keep a spare set of four cells in the same drawer every time, so replacement never depends on a shop being open. If your lock is chewing through batteries in weeks despite all of this, the hardware is the problem rather than the routine, and the newer designs in our list of the best smart deadbolts and the wider best smart locks comparison show how much efficiency has improved.
Frequently Asked Questions
Will I lose my access codes when I change the batteries?
Almost never. Codes and pairing are stored in non-volatile memory and survive a power interruption. Only a deliberate factory reset erases them.
Can I use rechargeable batteries in a smart lock?
You can, but the lower nominal voltage causes inaccurate level reporting and premature low-battery warnings on many models. Alkaline or lithium is the safer choice.
Should I replace all four batteries at once?
Yes, always. Mixing a fresh cell with partly used ones shortens the life of the whole set and increases the chance of leakage.
How do I stop batteries leaking inside the lock?
Change them before they fully discharge rather than running them to zero, and use lithium cells on exterior doors where temperature swings are large. Check the compartment whenever you swap them.
Why does my lock warn about low batteries with new cells fitted?
Usually a cell is reversed, a contact is corroded, or the batteries are rechargeable. If everything checks out, a mechanical bind forcing high current draw can also trigger the warning. For broader context on how these systems behave, see our keyless entry guide.
Final Thoughts
Battery maintenance is the smallest job a smart lock asks of you and the one that decides whether it ever lets you down. Act on the first low-battery alert rather than the last, keep a matched set of four spares in the house, fit them with the door open, and test both the motor and the connection before you walk away. Then spend a few minutes on alignment and settings so the interval stretches from months into a year. Do that and the lock quietly does its job, which is exactly what you wanted from it.









