Owen Bradley
 Ask anyone who works with cameras what improves an image most for the least money, and the answer is light. A modest webcam under good lighting beats an expensive one in a dim room every time, because light is what the sensor turns into detail. Yet most home setups do the opposite: a bright window behind the desk, a ceiling fixture directly overhead, and a face lost in shadow. Building a proper webcam lighting setup is not complicated. You need one main light in the right place, control over the window, awareness of color temperature, and a way to soften harsh edges. This guide covers each of those in order.

The Three Things Light Has to Do
Good lighting solves three problems at once. First, quantity: the sensor needs enough light to expose your face without cranking up gain, which is what produces grain and noise. Second, direction: light arriving from the front and slightly above shapes a face pleasantly, while light from below looks unsettling and light from behind erases you entirely. Third, quality: a large, diffused source wraps around features and produces soft shadow edges, whereas a small bare bulb creates hard-edged shadows and shiny highlights on skin.
Nearly every lighting complaint traces to one of those three. Grainy image means not enough light. Unflattering or dramatic shadows means wrong direction. Harsh, contrasty look with a bright forehead means the source is too small and undiffused. Diagnose which one you have and the fix becomes obvious.
What You Need
- One main light: an LED panel, a ring light, or a decent desk lamp with a bright bulb.
- Something to diffuse it, such as a fabric shade, a softbox, or even a sheet of baking paper held safely clear of the bulb.
- A way to raise the light above eye level: a stand, a shelf, or a clamp on the edge of the desk.
- Blinds or a curtain to control daylight from any window in the room.
- Optionally a second, weaker light for fill, and a third small one for the background.
Step-by-Step Webcam Lighting Setup
- Take stock of the existing light. Sit at your desk and note every source: windows, ceiling fixtures, lamps, and the monitor itself. The monitor is a light source too, and on a dark scene it will tint your face with whatever is on screen. Identify which sources you can control and which you cannot.
- Deal with the window first. Never sit with a window directly behind you; the camera will expose for the bright background and leave your face dark. Either turn your desk so the window is in front of you, use it as a soft side source, or close the blinds and light artificially. Daylight is excellent light when it lands on your face rather than the back of your head.
- Place the key light. This is your main source. Put it in front of you, raised so it sits slightly above your eye line, and offset roughly 30 to 45 degrees to one side rather than dead centre. That angle creates gentle shadow on the far side of the nose and cheek, which gives the face dimension instead of flattening it.
- Diffuse it. A bare bulb is a small source and produces hard shadows and hot spots on skin. Put fabric, a shade, or a softbox between the bulb and your face. As a rule, the larger the lit surface appears from where you sit, the softer the light becomes. Increasing the apparent size of the source matters more than increasing its wattage.
- Set the brightness by watching the camera, not the room. Open your webcam preview and raise the key light until your face is clearly and evenly exposed without any blown-out white patches on the forehead or nose. If the light is too strong at close range, move it further back rather than pointing it away.
- Add fill to soften shadows. If the shadow side of your face looks too dark, place a weaker light on the opposite side, or simply position something white, such as a poster board or a light wall, to bounce light back. Fill should always be noticeably dimmer than the key, or you flatten the image back out.
- Match the color temperature of every source. Mixed lighting is the most common invisible problem. Daylight is cool at roughly 5600K, while typical warm household bulbs sit near 2700K, and a face lit by both goes orange on one side and blue on the other. Pick one temperature and make everything in the frame match it. Around 4000K to 5000K is a comfortable, natural-looking target for most rooms.
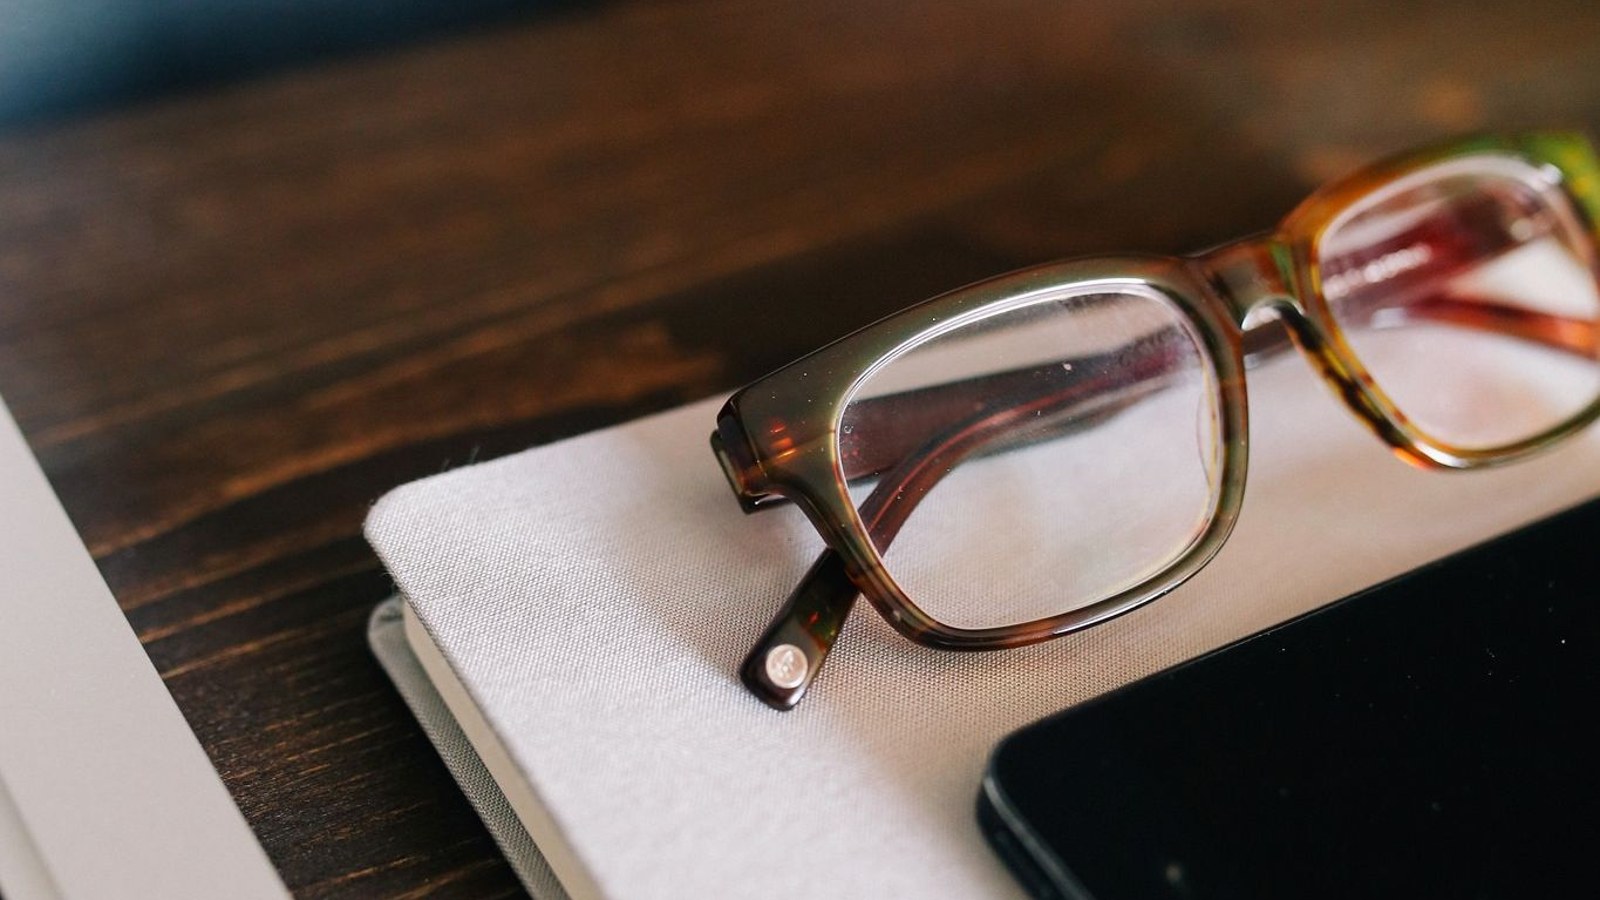
- Kill glare on glasses. Reflections in lenses come from a light positioned too directly in front. Raise the key light higher and increase the side angle until the reflection slides out of the lens. Tilting your glasses down very slightly at the front also helps, as does using a large diffused source rather than a small bright one.
- Light the background lightly. A completely dark wall behind you makes the shot feel like an interrogation. A small lamp aimed at the wall separates you from the background and adds depth. Keep it dimmer than your key light so it does not compete for attention.
- Lock the camera settings once the light is right. With consistent lighting in place, switch the camera off auto exposure and auto white balance and set both manually. Stable light plus stable settings gives you an image that stays the same all the way through a call.
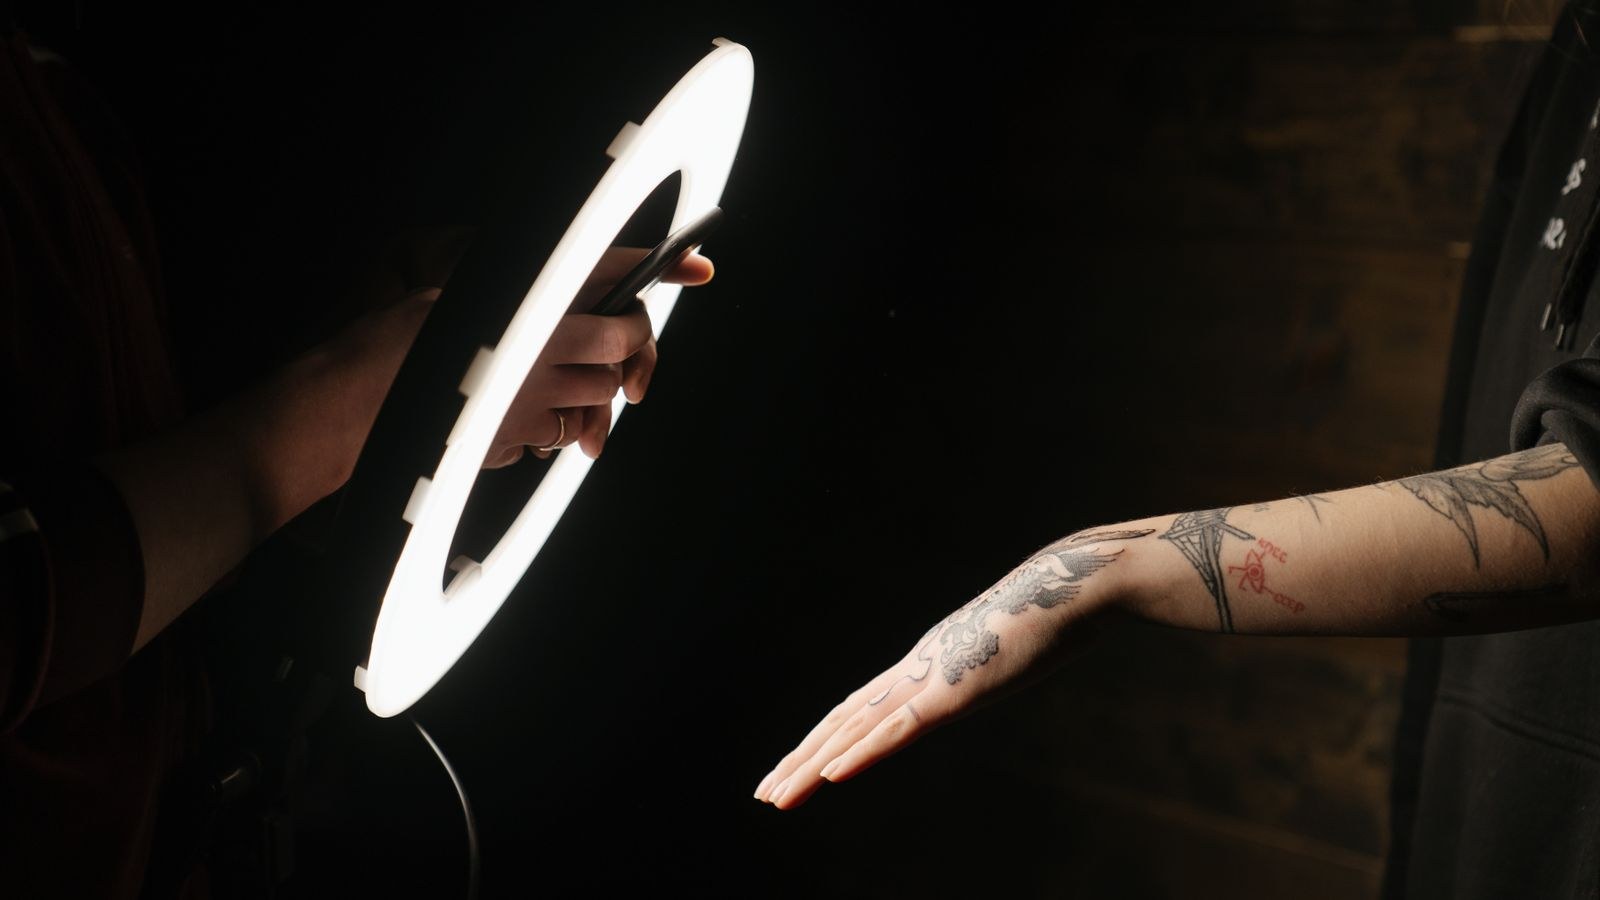
Working With What the Room Gives You
Not everyone can rearrange a desk. If you are stuck facing away from the only window, a heavier curtain plus a strong key light will let you take control back. If your only lighting is a ceiling fixture, be aware that overhead light drops shadows into the eye sockets and under the nose, which reads as tired on camera. Adding almost any front-facing source, even a bright lamp bounced off a nearby white wall, counteracts it.
Small rooms with light-colored walls are secretly an advantage, because those walls act as enormous diffusers and bounce your key light back as gentle fill. A dark room absorbs everything and demands more output to achieve the same result. If you have a choice of where to work, the pale room with the sideways window will always be easier to light than the dark one with the skylight.
Hardware That Makes Lighting Simpler
Some cameras reduce how much lighting work you have to do. Models with a built-in illuminator solve the direction problem in one purchase, and our comparison of the best webcams with ring light covers combined units that mount as a single piece on the monitor. If you want something more discreet on the desk, the best webcams with built in lights roundup looks at integrated designs with adjustable output.
When adding light is genuinely not possible, sensor performance becomes the deciding factor, and the best low light webcams list focuses on cameras that hold detail without collapsing into noise. Anyone producing content rather than just attending meetings should look at the best webcams for streaming, where frame rate consistency and manual control matter most. And since bulb choice drives both glare and color accuracy, it is worth reading how to choose bulbs to reduce glare before you buy lamps for the room.
Safety Notes
Keep any diffusion material well clear of hot bulbs; LED panels run cool, but incandescent and halogen sources get hot enough to scorch paper or fabric. Make sure light stands are stable and that cables cannot be tripped over or pull a fixture down onto the desk. Avoid staring directly into a bright panel while adjusting it, and do not run multiple high-draw fixtures from a single overloaded outlet strip. If a fixture flickers or smells warm, stop using it.
Common Mistakes to Avoid
- Backlighting yourself with a window. The single most damaging lighting error, and the easiest to fix by turning the desk.
- Using one bare bulb up close. Small and bright equals harsh. Bigger and softer always looks better.
- Placing the light dead center. Straight-on light flattens features and maximizes glasses reflections.
- Mixing warm and cool sources. Two color temperatures on one face cannot be corrected by white balance.
- Turning the light up to maximum. Blown-out highlights on the forehead and nose destroy detail permanently, and no editing recovers it.
Frequently Asked Questions
Is a ring light the best option?
It is a convenient one. Ring lights are easy to mount, give even coverage, and produce the familiar circular catchlight. A softbox or diffused panel placed off to one side generally looks more natural and dimensional, so the better choice depends on the look you want.
What color temperature should I use?
Anything between roughly 4000K and 5500K works well, as long as every source in the room matches. Consistency matters far more than the exact number you land on.
How bright does the light need to be?
Bright enough that your webcam stops raising gain, which you can see directly as the grain disappearing from the preview. Judge by the camera image, not by how the room feels to your eyes.
Can I just use my monitor as a light?
In a pinch, a full-screen white window does add usable front light. It is weak and shifts color as the screen content changes, so treat it as an emergency measure rather than a real setup.
How do I stop my glasses from reflecting the light?
Raise the source higher and move it further to the side until the reflection leaves the lens. A larger, more diffused light also spreads the reflection out so it becomes far less distracting.
Final Thoughts
A good webcam lighting setup comes down to a handful of decisions: control the window, put one diffused key light in front of you and slightly above and to one side, add gentle fill if the shadows are too deep, match every color temperature in the room, and lock your camera settings once the light is stable. That takes one lamp and about twenty minutes. The result is a clean, natural, consistent image that makes a modest camera look genuinely good, which is far more than the same money spent on a new sensor would ever deliver.