
 Owen Bradley
 Swapping a shower head is the rare home upgrade that costs little, takes ten minutes, and produces a difference you notice the very next morning. Adding filtration on top of that is worth doing if your water carries chlorine, sediment or heavy mineral content — the symptoms show up as dry skin, dull hair, a chemical smell in the steam, and white scale creeping across the fixtures. The best part is that no plumbing skills are required. A filtered shower head threads onto the same standard connection your existing head uses, and with the right technique you can do the whole job with your hands, a strip of tape and an old towel.
Why a Filtered Shower Head Is Worth Fitting
Municipal water is treated with chlorine or chloramine for good reasons, but a hot shower turns a fair amount of it into vapour that you then stand in and breathe. People with eczema, sensitive skin or colour-treated hair often notice the difference within a week of filtering it out. Sediment filtration matters too: rust particles and grit from ageing supply pipes are what clog spray nozzles and leave orange staining on grout.
Be realistic about scale, though. Most inline shower filters reduce chlorine and sediment effectively but do not soften water — they do not remove the dissolved calcium and magnesium that cause limescale. Some use KDF media that helps a little with scale formation, but if hard water is your main complaint, you want a head designed specifically for it or a whole-house softener. Understanding which problem you are solving prevents disappointment; comparing dedicated options such as the best shower heads for hard water alongside standard filtered models makes the distinction clear.
What You Need — and Why No Tools Are Required
- Your new filtered shower head and its filter cartridge, usually packed separately in the box.
- PTFE thread seal tape (plumber’s tape) — a small roll, and often included.
- An old towel or rubber grip pad to protect the finish and give you leverage on a tight connection.
- White vinegar and a plastic bag if the existing head is heavily scaled.
- A soft cloth for cleaning threads.
Adjustable pliers are the only tool you might reach for, and only if a previous installer overtightened the old head. If you do use them, wrap the fitting in cloth first — bare jaws will chew the chrome instantly. Nearly every shower arm in North America and much of Europe uses the same standard thread, which is why manufacturers can promise a tool-free install with confidence.
Step-by-Step Installation
- Turn off the shower and let it drain. The supply does not need to be shut off at the valve, but the arm should be empty and cool. Lay the towel in the tub or tray to catch anything you drop.
- Unscrew the old shower head. Grip the collar nut where it meets the shower arm and turn counter-clockwise. Wrap the towel around it for grip. Hold the shower arm steady with your other hand so you are not twisting the pipe inside the wall.
- Deal with a stuck head. If it will not budge, bag the joint with vinegar for an hour to dissolve scale in the threads, then try again. Steady pressure works better than sudden force.
- Clean the shower arm threads. Wipe away old tape, sealant crust and mineral deposits with a cloth. Any debris left on the threads will cause a drip later. The threads should be clean, dry and undamaged.
- Apply new thread seal tape. Starting at the end of the threads, wrap the tape clockwise (the direction the new head will screw on) three or four times, keeping it flat and pulled slightly taut so it beds into the grooves.
- Fit the filter cartridge. Most heads ship with the cartridge in a sealed bag. Open the housing, seat the cartridge in the correct orientation — there is usually a flow arrow — and close it hand-tight. Do not skip this step; running the head without its cartridge does nothing and can let media escape on some designs.
- Thread the new head on by hand. Start it gently and turn clockwise. If it resists in the first turn, stop and back it off — you have crossed the thread. It should spin on smoothly for several turns before it tightens.
- Snug it up. Hand-tight plus a small nudge is correct. Overtightening crushes the rubber washer inside and causes the exact leak you are trying to avoid.
- Flush the filter. Run cold water for three to five minutes. New carbon and KDF media release fine dust and often discoloured water on first use. Keep flushing until it runs clear.
- Check for leaks. Run the shower normally and watch the joint for 30 seconds. Dry the connection with a cloth and look again — a genuine leak reappears within a minute.
Handheld and Rain Head Variations
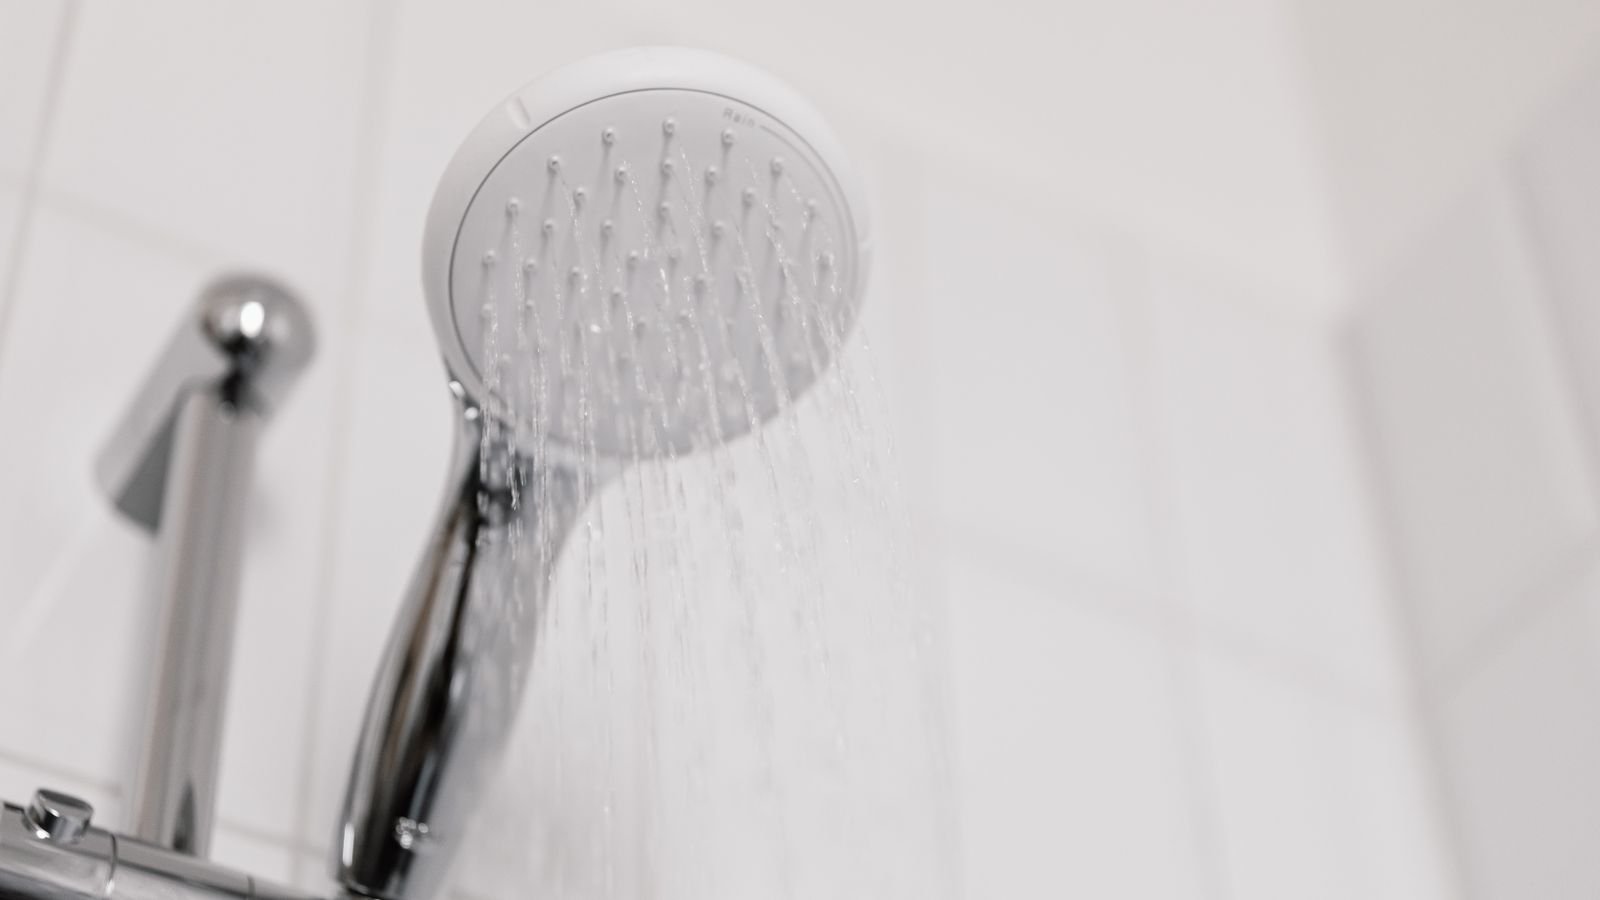
A handheld filtered unit adds two connections instead of one: the mount or diverter screws onto the arm, and the hose screws onto both the mount and the wand. Tape and seal each threaded joint the same way, and check that the rubber washers supplied are seated in the hose ends before you connect them — a missing washer is the most common cause of a dripping hose.
Large rain heads need a moment’s thought about geometry. They are heavier and often sit on an extended arm, so a filter housing added between the arm and the head can droop under its own weight or shift the spray away from where you stand. Where the filter is inline rather than built into the head, mount it on the vertical section of pipe if the design allows, so the weight is supported rather than cantilevered.
Common Mistakes to Avoid
- Wrapping tape the wrong way. Anticlockwise wrapping unravels as you screw the head on and seals nothing.
- Using too much tape. Three or four wraps is right. A thick wad prevents the joint from seating and can crack a plastic fitting.
- Adding pipe dope on top of tape. Pick one. Both together makes a mess and no better a seal.
- Forgetting to hold the shower arm. Twisting the arm can break the soldered or threaded joint inside the wall, turning a ten-minute job into a serious repair.
- Skipping the flush. Grey water on the first shower is alarming and entirely avoidable.
- Ignoring flow rate. Filters add resistance. If your pressure is already marginal, choose a head designed for low pressure rather than a high-restriction filter.
Living With the Filter: Maintenance
Cartridge life is normally quoted in gallons or months — commonly around six months for a typical household, less for hard water, large families or high flow rates. Mark the install date on the housing with a permanent marker or set a calendar reminder, because a spent cartridge gives no obvious signal until performance drops. The two symptoms of an exhausted filter are the return of a chlorine smell and a noticeable fall in flow as the media clogs with sediment.
Between changes, descale the spray face. Fill a bag with white vinegar, tie it around the head so the nozzles are submerged, and leave it for an hour, then rub the rubber nozzles with your thumb to dislodge softened deposits. Do not soak the filter cartridge itself in vinegar — acid degrades carbon media. If you are still choosing a model, the current best filtered shower heads comparison is a useful place to check cartridge costs and replacement intervals, which vary far more between models than the purchase price suggests.
Frequently Asked Questions
Do I need a plumber to install a filtered shower head?
No. Standard shower arms use a universal thread, and the whole job is hand-tight work with thread seal tape. A plumber is only needed if the shower arm itself is damaged, corroded into the wall fitting, or leaking behind the tile.
Will a filter reduce my water pressure?
Slightly, because the media adds resistance. A good design compensates with nozzle engineering and the difference is barely noticeable. If your existing pressure is already weak, look specifically for a model rated for low-pressure systems.
How often should the cartridge be replaced?
Follow the manufacturer’s gallon rating, which usually works out to about six months for an average household. Replace sooner if you have hard water, several daily users, or notice the chlorine smell returning.
Can a shower filter soften hard water?
Not in the true sense. Filters remove chlorine and sediment; they do not remove the dissolved calcium and magnesium that define hardness. Softening requires ion exchange, which means a whole-house system.
What if the new head leaks at the joint?
Almost always the tape or the washer. Unscrew it, remove all the old tape, check the rubber washer is present and seated flat, re-tape with three clean clockwise wraps, and refit hand-tight. Cranking it tighter rarely fixes a leak and often causes one.
Final Thoughts
A filtered shower head is a ten-minute, no-tools upgrade with an immediate payoff for anyone dealing with chlorinated or sediment-heavy water. The only steps people get wrong are the direction of the tape, overtightening, and forgetting the initial flush — avoid those three and the installation is genuinely foolproof. Set a reminder for the cartridge change, descale the nozzles every couple of months, and the head will keep delivering clean, consistent spray for years.









