
 Owen Bradley
 A closet light you have to switch on is a closet light you will forget to switch off, and one you have to fumble for in the dark is barely better than no light at all. Motion sensor closet lights solve both problems: the fixture wakes up the moment the door swings or your hand reaches in, then shuts itself off a minute later. Because most of them are battery powered and stick on with adhesive or magnets, installing them takes about fifteen minutes and no wiring at all. The part that decides whether you love or hate the result is placement, specifically where the sensor sits relative to the door, the rod, and your own body. This guide covers choosing the fixture, mounting it, aiming the sensor, and fixing the problems that trip everyone up.
What You Will Need
- Motion sensor fixtures: rechargeable bar lights, stick-on pucks, or motion sensor bulbs if your closet already has a socket.
- Mounting hardware: the included magnetic backplate or adhesive pads, plus removable command-style strips as a paint-safe alternative.
- Isopropyl alcohol and a lint-free cloth to prep the mounting surface.
- Tape measure and pencil.
- Charging cable or fresh batteries.
- Optional: a small screwdriver if your fixture has adjustable sensitivity or timing switches.
Understand How the Sensor Works
Almost every battery closet light uses a passive infrared sensor. It does not see motion the way a camera does; it detects a moving heat signature crossing its field of view. That has three practical consequences worth knowing before you stick anything to a wall.
First, the sensor has a cone of detection, usually around 120 degrees wide and effective out to 10 to 15 feet. Anything outside that cone is invisible to it. Second, PIR sensors respond best to movement across the cone rather than straight toward it, which is why a door swinging past a sensor triggers it more reliably than a hand pushing directly at it. Third, most closet fixtures include a light sensor too, so they only trigger in darkness. That is a battery-saving feature, but it is also the reason a fixture near a bright window sometimes seems dead.
Timeouts are typically 15 to 30 seconds, and better fixtures let you extend that for a walk-in.

Choose the Right Fixture for Your Closet
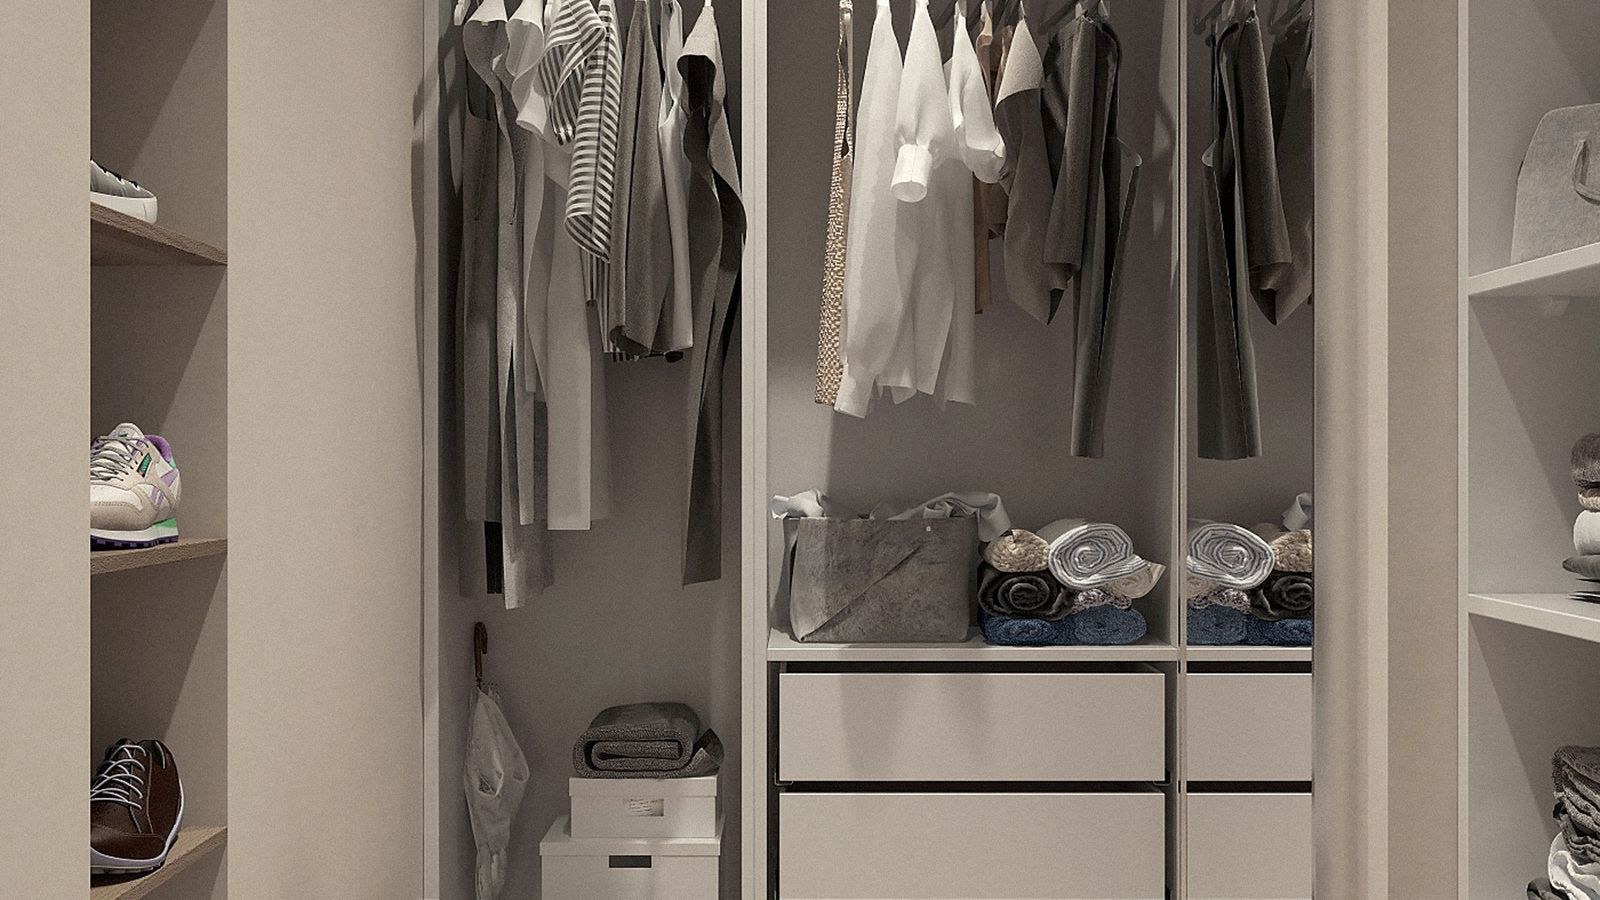
Reach-in closets with a single door do best with one rechargeable motion bar mounted inside the header above the door. One fixture is genuinely enough for a space that shallow, and the door swing gives the sensor a reliable trigger.
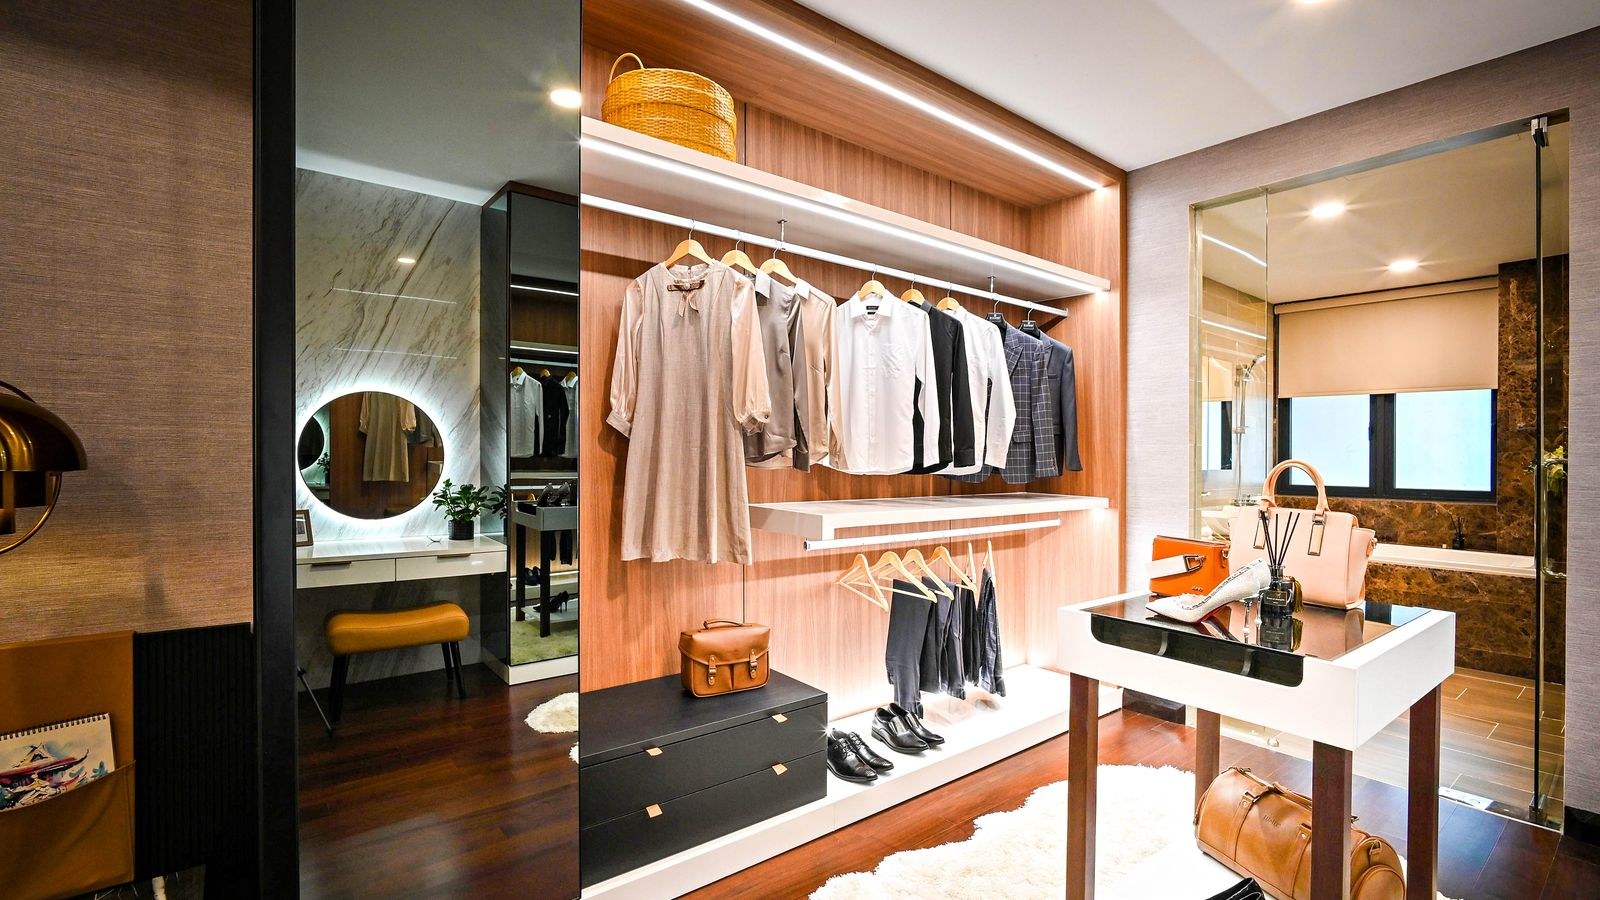
Walk-in closets need multiple fixtures because one source cannot reach around corners or past hanging garments. Plan one bar per hanging rod wall, plus a puck over any deep shelf. Each unit has its own sensor, so they light up progressively as you move through the space.
Closets with an existing socket have the easiest path of all. Swapping in a motion sensor bulb takes seconds and requires no adhesive, no charging, and no mounting decision. The tradeoff is that a ceiling socket puts the light above and behind you, so it may still leave shadows. Our comparison of motion sensor light bulbs covers the sensing range and timeout differences that matter for a small enclosed space.
For small pucks and plug-in units suited to hallways and closet nooks alike, the motion sensor night lights category is worth a look, while the broader indoor motion sensor lights roundup compares detection ranges across fixture types.
Step-by-Step Installation
- Charge the fixture or install batteries first. Do this before mounting so you are not peeling a new unit off fresh adhesive an hour later.
- Stand in the doorway and identify the shadows. Note where your own body blocks light as you reach in. Those are the zones the fixture has to cover, and they are almost never the ceiling.
- Choose the mounting spot. For a reach-in, the inside face of the header above the door, aimed inward, is the strongest position. For a walk-in, place one bar under the shelf above each hanging rod, set toward the front edge.
- Check the sensor’s line of sight. Hold the fixture in position and confirm the sensor faces the doorway or the path you walk, not into a wall of hanging clothes. If the sensor is blocked, the light is useless no matter how bright it is.
- Test by hand before mounting. Hold the light in place, switch it to motion mode, and walk in. Confirm it triggers and does not shine into your eyes.
- Measure and mark. Center the fixture, mark both ends with a pencil, and keep multiple fixtures at the same height so the result looks deliberate.
- Clean the surface thoroughly. Wipe with isopropyl alcohol and let it dry completely. Dust and furniture polish are the reason most adhesive fixtures fall down within a week.
- Mount the backplate. Press firmly for 30 seconds. If the adhesive instructions call for a cure time, wait before clipping the fixture on. On painted drywall use removable strips instead of permanent foam tape.
- Attach the fixture and set the mode. Most units cycle between off, motion, and always-on. Motion is correct for any closet with a door.
- Adjust sensitivity and timeout if available. Shorter timeouts save battery in a reach-in closet; longer ones suit a walk-in where you linger.
- Close the door and test properly. Wait ten seconds for the sensor to reset, then open the door normally. It should trigger on the swing, not after you have already been standing there. Repeat for each fixture in a walk-in.
Getting the Sensor Angle Right
Sensor aim is where most installs go wrong, and it is easy to get right once you think in terms of the detection cone.
In a reach-in closet, angle the sensor down and slightly outward toward the door opening. The door swinging past cuts across the cone and triggers reliably. Aim it straight down at the floor and you will find yourself waving at the closet to wake it up.
In a walk-in, aim each sensor along the walking path rather than at a wall. A sensor facing perpendicular to how you move catches you crossing its field, which is exactly what PIR responds to best.
For shelf pucks, tilt the sensor slightly forward so it catches your hand approaching rather than only detecting motion already inside the shelf.
Keep hanging clothes at least a few inches clear of the sensor face. A shirt sleeve drifting past a sensor in a slight draft is the number one cause of a light that turns itself on at three in the morning.
Brightness and Color Temperature
A small reach-in closet is well lit at 200 to 400 lumens, a standard double-door closet at 400 to 800, and a walk-in at 800 to 1,500 spread across several fixtures rather than concentrated in one.
Choose 4000K neutral white. Warm 2700K light flatters skin but shifts fabric colors, which defeats the purpose. Very cool 6000K light is harsh in a small enclosed space. More important than either is CRI: a fixture rated 90 or higher will actually let you tell navy from black, and that single spec matters more than another few hundred lumens. If the closet already has a socket, the same rules apply to the bulb you choose, and our guide to light bulbs for a closet covers the brightness and color pairings that work.
Battery and Maintenance Tips
- Motion mode is what makes battery life workable. A fixture that runs 30 seconds per use lasts months; the same unit left always-on lasts days.
- Choose magnetic backplates so recharging means lifting the bar off, not unscrewing hardware.
- Standardize fixtures so one cable covers everything.
- Charge on a schedule instead of waiting for the light to die at the worst moment.
- Reserve disposable-battery units for closets you open rarely, like a linen or coat closet.
Troubleshooting
- Will not trigger at all: check that it is in motion mode, not off. Then check the ambient light sensor, since many units refuse to fire if the surrounding area is bright.
- Triggers randomly: hanging clothes swaying past the sensor, or an HVAC vent blowing warm air across it. Move the fixture or angle the sensor away.
- Turns off while you are still in the closet: the timeout is too short, or you are standing still outside the detection cone. Extend the timeout or reposition.
- Slow to react: PIR sensors respond to motion across the cone. Reaim so the door swing or your walking path cuts across the sensor face.
- Falls off the wall: the surface was not cleaned, or the adhesive never cured. Clean with alcohol and let it set an hour before loading.
- Battery drains fast: usually always-on mode, an over-sensitive setting catching every draft, or a very high output level for a small space.
Mistakes to Avoid
The biggest is mounting on the back wall of a reach-in closet, which puts your silhouette between the light and everything you are trying to see. Second is ignoring the sensor’s field of view entirely and treating the fixture as if it were a plain light. Third is skipping surface prep, the reason so many stick-on fixtures end up in a drawer. Fourth is choosing warm 2700K light in a clothes closet. And finally, do not install a single very bright fixture in a walk-in and expect it to reach around a corner; two modest fixtures beat one powerful one in almost every closet shape.
Frequently Asked Questions
Do motion sensor closet lights need wiring?
No. Battery and rechargeable models mount with adhesive or magnets and require no electrical work at all. If your closet already has a socket, a motion sensor bulb is an even simpler swap.
How long do the batteries last?
In motion mode with a typical closet’s usage, expect several months between charges for a rechargeable bar. Always-on mode cuts that to days, so leave the fixture in motion mode.
Why does my closet light come on by itself?
Almost always hanging garments moving in a draft, or warm air from a vent crossing the sensor. Move the fixture away from the rod or reduce the sensitivity setting if the unit has one.
Where exactly should I mount it in a reach-in closet?
On the inside face of the header above the door, aimed inward and slightly down. That places the source behind you as you stand in the doorway so your body does not cast a shadow on the contents.
How many fixtures does a walk-in closet need?
Plan one bar per hanging rod wall plus a puck over each deep shelf, targeting 800 to 1,500 lumens total. Multiple modest fixtures cover corners far better than a single bright one.
Final Thoughts
Installing motion sensor closet lights is a fifteen-minute job that pays off every single day. Get the fixture type right for your closet shape, mount it above the door aimed inward rather than on the back wall, and make sure the sensor’s detection cone actually faces the door swing or your walking path. Choose 4000K light with high CRI so colors read true, clean every surface before it meets adhesive, and leave the fixtures in motion mode so the batteries last months instead of days. Do that and the closet lights itself the instant you need it, then quietly turns itself off behind you.









