Owen Bradley
 Bathroom vanity lighting is the most functional lighting in your home and, in most houses, the worst executed. A single fixture centred above the mirror throws light straight down, casting hard shadows under the eyes, nose and chin — exactly where you need to see clearly for shaving, skincare or makeup. Get vanity lighting right and you gain even, flattering, shadow-free illumination that makes grooming easier and the whole room feel larger and cleaner. This guide covers the layouts that actually work, the heights and spacings to use, how to choose bulb colour and brightness, and the wiring and safety rules that apply when fitting lighting in a wet room.
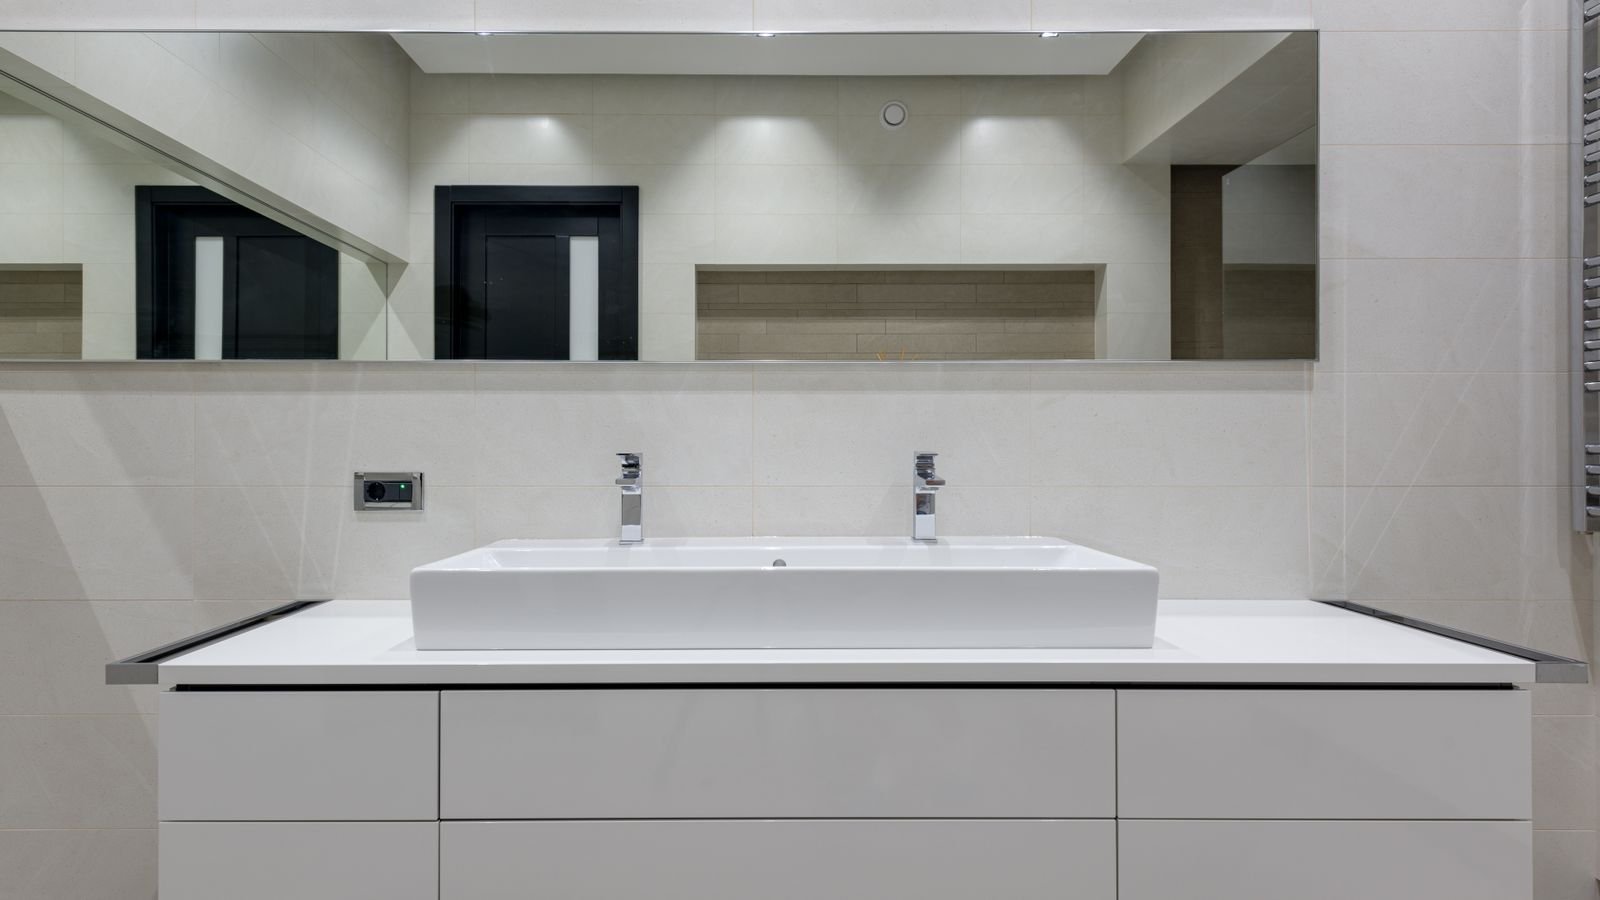
Why Overhead-Only Lighting Fails
Light travels in straight lines, so a fixture directly above your head sends light down across your brow and casts everything below it into shadow. The result is dark eye sockets, a shadowed jawline and colour that reads inaccurately — which is why makeup applied under a single overhead light so often looks wrong in daylight.
The fix is cross-illumination: light arriving from both sides at roughly face height, so the beams overlap across your face and cancel each other’s shadows. This is the same principle photographers use, and it is why theatre dressing rooms have bulbs running down both sides of the mirror rather than one bar across the top.
The Three Layouts That Work
- Side sconces flanking the mirror (best). A vertical fixture or pair of sconces on each side of the mirror at eye level. This gives true shadow-free light and is the layout professionals recommend whenever wall space allows.
- Top bar plus side lighting (good). Where a wide mirror leaves no room for sconces beside it, combine an overhead bar with side lighting or a backlit mirror to fill in the shadows.
- Backlit or integrated LED mirror (good). A mirror with LEDs built into its perimeter delivers even wraparound light in a compact footprint. Excellent for small bathrooms and rentals where new wiring is impractical.
A single top-mounted bar alone is the layout to avoid if you have any alternative. If you are stuck with it, choosing the right bulbs — diffuse, high-CRI and generously bright — softens the worst of the problem.
Getting the Measurements Right
Precise placement matters more than fixture price. These figures are the industry standards.
- Sconce height: mount the centre of each fixture roughly 65 to 70 inches from the finished floor — approximately eye level for most adults.
- Sconce spacing: place fixtures 28 to 40 inches apart, straddling the mirror. Around 36 inches is a reliable default.
- Distance from mirror edge: allow 2 to 6 inches of clearance between the mirror edge and the fixture.
- Overhead bar height: if using a top fixture, mount it about 75 to 80 inches from the floor, centred on the mirror.
- Overhead bar width: the fixture should span roughly 75 percent of the mirror width — a bar much narrower than the mirror looks undersized and lights unevenly.
- Double vanity: treat each basin as its own station with its own mirror and its own pair of side lights, rather than one long bar across both.
Choosing the Right Bulbs
Fixture placement solves the shadow problem; bulb choice solves the colour and comfort problem. Four specifications matter.
- Colour temperature: aim for 3000K to 4000K. Below 2700K, skin tones look sallow and makeup reads warmer than it will outdoors. Above 5000K, the light feels clinical and unflattering. Around 3500K is an excellent all-round choice.
- CRI (Colour Rendering Index): choose 90 or above. This is the specification that most affects how accurately you see skin tone and cosmetic colour, and it is the one most often ignored.
- Brightness: target a total of roughly 1600 to 2500 lumens across the vanity area. Two bulbs at around 800 lumens each is a sensible starting point for a single vanity.
- Diffusion: use frosted or opal bulbs, or fixtures with a diffusing shade. A bare clear bulb at eye level creates glare and harsh point-source shadows.
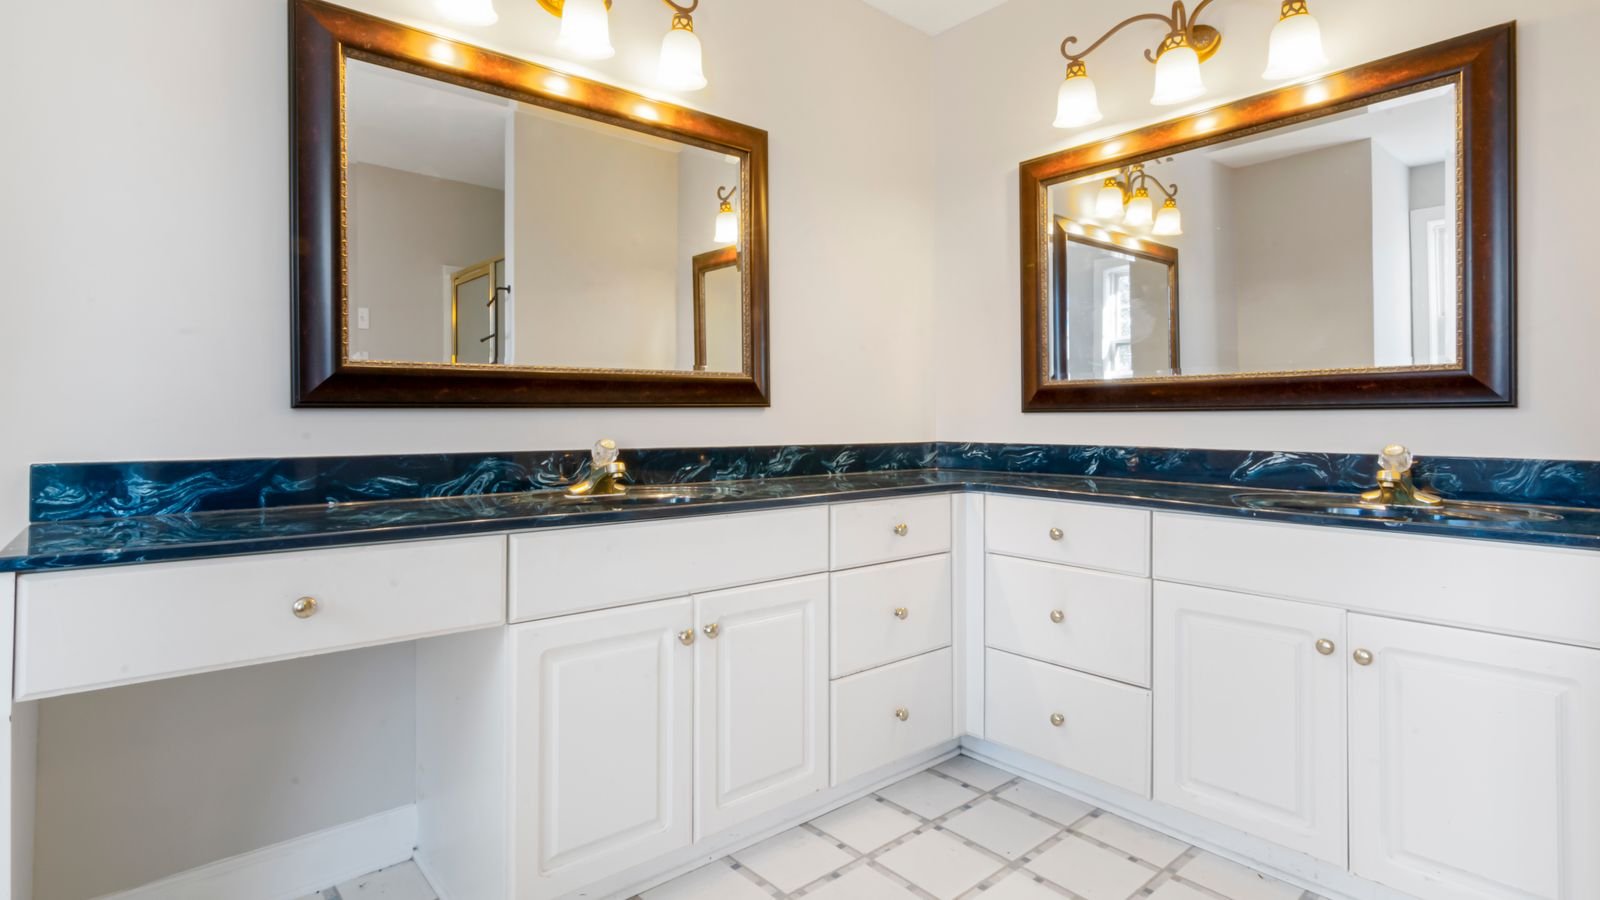
Because bathroom fixtures often use smaller bases and enclosed shades, it pays to check compatibility before ordering. Comparing options among the best light bulbs for bathroom vanity setups helps narrow down colour temperature and CRI combinations, and reviewing dedicated vanity light bulbs is useful if your fixture takes globe or candelabra shapes rather than standard bulbs.
Installing Vanity Lighting Step by Step
- Switch off the circuit at the breaker and confirm the wiring is dead with a non-contact voltage tester before touching any conductor.
- Mark your positions. Measure and pencil the fixture centres at the heights and spacings above, then check them with a spirit level. Hold the fixture up and view it in the mirror before drilling.
- Confirm the electrical boxes are sound and properly secured. Add or reposition boxes if the existing ones do not land where the fixtures need to go.
- Fit the mounting brackets supplied with each fixture to the boxes.
- Connect the wiring — ground to ground, neutral to neutral, live to live — twisting each joint firmly and capping with correctly sized connectors.
- Mount the fixtures to the brackets and secure all fasteners.
- Install the bulbs and shades, then restore power and test.
- Evaluate the result in the mirror. Stand where you normally would and check for shadows under the eyes and chin. Adjust shade angle or swap bulbs if the light is uneven or glaring.
If your bathroom has no existing wiring where you need it, or you are unsure about the circuit, bring in a qualified electrician. Bathroom wiring is subject to specific zone rules and generally requires RCD or GFCI protection.
Safety Rules Specific to Bathrooms
- Fixtures near a shower or bath must carry an appropriate IP rating and be listed for damp or wet locations. Standard bedroom sconces are not suitable in splash zones.
- All bathroom circuits should be protected by an RCD or GFCI device.
- Observe zone restrictions around the bath and shower — these dictate what type of fitting may be installed and where.
- Never fit a non-enclosed-rated bulb into a fully sealed shade. Trapped heat shortens LED life dramatically.
- Keep switches and any accessible sockets well outside the splash zone, in line with local regulations.
Adding Dimming and Layers
Vanity lighting has two very different jobs: bright, accurate task light in the morning, and soft, low-level light at night. Dimming lets one installation do both.
- Use a dimmer rated for LED loads, and confirm the bulbs are marked dimmable — mismatched pairs cause flicker and buzzing.
- Consider a separate low-level night light or toe-kick strip so you are not hit with full brightness at 3am.
- Add a ceiling fixture for general room illumination. Vanity lights are task lighting and should not be the room’s only source.
- Keep all bulbs in the room within a similar colour temperature so the space does not read as patchy.
Common Mistakes to Avoid
- Relying on one overhead fixture. The root cause of nearly all unflattering vanity lighting.
- Mounting sconces too high. Above eye level they start behaving like overhead lights and reintroduce shadows.
- Choosing bulbs by wattage instead of lumens and CRI. Wattage tells you almost nothing about LED output or colour quality.
- Using clear bulbs at eye level. Glare directly in your sightline is uncomfortable and unhelpful.
- Mixing colour temperatures between the vanity, ceiling and shower lights.
- Undersizing the overhead bar relative to the mirror, which lights the centre and leaves the edges dim.
Frequently Asked Questions
What colour temperature is best for a bathroom vanity?
3000K to 4000K, with around 3500K as the safest choice. It renders skin tones naturally without the yellow cast of very warm bulbs or the harshness of daylight-white ones.
How bright should vanity lighting be?
Roughly 1600 to 2500 lumens total across the vanity. Two bulbs of about 800 lumens each suits a single basin; a double vanity or a windowless bathroom benefits from more.
Can I use side sconces if my mirror is very wide?
Yes, though you may need a backlit mirror or slim vertical fixtures mounted onto the mirror itself. Alternatively, split a wide mirror into two narrower mirrors with a sconce between and beside each.
Do I need special bulbs for a bathroom?
In an enclosed or damp-rated fixture, use bulbs approved for enclosed fixtures and for damp locations. Standard bulbs run hot in sealed shades and fail early in humid conditions.
Should vanity lights point up or down?
For side sconces it matters little as long as the light is well diffused. For an overhead bar, pointing the shades upward to bounce light off the ceiling produces softer, more even illumination than aiming them straight down at your face.
Final Thoughts
Good vanity lighting is mostly geometry. Put light on both sides of the mirror at eye level, roughly 36 inches apart and 65 to 70 inches off the floor, fill in with a ceiling fixture for general light, and choose diffused bulbs at 3000K to 4000K with a CRI of 90 or better. Add a dimmer so the same fixtures serve both a bright morning routine and a gentle late-night visit. Do that and you will have a bathroom that is genuinely easier to use — and a mirror that finally tells you the truth about how you look before you leave the house.