
 Owen Bradley
 Stairs are the single most common place for falls inside a home, and almost every one of those falls happens because someone misjudged where a tread ended in poor light. Stair lighting fixes that, and modern options make it far easier than it used to be. You can run recessed step lights into the risers for a built-in look, stick LED strips under the nosings for a soft continuous wash, or simply place battery motion units on a stairwell wall in under an hour. This guide covers all three approaches, the placement and brightness rules that make them actually work, the wiring you need for each, and the mistakes that turn stair lighting into a glare source rather than a safety feature.
Choose Your Stair Lighting Approach
Recessed riser lights mount into the vertical face of a step and throw light down onto the tread below. They are the most polished result and the most work, since each fixture needs a hole cut and low-voltage cable run behind the riser. They suit new builds, renovations, and any staircase where you can access the back of the risers.
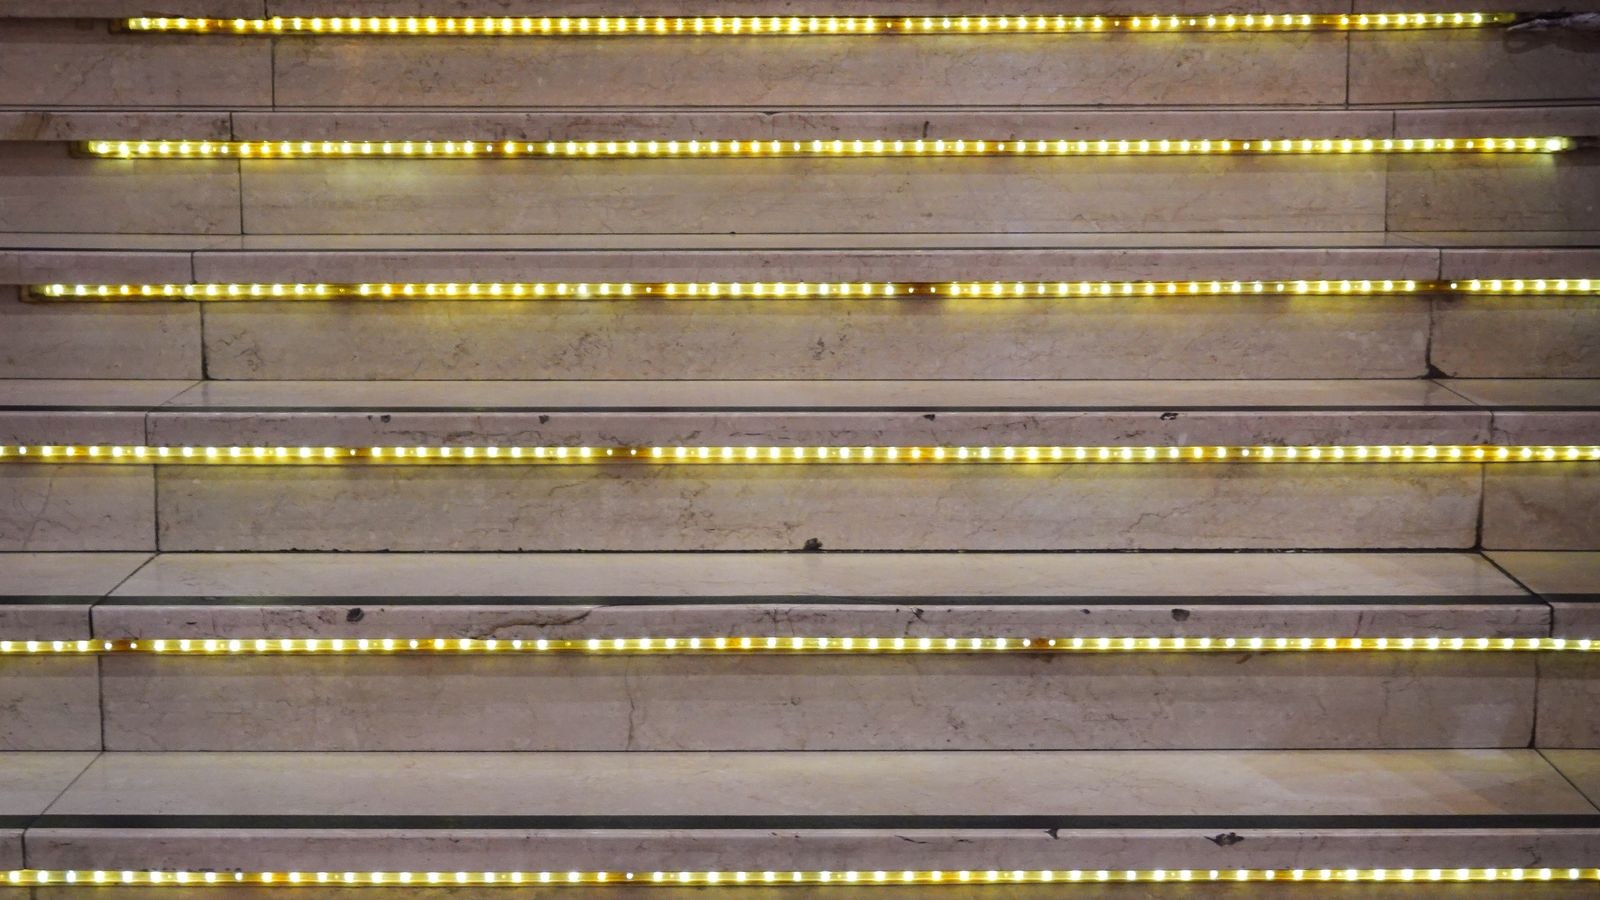
LED strip lighting mounts under the nosing of each tread, along a wall skirting, or inside a handrail channel. It gives continuous, glare-free light and is by far the most forgiving option to retrofit, because the strip is adhesive-backed and the wiring is a single low-voltage run to a driver.
Motion-sensor and plug-in units require no wiring at all. Battery or USB-rechargeable pucks and bars stick to the wall and light only when someone approaches. They are the right answer for renters, basements, and anyone who wants the safety benefit tonight.
Overhead and wall sconces still matter as the general light layer. Step lighting supplements them; it does not replace the need to see the whole staircase when you are carrying something.
Tools and Materials
- Tape measure, pencil, and level for consistent spacing and heights.
- Drill with a hole saw sized to your step light housings, or a spade bit for cable routes.
- Fish tape or a stiff wire for pulling cable behind risers or drywall.
- Wire strippers, side cutters, and connectors.
- Low-voltage LED driver or transformer sized to the total wattage plus 20 percent headroom.
- LED strip, aluminium channel, and diffuser if going the strip route.
- Isopropyl alcohol and a cloth to prepare surfaces for adhesive.
- Non-contact voltage tester for any work near mains wiring.
- Motion sensor or dimmer control, plus mounting screws and anchors.
Step by Step: Installing Stair Lighting
- Plan the layout before buying anything. Count your steps, measure a tread width and a riser height, and decide whether every step gets a light or every other step does. Alternating sides on consecutive steps gives an attractive rhythm and uses fewer fixtures without dark gaps.
- Decide where the power comes from. Low-voltage systems need a driver near a source. The easiest options are an existing outlet at the top or bottom of the stairs, or a junction box feeding an existing stairwell fixture. Anything requiring a new mains circuit is electrician territory.
- Cut power and verify. If you are touching a switch, junction box, or existing fixture, switch off the breaker and confirm with a tester before opening anything.
- Mark your fixture positions. For riser lights, mark the horizontal centre of each chosen riser about 50 to 75 mm above the tread below, then use the level to keep every mark at the same height. Consistency matters more than the exact figure; one light noticeably higher than the rest reads as a mistake.
- Cut the openings. Drill the hole saw slowly and squarely into the riser, checking behind first for structural framing or existing cables. Test-fit one housing before cutting the remaining holes so you can adjust the size if it is tight.
- Run the low-voltage cable. Feed cable from the driver location to each opening, either behind the risers, through the stair carriage, or along the wall cavity. Leave a 200 mm service loop at each fixture so a future replacement does not require pulling new cable. Staple cable to framing, never to the back of a riser where a nail could later pierce it.
- Fit the riser lights. Connect each fixture to the run, observing polarity on DC systems, and press the housing home until the trim sits flat. Confirm each one lights before you close anything up.
- Install strip lighting where used. Cut the strip only at the marked copper pads. Mount an aluminium channel under the tread nosing or along the skirting first, since the channel dissipates heat and the diffuser hides the individual diodes. Clean the surface with isopropyl alcohol, then press the strip in. Aim the strip so light lands on the tread and never straight into a descending person’s eyes.
- Mount motion units if that is your route. Clean the wall, peel the adhesive or drive two screws, and place each unit roughly 250 to 400 mm above the tread. Walk the stairs and adjust the tilt so the beam covers the tread edge rather than the wall opposite.
- Wire and mount the driver. Place it in an accessible, ventilated spot such as a cupboard or the underside of the stair landing. Total your fixture wattage and confirm the driver exceeds it with headroom; a driver running at its limit gets hot and fails early.
- Add the control layer. A motion sensor at the top and bottom, wired in parallel so either triggers the run, is the most useful arrangement. A dimmer lets you drop the output right down for night-time trips without waking anyone. Photocells work well in stairwells with a window.
- Test in the dark and adjust. Walk up and down with the house lights off. Look for dark treads, glare hitting you at eye level, and shadows cast by handrail balusters. Adjust aim, brightness, and sensor delay until the whole flight reads clearly.
Getting Brightness and Colour Right
Stair lighting is accent lighting, not task lighting. Around 30 to 60 lumens per step light is plenty, and LED strips in the 200 to 400 lumens per metre range look right under a nosing. Anything much brighter creates hard shadows that hide the tread edge, which defeats the purpose.
Choose a warm colour temperature between 2700K and 3000K for a home staircase. It is easier on eyes adapting from darkness and blends with the rest of the interior. Cooler 4000K light suits basements and utility stairs where the look matters less than visibility. Whatever you choose, use one colour temperature throughout; mixed temperatures on a single flight look like a repair rather than a design. If you are using strip lighting, comparing the best LED strip lights is worth the time, since consistency of colour along a long run varies enormously between products.
Safety and Code Considerations
Low-voltage systems keep this project firmly in DIY territory, but a few rules still matter. Never reduce the effective width of the staircase or create a tripping hazard with a surface-mounted fixture that protrudes into the walking path. Do not obstruct handrails, and keep drivers out of enclosed unventilated boxes.
Building codes in many areas require illumination at the top and bottom of every interior flight and a switch at each end. Check whether your local rules also mandate a specific minimum light level at the tread. Any work involving mains wiring, new circuits, or switches inside walls should be done by a qualified electrician; the low-voltage side downstream of the driver is generally exempt.
Motion Sensors: Getting Them Right
Motion control is what makes stair lighting genuinely pleasant, but a badly set sensor is worse than no sensor. Set the delay long enough that a slow trip up the whole flight does not leave someone in the dark mid-step, typically 30 to 60 seconds. Place sensors so they detect approach before the first tread, not once you are already on it.
If you have pets, mount sensors higher or choose a unit with adjustable sensitivity to avoid constant triggering. For a wire-free approach that covers a landing or hallway too, the best motion sensor lights for stairs gathers units designed for exactly this placement, while the best motion sensor night lights and broader best indoor motion sensor lights lists cover softer options for hallways, landings, and adjoining rooms.
Common Mistakes
- Aiming light into the eyes. Any fixture visible as a bright point from the top of the stairs will dazzle. Recess it or diffuse it.
- Inconsistent heights. Lights at slightly different heights on each riser look sloppy and read as steps of unequal size.
- Undersizing the driver. Running a transformer at 100 percent of its rating is the fastest way to a failure in two years.
- Cheap strip without a channel. Bare strip shows individual dots, yellows over time, and loses adhesion from heat.
- Forgetting the landing. A dark landing at the turn is exactly where people misjudge the first step down.
- Making it too bright. Over-lit stairs flatten the visual distinction between tread and riser.
Frequently Asked Questions
Do I need a light on every single step?
No. Every other step, alternating sides, usually gives even coverage and looks intentional. Straight flights of more than about twelve steps benefit from every step or a continuous strip.
Can I install stair lighting on carpeted stairs?
Yes. Riser lights work if the carpet stops short of the riser face, and strip lighting under the nosing or along the skirting works regardless of the floor covering.
How much does stair lighting cost to run?
Very little. A full flight of LED step lights typically draws less than a single traditional bulb, and motion control cuts even that to a few minutes of runtime a day.
Should stair lights stay on all night?
A very dim always-on setting is fine and helps anyone moving around at night. Motion triggering at higher output plus a low baseline is the best of both worlds.
Final Thoughts
Good stair lighting is quiet work: you should notice the treads, not the fixtures. Plan the layout first, keep every light at a consistent height, aim the output down onto the tread rather than out at eye level, and pick one warm colour temperature for the whole flight. Whether you cut in recessed riser lights, tuck a channel of LED strip under the nosings, or simply stick up a few motion pucks tonight, the result is the same, and it is the kind of upgrade you appreciate every single evening.









