Owen Bradley
 A new PC that boots to the desktop is not yet a finished PC. Plenty of builds power on happily, install Windows without complaint, and then crash forty minutes into a demanding game because the memory profile is unstable or the cooler was never seated properly. Stress testing is how you find those faults on purpose, in a controlled way, while you still have time to fix them. This guide walks through how to stress test a PC build from the first ten-minute sanity check to a full overnight stability run, which numbers to watch, and the temperature and voltage thresholds that mean you should stop and investigate rather than push on.
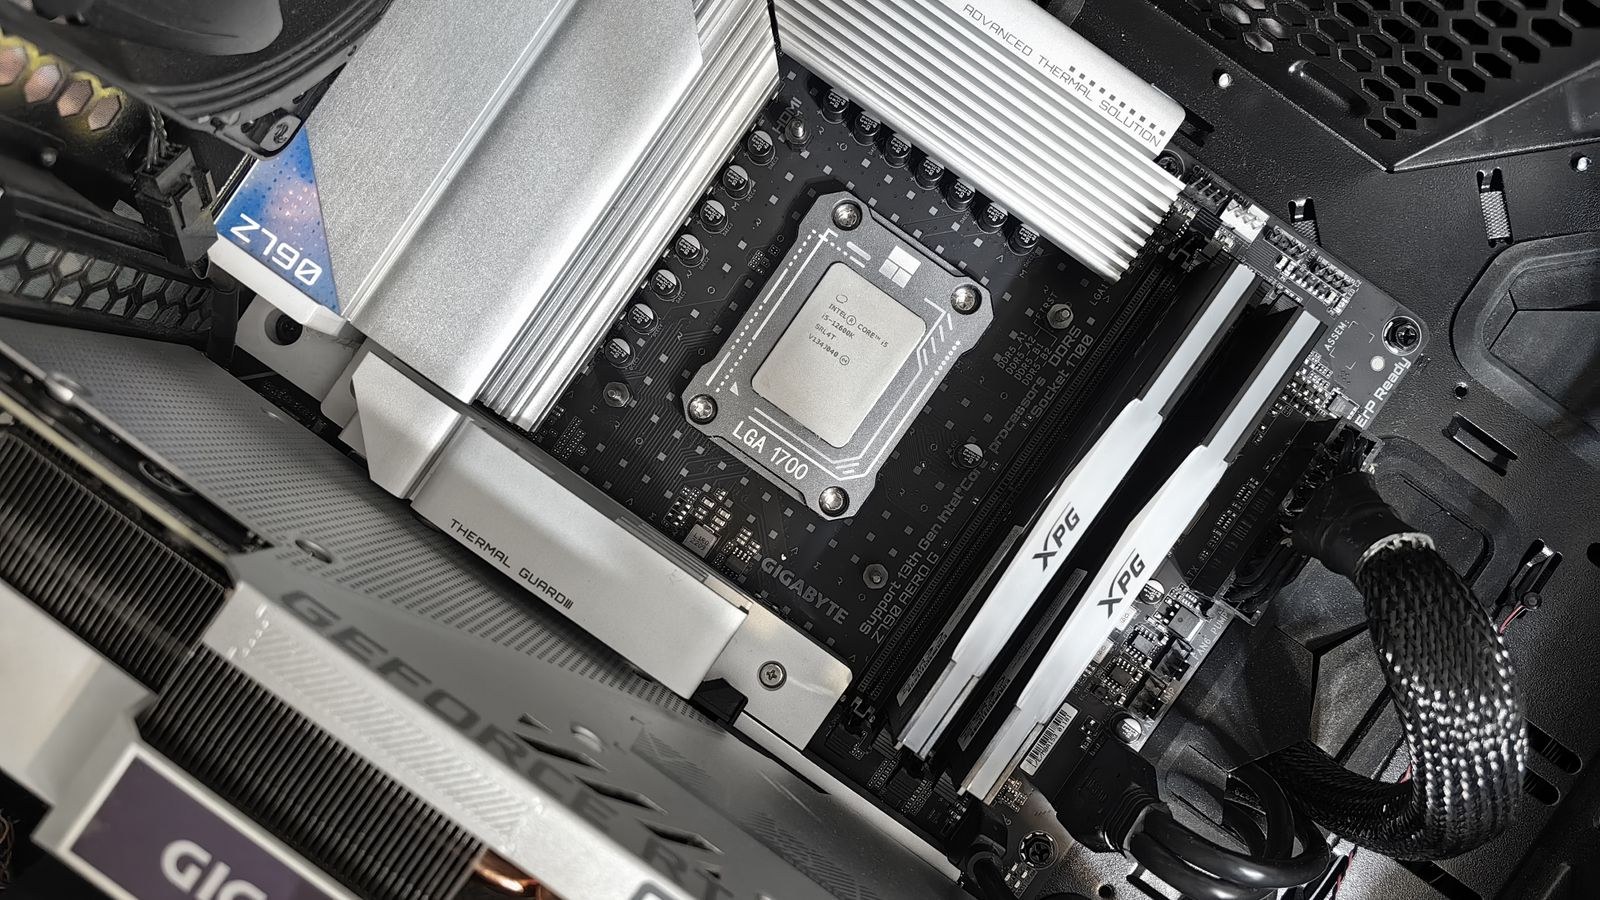
Why Stress Testing Matters Before You Game
Gaming is an inconsistent load. It hammers the graphics card in bursts, leans on a few processor cores, and rarely pushes every subsystem at once. That makes it a terrible diagnostic tool, because a build can appear fine for days and then fail during one particular scene. A stress test does the opposite: it applies a heavy, uniform, sustained load so any weakness shows up quickly and repeatably.
The three failures you are hunting are thermal, electrical, and configuration. Thermal problems mean the cooler cannot move heat away fast enough, so clocks drop or the system shuts down. Electrical problems usually trace back to a power supply that sags under transient spikes. Configuration problems are the most common of all in a fresh build, and almost always come down to a memory speed profile the kit and board cannot actually sustain together.
What You Need Before You Start
- A hardware monitoring tool that logs CPU package temperature, per-core clocks, GPU core and memory junction temperature, fan speeds, and rail voltages.
- A CPU stress tool capable of both a heavy synthetic load and a more realistic mixed workload.
- A memory test that runs outside or inside the operating system and reports errors rather than just crashing.
- A GPU load test with a stable, repeatable rendering scene.
- A combined load option so you can run CPU and GPU together and see how the power supply behaves.
- A notebook or text file to record idle temperatures, load temperatures, and any error codes. Numbers you did not write down are numbers you will misremember.
Set the room up sensibly too. Close the case side panel, because testing with the glass off produces flattering numbers you will never see in daily use. Note the ambient room temperature, since a 10 degree warmer room shifts every reading you take.
Set a Baseline First
Before applying any load, let the machine sit idle at the desktop for ten minutes and record the numbers. A healthy idle CPU package temperature usually lands somewhere between 8 and 20 degrees Celsius above ambient. If your idle reading is already 50 degrees or higher in a normal room, stop right there: that is a mounting or contact problem, not something a stress test will reveal any more clearly. Check that the cooler is seated evenly, the mounting screws are tightened in a cross pattern, and the pump on a liquid cooler is actually spinning.
The Stress Test Sequence, Step by Step
- Run a ten-minute CPU sanity check. Start a heavy all-core load and watch the package temperature climb. If it hits your chip’s thermal limit within the first sixty seconds and clocks collapse, kill the test immediately. That is a cooling contact failure, and running longer will not tell you anything new. A good result is a temperature that rises quickly and then plateaus with headroom to spare.
- Extend the CPU test to thirty minutes. Now you are looking at sustained behaviour rather than the initial spike. Watch for the clock speed settling into a steady all-core figure. A small drop from peak boost is normal and expected. A saw-tooth pattern where clocks repeatedly crash and recover means the cooler is at its limit under sustained load.
- Test memory properly. This is where most new builds actually fail. Enable your memory profile in the firmware, then run a dedicated memory test for at least four full passes, or a couple of hours in an operating system memory tester. The pass criterion is zero errors. One error is a fail. If it fails, drop the memory speed one step, or loosen the primary timings slightly, and retest until it is clean.
- Load the graphics card alone. Run a looping render test for twenty to thirty minutes. Watch the GPU core temperature, but pay much closer attention to the memory junction or hotspot reading if your card exposes it, because that sensor is what usually throttles first. Look for visual artefacts such as flickering triangles, coloured speckles, or texture corruption. Any artefact means the card, its memory, or the power delivered to it is unstable.
- Run a combined CPU and GPU load. Twenty minutes with both under full load is the real test of your power supply and your case airflow. This is the state where an undersized or ageing PSU trips its protection and the machine reboots instantly with no blue screen. It is also where case temperature builds enough to push both components several degrees higher than they ran in isolation.
- Finish with a realistic long run. Play the most demanding game you own for two hours, or leave a mixed workload running overnight. Sustained real use catches slow heat soak in the case and the rare intermittent fault that a short synthetic burst misses entirely.
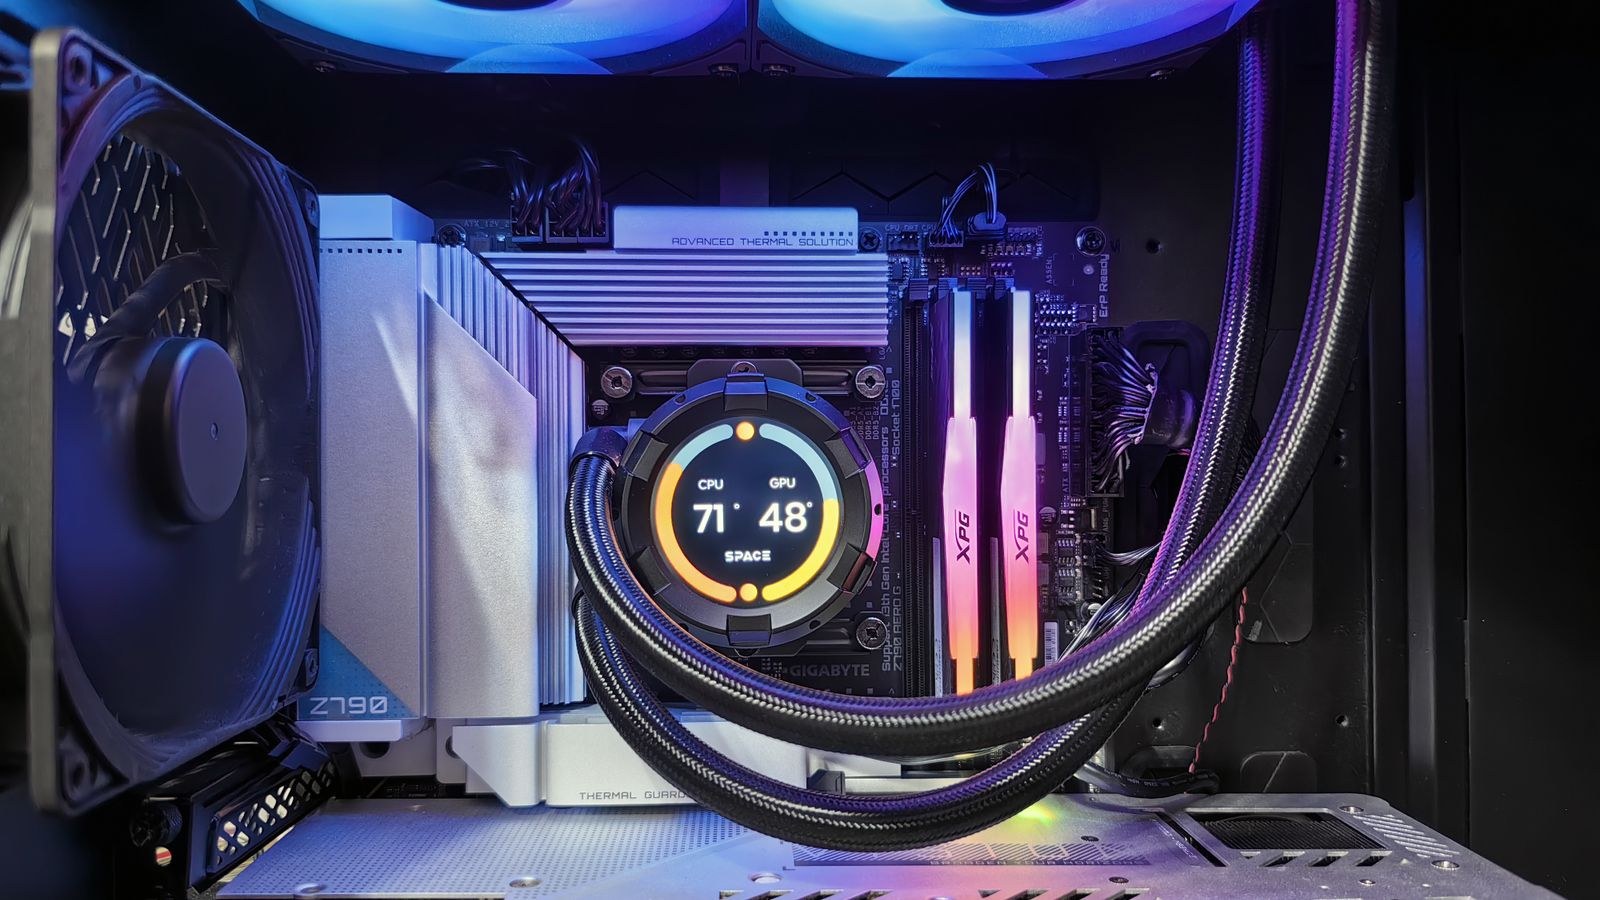
Reading the Temperatures Correctly
Numbers only help if you know what a healthy figure looks like. For a desktop processor, sustained all-core loads in the 70 to 85 degree Celsius range are entirely normal and nothing to worry about. Brief spikes into the low 90s during a synthetic burst are also acceptable on modern chips that boost aggressively. What matters is whether the temperature stabilises or keeps climbing. A reading that sits pinned at the thermal limit for the whole test, with clocks reduced to keep it there, means your cooling is the bottleneck.
Graphics cards behave differently. A core temperature in the 65 to 80 degree range under load is healthy. The memory junction sensor runs considerably hotter, and figures in the 85 to 95 degree range are common on cards with dense memory layouts. A gap of more than about 25 degrees between core and hotspot suggests uneven cooler contact.
When to Stop the Test Immediately
- The processor hits its thermal ceiling in under a minute from a cold start.
- The machine reboots or powers off with no error message, which points at the power supply or its protection circuits.
- You see visual artefacts on screen during a GPU test.
- Fan speeds ramp to maximum but temperatures still climb steadily rather than plateauing.
- You smell anything hot, or hear a coil whine that changes pitch sharply under load.
Fixing What the Test Finds
Each failure points at a fairly narrow set of causes. High CPU temperatures from the very first minute nearly always mean a mounting problem: the paste was applied too thinly, the backplate is uneven, or the cooler simply is not clamped down hard enough. Remount before you assume you need better hardware. If temperatures are high but stable, and you are running a high-power chip, the cooler may genuinely be undersized. Comparing options in a roundup of the best CPU coolers for gaming will tell you quickly whether your cooler is rated for your processor’s power draw.
Sudden shutdowns under combined load are a power supply story. Modern graphics cards draw brief transient spikes far above their rated figure, and a unit without enough headroom or a modern protection design will trip. Reviewing the best PSUs for gaming helps you judge whether your wattage and connector standard actually match the parts you installed.
If the processor throttles hard in every test but temperatures look fine, look at power limits in firmware rather than cooling. And if the whole build feels mismatched, with one part waiting on another, the comparison lists for the best CPUs for gaming and the best GPUs for gaming make it easier to see where the imbalance lies before you spend anything.
Common Stress Testing Mistakes
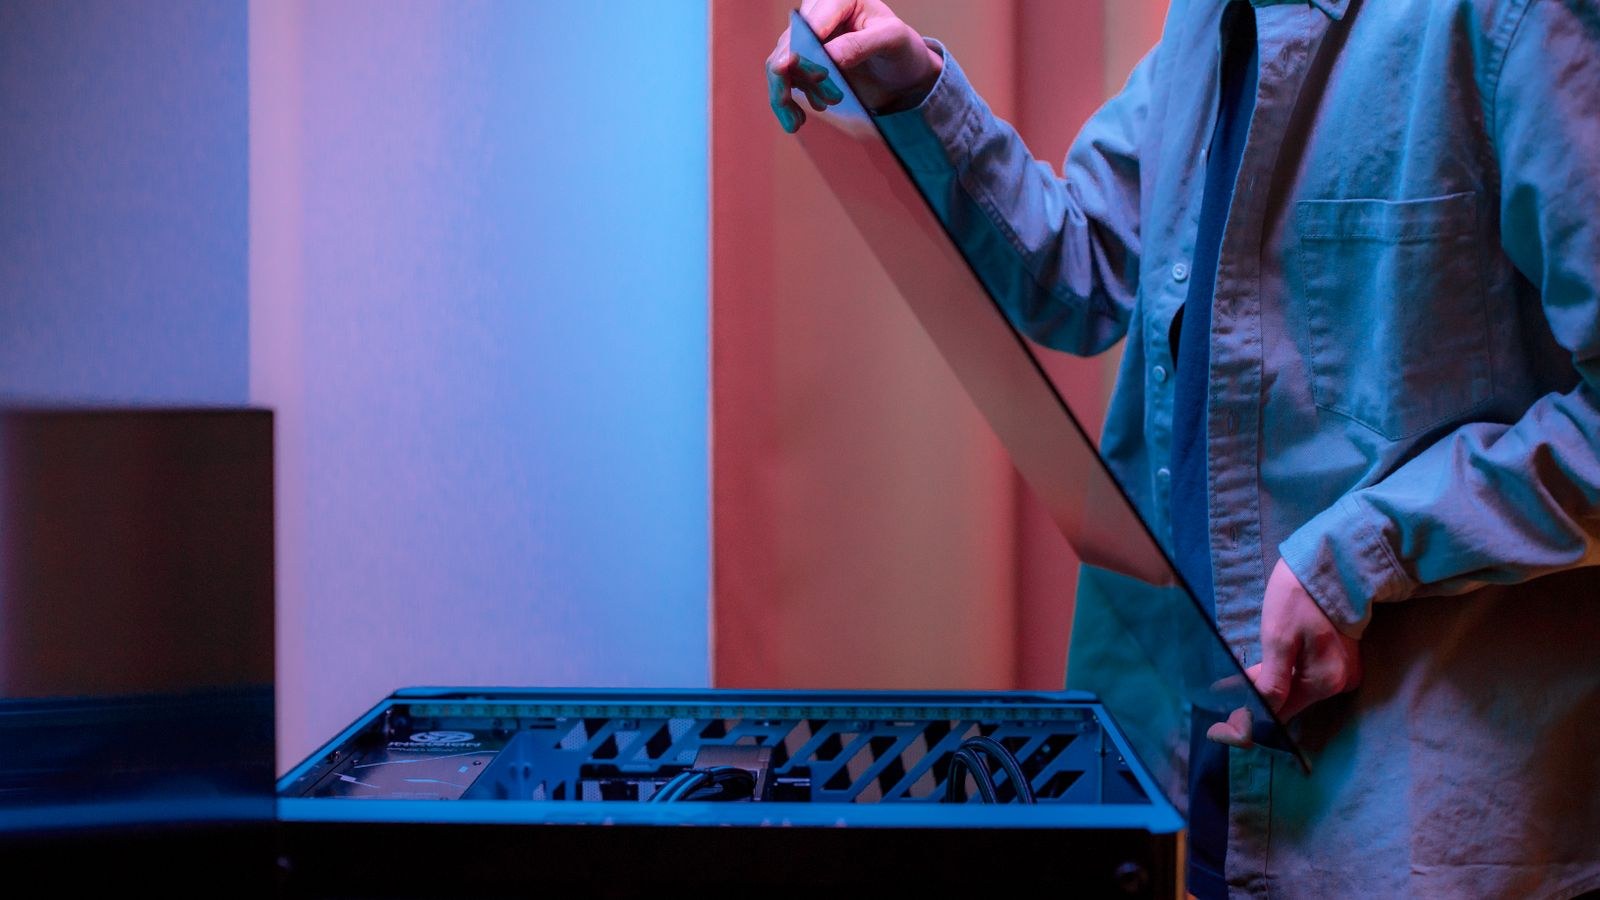
The first mistake is testing with the side panel off. It lowers every temperature you record and hides an airflow problem that will reappear the moment you close the case. Test the machine in the configuration you will actually use.
The second is treating a synthetic all-core power virus as the pass or fail standard. Those tools generate a load heavier than any game will ever produce. If your machine survives it comfortably, wonderful, but failing one is not automatically a broken build. Judge stability against realistic sustained workloads too.
The third is changing several things at once after a failure. If you remount the cooler, lower the memory speed, and swap a fan curve all in one go, you will never know which change fixed it, and you may leave performance on the table permanently. Alter one variable, retest, then move on.
The fourth is skipping memory testing entirely because the machine seems fine. Marginal memory settings are the single most common cause of the random crash-to-desktop that people misdiagnose as a driver bug for months.
Frequently Asked Questions
How long should a stress test run?
Ten minutes catches catastrophic faults, thirty minutes confirms sustained thermal behaviour, and several hours or an overnight run catches the intermittent problems. For a brand new build, budget an evening across all the stages rather than one long test.
Is it safe to stress test a new PC?
Yes, on healthy hardware. Modern processors and graphics cards have thermal and power protection that reduces clocks or shuts the system down long before damage occurs. The risk is not the load itself but ignoring warning signs and continuing to run a system that is clearly failing.
What temperature is too high while gaming?
Sustained processor readings above roughly 90 degrees Celsius, or a graphics card memory junction consistently above 100 degrees, mean cooling needs attention. You will usually notice the performance loss from throttling before you notice the number.
Do I need to stress test a prebuilt PC?
It is still worth doing. Prebuilt machines are assembled quickly and shipped, and transit can loosen a cooler mount. A short verification run before the return window closes is cheap insurance.
Should I overclock before or after stress testing?
Always establish stability at stock settings first. Without a known-good baseline you cannot tell whether a later crash came from your overclock or from a fault that was present all along. If you are still assembling, the walkthrough on how to build your first gaming PC step by step covers the assembly choices that make testing go smoothly.
Final Thoughts
Stress testing is not about torturing hardware for its own sake. It is about compressing months of ordinary use into a few focused hours so that any weakness in cooling, power, or configuration surfaces while you still have warranty coverage and an open case. Work through the sequence in order, record your numbers, change one thing at a time when something fails, and close the panel before you judge the results. A build that passes a proper test session is a build you can stop thinking about, which is exactly the point.