
 Owen Bradley
 Building your first gaming PC is one of the most rewarding tech projects you can take on. Not only do you save money compared to prebuilt systems, but you also gain a deep understanding of how your machine works, which makes future upgrades and troubleshooting far less intimidating. This walkthrough breaks the process down into manageable steps so you can go from a pile of parts to a fully working gaming rig with confidence, even if you’ve never opened a computer case before.
Gather Your Tools and Workspace
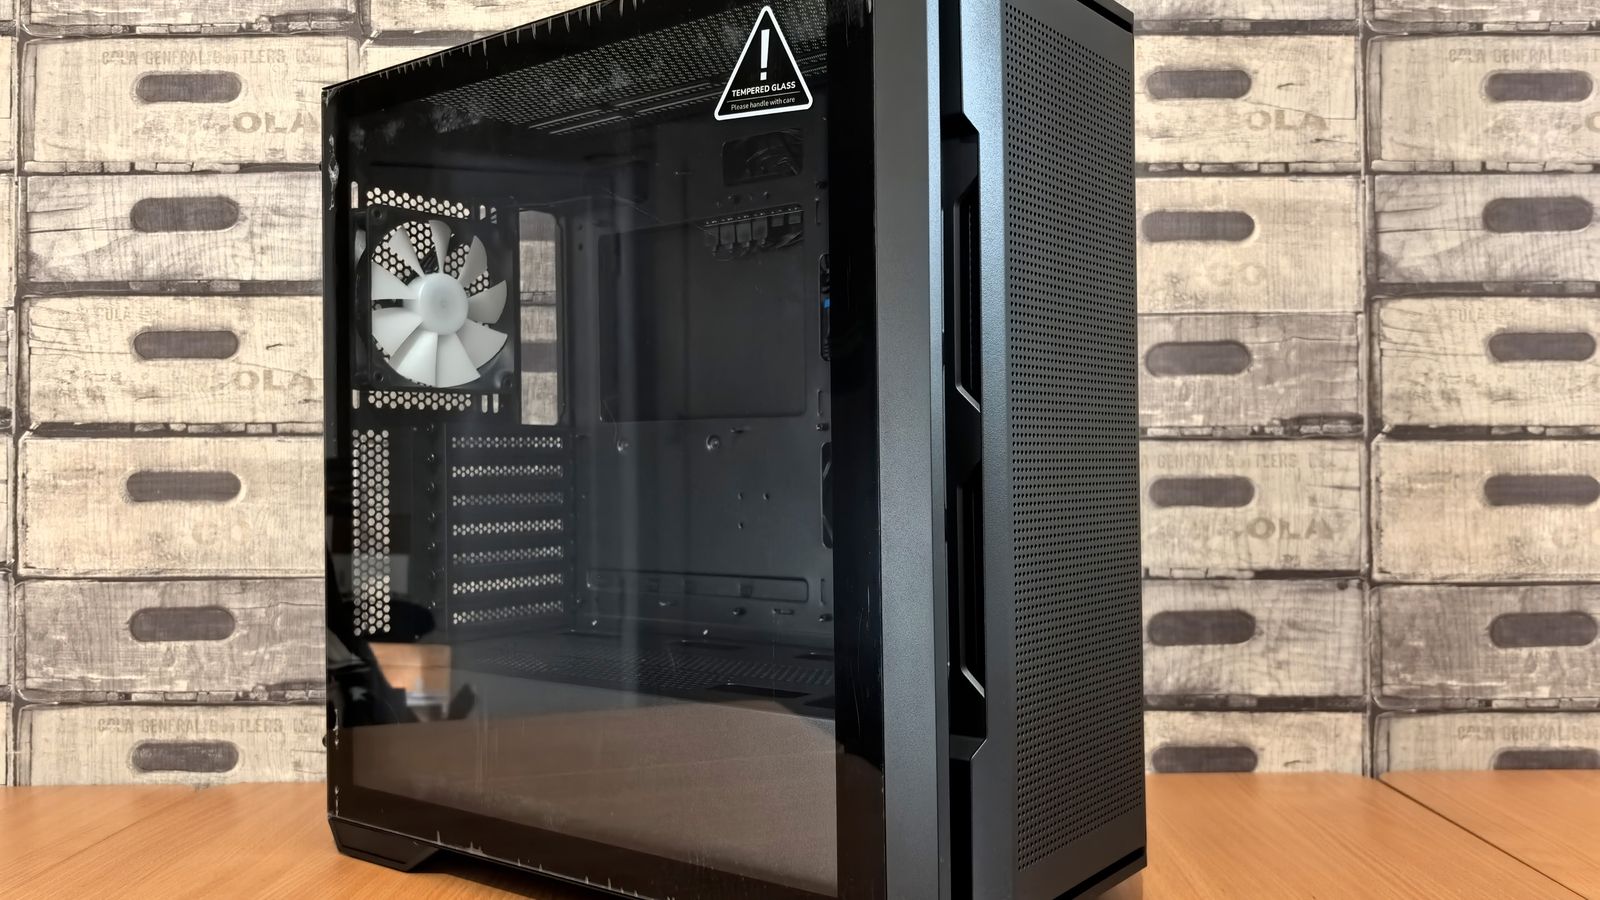
Before opening a single box, set up a clean, static-safe workspace. You’ll want a large flat table, good lighting, and a Phillips-head screwdriver. An anti-static wrist strap is optional but helpful for beginners nervous about electrostatic discharge damaging components. Keep a small bowl or magnetic tray nearby for screws, and have your motherboard and component manuals within reach, since you’ll refer to them often.
Step 1: Choose Your Core Components
A gaming PC build starts with selecting compatible parts: a CPU, motherboard, RAM, graphics card, storage, power supply, case, and CPU cooler. Compatibility matters most between the CPU and motherboard socket, and between the RAM type and motherboard. If you’re unsure where to start, studying how the best gaming computer builders assemble their systems can help you understand which combinations of parts deliver the best performance for your budget. Similarly, browsing the best gaming computer parts currently available makes it easier to compare pricing and specs before you commit to a shopping list.
Step 2: Prepare the Case and Motherboard
- Remove both side panels of your case and set aside the included screws in a labeled container.
- Install the I/O shield that came with your motherboard into the rear cutout of the case, if it isn’t already integrated into the board.
- Place the motherboard on a flat, non-conductive surface (its original box works well) before installing the CPU, RAM, and cooler outside the case for easier access.
Step 3: Install the CPU, RAM, and Cooler
- Open the CPU socket lever on the motherboard, align the processor using the corner indicator triangle, and gently lower it into place without forcing it.
- Close the retention lever to lock the CPU in. It’s normal for this to require moderate pressure.
- Insert your RAM sticks into the correct DIMM slots (check your motherboard manual for dual-channel placement) until they click into place on both ends.
- Apply a small pea-sized dot of thermal paste to the center of the CPU if your cooler didn’t come with paste pre-applied, then mount the cooler evenly according to its instructions.
- Connect the CPU cooler’s fan cable to the CPU_FAN header on the motherboard.
Step 4: Mount the Motherboard in the Case
- Install the brass standoffs in the case that match your motherboard’s screw holes.
- Carefully lower the motherboard into the case, aligning its ports with the I/O shield.
- Secure the motherboard with screws in each standoff location, tightening them snugly but not over-torquing.
Step 5: Install Storage, Power Supply, and Graphics Card
- Mount your SSD or hard drive into the case’s drive bays, or slot an M.2 SSD directly onto the motherboard and secure it with its screw.
- Install the power supply into its designated bay, oriented according to your case’s airflow design, and secure it with screws.
- Insert the graphics card into the top PCIe x16 slot, press down firmly until it clicks, and secure it with a bracket screw.
Step 6: Cable Management and Connections
Connect the 24-pin motherboard power cable, the 8-pin CPU power cable, and any additional PCIe power cables required by your graphics card. Attach front-panel connectors for power, reset, USB, and audio according to the motherboard manual, since these tiny pins are easy to misplace. Route cables behind the motherboard tray where possible to improve airflow and keep the interior tidy. Good cable management isn’t just cosmetic; it helps your fans move air more efficiently.
Step 7: First Boot and BIOS Setup
Connect a monitor, keyboard, and mouse, then power on the system. If it boots successfully, enter the BIOS to confirm your RAM is running at its rated speed (you may need to enable the XMP or EXPO profile) and that all components are detected. From there, install your operating system from a USB drive and download the latest graphics drivers before gaming.
Understanding Airflow and Cooling
A common oversight for first-time builders is fan orientation. Intake fans (usually at the front and bottom) pull cool air in, while exhaust fans (typically at the rear and top) push hot air out. Aim for a slightly positive air pressure setup, with a bit more intake than exhaust, to reduce dust buildup. Getting this right keeps your CPU and GPU temperatures in a healthy range under gaming loads.
Common Mistakes First-Time Builders Make
- Forgetting to install the I/O shield before mounting the motherboard
- Using too much or too little thermal paste
- Not connecting the 8-pin CPU power cable, which prevents the system from booting
- Overlooking case airflow direction when installing fans
- Forgetting to enable the XMP/EXPO memory profile, leaving RAM running slower than advertised
Frequently Asked Questions
How long does it take to build a gaming PC?
Most first-time builders take between two and four hours, including careful cable management. Experienced builders can often finish in under an hour.
Do I need special tools to build a PC?
A basic Phillips-head screwdriver is really all that’s essential. Zip ties, cable combs, and an anti-static wrist strap are helpful extras but not strictly required.
What if my PC doesn’t turn on after building it?
Double-check that the power supply switch is on, all power connectors are firmly seated, and the front-panel power button cable is connected to the correct motherboard pins. Reseating the RAM solves a surprising number of no-boot issues.
Is it cheaper to build or buy a gaming PC?
Building often saves money and gives you higher-quality components for the price, though prebuilt systems occasionally win on bundled deals. Building also gives you full control over part selection and easier future upgrades.
Post-Build Software Setup
Once your operating system is installed, a few housekeeping steps ensure your new rig performs its best. Install the latest chipset drivers from your motherboard manufacturer, then the newest graphics drivers directly from the GPU maker rather than relying on generic Windows drivers. Run any available system updates, then benchmark your machine with a free stress-testing tool to confirm temperatures stay in a safe range under load. Finally, set up your game launchers and enable any monitor features like a high refresh rate or variable refresh sync in the display settings.
Planning for Future Upgrades
One of the biggest advantages of building your own PC is how easy future upgrades become. When choosing parts, leave a little headroom: a power supply with extra wattage capacity makes adding a stronger graphics card later painless, and a motherboard with open RAM slots lets you expand memory down the road. Buying a case with good airflow and cable-routing space also pays off, since it accommodates larger coolers and additional drives as your needs grow. Thinking ahead during your first build saves money and effort on every upgrade that follows.
Final Thoughts
Building your first gaming PC is a manageable project once you break it into clear steps. Take your time, follow your component manuals closely, and don’t rush the cable management. With the right parts sourced from resources like the best gaming computer parts guide, your first build can rival many prebuilt systems in both performance and value.









