Owen Bradley
 Free over-the-air television is one of the last genuinely free things in home entertainment, and all it takes is an antenna, a coaxial cable, and a little patience. Broadcast stations still transmit local news, network dramas, sports, and subchannels in high definition, often at a higher bitrate than the same content streamed over the internet. The catch is that reception depends almost entirely on how and where you mount the antenna. This guide walks through choosing the right model, aiming it toward the transmitters, running the channel scan, and fixing the dropouts that make people give up too early.
What You Need Before You Start
The parts list is short, and most of it may already be in a drawer. Gather everything first so you are not walking back and forth while a channel scan runs.
- A TV antenna — flat indoor panel, amplified indoor model, or an outdoor/attic directional antenna.
- Coaxial cable (RG6) long enough to reach the TV without stretching, plus a spare in a longer length.
- A tuner — nearly every TV sold in the last fifteen years has an ATSC tuner built in. Older sets or projectors need an external converter box.
- Mounting hardware — command strips or removable adhesive for indoor panels; a J-mount, mast, and lag bolts for outdoor installs.
- A phone with a compass app for aiming, and a signal-meter screen on the TV if it has one.
You do not need a subscription, an account, or an internet connection. Broadcast TV is entirely separate from your home network, which is why it keeps working when the internet goes down. If you also stream, keeping both paths healthy is worth the effort — our notes on building streaming optimized home networks cover the wired and wireless side that antenna reception does not touch.
Step 1: Find Out Which Towers You Can Actually Receive
Before buying anything, look up your address on a broadcast coverage map. These tools list every station reachable from your location, the compass bearing to each transmitter, the distance in miles, and a colour-coded strength estimate. Write down two numbers: the dominant bearing where most stations cluster, and the distance to the farthest station you care about.
Those two figures decide the whole project. If everything sits within 20 miles on one bearing, a flat indoor panel taped to a window will probably work. If your stations are spread across two bearings 60 degrees apart, you need either an omnidirectional antenna or a rotor. If anything you want is beyond 40 miles, plan on an attic or roof mount from the start, because no indoor antenna reliably beats an exterior wall and a long interior path.
Understanding Range Claims
Antenna boxes advertise ranges like “150 miles.” Treat these as marketing. Digital signals travel line of sight, so the honest limit for most flat indoor antennas is roughly 25 to 35 miles. Match your antenna to the coverage map, not the packaging.
Step 2: Pick the Right Antenna Type
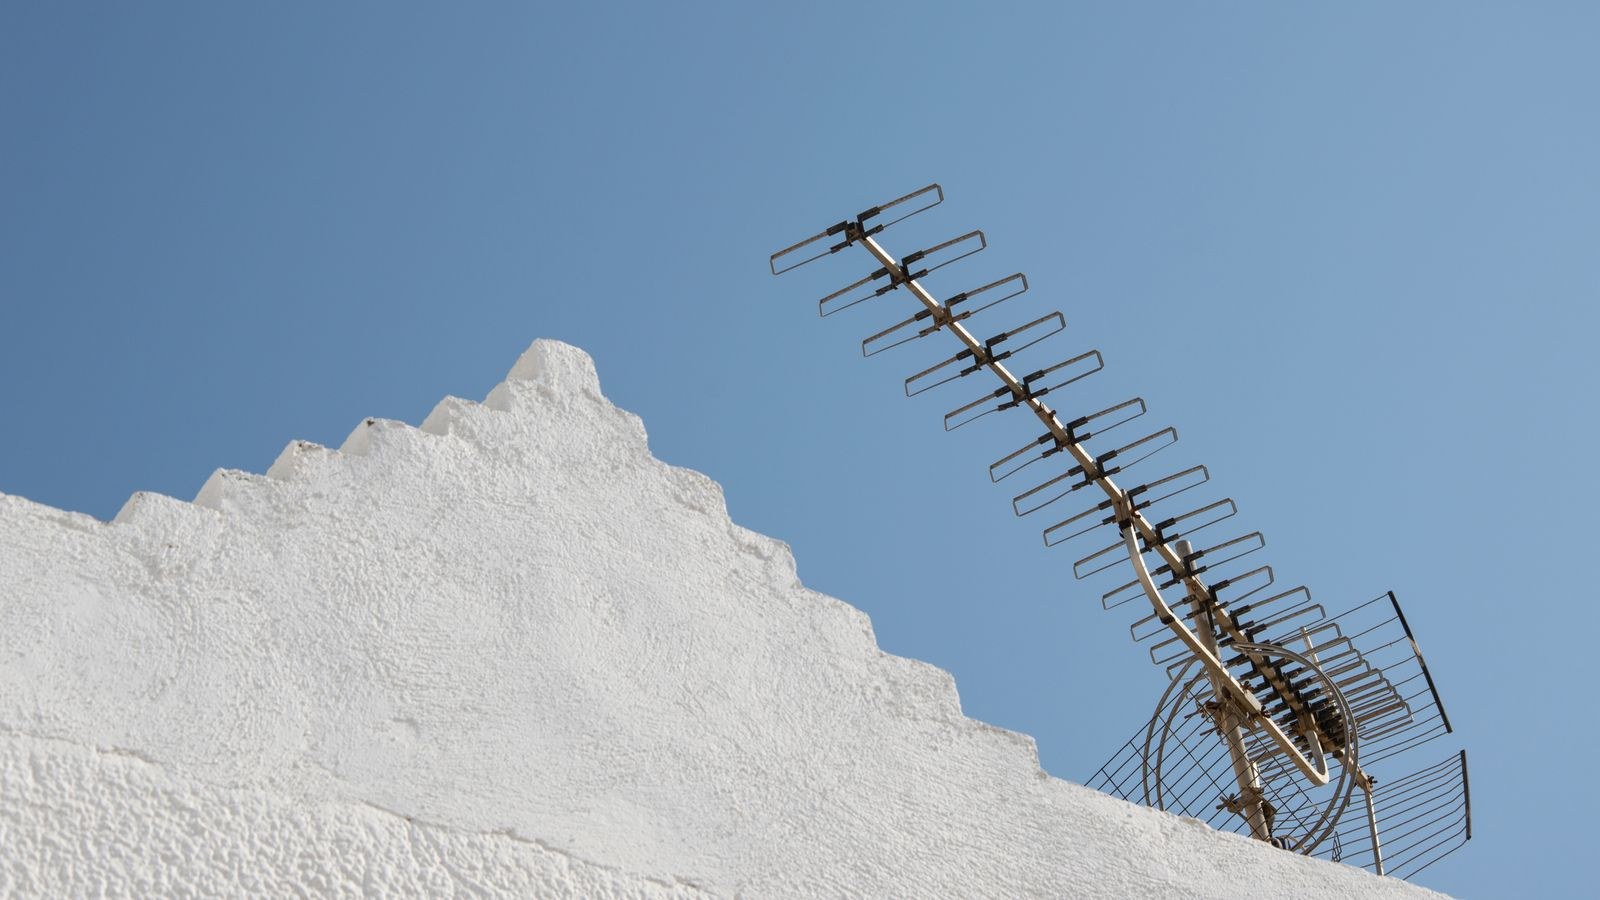
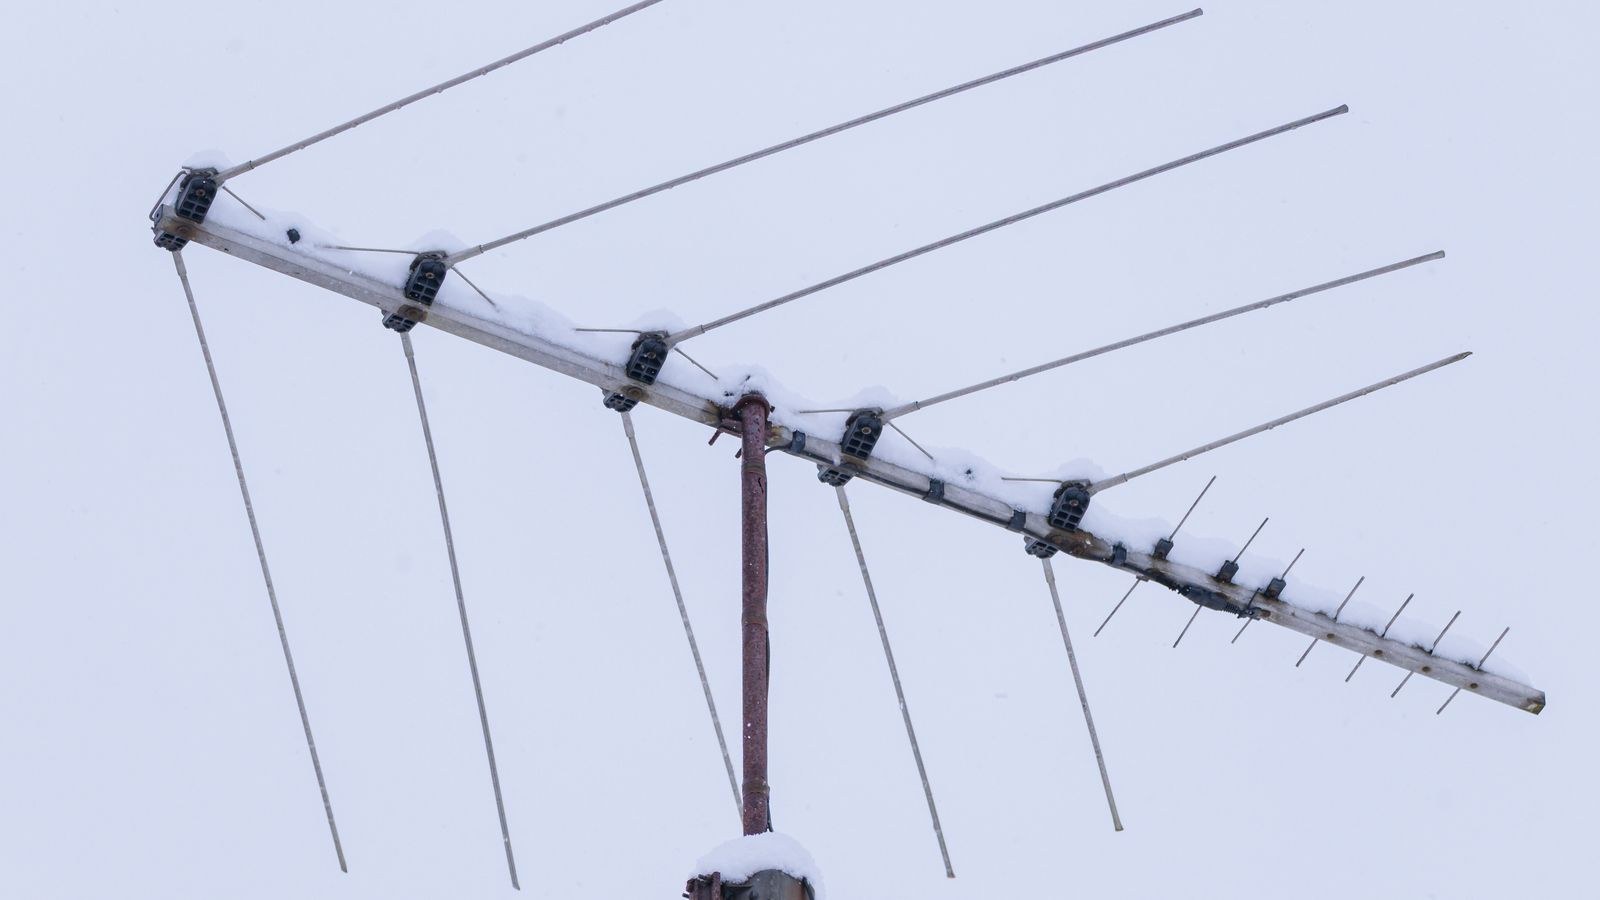
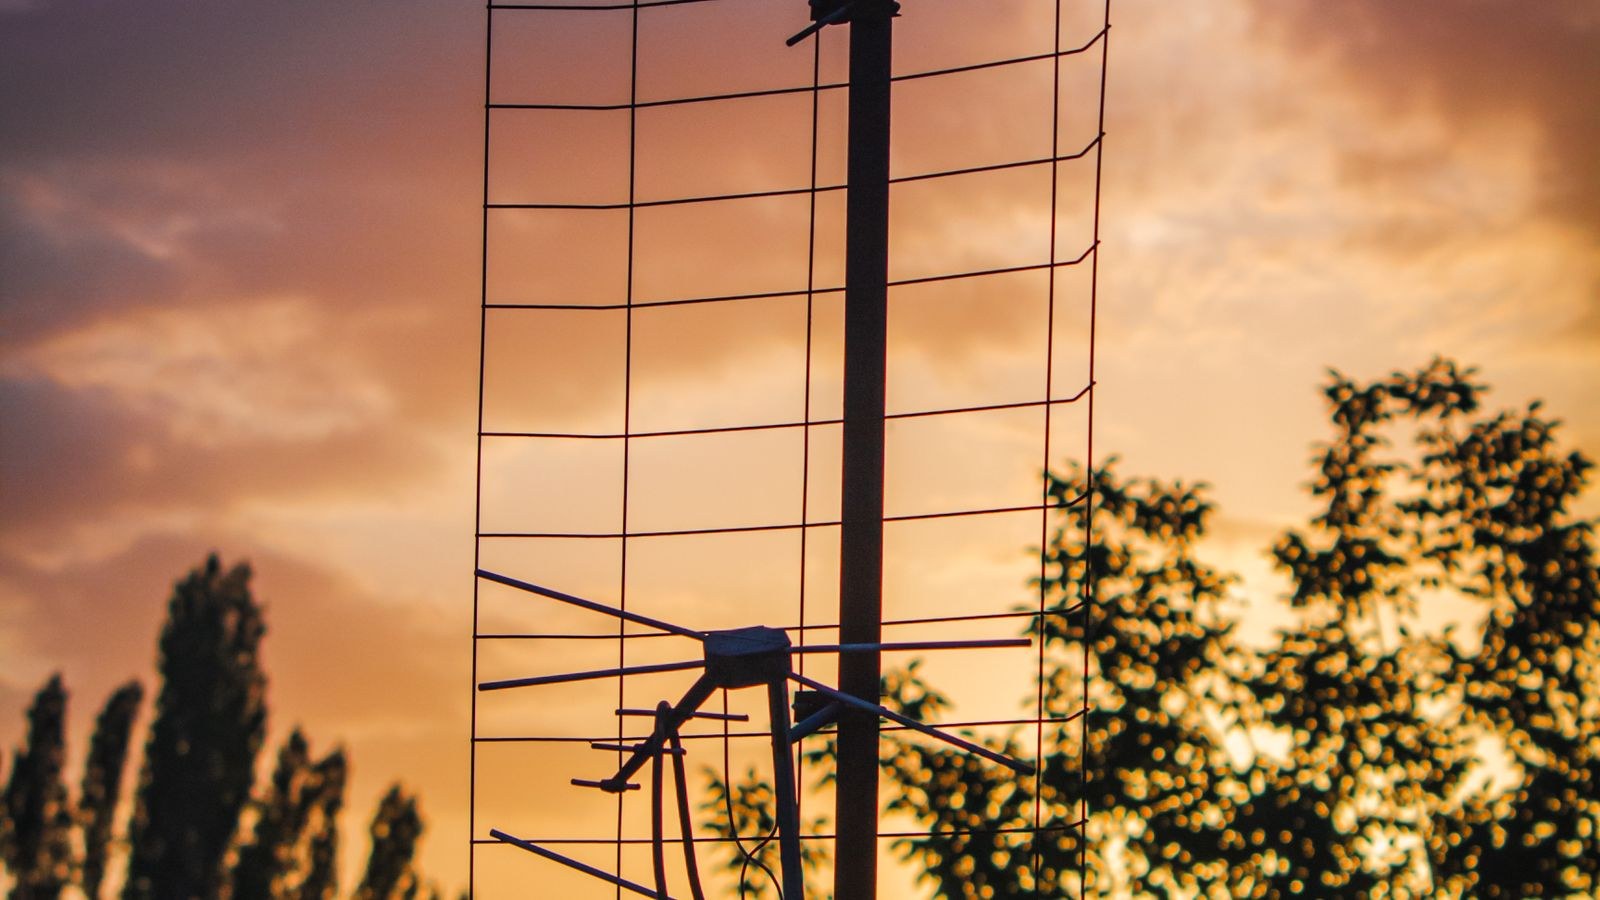
Three broad categories cover nearly every home. A flat indoor panel is thin, cheap, and mounts on a window or wall; it works best inside about 25 miles with a clear line toward the towers. An amplified indoor antenna adds a small powered preamp, which helps overcome long cable runs and weak signals but does nothing about physical obstructions — and it can actually make things worse if a strong local station overloads the amplifier. An outdoor or attic directional antenna is larger, aims tightly along one bearing, and delivers by far the most reliable reception at distance.
A common mistake is buying an amplified model first. Amplifiers boost noise along with signal. Try passive first; add amplification only if the TV reports a locked but marginal signal that drops out during weather. If you are pairing an antenna with a new display, the picture quality of over-the-air HD holds up well on modern panels — the same sets people shortlist among the best TVs for gaming or the best living room gaming TVs handle broadcast signals cleanly through their built-in tuners.
Step 3: Mount the Antenna in the Best Available Spot
Height and line of sight beat everything else. Follow this order when choosing a location.
- Go as high as practical. An upstairs window outperforms a ground-floor one; an attic outperforms both; a roof mount outperforms all of them.
- Face the dominant bearing. Put the antenna on the wall or window that points toward the tower cluster you noted in step 1.
- Avoid metal and masonry. Foil-backed insulation, metal siding, brick, stucco with wire lath, and low-E coated glass all attenuate the signal badly. A plain single-pane window is nearly transparent to broadcast signals.
- Keep distance from noise sources. Routers, LED light fixtures, dimmer switches, and power bricks generate interference. Six feet of separation is a reasonable minimum.
- Tape it temporarily first. Use painter’s tape or a removable strip while you test. Only commit to permanent mounting after a successful scan.
For an outdoor mount, secure the mast to a solid fascia board or wall stud, keep the antenna clear of the roofline and any tree canopy, and ground the mast and coax per local electrical code. A grounding block where the cable enters the house is not optional in most jurisdictions.
Step 4: Connect the Coax and Run the Channel Scan
Screw the coaxial cable finger-tight onto the antenna, then onto the port on the TV labelled ANT IN, RF IN, or Air/Cable. Avoid splitters at this stage, since each one costs roughly 3.5 dB of signal per output.
- Turn on the TV and open Settings, then Channels, Broadcasting, or Tuner depending on the brand.
- Set the signal source or tuner mode to Antenna or Air, not Cable. Choosing Cable makes the scan look for a completely different frequency plan and it will find nothing.
- Start Auto Program, Channel Scan, or Auto Tuning. Leave the room; a full scan takes five to fifteen minutes.
- When it finishes, note the channel count and flip through the results. Watch each one for at least thirty seconds to catch intermittent dropouts.
Missing a station you expected? Do not re-scan immediately. Move the antenna a foot or two, or rotate it 15 degrees, then scan again. Small position changes often add several channels because the signal arrives partly by reflection off buildings and terrain.
Step 5: Aim and Fine-Tune Using the Signal Meter
Most TVs hide a signal-strength readout in the channel menu, often under a name like Signal Information or Antenna Level. Tune to the weakest channel you want to keep, open that screen, and have someone rotate the antenna slowly while you watch the meter.
Digital reception is a cliff, not a slope. Below a threshold you get nothing; above it you get a perfect picture. So aim for the highest number you can find, not merely “good enough,” because that headroom is what survives rain, leaves on trees, and passing aircraft. Move in small increments and pause a few seconds after each adjustment — the meter lags behind the antenna.
When to Add an Amplifier or Distribution
Add a preamplifier at the antenna if your cable run exceeds about 50 feet or you are feeding more than one TV. Put a distribution amplifier after the run if you are splitting to three or more sets. Never stack amplifiers; overloading the tuner front end causes the same dropouts as too little signal, and the symptoms look identical.
Safety Notes for Outdoor Installs
Working on a roof or ladder deserves real caution. Never raise a mast anywhere near overhead power lines — the required clearance is more than the mast is long. Have a second person foot the ladder. Do not install during wet or windy weather. Ground the mast with a proper clamp and #10 copper wire to the home’s grounding electrode, and fit a grounding block on the coax before it enters the wall. If any of that is outside your comfort zone, an attic mount avoids the hazard entirely at a modest cost in signal.
Troubleshooting Common Reception Problems
Pixelation and audio stutter almost always mean marginal signal. Raise the antenna, re-aim it, remove splitters, or shorten the cable run. Channels that come and go with the weather point to a signal sitting right at the cliff edge; an outdoor mount is the durable fix. No channels at all usually traces to the tuner set to Cable instead of Antenna, a loose coax connector, or the cable plugged into an HDMI-adjacent composite port rather than the RF input.
Strong stations work but weak ones do not is a classic aiming problem — rotate toward the weak transmitter and accept a small loss on the strong one, which usually has margin to spare. Everything worked and then stopped often means a station changed its real broadcast frequency, so a fresh channel scan restores it. A rescan every few months is good housekeeping.
Getting Better Sound From Free Channels
Over-the-air broadcasts carry Dolby Digital audio, which the flat speakers in a thin TV rarely do justice. If dialogue in local news or a live game sounds thin, an external speaker setup makes a bigger difference than any antenna upgrade at that point. Options range from a compact bar to a full pair — the roundup of the best TV speakers covers what to look for, and displays built with entertainment in mind, such as the best gaming TVs with smart features, usually offer the audio output ports needed to connect them cleanly.
Frequently Asked Questions
Do I need a special antenna for 4K or HD broadcasts?
No. Antennas are frequency devices, not resolution devices. Any antenna that receives the VHF and UHF bands used by broadcasters will carry HD and next-generation broadcast signals equally well. Ignore packaging that advertises “4K ready” as a feature.
How often should I rescan for channels?
Every few months, and always after moving the antenna. Stations occasionally shift transmitter frequencies, and new subchannels appear regularly. A rescan costs ten minutes and often adds channels you did not know existed.
Can one antenna feed several TVs?
Yes, using a splitter, though each split reduces signal to every output. With strong local reception a two-way split is usually harmless. For three or more sets, or for weaker signals, add a distribution amplifier after the main cable run.
Will an amplified antenna fix a weak signal?
Sometimes. An amplifier compensates for long cable runs and splitter losses, but it cannot recover a signal blocked by terrain, buildings, or metal in the wall. Improve position and height first; treat amplification as the last adjustment rather than the first.
Final Thoughts
A working antenna setup is mostly a location problem, not a hardware problem. Look up your towers, pick a passive antenna sized to that distance, get it as high and as unobstructed as your home allows, then scan, aim with the signal meter, and rescan after every move. Spend your effort on placement before you spend money on amplifiers or exotic designs, and keep the coax run short and splitter-free wherever possible. Do that and you will pull in dozens of free local channels in crisp high definition throughout 2026 without a monthly bill attached to any of them.