
 Owen Bradley
 Wi-Fi is convenient, but it will never match the consistency of a copper run stapled inside your walls. If you work from home, game competitively, stream to multiple televisions, or run a home server, a permanent wired drop removes an entire category of problems: interference, congestion, roaming hiccups, and unexplained latency spikes. The good news is that learning how to run ethernet cable through walls is well within reach of a careful DIYer with basic tools and a weekend. The work is less about technical wizardry and more about patience, planning, and respecting the electrical wiring already living inside those cavities. This guide walks through the whole job, from mapping drops on paper to testing the finished link, so you end up with clean wall plates instead of cables taped along the baseboard.
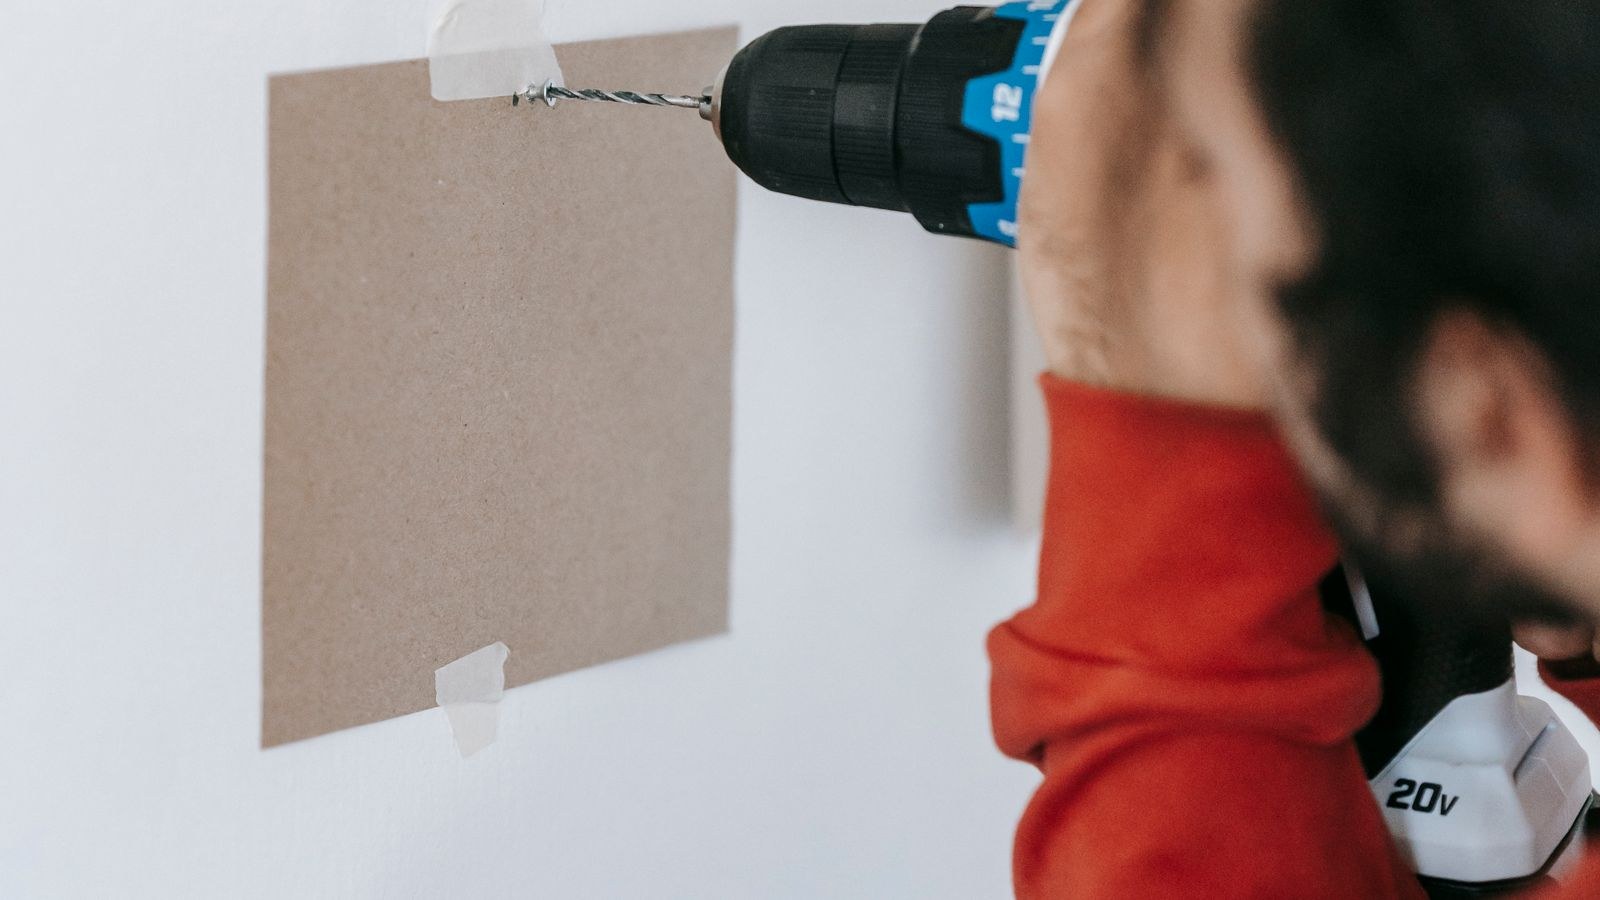
Plan Your Drops Before You Touch a Drill
Every mistake in a cabling job is cheaper on paper than in drywall. Start by sketching a rough floor plan and marking every location that could ever want a wired connection: the office desk, the living room media wall, the bedroom where a console lives, the ceiling spot where an access point might hang. Then mark one central location for your networking gear. That central point is usually a closet, basement corner, or utility room near where the internet service enters the building.
The layout you want is a home run star: every drop returns to that one central point as its own continuous cable. Do not daisy chain rooms together and do not splice a run in the middle of a wall. A star topology means each outlet gets full bandwidth, any single failure is isolated, and you can move devices between ports without rewiring anything.
While you are planning, be generous. Pulling a second cable to the same box costs a few dollars of wire and almost no extra labor, but adding one later costs the whole job again. Two runs per location is a sensible default, and four is reasonable behind a television or desk. Also count your total drops now, because that number determines the port count of the gear waiting at the other end.
Choosing Cable and Hardware
For nearly every house, Cat6 solid-conductor cable is the right call. It handles gigabit easily and supports multi-gig speeds at typical residential run lengths, which is far more headroom than most homes will use for years. Cat6a costs more and is stiffer to pull; reserve it for long runs or if you already own multi-gig equipment. Skip stranded patch cable for in-wall work, since solid conductors punch down more reliably and carry signal better over distance.
Check the jacket rating too. Cable inside walls usually needs a CM or CMR riser rating, and shared air-handling spaces typically require CMP plenum jacket. Keep every run under 100 meters end to end.
Tools and Materials You Will Need
- Cable: a 500 or 1000 foot box of solid Cat6, plus a little extra for slack.
- Stud finder with AC live wire detection, and a non-contact voltage tester.
- Drill with a long spade or auger bit, plus a standard bit set.
- Fish tape or glow rods for pushing cable through cavities.
- Drywall saw and a template for cutting outlet openings.
- Low-voltage mounting brackets (old work rings), keystone jacks, and wall plates.
- Punch-down tool with a 110 blade, cable stripper, and flush cutters.
- Cable tester to verify wire map on every finished run.
- Safety gear: eye protection, dust mask, gloves, and a flashlight or headlamp.
Safety First: What Is Already Inside the Wall
Ethernet carries harmless voltage, but the wall it travels through may not be harmless. Before drilling anywhere, scan with a stud finder that flags live AC, and sweep the area with a voltage tester. Assume plumbing, gas lines, and electrical cable can appear in unexpected places, especially near kitchens, bathrooms, and anywhere a previous renovation happened.
Where possible, kill the breaker for circuits in the wall you are working on. Keep data cable at least a few inches away from parallel electrical runs to avoid induced noise, and cross power lines at a right angle rather than running alongside them. Never drill blind into an exterior wall without checking for insulation, fire blocking, or sheathing you would rather not damage, and never notch or drill through a structural member beyond what code allows.
Step-by-Step: Running the Cable
- Mark and verify each outlet location. Place boxes at the same height as nearby electrical outlets typically around 12 to 16 inches above the floor. Confirm the cavity is empty by drilling a small pilot hole and probing with a bent wire first.
- Cut the wall openings. Trace an old work bracket, then cut carefully with a drywall saw. Cut slightly small and file outward; an oversized hole is far more annoying to fix than a tight one.
- Create the path to the central point. Most homes route cable up into the attic or down into a basement or crawlspace, then travel horizontally in that open space and drop back down at the destination. Drill through the top or bottom plate of the wall with a long bit, staying centered in the cavity. Horizontal travel inside finished walls means drilling studs, which is slow and often unnecessary.
- Fish the cable. Push glow rods or fish tape from the accessible space toward the wall opening, or drop a weighted string from above. Tape the cable to the fish tape with a smooth, tapered wrap so nothing catches on insulation or framing. Pull steadily; if it stops, back off and find out why rather than forcing it.
- Pull all runs before terminating any. Batch the work. Label both ends of every cable as it comes off the spool with the room name and a number. Unlabeled cable in a bundle of identical white jackets costs hours.
- Leave slack at both ends. Allow a foot or two of extra cable at the wall plate and several feet at the central panel. Slack lets you re-terminate a botched jack without opening the wall again.
- Secure and protect the cable. Where the run crosses open framing, support it every four to five feet with cable staples designed for data cable, or better, plastic cable clips. Never crush the jacket with a hammered-in staple, and keep bend radius gentle, roughly four times the cable diameter. Sharp kinks permanently degrade performance.
- Install the brackets and terminate the jacks. Fit the old work bracket into the opening, feed the cable through, and punch each pair down into a keystone jack using a consistent standard, almost always T568B. Keep the twists intact right up to the punch-down point and trim excess conductor flush.
- Terminate the central end. Punch each run into a patch panel or terminate to keystone jacks in a small enclosure. Keep the bundle labeled.
- Test every run. Use a cable tester on each link before you screw down the wall plates. Look for correct pin-to-pin mapping, no split pairs, and no shorts. Fixing a fault now takes two minutes; finding it after the plates are on and the furniture is back takes an hour.
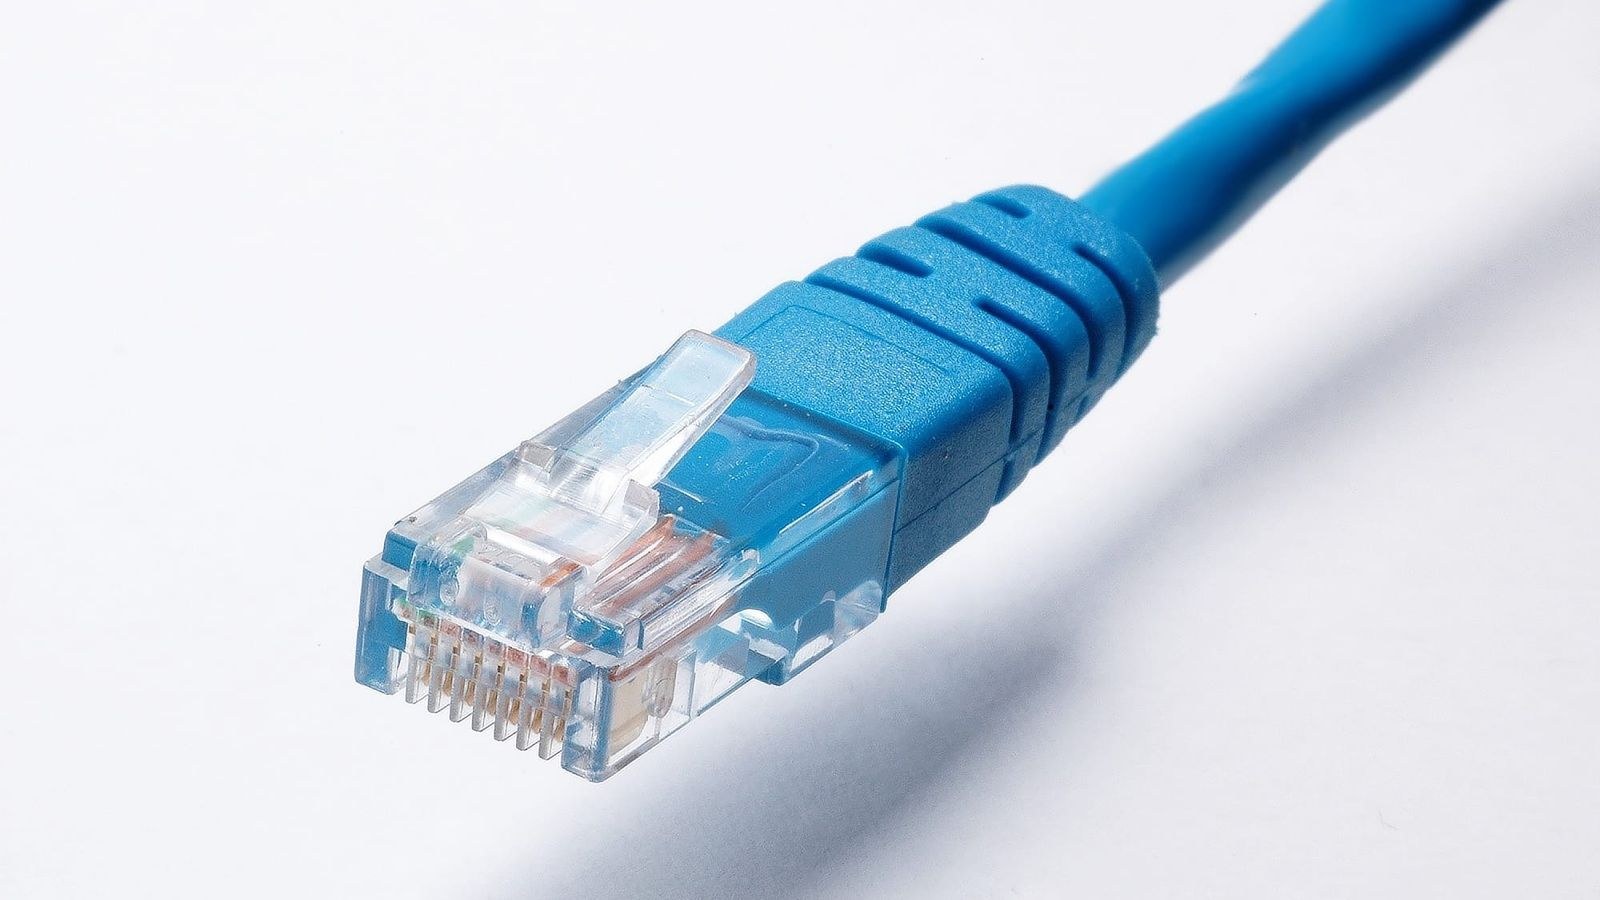
Choosing the Gear at the Other End
Cable is only half the system. All those drops converge on a router and, almost always, a switch, because consumer routers rarely offer more than four LAN ports. Count your drops, add a few spare ports for growth, and pick hardware to match. A solid gigabit or multi-gig unit from our roundup of the best network switches for home networks will fan a single router port out to every room you just wired.
The router itself deserves attention as well, since it becomes the bottleneck for everything downstream. If you are refreshing your setup along with the cabling, compare options in our guide to the best ethernet routers with fast wired ports, and for typical households the best routers for home use covers balanced picks that handle a wired backbone and wireless clients at the same time.
Two situations call for something more specific. If any drop will feed a ceiling access point, a security camera, or a doorbell, plan for power over ethernet so a single cable carries data and power; the best PoE routers and powered networking gear make that far tidier than running an outlet to the attic. And in a sprawling floor plan where wired drops feed several wireless nodes, review the best routers for large homes to make sure the core device can actually keep up with the coverage you are building.
Common Mistakes to Avoid
The most frequent error is running only one cable per location. Wire is cheap while the wall is open and expensive once it is closed. The second most common is mixing termination standards, punching one end to T568A and the other to T568B, which can appear to work on some gear and fail mysteriously on others. Pick one standard and use it everywhere in the house.
Other avoidable problems include untwisting pairs too far back at the jack, stapling so tightly that the jacket deforms, and skipping labels. Finally, resist the urge to splice. If a run comes up short, pull a new one.

Troubleshooting a Run That Will Not Link
If a port shows no link at all, suspect termination first. Re-check the punch-down at both ends against the color code and confirm every conductor is fully seated with no stray copper bridging contacts. If the tester shows crossed pairs, one end was wired out of order. If it shows an open on a single pin, one conductor likely broke during the pull or was trimmed short.
A link that negotiates at 100 Mbps instead of gigabit almost always means one pair is faulty, since gigabit needs all four. When in doubt, re-terminate the jack; new keystones cost little and rule out the most likely culprit quickly.
Frequently Asked Questions
Do I need a permit to run ethernet in my house?
Low-voltage data cable usually falls outside permitting requirements for owner-occupied homes, but rules vary by jurisdiction and jacket ratings for riser and plenum spaces are commonly enforced. Check with your local building department before starting, especially in multi-unit buildings.
Can I run ethernet in the same hole as electrical wiring?
No. Keep data and power in separate holes and separate cavities where you can. Sharing a bore hole risks jacket damage, code violations, and electrical noise on the data line. Crossing perpendicular is fine when a crossing is unavoidable.
Should I use Cat6 or Cat6a?
Cat6 is the practical default for residential runs and supports fast speeds at normal household distances. Cat6a is worth the extra cost and stiffness only for very long runs or if you already own multi-gig hardware you intend to push hard.
Final Thoughts
Running ethernet through walls rewards preparation more than skill. Map every drop first, pull generously while the path is open, keep data away from power, terminate to a single standard, and test each link before you close anything up. Do that and you end up with a wired backbone that quietly outlasts several generations of wireless equipment. Pair those drops with a capable router and a switch sized for your port count, and your home network in 2026 will feel faster and steadier than any amount of Wi-Fi tuning could ever make it.









