Owen Bradley
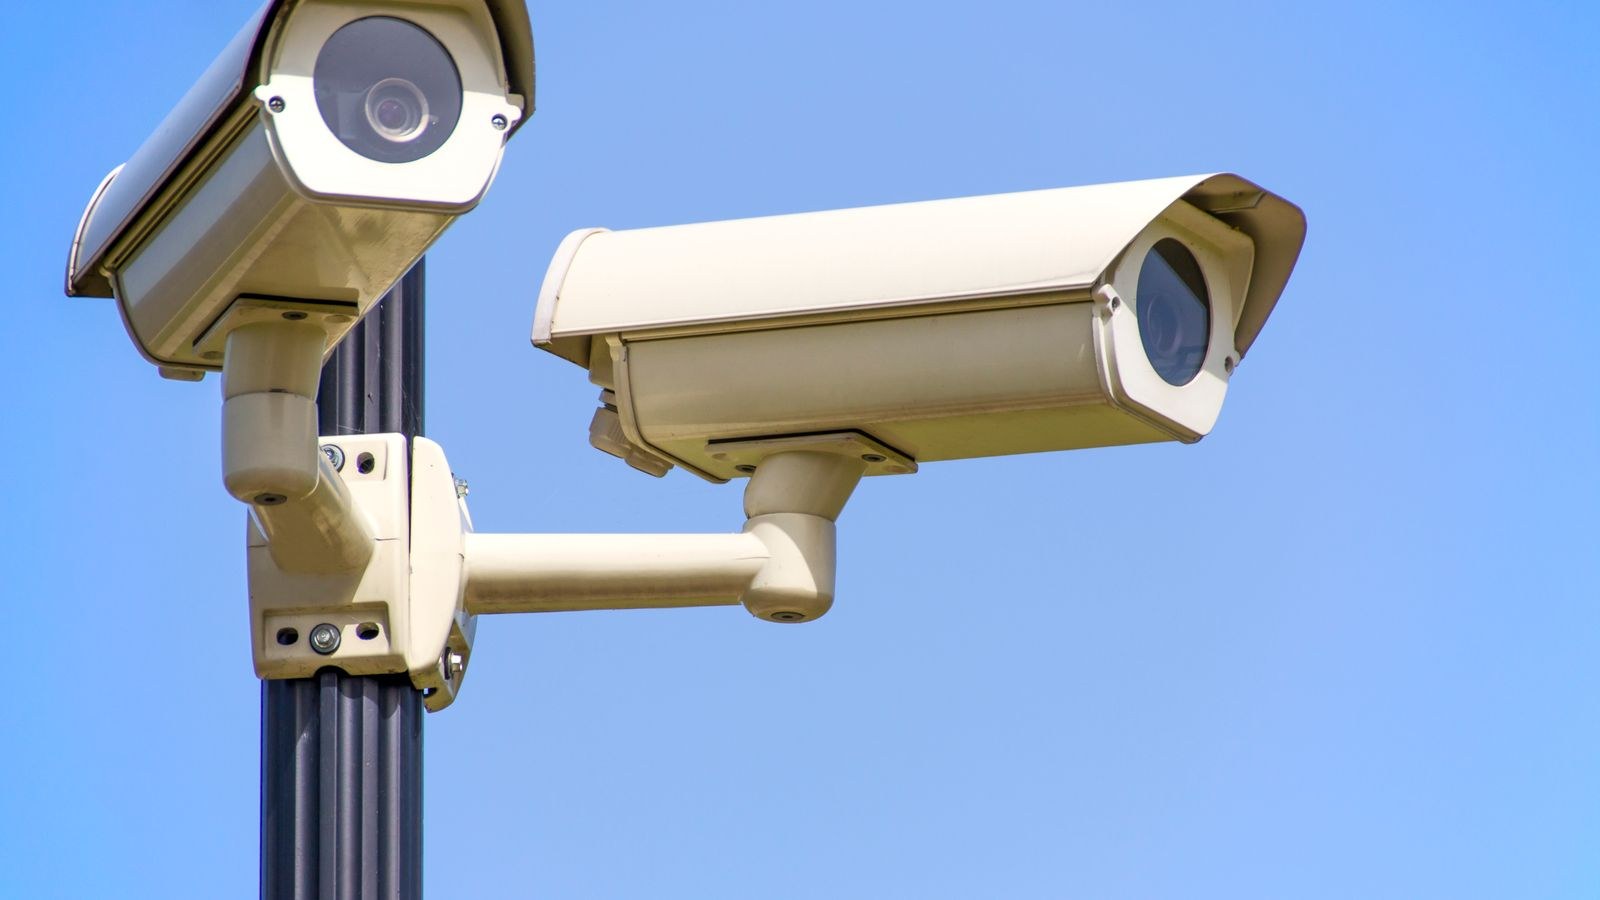
 A security camera that alerts you about everything effectively alerts you about nothing. Once the notifications start arriving every time a car passes, a tree sways, or a shadow crosses the driveway, you stop reading them — and that is exactly when the alert that mattered slips by unnoticed. Activity zones are the fix. They tell the camera which parts of its view deserve attention and which parts to ignore entirely, so motion on the public sidewalk never pings your phone while someone stepping onto your porch always does. Setting them up takes about ten minutes per camera and is the single highest-value adjustment most owners never make.
What an Activity Zone Actually Does
An activity zone — also sold as a motion zone, detection zone, or privacy-and-activity area depending on the brand — is a shape you draw over the camera’s field of view in the app. Motion inside the shape triggers recording and notifications. Motion outside it is either ignored completely or recorded without an alert, depending on the model.
It is worth understanding the distinction between three related features that people frequently confuse:
- Activity zones control where motion counts. The camera still sees the whole scene and usually still records it.
- Privacy zones black out part of the image so it is never captured at all — useful for a neighbour’s window or a shared hallway.
- Motion sensitivity controls how much movement is needed to trigger anywhere in the frame. It is a blunt instrument compared with zones.
Zones are more precise than sensitivity because they solve a location problem with a location tool. Turning sensitivity down to silence a busy road also makes the camera miss a person walking slowly up your path.
Before You Draw a Single Zone
Two things pay off enormously if you do them first. Aim the camera properly, and review a day of real footage.
Aiming matters because a zone cannot rescue a badly framed shot. If half your view is sky or roadway, you are throwing away sensor resolution on areas you will immediately exclude. Tilt the camera down until the ground you care about fills most of the frame, then set zones on what remains. Second, scroll through a full day of recorded events before drawing anything. You will discover the real triggers — a specific shrub, headlights sweeping a garage door at a fixed hour, a heat vent shimmering in the afternoon — rather than guessing. Zones drawn from evidence work on the first attempt.
Step-by-Step: Setting Up Activity Zones
- Open the camera’s settings in its app. Look for Motion Detection, Activity Zones, or Detection Settings. Most apps require the camera to be online and, on some battery models, awake before the zone editor loads.
- Load the zone editor over a live snapshot. The editor overlays the current view. If the snapshot looks stale or the camera has been repositioned, refresh it first so the shape you draw lines up with reality.
- Start by covering everything, then subtract. It is usually easier to reason about what you want to exclude. Drag the shape’s corners inward from the top to cut out sky, roofline, and the far background, and inward from the sides to cut out neighbouring property and the street.
- Exclude the public sidewalk and road. This alone removes the majority of nuisance alerts on any front-facing camera. Pull the zone boundary to the edge of your own property line so passing pedestrians and traffic fall outside it.
- Exclude moving vegetation. Trees, tall grass, and hanging plants trigger constantly in wind and in the shifting light of late afternoon. Cut them out of the zone rather than lowering sensitivity across the whole frame.
- Draw the zone around what you actually want to protect. Typically that means the walkway, front door, porch, driveway parking spot, garage door, or side gate. Aim for a shape that a person must physically enter to reach your property.
- Add a small buffer at the entry edge. Extend the zone a few feet beyond the doorstep or driveway entrance. Detection takes a moment to register and start recording, so a zone drawn tight to the door produces clips that begin with someone already standing there.
- Create separate zones for separate purposes if supported. Many cameras allow multiple named zones. A common setup is one zone for the front door set to notify immediately and one for the driveway set to record without an alert, giving you a searchable record without the buzzing.
- Combine zones with person detection. If your camera offers person, vehicle, or package filtering, enable it alongside zones. Zones handle location, object filtering handles what moved. Together they eliminate the vast majority of false alerts.
- Set the zone for night as well as day. Infrared changes contrast dramatically and can make previously invisible surfaces reflective and twitchy. Check the zone against a night snapshot and trim if the camera starts triggering on illuminated areas after dark.
- Save, then test by walking the boundary. Walk into the zone from each approach and confirm you get an alert. Then walk along the excluded edge and confirm you do not. This two-minute test catches misaligned zones that would otherwise take days to notice.
- Review after a week and refine. Check which events still triggered and which real approaches were missed. Nudge the boundary rather than rebuilding the shape.
Drawing Zones That Actually Work
Perspective is the trap that ruins most first attempts. A camera’s view is not a flat map: a zone that looks like it covers your whole driveway on the flat editor image may only cover the near half in reality, because distant ground occupies very few pixels near the horizon. Judge your shape against recognisable landmarks — the edge of the path, a planter, the kerb — rather than by how it looks proportionally.
Keep shapes simple. A four to six point polygon is easier to reason about and adjust later than an intricate outline traced around every bush. Complex shapes also tend to have slivers where a person is only partly inside the zone, producing inconsistent triggering. Similarly, do not draw a zone so narrow that someone can walk past its edge; a person’s detected motion area is larger than the person, and a thin zone gives the detection algorithm nothing to lock onto.
Finally, remember the camera must still see the subject. A zone never adds detection capability — it only ever subtracts. If motion is not being detected in an area at all, the answer is better placement, lighting, or sensitivity, not a bigger zone.
Common Mistakes to Avoid
- Making the zone too small. A tight box around the door misses the approach entirely and produces clips that start too late to be useful.
- Forgetting to save. Several apps require an explicit confirm step after drawing; people close the editor and wonder why nothing changed.
- Using zones instead of fixing the camera angle. If most of the frame is being excluded, re-aim the camera and reclaim that resolution.
- Setting one zone for a camera that watches two different things. Split it, and give each zone its own notification behaviour.
- Assuming zones apply to every feature. On some models, zones govern notifications but continuous recording still captures the full frame, and on others they affect motion recording but not the doorbell chime. Read what your specific setting controls.
- Redrawing zones after moving the camera — or rather, not redrawing them. Any change to the mount invalidates every zone on that camera.
Zones Are Only Half the Answer
Activity zones handle location, but alert fatigue usually comes from several sources at once. Pair zones with a sensible cooldown period so a delivery driver on your porch produces one notification instead of nine, enable object filtering where available, and consider scheduling — many households only need driveway alerts overnight. Our companion walkthrough on how to reduce false alerts from a motion camera covers the sensitivity and scheduling side in more depth.
Hardware matters too, because zone support varies enormously. Some budget models offer only a crude grid, while better units allow multiple named polygons with independent rules. If your camera’s editor is too limited to solve your problem, that is a real reason to upgrade. Comparing the best smart security cameras is a sensible starting point, and the roundup of the best home security cameras with apps focuses specifically on models whose software makes zone and alert control straightforward. For wireless installs, the best WiFi home security cameras list narrows things further, and the general best security cameras guide covers the full range if you are starting from scratch in 2026.
Frequently Asked Questions
Do activity zones stop the camera recording entirely outside the zone?
Usually not. Most cameras still capture the full frame; the zone controls what triggers an event and a notification. If you genuinely need an area never captured, use a privacy zone instead.
How many zones should I create per camera?
One well-drawn zone is enough for most cameras. Add a second only when the camera watches two areas that deserve different notification behaviour, such as a doorway and a driveway.
Why do I still get alerts from outside my zone?
Common causes are a camera that was nudged out of position, a zone edge drawn too close to the trigger source, or large fast motion whose detected area spills across the boundary. Re-verify the framing first, then widen the exclusion margin.
Do zones work with battery-powered cameras?
Yes, and they help battery life significantly, because fewer triggers mean fewer wake-ups and fewer uploads. Well-drawn zones are one of the most effective ways to extend runtime between charges.
Should I use zones or lower the sensitivity?
Zones first, sensitivity second. Zones remove specific problem areas without weakening detection everywhere else. Only reduce sensitivity if you still get false triggers inside a zone you genuinely need.
Final Thoughts
Activity zones turn a camera from a noisy motion sensor into a targeted alerting system. Review real footage to find your actual triggers, aim the camera so the important ground fills the frame, draw a simple shape that excludes the street and the shrubs, add a buffer at the approach, and walk-test the boundary before you trust it. Layer object filtering and a cooldown on top and the notifications you receive will drop by an order of magnitude while the ones that matter still arrive instantly. That is the whole point of an alert — and it only works when you believe it.