Owen Bradley
 Choosing a TV wall mount looks like a five-minute decision until you are standing in a hardware aisle comparing VESA patterns, weight ratings, and three brackets that all claim to fit your screen. Get it wrong and you end up with a screen at the wrong height, a mount that cannot be adjusted, or worse, hardware straining under a load it was never rated for. This guide compares TV wall mount types in practical terms: what fixed, tilting, and full-motion brackets each do well, how to read VESA and weight specifications, and which style suits each living room layout in 2026.
The Three Main Wall Mount Types
Almost every consumer bracket falls into one of three families. They differ in how far the screen sits from the wall, how much it can move once installed, and how much they cost.
Fixed Mounts
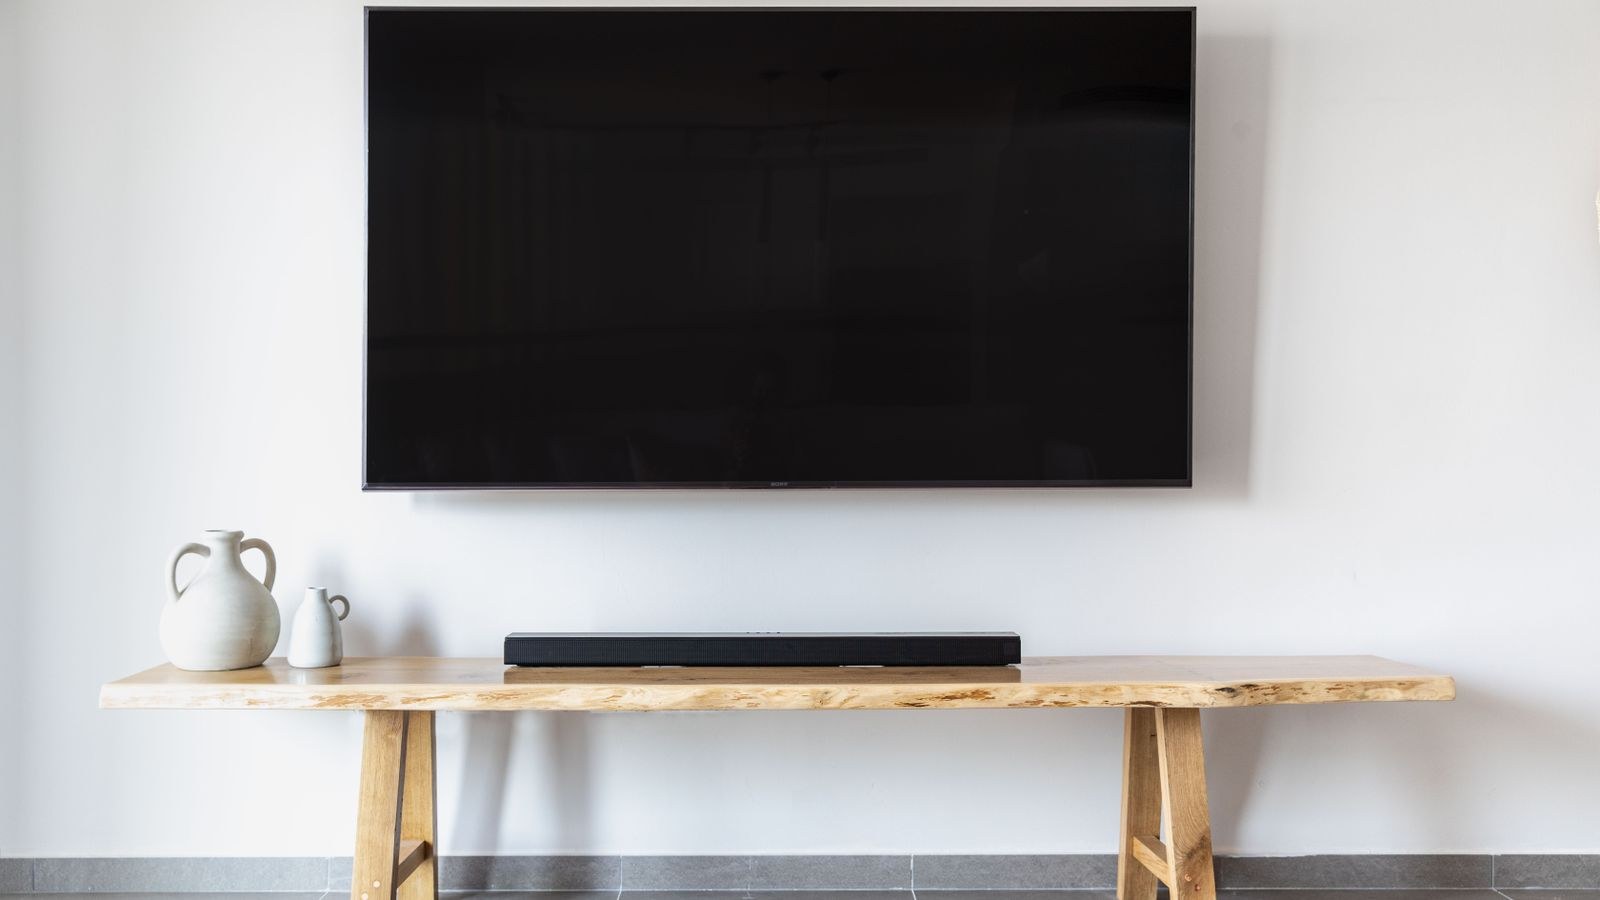
A fixed or low-profile mount holds the screen flat against the wall with no movement at all. Profiles are slim, often under an inch and a half, which produces the clean flush look many people want. They are the cheapest option, the simplest to install, and the strongest for a given price because there are no moving joints.
The trade-offs are real. Cable access behind the screen becomes awkward once the TV is on the wall, so plan connections before hanging it. There is no adjustment for glare, and no way to correct a viewing angle if the seating layout changes. Fixed mounts suit rooms where the screen sits at eye level, the seating is directly in front, and window glare is not an issue.
Tilting Mounts
A tilting mount adds vertical pivot, typically between 5 and 15 degrees of downward tilt. That small movement solves two problems at once. It corrects the viewing angle when the screen is mounted higher than eye level, and it redirects reflections from ceiling lights or high windows toward the floor rather than the sofa.
They sit slightly further from the wall than fixed mounts, usually two to three inches, and cost a little more. For most people this is the sensible default choice, especially in rooms with overhead lighting or where the screen must go above furniture. Downward tilt also makes it much easier to reach the rear ports afterwards.
Full-Motion Mounts
Full-motion or articulating mounts use an extending arm that lets the screen pull away from the wall, swivel left and right, and usually tilt as well. Extension ranges vary from a few inches to well over two feet, and swivel can approach 90 degrees in each direction on longer arms.
This is the answer for open-plan spaces where you watch from the sofa in the evening and the kitchen island at breakfast, for corner installations, and for anyone who needs regular access behind the screen. The costs are a thicker resting profile, usually three to six inches from the wall, a higher price, and much greater demand on the wall structure, because an extended arm multiplies the leverage on the fixings.
VESA Patterns: The Measurement That Actually Matters
VESA is the standardised grid of threaded holes on the back of nearly every TV, described by the horizontal and vertical spacing in millimetres. Common patterns include 100×100, 200×200, 400×400, 600×400, and 800×400. A mount lists the range of patterns it accepts, and the TV lists the one it has; those must overlap.
Measure it yourself rather than trusting a listing. Use a tape measure from the centre of one hole to the centre of the hole horizontally opposite, then repeat vertically. Note that screen size is a poor predictor here: two sets of identical diagonal can use different patterns, and some large TVs use surprisingly small ones.
Screws, Spacers, and Curved Backs
VESA also implies a screw thread, commonly M4, M6, or M8, and the correct length matters. Too short and the screw barely engages; too long and it can damage internal components. Most mounts include an assortment plus spacers, which are needed on TVs with recessed or curved rear panels. If the supplied screws do not thread easily by hand, stop and check the size rather than forcing them.
Weight Ratings and How Much Headroom to Leave
Every mount lists a maximum load. Modern flat panels are lighter than people expect, with many 65 inch sets under 60 pounds, but a mount rated exactly at your TV’s weight leaves no margin for dynamic loads, an accidental knock, or a future upgrade.
Choose a mount rated at least 25 to 50 percent above the actual screen weight, and remember that for full-motion arms the effective load rises as the arm extends. Manufacturers usually quote the rating at full extension, but not always, so read carefully. Also verify the mount’s stated maximum screen size, since a very wide panel on a narrow bracket can flex even when the weight is within limits.
Large screens deserve extra caution here. If you are shopping in the bigger sizes, our roundups of the best 65 inch gaming TVs and the best 75 inch gaming TVs list panel weights alongside picture specifications, and the broader best large gaming TVs guide covers what changes once you pass 75 inches.
Wall Type Decides What Is Possible
The bracket is only as strong as what it is screwed into. This is the step most commonly rushed, and the one most likely to cause a failure.
- Wood studs: the standard case. Locate studs with a detector, confirm by drilling a small pilot hole, and use lag bolts into the centre of the stud. Two studs is far better than one for full-motion mounts.
- Metal studs: much weaker than wood. Use toggle-style anchors designed for metal framing, and consider a plywood backer spanning multiple studs for heavy or articulating mounts.
- Brick or concrete: very strong when done properly. Use a hammer drill with masonry bits and sleeve anchors, and drill into the brick body rather than the mortar joints where possible.
- Plaster and lath: older construction where the plaster carries no load. Find the underlying framing and fix into that.
- Drywall alone: never adequate for a TV of any size, regardless of what the anchor packaging claims.
If the studs do not line up with where the TV needs to be, the standard solution is to fix a plywood or steel backer plate across two or more studs and mount the bracket to that. It adds a small amount of depth but solves the alignment problem safely.
Getting the Height Right
Mounting height causes more regret than any other installation decision. The general rule is that the centre of the screen should sit at seated eye level, which for most people lands somewhere around 42 inches from the floor. In practice, sit in your usual spot, look straight ahead, and mark the wall at that height.
Above-fireplace installations are popular and almost always too high, forcing viewers to crane their necks through a whole film. If the layout leaves no alternative, a tilting or pull-down mount becomes essential rather than optional, and heat from the fireplace needs checking too. Room-specific advice on placement is covered further in our best living room gaming TVs guide.
Cable Management Behind and Below the Screen
A wall-mounted TV with a bundle of cables hanging beneath it undoes the whole visual point of mounting. Plan the routing before drilling. Options range from surface-mounted raceways painted to match the wall, to in-wall cable pass-through kits, to running everything through the wall cavity to a media cabinet below.
Leave enough slack for a full-motion mount to reach its extremes without tugging on connectors, and label cables before you hide them. If the screen sits above a desk or console, tidying the surface below matters just as much; our best cable management desks roundup covers furniture designed to hide the tangle rather than display it.
Installation Steps in Order
- Measure the TV’s VESA pattern and weigh the set, then confirm the mount covers both with headroom.
- Determine seated eye level and mark the target centre height on the wall.
- Locate and verify studs or suitable masonry fixing points across the intended width.
- Attach the vertical brackets to the TV using the correct screws and spacers, hand-tight then snug.
- Fix the wall plate, checking level carefully; a slightly off plate is obvious once the screen is up.
- Route and connect cables before lifting the TV into place, leaving service slack.
- Hang the screen with a second person helping, then confirm the safety catches or locking screws are engaged.
- Test tilt and swivel through the full range and check nothing binds or pulls.
Common Wall Mount Mistakes
- Buying by screen size alone instead of checking the actual VESA pattern.
- Choosing a mount rated at exactly the TV’s weight with no margin.
- Fixing into drywall anchors because a stud was inconveniently placed.
- Mounting far too high, especially above a fireplace, with no tilt available.
- Using screws that are too long and contacting internal components.
- Forgetting cable slack on a full-motion arm and yanking connectors at full extension.
- Skipping the level check and living with a subtly crooked screen.
- Attempting to lift a large panel alone.
Frequently Asked Questions
Which mount type should most people buy?
A tilting mount is the best default. It costs little more than fixed, solves glare and above-eye-level placement, and makes rear port access far easier.
How do I find my TV’s VESA size?
Measure centre to centre between the mounting holes on the back, horizontally and vertically, in millimetres. The manual lists it too, but measuring is quicker and more reliable.
Can I mount a TV without hitting studs?
Only with heavy-duty toggle anchors in solid masonry or by fitting a backer board across studs. Drywall anchors alone are not safe for a television.
How far from the wall does a full-motion mount sit?
Typically three to six inches when retracted, depending on arm length. If a flush look matters more than flexibility, choose fixed or tilting instead.
Is a more expensive mount worth it?
For fixed brackets the difference is modest. For full-motion arms, better build quality means smoother movement, less sag over time, and higher genuine load capacity, which is worth paying for.
Final Thoughts
Wall mounts are cheap relative to the screen they hold, yet the choice shapes how comfortable the TV is to watch every single day. Match the type to your room: fixed for a dedicated viewing wall at the right height, tilting for almost everything else, full-motion for open-plan spaces, corners, and awkward layouts. Verify VESA and weight with real measurements, fix into structure rather than plasterboard, and set the height from a seated position rather than by eye. Spend twenty extra minutes on those checks and the installation will look right and stay safe for as long as the TV lasts.