Owen Bradley
 A green screen looks like the easiest upgrade in a home studio and turns out to be the fussiest. The fabric goes up in twenty minutes, the software key takes two clicks, and then you notice the green halo tracing your shoulders, a dark band where your hair used to be, and a bright patch in the corner that will not disappear. None of that is the software’s fault. Chroma key is a lighting problem dressed up as a settings problem, and once you fix the lighting and the geometry the key becomes almost trivial. This guide covers how to build a green screen setup at a desk, in a small room, with limited space.
What You Need Before You Start
- A green backdrop: collapsible pop-up panel, fabric on a stand, or a roll-down screen fixed to the wall
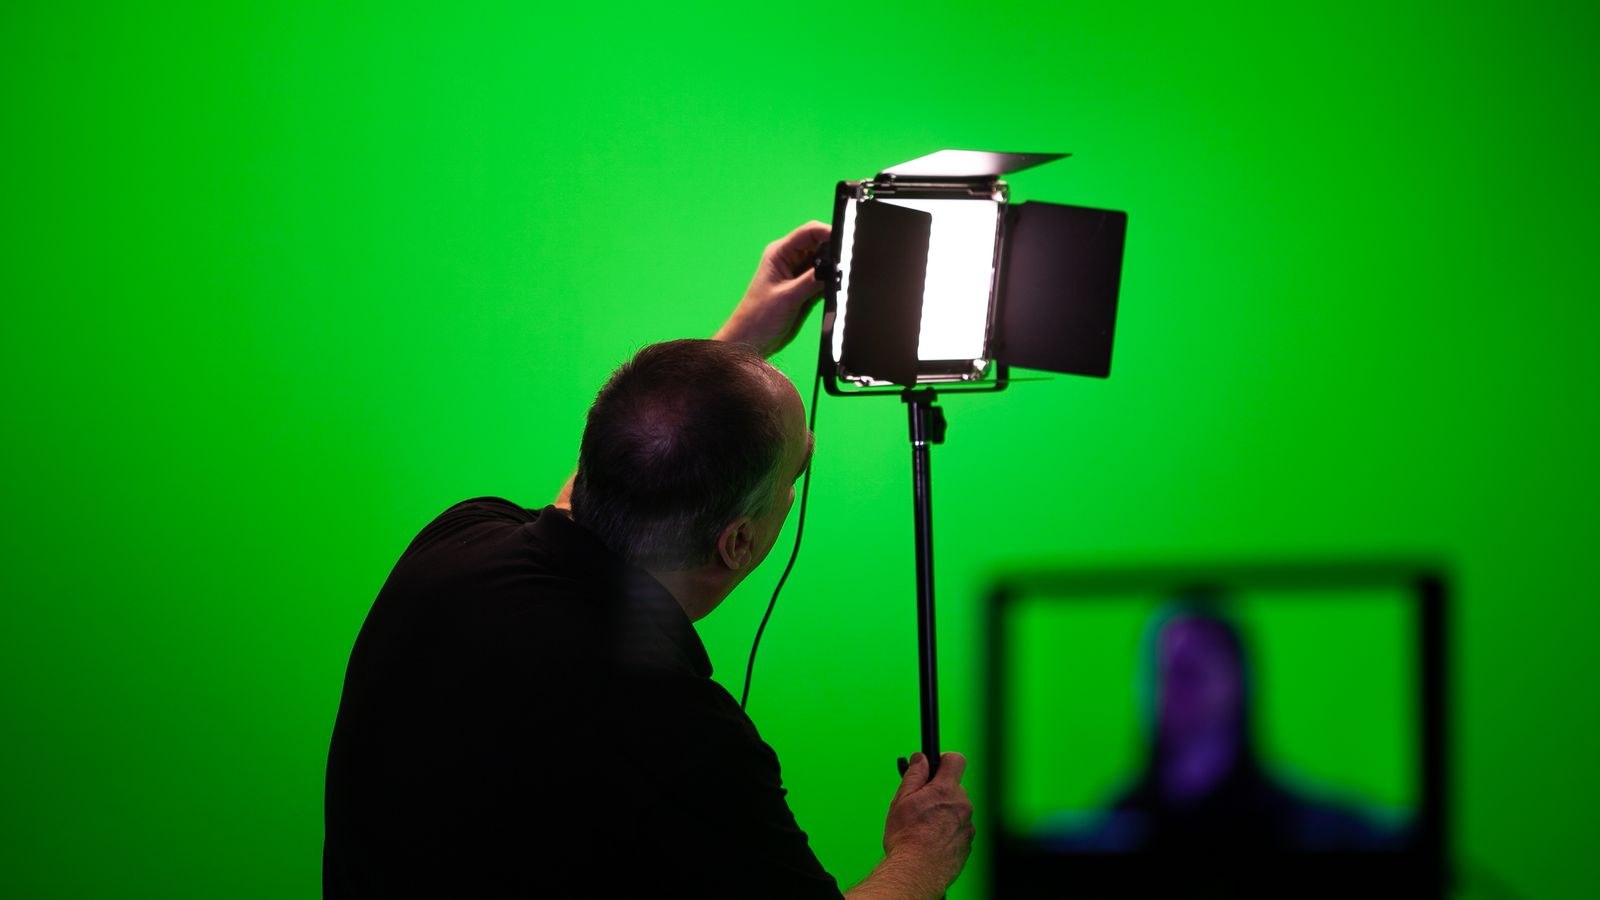
- Two lights for the backdrop, or a room with genuinely even ambient light
- One key light for your face, ideally softened with a diffuser or softbox
- Your camera on a stable mount at eye level
- Software with a chroma key filter, such as OBS or your meeting application
- A steamer or iron if the backdrop is fabric, since creases are the enemy
Note the light count. Most first attempts use one light for everything, and that single choice causes the majority of chroma key problems, because a light aimed at you cannot also evenly cover a wall behind you.
Choosing a Backdrop for a Desk
Three formats suit a desk. A collapsible panel that clamps to your chair back is the fastest to deploy and pack away, but covers a narrow area, so any turn of the shoulders will take you off it. Fabric on a crossbar stand covers far more width and lets you stand up, at the cost of floor space. A wall-mounted roll-down screen is the tidiest permanent solution in a room you control, and stays flat, which matters more than most people expect.
Whatever you choose, matte finish beats shiny every time. A glossy surface reflects your lights back as hot spots the key cannot handle, while matte fabric scatters light evenly. Fabric also needs to be genuinely flat: every crease creates a shadow, and every shadow is a different shade of green that your key must handle separately.
Set Your Distances First
Geometry solves problems that no amount of setting-tweaking will. Before hanging a single light, get the spacing right.
- Move away from the screen. Put at least 1.5 metres between your back and the backdrop, more if you can. This is the single most effective change you can make, because it stops green light bouncing off the fabric onto your neck and shoulders, and it keeps your own shadow off the screen.
- Set the camera distance. Sit roughly 1 metre from the lens, with the camera at seated eye level. Check the backdrop fills the frame behind you with margin on both sides.
- Check your movement range. Lean left and right as you naturally would while talking. If your shoulder leaves the green at any point, widen the backdrop or move the camera back.
- Frame tight if space is short. In a small room, a tighter head-and-shoulders shot needs far less backdrop coverage and far less light to keep even.
- Remove reflective objects. Anything glossy in shot, including glasses and a shiny chair back, will pick up green spill.
If your desk is the limiting factor, a deeper surface buys the separation this whole technique depends on. The roundups of the best desks for streaming and the best gaming desks for streaming cover layouts that leave room behind the chair for a backdrop rather than pushing you against the wall.
Light the Backdrop, Then Light Yourself
The order matters. Light the screen first, without you in the shot, and get it even before adding a key light. A camera sees far less dynamic range than your eye, so a backdrop that looks fine to you can vary by a stop or more across its width.
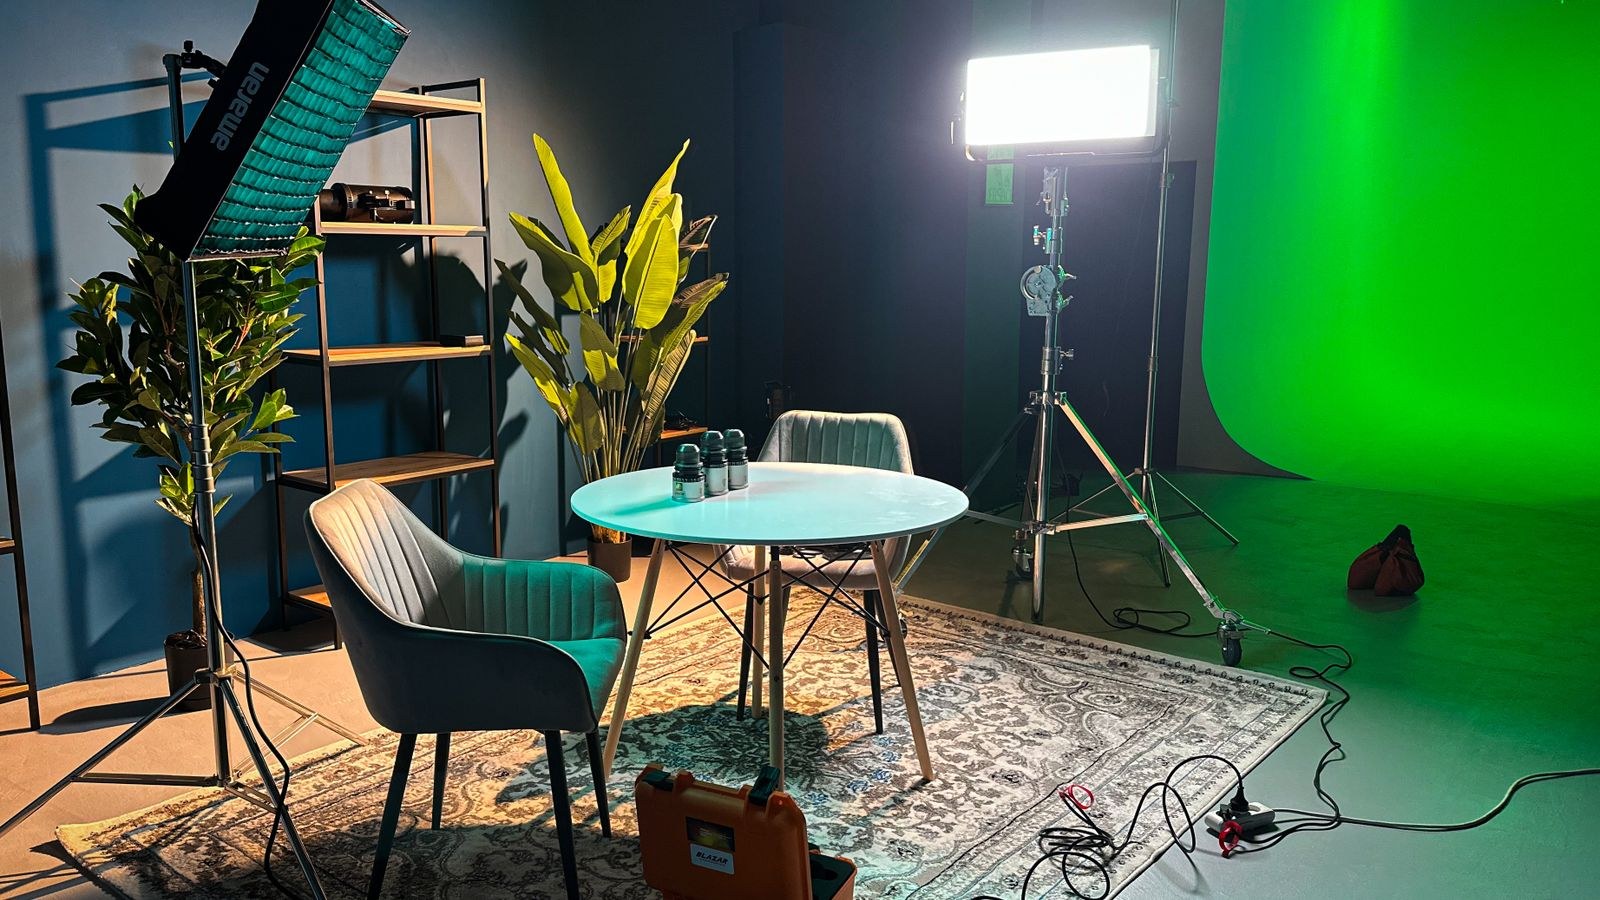
- Place two lights at 45 degrees. One on each side of the backdrop, angled across it rather than straight at it. Cross-lighting like this evens out the middle where both beams overlap.
- Match the two intensities. Set both to the same output and the same distance. A brighter side creates a gradient that forces the key to work harder.
- Check for hot spots. Look at the backdrop through the camera, not with your eyes. Any bright patch or dark corner should be corrected by moving lights further back or adding diffusion.
- Add your key light. Position it in front of you, slightly above eye level and about 45 degrees off centre, softened through a diffuser.
- Keep the light off the screen. Angle and flag your key light so it illuminates you and not the backdrop, which would otherwise add another uneven patch.
- Add a rim light if you can. A small light behind and to one side of you, aimed at your shoulders and hair, creates a bright edge that separates you from the background and dramatically improves hair detail in the key.
That last step is the professional trick most home setups skip. A rim light is what stops hair dissolving into the background, and it costs less than most software plugins.
Camera Settings That Help the Key
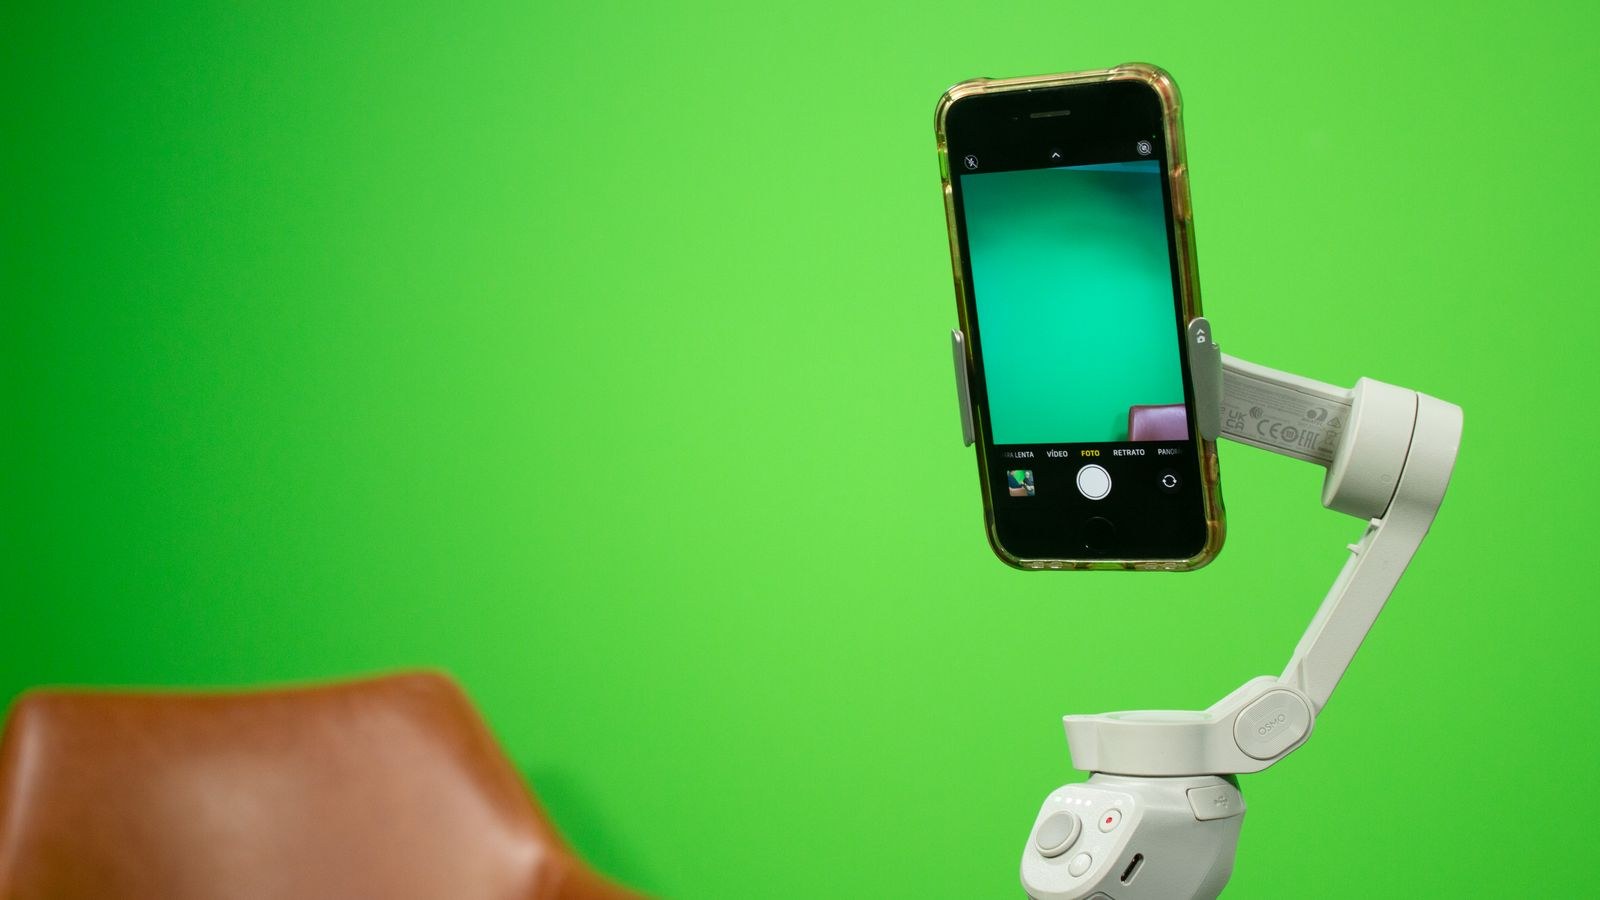
A chroma key works by isolating a colour, so anything that muddies colour makes it harder. Switch your camera to manual exposure so brightness stops shifting mid-take, and lock white balance so the green stays a consistent shade. Avoid high gain or ISO, because sensor noise scatters random colour across the edges of your outline and produces a crawling, fizzy border no key can clean up.
Frame rate and compression matter too. A heavily compressed feed smears colour information at edges, which is exactly where the key needs precision. Where your camera offers a higher bitrate or a less compressed mode, use it. This is also where sensor quality shows: a sharper, cleaner source keys noticeably better. The best 4K webcams and the best webcams for streaming cover cameras that hold detail well enough for chroma key work, while the best webcams for YouTube focuses on models suited to recorded video where you can review the key frame by frame afterwards.
Configuring the Chroma Key Filter
- Add the filter. Right click your camera source in OBS, choose Filters, and add Chroma Key. In a meeting app, this is usually a background setting with a green screen option.
- Pick the colour. Choose Green from the preset, or use the colour picker on the backdrop itself if your fabric is an unusual shade.
- Raise similarity slowly. Increase it until the green disappears, then stop. Pushing it too far starts eating into your face and clothing.
- Adjust smoothness. This softens the edge of the cut. A little removes jagged stair-stepping; too much makes you look blurred into the background.
- Use key colour spill reduction. This removes the green tint that reflects onto your skin and hair. Raise it until the green cast on your neck and shoulders disappears.
- Fine-tune contrast and brightness. Small adjustments here can rescue an edge that similarity alone cannot fix, without destroying the rest of the image.
- Test with movement. Record thirty seconds of talking and gesturing, then watch it back at full size. Static previews hide most edge problems.
Fixing Halos, Spill and Missing Hair
Each classic symptom has a specific cause, and knowing which saves a lot of blind slider-dragging.
- Green halo around your outline. Green light bouncing onto you. Increase your distance from the backdrop and raise spill reduction.
- Hair disappearing or turning ragged. Insufficient separation. Add a rim light behind you and reduce similarity slightly.
- Patches of background showing through you. Similarity pushed too high, or your clothing contains a green tone. Lower similarity and change your shirt.
- Edges crawling or fizzing. Sensor noise from low light. Add more light on you rather than raising gain.
- Part of the screen refusing to key. Uneven backdrop lighting. Fix the lights rather than compensating in software.
- Shadow visible behind you. You are too close to the backdrop, or your key light is hitting it.
Common Mistakes to Avoid
- Using one light for everything. The root cause of most bad keys.
- Wearing green or a similar tone. Any green in your clothing keys out along with the background.
- Leaving creases in fabric. Steam the backdrop or accept a patchy key.
- Sitting against the screen. Guarantees spill and a visible shadow.
- Fixing lighting with software sliders. Software cannot invent detail the camera never captured.
- Judging by a small preview. Always check the key at full size, in motion.
Small Room and Storage Tips
Limited space is workable if you shrink the problem. A tighter framing means less backdrop and fewer lights to balance. Compact panel lights mounted on the wall or clamped to a shelf free up floor space that stands would consume. If the room doubles as a bedroom or office, a collapsible panel that folds behind a door, or a roll-down screen that retracts into its casing, keeps the setup from taking over. Watch for coloured walls and ceilings too: a strongly coloured room bounces its own tint onto your face and confuses the key. Neutral surroundings help more than they should.
Frequently Asked Questions
Do I need a green screen for background replacement?
No, but it is far more accurate. Software-only background removal guesses at your outline and struggles with hair, glasses and fast movement. A properly lit screen gives a clean, consistent edge.
How far should I sit from the green screen?
At least 1.5 metres, and more if space allows. This is the most effective single change for reducing spill and eliminating your shadow on the backdrop.
Why does my hair look chewed up?
Not enough separation between you and the background. Add a rim light behind and to one side of you, then lower the similarity setting slightly.
Can I use a blue screen instead?
Yes, and it can work better if you often wear green or have blond hair. Blue needs more light to expose properly, so it suits rooms where you can add brightness.
How many lights do I really need?
Three is the practical target: two on the backdrop and one on you. Adding a fourth as a rim light gives the biggest quality jump after that.
Final Thoughts
A convincing green screen at a desk is built in a strict order: create distance from the backdrop, flatten and evenly light the screen, then light yourself separately with a soft key and ideally a rim light. Only once that is right should you touch the chroma key filter, and at that point similarity and spill reduction are usually all you need. Every symptom that tempts you back into the settings panel, from halos to disappearing hair, traces back to geometry or lighting. Fix it where it happens and the software will quietly do its job.