Owen Bradley
 Older homes hide a frustrating surprise behind the wall plate: no neutral wire. Most connected wall controls need a constant trickle of power to keep their radio alive, and that power traditionally comes from the neutral conductor. If your box only holds a hot wire and a switch leg, a standard smart switch simply will not work. The good news is that a smart switch no neutral installation is entirely achievable in 2026 using bypass capacitors, no-neutral-rated hardware, or battery-powered controllers that skip the wiring problem altogether. This tutorial walks through identifying what is in your box, choosing the right approach, and completing the install safely.
First, Confirm You Really Have No Neutral
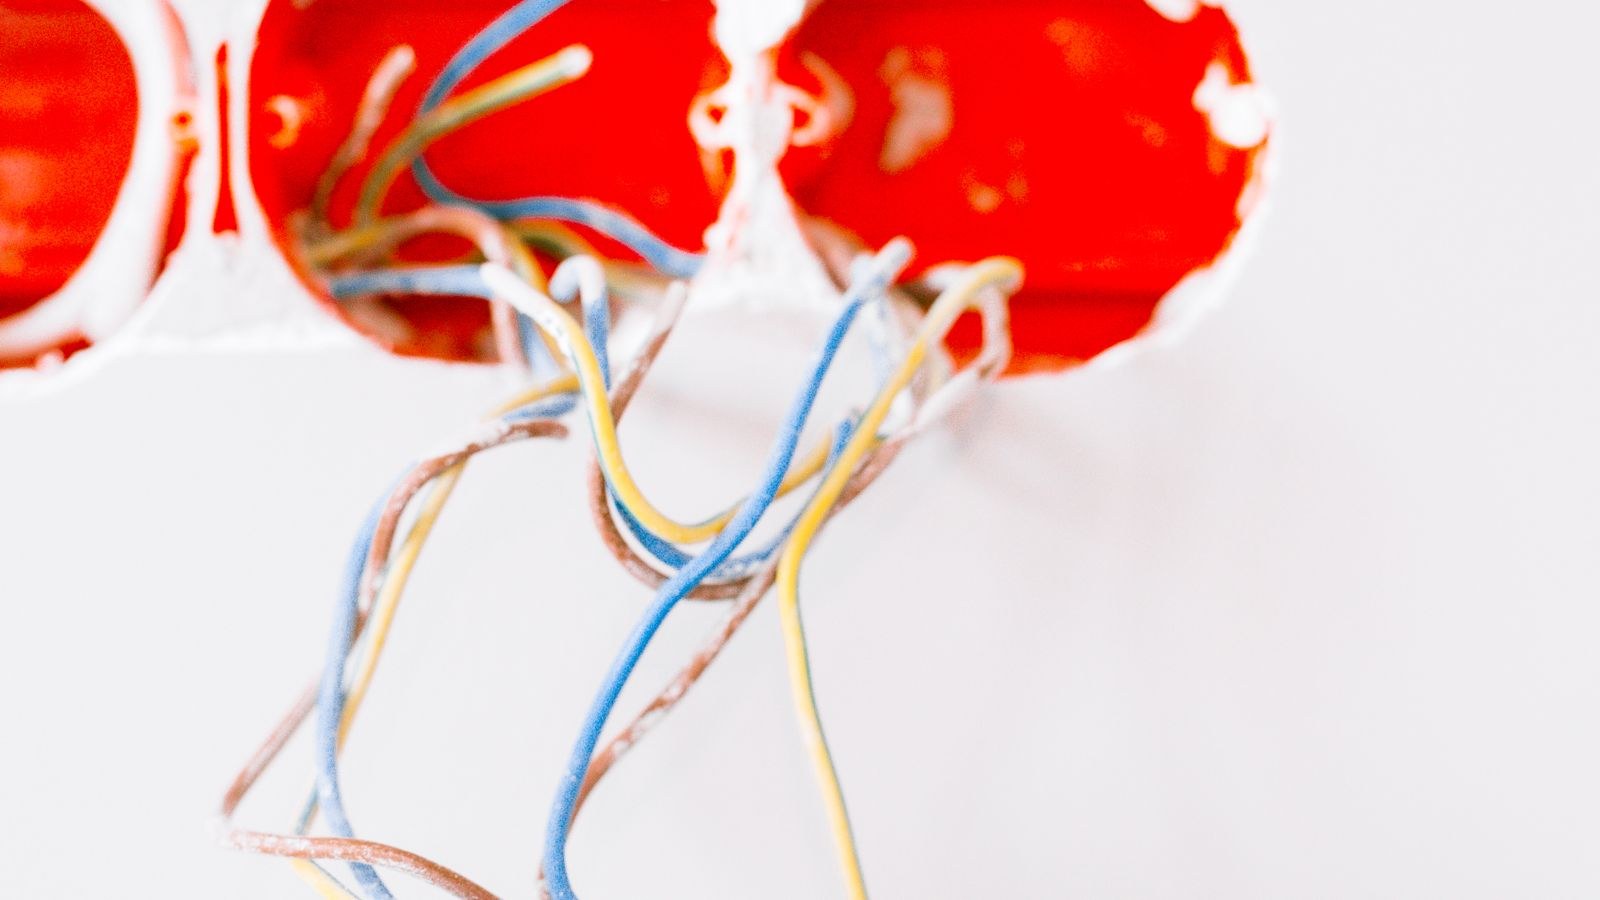
Do not assume. Homes wired before the mid-1980s often ran power to the ceiling fixture first and dropped only a two-wire switch loop down to the box, leaving no neutral at the switch. But some boxes do contain a bundle of white conductors capped off at the back, unused and easy to miss. That bundle is your neutral, and finding it turns a difficult job into a routine one.
Kill the breaker, remove the plate and pull the switch forward carefully. Look past the switch itself into the rear of the box. A neutral bundle is a group of two or more white wires twisted under a wire nut, not connected to the switch. If you see one, you have a neutral. If the box contains only two conductors plus a ground, or a cable where the white wire is taped black and lands on the switch, you are working without a neutral.
Understand the Switch Loop
In a classic switch loop, the incoming hot travels to the fixture, and the two-wire cable to the switch carries hot down and switched hot back up. Both conductors are live circuit wires even though one is white. Code requires that white conductor to be re-identified with black or red tape. If yours is not marked, do not guess based on color alone — treat every conductor as potentially live and verify with a tester.
Tools and Materials You Will Need
- Non-contact voltage tester plus a multimeter for confirming which conductor is the constant hot.
- Insulated screwdrivers in flat and Phillips, and a small nut driver for box screws.
- Wire strippers, lineman’s pliers and wire nuts in the correct size for the conductor count.
- Electrical tape for re-identifying conductors and securing terminal screws.
- A bypass capacitor if your chosen switch requires one for low-wattage LED loads.
- A no-neutral-rated smart switch or a battery-powered wireless controller.
Add a headlamp and a phone camera. Photographing the existing wiring before you disconnect anything is the single cheapest insurance policy in this entire job.
Choose Your No-Neutral Strategy
Three approaches solve this problem, and picking the right one before you buy hardware saves a return trip.
Option one: a no-neutral smart switch. These draw a tiny leakage current through the load itself to power their electronics. They are the cleanest solution because the wall control keeps its normal look and manual operation. Many models from the best smart light switches category now ship in no-neutral variants, so check the spec sheet rather than the product family name.
Option two: switch plus bypass capacitor. Low-wattage LED fixtures often flicker or glow faintly because the trickle current is enough to partially light them. A bypass capacitor wired across the fixture’s line and neutral at the light absorbs that current and stops the ghosting. It lives in the fixture canopy, not the switch box.
Option three: skip the wiring entirely. Smart bulbs paired with a battery-powered wall remote deliver the same convenience without touching the box. This is the best route for renters and for boxes too shallow or too crowded to accept a smart module.
Dimming Adds a Wrinkle
If you want dimming as well as smart control, verify that your bulbs are labelled dimmable and that the switch’s minimum load rating is below your fixture’s total wattage. A three-bulb fixture running 7W LEDs presents only 21W, which sits under the minimum for some dimmers. Browsing the best smart dimmer switches and comparing minimum load figures is worth doing before you commit.
Step-by-Step Installation
- Shut off the breaker and verify. Turn the circuit off at the panel, then test at the switch with a non-contact tester. Test a known-live outlet first to prove your tester works, then retest the switch box. Never rely on the wall switch being off.
- Document the existing wiring. Photograph the switch from several angles with the conductors still attached. Note which screw each wire lands on and whether any conductor is taped a different colour.
- Remove the old switch. Back out the mounting screws, pull the device forward, and loosen the terminals. Straighten any bent conductor ends and trim damaged copper back to clean wire, stripping fresh insulation to the length shown on the new switch’s strip gauge.
- Identify line versus load. Restore power briefly with the conductors safely separated and probe with a multimeter between each conductor and the box ground or a known ground. The one reading roughly 120V is your constant hot, or line. The other is the switch leg going to the fixture. Turn the breaker back off before continuing.
- Connect the smart switch. Land line on the terminal marked line, the switch leg on load, and the bare or green conductor on ground. Ground is not optional on a no-neutral switch — many use it as part of their power path, and skipping it causes erratic behaviour. Tighten each terminal firmly and tug-test every wire.
- Install the bypass capacitor if required. Turn off the breaker again, drop the fixture canopy, and connect the capacitor leads across the fixture’s hot and neutral. Polarity does not matter on these components. Tuck it into the canopy where it will not press against a hot lamp housing.
- Fold the wires and mount the device. Fold conductors accordion-style behind the switch rather than coiling them, so the body seats without strain. Drive the mounting screws until the switch sits flush and square, then fit the plate.
- Restore power and commission. Turn the breaker on, confirm the switch operates the light manually, then follow the app’s pairing routine to join it to your network. Set the correct load type in the app if the option exists, since choosing LED rather than incandescent affects the trickle current.
Safety Rules You Should Not Bend
Treat every conductor as live until your own tester proves otherwise. Circuits are sometimes fed from two breakers, or a previous owner may have shared a neutral between circuits, so a single breaker off does not guarantee a dead box. Work with one hand where practical and keep a torch positioned rather than held in your mouth.
Never exceed the box fill limit. A smart switch body is far bulkier than a mechanical toggle, and cramming conductors in creates heat and abrasion. If the wires will not fold in without force, stop and fit a box extender or a deeper box instead of forcing the device home. Aluminium branch wiring, scorched insulation, or a box with no ground conductor are all signals to bring in a licensed electrician rather than improvise.
Troubleshooting Common Problems
The light glows faintly when off. This is the classic no-neutral symptom. The trickle current is passing through the LED driver. Fit a bypass capacitor at the fixture, or replace the bulbs with a model that tolerates a higher leakage current.
The switch will not power on at all. Almost always the line and load are reversed, or the ground is missing. Recheck with your meter and confirm the ground conductor is landed. On a no-neutral device, no ground usually means no power.
Buzzing or flicker while dimmed. Set the dimming curve and minimum brightness in the app. Many switches let you raise the low end until the flicker stops. If your bulbs are not truly dimmable, no amount of tuning will fix it.
The switch drops off the network. Metal boxes and plaster walls attenuate 2.4GHz signals badly. Move your access point, or choose a mesh-protocol device instead. Comparing options among the best wifi light switches against mesh alternatives helps here.
Mistakes People Make
The most expensive mistake is buying a switch that requires a neutral and only discovering it after the plate is off. Read the wiring diagram on the box before purchase. Second is using the wrong wire nut size, which leaves conductors loose behind a device that is then pushed into the box. Third is ignoring the fixture’s total wattage: pairing a 20W LED load with a switch rated for a 40W minimum guarantees flicker no matter how carefully you wired it. If you are outfitting several rooms, planning the whole set at once against a roundup of the best smart switches avoids a patchwork of incompatible devices.
Frequently Asked Questions
Is a no-neutral smart switch safe?
Yes, when it is a listed product installed to its instructions. The leakage current is a few milliamps by design and the device is tested for that mode of operation. Safety issues come from overstuffed boxes and missing grounds, not the topology itself.
Can I add a neutral to an existing box?
Only by pulling new cable from the fixture or the panel, which usually means opening walls. Where the run is short and accessible through an attic or basement, an electrician can often do it in an hour. Otherwise a no-neutral device is far cheaper.
Do smart bulbs need a neutral?
No. Bulbs take power through the fixture, so the switch box is irrelevant. The trade-off is that the wall switch must stay on permanently, which is why a battery-powered remote over the old switch works so well in rentals.
Will this work with a three-way circuit?
Sometimes, but three-way no-neutral installs are considerably fussier and usually need a matched companion device. Read the manufacturer’s three-way wiring diagram before buying, and follow a dedicated guide such as how to install a smart light switch for the full procedure.
Final Thoughts
A missing neutral is an inconvenience, not a dead end. Confirm what is actually in your box, pick between a no-neutral switch, a bypass capacitor, or a battery-powered controller, and match the switch’s minimum load rating to your fixture before you buy anything. Work methodically, verify with a meter rather than wire colour, and never force a bulky device into a box that cannot hold it. If you want a broader view of features and protocols before deciding, our smart switch buying guide covers the trade-offs in detail so your first install is also your last one for that room.