
 Owen Bradley
 Swapping a plain toggle for a smart light switch is one of the highest-value upgrades in a connected home, because it keeps the wall control working normally while adding schedules, voice control, and remote access. It is also real electrical work at 120V, so it deserves respect and a methodical approach. This guide covers how to install a smart light switch safely: verifying you have a neutral wire, killing the right breaker, identifying every conductor in the box, wiring the device correctly, and getting it onto your Wi-Fi network without a fight.
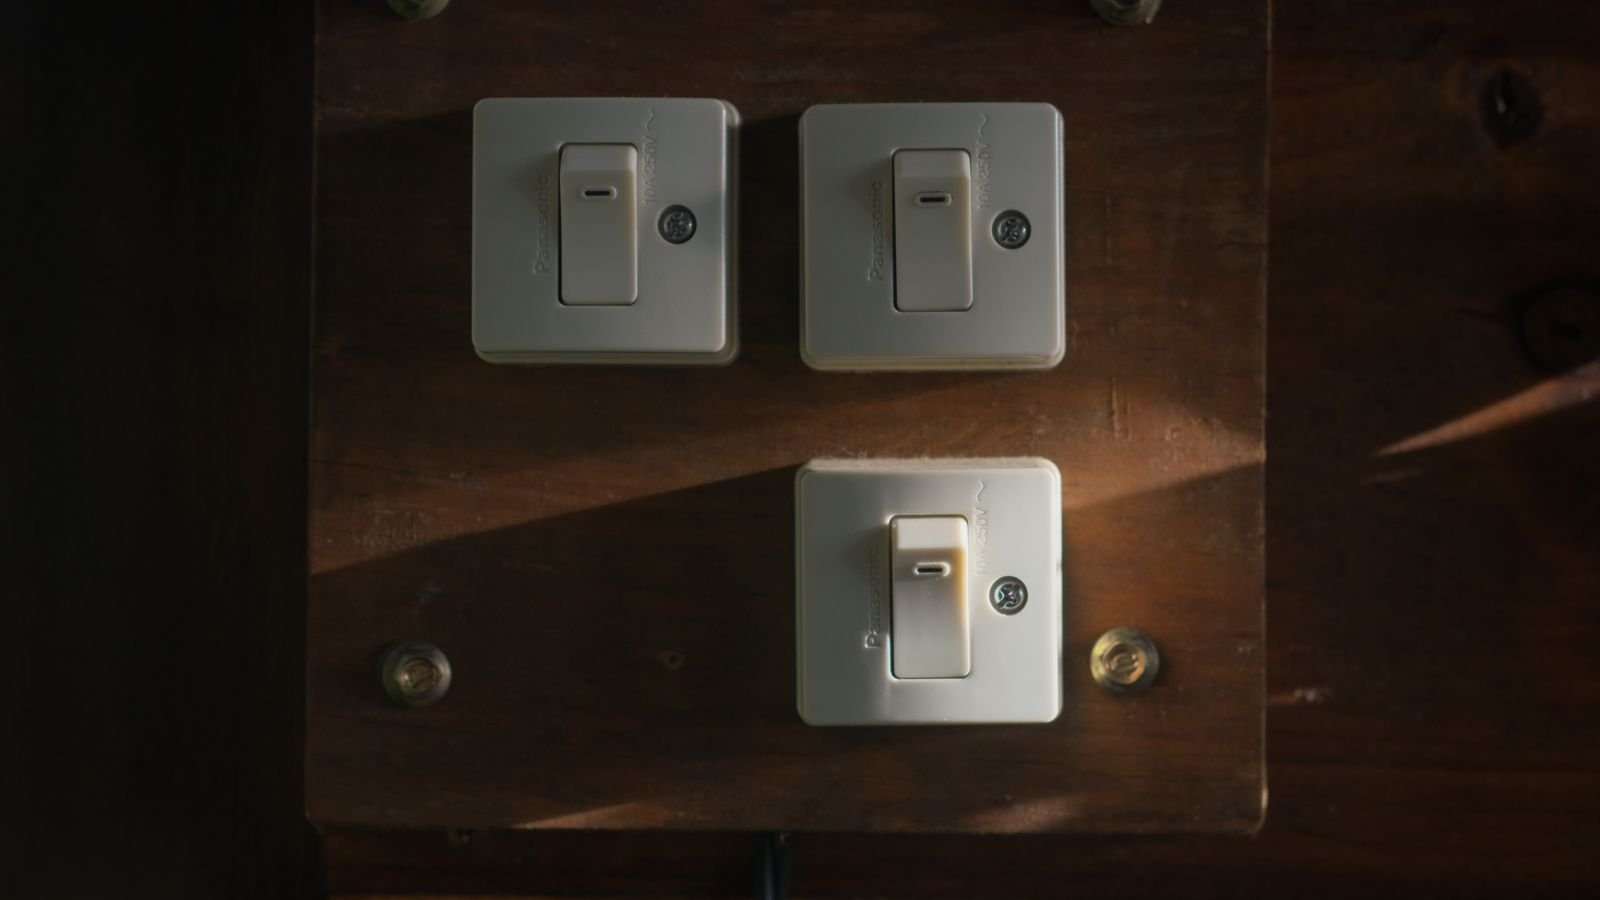
Safety Comes First, and It Is Not Optional
Everything in this job hinges on one rule: the circuit must be dead before your fingers or tools go into the box. Turning off the wall switch is not enough. The switch interrupts one conductor; the box still contains live wires.
- Identify the correct breaker and switch it fully off, then tape over it or post a note so nobody flips it back while you are working.
- Test with a non-contact voltage tester on every wire in the box, not just the ones you plan to touch. Neutral bundles and pass-through conductors from other circuits are common in switch boxes.
- Verify your tester works by holding it near a known live outlet first. A dead tester battery reads the same as a dead wire.
- Work in good light. A headlamp beats holding a phone in your teeth.
- If the box contains aluminum wiring, knob-and-tube, or anything you cannot confidently identify, stop and call an electrician. This is not the project to improvise on.
Check for a Neutral Wire Before You Buy Anything
This is the deciding factor in whether a given switch will work in a given box. Smart switches need constant power to keep their radio alive, and most draw it through a neutral conductor. Older homes frequently ran switch loops without one.
To check, turn off the breaker, remove the cover plate, and pull the existing switch out of the box. Look for a bundle of white wires capped together at the back of the box, usually not connected to the switch at all. That bundle is your neutral. If the only wires present are black, red, and bare copper, you likely have no neutral available.
No neutral does not end the project. A number of switches are designed to work without one, drawing a trickle of current through the load, though they can be fussy with very low-wattage LED fixtures. When shopping, filter carefully for this requirement. Browsing the current selection of best smart light switches alongside dedicated best WiFi light switches will show you which models list no-neutral compatibility on the spec sheet.
Tools and Materials
- Non-contact voltage tester (buy a good one, it is the cheapest safety device you will ever own)
- Insulated flathead and Phillips screwdrivers
- Wire strippers rated for 12 and 14 AWG
- Needle-nose pliers for shaping hooks
- Wire nuts or lever connectors in appropriate sizes
- Electrical tape
- A phone for photographing the existing wiring before you disconnect anything
- Your new smart switch and its wall plate
Step-by-Step Installation
- Turn off the breaker and confirm the circuit is dead. Flip the wall switch on first: if the light stays off after you kill the breaker, you have the right one. Then test every conductor in the box with your voltage tester.
- Remove the cover plate and unscrew the old switch. Back out the two mounting screws and pull the switch forward gently, leaving wires attached for now.
- Photograph the wiring. Take two or three clear photos from different angles. If anything goes sideways later, this picture is what saves you.
- Identify each conductor. The line is the hot feed from the breaker. The load runs out to the fixture. Neutral is white and usually bundled at the rear. Ground is bare copper or green. If your box has a red wire, you may be dealing with a three-way circuit or a switched outlet, which changes the wiring.
- Label before disconnecting. Put a strip of tape on each wire and write line, load, neutral, and ground. On a standard single-pole switch both blacks look identical once removed, and guessing wrong means the switch will not power up.
- Disconnect the old switch. Loosen the terminal screws or, if the wires are back-stabbed, release them with a small screwdriver in the release slot. Set the old switch aside.
- Check the wire condition. Nicked, brittle, or corroded copper should be trimmed back and freshly stripped. Aim for about 3/4 inch of clean bare conductor, or whatever the switch instructions specify.
- Connect ground first. Attach the green or bare wire from the switch to the ground conductor and the box ground if one exists.
- Connect neutral. Join the switch’s white lead into the existing neutral bundle with a wire nut or lever connector. Tug each wire to confirm it is captured.
- Connect line and load. Match the switch’s markings exactly. Reversing line and load is the most common wiring error and usually results in a switch that either never powers on or behaves erratically.
- Fold the wires and seat the switch. Smart switches have deeper bodies than mechanical ones, so wires need to be folded accordion-style behind the device rather than crammed. Do not force it; if the box is genuinely too shallow, an extension ring is the correct fix.
- Screw the switch to the box and attach the plate. Level it against the wall before final tightening.
- Restore power and test. The switch should light up its status LED. Press it manually to confirm the load responds before touching any app.
Handling Three-Way and Multi-Gang Situations
A three-way circuit lets two switches control one light, and it uses traveler wires between them. Smart three-way installations generally take one of two forms. Either you install a smart switch at one location and a compatible companion or add-on switch at the other, or you install a smart switch that reconfigures the circuit so the second location becomes a wireless remote. Read the manufacturer’s three-way diagram before you start, because the wire that was a traveler often becomes something else entirely.
Multi-gang boxes bring a different problem: heat and space. Several smart switches side by side generate more heat than mechanical ones, and many models require derating when ganged together, meaning a reduced maximum wattage per switch. The instruction sheet will state this. Also expect to remove the breakaway side tabs on some designs so the units physically fit.
Connecting to Your Network
Once the switch is powered and controlling the light manually, move to the app. Nearly all Wi-Fi switches join 2.4 GHz networks only, so if your router broadcasts a merged network name you may need to split the bands temporarily during pairing. Put your phone on the same 2.4 GHz network before starting.
Name the switch something a voice assistant will handle gracefully. “Kitchen ceiling” works. “Light 3” does not. Assign it to a room in the app so grouped commands and routines behave sensibly, then link it to your assistant of choice and test a voice command before you pack up the tools.
Mistakes That Cause Callbacks
- Assuming the wall switch being off makes the box safe. It does not, and this is how people get hurt.
- Not labeling line and load. Two black wires, no notes, and a rising sense of regret.
- Buying a neutral-required switch for a no-neutral box. Check first, buy second.
- Forcing a deep switch into a shallow box. Crushed wires and cracked housings follow.
- Skipping the ground. It is there for a reason and takes ten seconds to connect.
- Pairing before testing manually. If the physical button does not work, no amount of app troubleshooting will help.
Frequently Asked Questions
Can I install a smart switch without a neutral wire?
Yes, but only with a model specifically designed for it. These switches pass a small current through the fixture to stay powered, which can cause faint flickering with certain low-wattage LED bulbs. Some manufacturers supply a bypass capacitor to solve that.
How do I know which black wire is line and which is load?
With the breaker on and the switch removed and wires separated safely, a voltage tester reads live on the line conductor and nothing on the load. If you are not comfortable testing an energized box, label the wires by tracing which cable enters from the direction of the panel, or have an electrician confirm.
Will my switch still work if the internet goes out?
The physical button always works, because it controls the load locally. Schedules stored on the device usually keep running. Voice commands and remote app access stop until connectivity returns.
Do smart switches work with dimmable LED bulbs?
Smart dimmers do, but only with bulbs marked dimmable, and compatibility varies. Check the manufacturer’s tested-bulb list if you see buzzing or flicker after installation.
Is a permit required?
Replacing an existing switch like-for-like generally does not require a permit in most jurisdictions, but rules differ. New circuits or new boxes usually do. Check locally if in doubt.
Final Thoughts
A smart switch install is a twenty-minute job once you have done one, and the safety habits are what make it repeatable: kill the breaker, test everything, photograph the box, and label the conductors before anything comes loose. Confirm your neutral situation before ordering hardware and check box depth on older homes, and the rest of the process is genuinely straightforward.









