
 Owen Bradley
 A detached garage is one of the hardest places in a property to get reliable wireless coverage, and it is also one of the places people most want a camera. The signal has to leave the house, cross open ground, and get through a second exterior wall — often a metal garage door or a block wall that behaves like a shield. The result is a camera that shows four bars on a good day, drops out in the rain, and misses the one event you installed it for. The fix is rarely “buy a bigger antenna.” It is choosing the right link method for the distance and the obstruction, then making that link maintainable from indoors. This guide covers diagnosing the real problem, the options ranked by reliability, the installation steps, and how to keep a remote camera link running without walking out to the garage every time it sulks.
Diagnose Before You Buy
- Measure the actual signal in the garage. Stand where the camera will mount, with the garage door in its normal position, and record signal strength and speed. Do this at the camera’s height, not at chest level, and on the band the camera actually uses.
- Measure at several points. Signal inside a garage can vary enormously over a few feet, especially near metal shelving or a vehicle.
- Test with the door closed and open. A sectional metal door is a substantial barrier and many people only ever test with it open.
- Check the band. Most budget cameras only join 2.4 GHz. That band travels much further than 5 GHz, so if your router is steering everything to 5 GHz you may be handicapping yourself unnecessarily.
- Note the distance and line of sight. Whether there is a clear window-to-window path between house and garage decides which solutions are practical.
- Confirm what the camera actually needs. A 1080p camera streaming on motion needs far less bandwidth than a 4K camera recording continuously. Latency and stability matter more than raw speed.
The Options, Ranked by Reliability
- Run an Ethernet cable. If you can trench or route direct-burial outdoor-rated cable to the garage, do it. This is the only genuinely permanent answer, it removes wireless from the equation entirely, and with PoE it powers the camera too. Cost is labour, not hardware.
- Point-to-point wireless bridge. A matched pair of directional units, one on the house and one on the garage, aimed at each other. This is what the outcome should be when cable is impossible. Far more reliable than a repeater because the link is dedicated and directional, and it easily covers a garden-scale distance with line of sight.
- Outdoor mesh node or access point. A weatherproof mesh unit mounted on the house wall facing the garage, or inside the garage if enough signal reaches. Good middle ground, integrates with an existing mesh network, and needs power at the mounting point.
- Powerline adapters. If the garage shares the same electrical supply as the house, powerline networking can carry the signal along the existing wiring. Performance depends entirely on how the circuits are wired; a garage on a separate supply or a different phase will not work at all. Cheap to try.
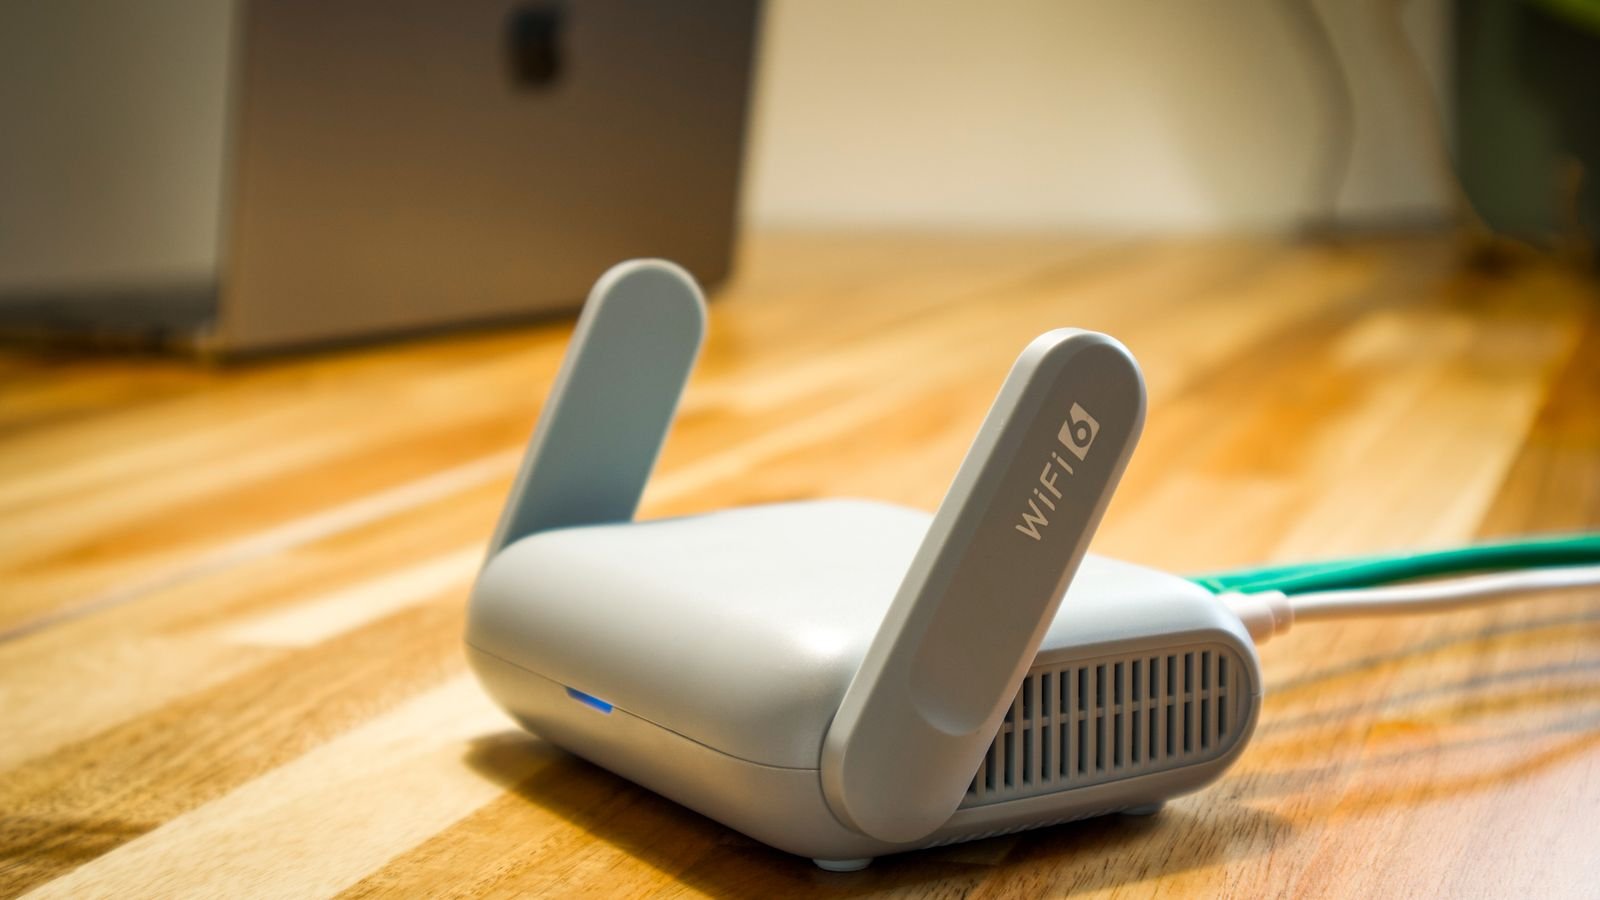
- Wi-Fi range extender. The most commonly bought and the least satisfying. A repeater halves throughput, adds latency, and only works if it can sit somewhere with a strong signal from the router and reasonable signal to the garage. Acceptable for a single low-resolution camera at short range; poor for anything more.
- Cellular camera. Skips the network entirely with its own mobile data connection. Expensive to run but the right answer for a garage genuinely out of reach.
Step-by-Step: Setting Up a Wireless Bridge
- Confirm line of sight. Stand at the proposed house mounting point and look at the garage. Trees, a shed, or a parked van in the path will all degrade the link, and trees get worse when wet.
- Choose mounting points high and clear. Under the eaves on both buildings is typical. Higher is generally better because it clears ground clutter.
- Arrange power at both ends. Most bridge units are powered over Ethernet from an injector indoors, which means only one cable leaves the building. Plan where that injector plugs in.
- Configure the pair indoors first. Set them up on a bench, pair them, set static addresses, change the default passwords, and update firmware before either one goes up a ladder.
- Mount and aim. Fit the brackets, then aim each unit at the other. Most units report signal strength during alignment; adjust slowly and settle on the best reading rather than the first acceptable one.
- Weatherproof every connection. Use outdoor-rated cable, fit the supplied gland or a self-amalgamating tape wrap on the connector, and form a drip loop so water runs away from the housing rather than into it.
- Ground the installation if required. Outdoor equipment on an elevated mount may need surge protection and grounding, particularly where lightning is a real risk. Check the manufacturer’s guidance and local code.
- Connect the garage end to a small switch. This gives you spare ports for a second camera or other equipment later without redoing the link.
- Connect and configure the camera. Join it to the network through the bridge, set a static address or a DHCP reservation, and confirm it is recording to wherever your footage lives.
- Soak test for a week. Watch for drops at night, in rain, and when the garage door operates. A link that is fine on a dry afternoon can fail in weather.
Make the Link Remotely Recoverable
The single most useful addition to a remote camera link has nothing to do with radios. Network equipment in an outbuilding occasionally locks up, and the standard fix is a power cycle — which normally means walking out to the garage in the dark. Putting the extender, bridge, or switch on a network-controlled outlet lets you do that from the app instead.
- Power the remote networking gear through a smart outlet so you can cut and restore power remotely. Reviewing the load ratings, scheduling features, and indoor or outdoor suitability across the best WiFi outlets will help you pick one that suits an unheated garage.
- Do not put the house-side equipment on the same remote outlet. If you cut power to the device that carries your control signal, you cannot turn it back on.
- Set a nightly or weekly scheduled reboot if the gear is known to drift. It is inelegant but it prevents most silent failures.
- Choose hardware rated for the temperature range the garage actually reaches. Consumer electronics in an unheated outbuilding face real cold and real condensation.
- Add a small UPS if brief power interruptions are common. Networking gear tolerates outages poorly and a cheap unit rides through most of them.
Common Mistakes
- Buying an extender first. It is the cheapest option and the least likely to solve a detached-building problem. Diagnose before spending.
- Placing the extender in the garage. An extender must sit where the router’s signal is still strong — usually inside the house near an exterior wall facing the garage, not at the weak end.
- Testing with the garage door open. Real conditions include a closed metal door and a car inside.
- Ignoring the 2.4 GHz requirement. Many cameras will not join a 5 GHz network at all, and a merged single-name network can confuse the pairing process.
- Leaving default credentials on outdoor networking gear. Equipment on an exterior wall is exposed in every sense.
- No weatherproofing on the connector. Water tracking down a cable into an RJ45 housing is the most common failure in outdoor links.
- Forgetting bandwidth headroom. A link that just about carries one camera has nothing left when you add a second.
Frequently Asked Questions
How far can a wireless bridge reach?
Consumer point-to-point units comfortably cover typical residential distances with clear line of sight, and far more in open conditions. Obstructions matter much more than raw distance.
Will a mesh system reach my detached garage?
Sometimes, if the garage is close and there is a node on the facing wall of the house. Use an outdoor-rated node rather than putting an indoor unit in a damp garage.
Do powerline adapters work to an outbuilding?
Only if the garage is fed from the same consumer unit and ideally the same phase. It costs little to test, and it either works well or barely works at all.
Should I just use a cellular camera instead?
If there is no practical cable route and no line of sight, yes. Budget for the ongoing data cost and check mobile coverage at the exact mounting spot first.
Does a metal garage door really block Wi-Fi?
Substantially, yes. Metal reflects rather than absorbs, so a closed sectional door can cut signal dramatically. Mount the receiving equipment away from it wherever possible.
Final Thoughts
Extending camera coverage to a detached garage is a question of picking the right link, not the strongest radio. Measure the real signal at the real mounting point with the door closed, and let that reading guide you. Run buried Ethernet if you possibly can, use a directional point-to-point bridge when you cannot, and treat a plain range extender as a last resort for a single modest camera. Weatherproof every outdoor connection properly, configure and secure the gear indoors before it goes up, and put the remote networking hardware on an outlet you can cycle from your phone so a lock-up does not mean a trip across the garden. Then soak test for a week in bad weather before you rely on it.









