Owen Bradley
 Learning how to winterize an outdoor hot water tank is one of the highest-value maintenance jobs a homeowner can do in a single afternoon. A tank exposed to freezing weather is vulnerable in a way an indoor unit never is: water expands roughly nine percent as it turns to ice, and that expansion splits copper lines, cracks tank welds and ruptures valves with enough force to flood a property. Whether your tank serves a cabin you are closing for the season or a year-round home in a cold climate, the process falls into two clear paths — protect it so it keeps running, or drain it completely so there is nothing left to freeze.
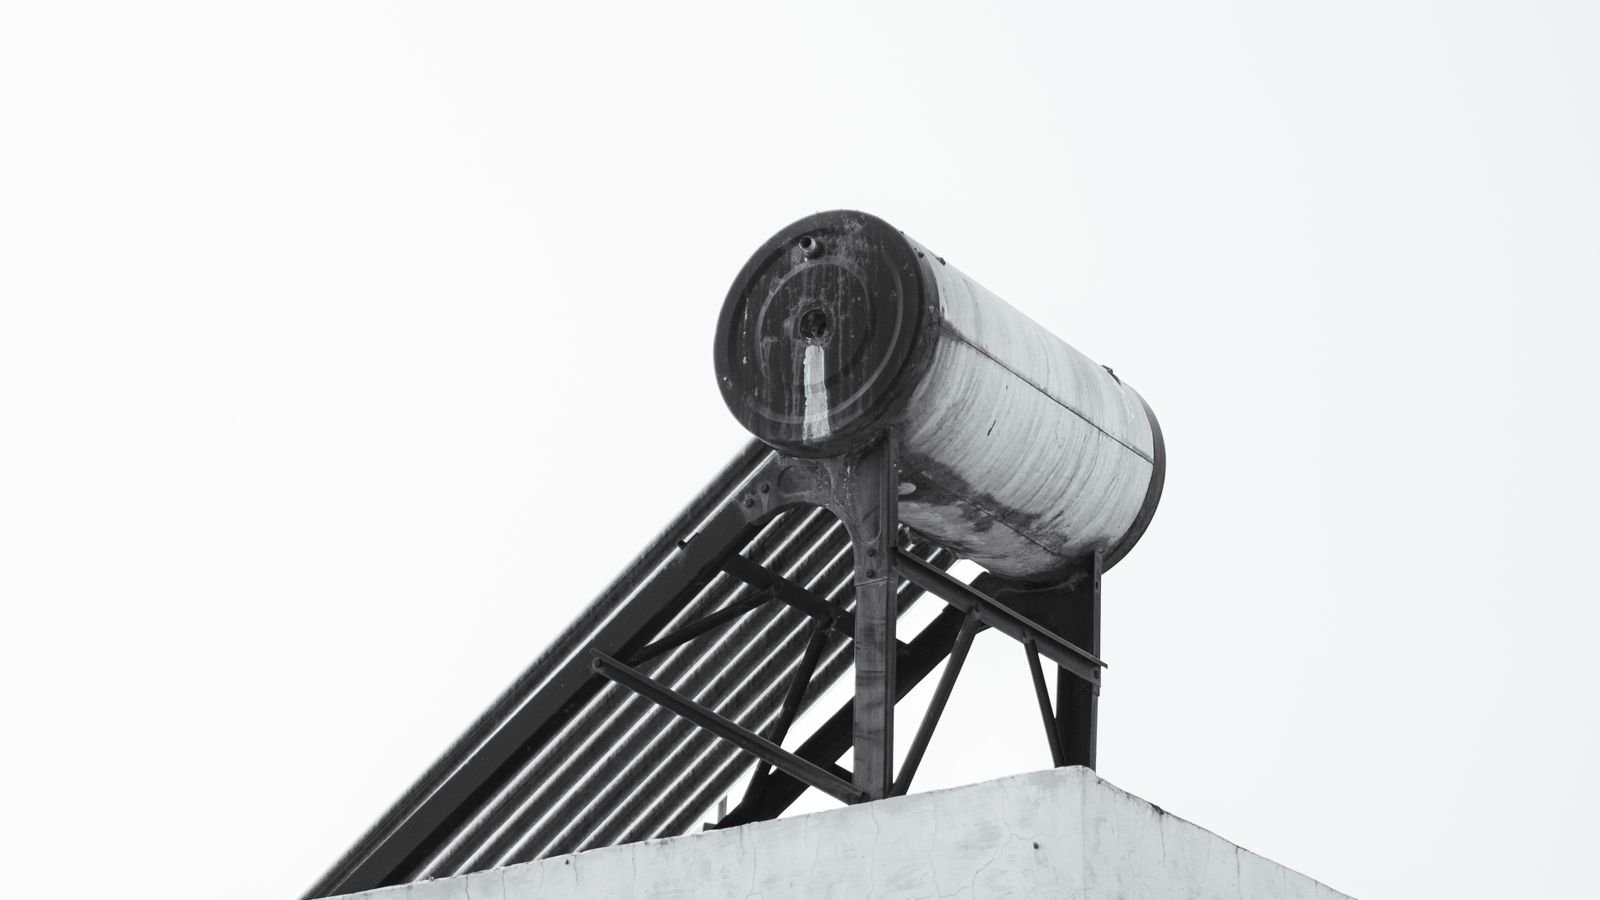
Decide First: Protect or Drain
Everything downstream depends on this choice, so make it deliberately.
- Protect and keep running if the property stays occupied, has reliable power, and you need hot water through the winter. This means insulation, heat tape, and eliminating draughts around the tank and its pipework.
- Drain completely if the property will be vacant for weeks or months, if power may be interrupted, or if you cannot reliably heat the enclosure. A fully drained system cannot freeze because there is nothing in it.
A half-measure is the dangerous option. A partially drained tank still holds water in low points, and a heated tank without backup power fails the moment the electricity goes out during the storm that actually causes the freeze.
Tools and Materials
- Garden hose long enough to reach a drain, gully or downhill discharge point
- Adjustable wrench and a flat-head screwdriver
- Pipe insulation sleeves sized to your pipe diameter, plus insulation tape
- Self-regulating heat cable rated for outdoor and pipe use, with a thermostat
- An insulating tank blanket rated for your tank type
- Expanding foam or mineral wool for sealing gaps in the enclosure
- Bucket, towels, gloves and safety glasses
- A non-contact voltage tester if the unit is electric
Safety First
Hot water tanks combine scalding water, electricity or gas, and pressure. Before touching anything, cut the energy supply. For an electric unit, switch off the dedicated breaker and confirm it is dead with a voltage tester. For a gas unit, set the control to pilot or off and close the gas shutoff valve. Then let the tank cool for at least two hours — draining 140-degree water through a garden hose is a serious burn risk, and hot water can also soften an inexpensive hose. Never drain a tank while the heating element is energised, as an element that fires in an empty tank burns out within seconds.
Path A: Protecting a Tank That Stays in Service
- Inspect and seal the enclosure. Walk the housing or shed and look for gaps at the base, around pipe penetrations and under the door. Seal them with expanding foam or mineral wool. A single draught at floor level will undo an otherwise good insulation job by pouring cold air across the coldest pipes.
- Insulate every exposed pipe. Slide foam sleeves over both the cold inlet and hot outlet, and continue along any run that sits outdoors. Butt the joints tightly and seal them with tape — a two-inch gap at a joint becomes the freeze point.
- Fit self-regulating heat cable. Run the cable along the underside of the pipe, following the manufacturer’s spacing, then insulate over the top of it. Self-regulating cable adjusts its output to pipe temperature and is far safer than constant-wattage cable, which can overheat if overlapped. Never wrap heat cable over itself.
- Insulate the tank body. Wrap the tank in a purpose-made blanket. Critically, do not cover the thermostat access panels, the burner intake or the flue on a gas unit, and never block the pressure relief valve. Restricting combustion air or venting is a carbon monoxide hazard.
- Insulate the valves and fittings, not just the straight runs. Valves and elbows have more surface area and thinner metal, so they freeze first. Use insulation tape or split sleeves to cover them completely while leaving handles operable.
- Raise the thermostat modestly. A setting around 120 degrees is standard; nudging it slightly higher in deep winter gives more thermal buffer. Do not exceed 140 degrees, which creates scald risk and accelerates scale.
- Keep a trickle of water moving during hard freezes. Opening a distant tap to a slow drip keeps water in the lines rather than standing still. Moving water freezes far more slowly.
- Test everything before the first cold snap. Energise the heat cable and confirm it warms. Verify the thermostat cycles. Fixing a fault in October is far easier than in January.
Path B: Draining the Tank for the Season
- Shut off energy and the cold water supply. Kill the breaker or gas, then close the inlet valve at the top of the tank.
- Let it cool. Wait at least two hours, longer for a large tank.
- Attach the hose to the drain valve. Screw the hose onto the valve at the base of the tank and run it to a suitable discharge point, ideally downhill so gravity does the work.
- Open a hot tap and lift the relief valve. Air must get in for water to get out. Open a hot tap in the house, then gently lift the temperature and pressure relief lever. Without this the tank will glug and drain very slowly, or not at all.
- Open the drain valve and let it run dry. Expect this to take 20 to 45 minutes. Sediment will come out with the last of the water — this is a good opportunity to flush it by briefly reopening the cold supply and letting it stir the bottom before draining again.
- Blow out the remaining lines. Once the tank is empty, use compressed air at low pressure, no more than about 40 PSI, to clear the supply and distribution pipes. Work from the tank outward, opening each tap in turn until only air comes out.
- Drain low points and traps. Open any drain-down valves at the lowest points of the pipework. Water pooling in a sag is the classic thing people forget, and it is exactly where a split appears in spring.
- Add non-toxic antifreeze to traps if required. For fixtures served by the system, pour plumbing-grade propylene glycol antifreeze into P-traps. Never use automotive antifreeze anywhere near a potable water system.
- Leave the drain valve open and label the unit. An open valve guarantees nothing accumulates. Tape a clear note to the tank stating it is drained and must be refilled before power is restored.
Bringing the Tank Back in Spring
Reversing the process matters as much as doing it. Close the drain valve, close the relief lever, then open the cold supply and let the tank fill completely with a hot tap open upstairs. Wait until that tap runs a steady, air-free stream — this confirms the tank is full. Only then restore power or relight the gas. Energising an element in a partly filled tank destroys it almost instantly, and it is the single most common spring startup mistake. Inspect all pipework for splits before pressurising, check the relief valve operates, and if the tank is more than a decade old, evaluate whether replacement makes better sense than another season of maintenance. Comparing the best hot water tanks for cold-climate installations will show which models offer higher-rated insulation and freeze-protection features worth having.
Common Mistakes to Avoid
- Covering the flue or burner intake with insulation. A genuine safety hazard on any gas appliance.
- Overlapping constant-wattage heat cable. It creates a fire risk. Use self-regulating cable and never wrap it over itself.
- Draining without opening a tap or the relief valve. Vacuum lock stalls the drain and can even collapse a weak tank.
- Insulating pipes but leaving valves bare. Valves freeze first, and one bare fitting negates the whole job.
- Relying on heat cable with no backup. Power failures and winter storms arrive together. If the property is vacant, drain it instead.
- Using automotive antifreeze. Ethylene glycol is toxic and must never touch a potable system.
Frequently Asked Questions
At what temperature does an outdoor water tank risk freezing?
Damage becomes a real risk once ambient temperatures sit below 20 degrees Fahrenheit for several consecutive hours, though poorly insulated exposed pipes can freeze closer to the freezing point in wind.
Can I just leave the heating on instead of winterizing?
Only if the property is occupied and power is dependable. A vacant property with no backup power should be drained, because a single outage during a cold snap is enough to cause a burst.
How long does it take to drain a hot water tank?
Typically 20 to 45 minutes for a residential tank, plus cooling time beforehand. Sediment-heavy tanks drain more slowly and may need the valve cleared.
Do I need to drain the tank every winter?
Only if it will be unheated or unattended. A protected, in-service tank in an insulated enclosure with working heat cable can run all winter safely.
Is a tank blanket still worth fitting on a modern unit?
On an outdoor installation, yes. Even well-insulated modern tanks lose meaningful heat to wind and low ambient temperatures, and the blanket pays for itself over a season.
Final Thoughts
Winterizing an outdoor hot water tank is a decision followed by a checklist. Choose clearly between protecting it and draining it, then do that path completely. If you protect it, seal the enclosure, insulate every pipe and valve, fit self-regulating heat cable and test it before the cold arrives. If you drain it, cut the energy first, let it cool, break the vacuum with an open tap, clear the low points and leave the drain valve open. Either way, an afternoon of work in autumn is a fraction of the cost of a burst tank in February.