Owen Bradley
 Professional monitoring contracts made sense when home security meant a hardwired panel, a phone line and an engineer with a drill. Today a capable system is a set of wireless sensors, a hub and an app, and you can install the whole thing in an afternoon without signing anything or paying a monthly fee. The trade-off is real but manageable: you take on the job of responding to alerts yourself, and you plan the layout rather than having someone plan it for you. Done properly, a contract-free DIY setup covers the same entry points, records the same footage and costs a fraction of what a monitored plan does over a few years.
What a Contract-Free System Gives Up — and What It Doesn’t
The one genuine difference is professional monitoring. With a monitored plan, a staffed centre sees the alarm, calls you, and dispatches police or fire services if you do not respond. Without it, the alert goes to your phone and it is your job to assess it and make the call. For most households that is an acceptable trade, particularly since police response to unverified alarms is slow or chargeable in many areas anyway.
Everything else is available unmonitored: door and window contacts, motion sensors, glass break detectors, sirens, cameras, video doorbells, smart locks, environmental sensors for smoke and water, geofenced arming, and full event logs. Many systems also let you switch professional monitoring on month to month with no lock-in, which is useful for holidays. The important thing is choosing hardware that works fully without a subscription, since some products cripple basic features unless you pay. Comparing the current best DIY home security systems is largely an exercise in checking which functions survive when the subscription is off.
Planning Before You Buy
- Walk the perimeter and count entry points. Every exterior door, every ground-floor window, and any first-floor window reachable from a flat roof, fence, garage or tree.
- Identify choke points. Hallways, stair landings and open-plan living areas that an intruder must cross regardless of where they entered. One motion sensor in a choke point does the work of several contacts.
- Locate valuables. Home office, master bedroom, garage. These deserve their own coverage.
- Check your Wi-Fi. Walk the house with a signal test. Wireless sensors and cameras are only as reliable as the network, and a weak signal in the garage will produce endless dropouts.
- Decide on cameras. Indoor cameras for verification, outdoor cameras for deterrence and evidence, a video doorbell for package theft and callers.
- Plan storage. Local storage on an SD card or base station avoids subscription fees; cloud storage survives the base station being stolen. Many people use both.
A typical three-bedroom house works out at one hub, four to six door and window contacts, two motion sensors, a doorbell camera, one or two outdoor cameras and a siren. Buy the kit that covers the basics and add individual sensors afterwards rather than over-buying a bundle.
Step-by-Step Installation
- Site and power the hub first. Put the base station centrally, off the floor, near your router but not inside a metal cabinet. Somewhere out of sight from windows is better — a hub in full view of the front door is the first thing an intruder unplugs.
- Connect it to your network and update firmware. Do this before mounting anything else. Use a wired Ethernet connection if the hub supports it, and confirm the backup battery is charging.
- Pair every device on the kitchen table. Add each sensor to the app while everything is within arm’s reach, and name them clearly as you go — “Front Door”, “Kitchen Window”, not “Sensor 4”. Renaming later is tedious and mislabelled sensors cause bad decisions during a real alert.
- Mount door and window contacts. The two halves must align within the gap tolerance stated in the manual, usually under half an inch. Fit the magnet on the moving leaf and the sensor on the frame. Clean the surface with alcohol before applying adhesive, and press firmly for 30 seconds.
- Place motion sensors correctly. Mount at the recommended height, typically around 7 feet, in a corner facing across the room rather than down a hallway — passive infrared detects movement across its field far better than movement straight toward it. Keep them away from radiators, vents, sunlit windows and pet routes.
- Add glass break sensors where appropriate. These are ceiling or opposite-wall mounted and cover a whole room of glazing, which makes them efficient for large patio doors and bay windows.
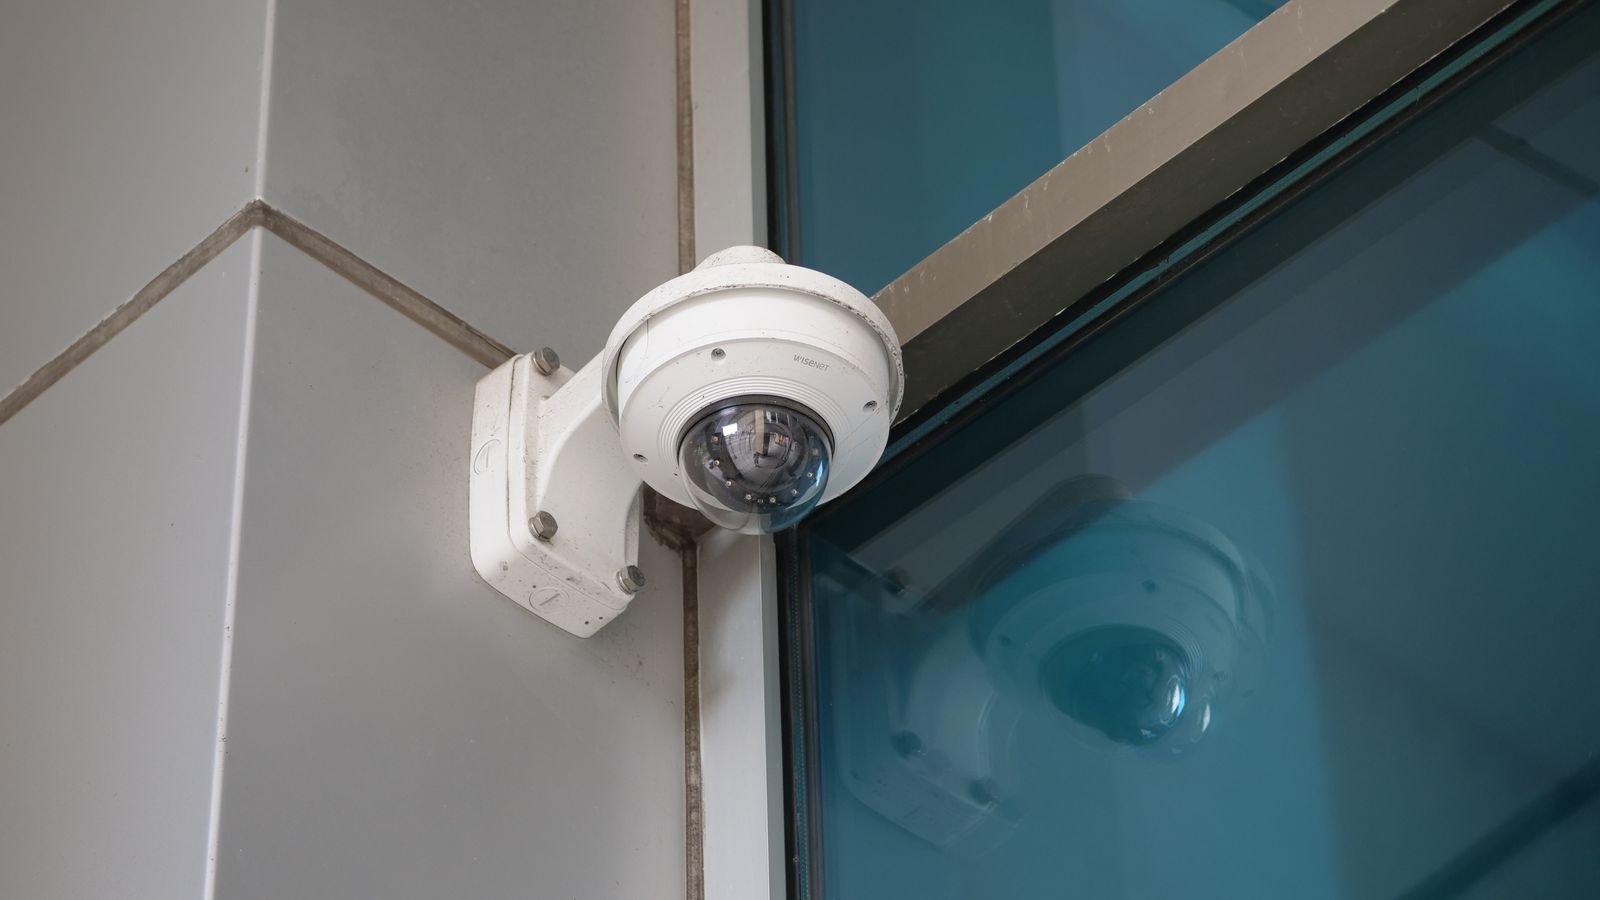
- Install cameras and the doorbell. Mount outdoor cameras high enough to be out of reach but angled down enough to capture faces rather than the tops of heads. Position the doorbell around 48 inches from the ground.
- Fit the siren where it matters. A loud siren is the actual deterrent. Mount one high in a central hallway and, if the system allows, one outdoors under the eaves.
- Set arming modes and delays. Configure Home mode (perimeter armed, interior motion off), Away mode (everything armed) and Night mode. Set an entry delay long enough to disarm without panic — 30 to 45 seconds is normal — and an exit delay that matches how long you actually take to leave.
- Test every device before you rely on it. Use the system’s walk-test mode. Open every door and window, walk every motion zone, trigger the siren once so you know what it sounds like, and confirm each notification arrives on every phone that should get it.
Configuring Alerts So You Actually Read Them
The fastest way to render a self-monitored system useless is to let it flood your phone. If every passing car triggers a notification, you will mute the app within a week and miss the one alert that mattered. Spend real time on tuning: set activity zones on cameras so the pavement and road are excluded, enable person detection rather than generic motion where available, and raise sensitivity thresholds until routine events stop firing.
Separate alert tiers. Alarm events — a contact opening while armed, glass break, siren activation — should be loud, bypass do-not-disturb, and go to every household member. Informational events like a doorbell press or a camera clip can be silent and reviewed at leisure. Add at least one trusted neighbour or family member as a secondary contact in the app so someone can check the house when you are away.
Hardening the System Against Its Own Weaknesses
Wireless systems have three predictable failure modes and each has a fix. Power loss: confirm the hub’s battery backup is present and know how long it lasts. Internet loss: choose a hub with a cellular backup radio, or at minimum one that still sounds the local siren when offline — a system that goes silent when the broadband drops is a poor system. Tampering: mount the hub out of sight, enable tamper alerts on sensors, and make sure the siren is not in the same easily reached spot as the hub.
On the digital side, use a unique strong password and enable two-factor authentication on the account. Put cameras on a guest or IoT network segment if your router supports it. Keep firmware updated, and change the default entry code from whatever came in the box. Replace sensor batteries proactively when the app first warns, rather than after a sensor has gone dark.
Layering With Other Deterrents
Alarms respond to a break-in; good physical security prevents one. Reinforce door frames with long strike-plate screws that reach the stud, fit secondary locks on sliding doors, and add motion-activated exterior lighting on approach paths. Visible cameras and a yard sign genuinely do reduce opportunistic attempts. Upgrading weak entry hardware alongside the alarm gives the biggest overall improvement, and the same principles apply whether you build your own kit or compare full packages among the best alarm systems for home use.
Frequently Asked Questions
Does a DIY security system work without a subscription?
Yes, if you choose hardware designed for it. Sensors, sirens, app alerts and local recording all function without a monthly plan. What you lose is professional monitoring and, on some brands, cloud video history.
Can the police be dispatched without professional monitoring?
Only by you calling them. Self-monitored alarms have no automatic dispatch. In practice this often makes little difference, since many forces will not respond to an unverified alarm anyway — video verification from your own cameras is more persuasive than a siren.
How many sensors does an average house need?
A typical three-bedroom home is well covered by four to six door and window contacts on the likely entry points, two motion sensors in choke points, and a siren. Cover the routes an intruder must take rather than trying to sensor every opening.
What happens if the internet or power goes down?
A good hub has a battery backup lasting several hours and will still sound the local siren offline. Cellular backup keeps app notifications working during an outage. Check both capabilities before buying.
Will pets trigger the motion sensors?
Not if you choose pet-immune sensors rated for your animal’s weight and mount them at the recommended height angled across the room. Cats that climb are the hardest case; rely on door contacts and glass break detection in rooms they occupy.
Final Thoughts
A contract-free system is not a compromise so much as a different division of labour: you do the planning, the mounting and the responding, and you keep the money. Spend the effort where it counts — a sensible sensor layout, a hub with battery and cellular backup, carefully tuned alerts, and a full walk-test before you trust it. Set it up that way and you will have security that works on the night it matters, with nothing to cancel and no contract to renew.