Owen Bradley
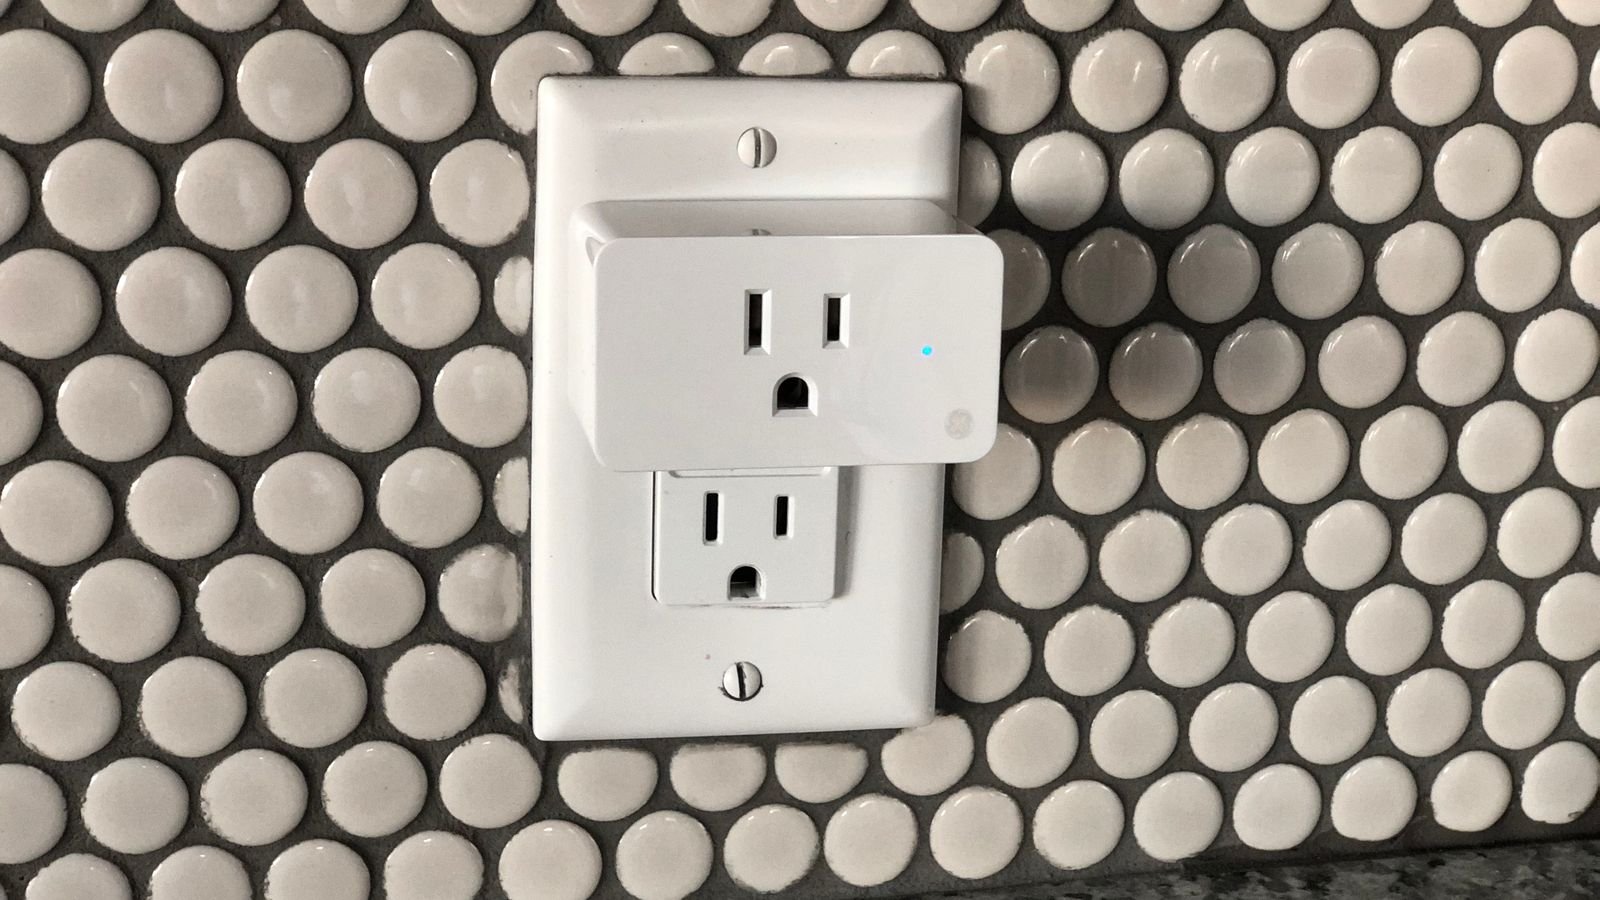
 A smart plug is the cheapest possible entry into home automation. It turns any ordinary lamp, fan, coffee maker, or space heater into something you can switch by voice, schedule, or phone, with no wiring and no tools. Setup is genuinely simple once you know the two or three places it commonly goes wrong. This guide covers how to set up a smart plug with Alexa or Google Home from unboxing to working voice command, including the 2.4 GHz network issue that trips up most first-time users, sensible naming conventions, routines and schedules, and what to do when the plug refuses to be discovered.
What You Need Before Starting
- A smart plug compatible with your chosen assistant. Check the box for the Works with Alexa or Works with Google Home marking, or for Matter support, which works with both.
- A 2.4 GHz Wi-Fi network. This is the requirement that causes the most failed setups.
- Your Wi-Fi password, typed correctly. Case matters.
- The manufacturer’s app, plus the Alexa or Google Home app.
- An accessible outlet. Smart plugs are bulky and often block the second socket.
- A device to control: a lamp is the ideal first test because you can see it work instantly.
If you have not bought hardware yet, it pays to match the plug to your ecosystem. Reviewing the current best smart plugs for Echo alongside the best smart plugs for Google lineup will show which models integrate natively and which need a bridging skill or account link.
Sort Out the 2.4 GHz Issue First
Almost every Wi-Fi smart plug on the market connects only to 2.4 GHz networks, not 5 GHz. The 2.4 GHz band travels further through walls and uses less power, which suits a small always-on device, but it means your phone must also be on 2.4 GHz during setup.
Many modern routers and mesh systems broadcast both bands under a single network name and steer devices automatically. That convenience actively breaks smart plug setup, because your phone may sit on 5 GHz while trying to hand credentials to a device that cannot see that band.
There are three common fixes. Temporarily disable the 5 GHz band in your router settings for the duration of setup. Or split the bands into separate network names, giving the 2.4 GHz one its own SSID permanently. Or, on some mesh systems, use the app’s built-in “add IoT device” mode, which handles this automatically. Whichever route you take, confirm your phone is on 2.4 GHz before you begin, then switch back afterwards if you wish, since the plug stays connected once provisioned.
Step-by-Step Setup
- Plug the device into an outlet and wait for the status LED to blink, usually blue or amber. A steady blink means it is in pairing mode. If it is not blinking, hold the button on the plug for five to ten seconds until it starts.
- Install the manufacturer’s app and create an account. Some Matter-certified plugs skip this entirely and pair straight into Alexa or Google Home, which is worth checking first.
- Confirm your phone is on the 2.4 GHz network and that Bluetooth and location permissions are granted, since many apps use Bluetooth for the initial handshake.
- Add the device in the app. Tap the plus icon, choose the product type, and follow the prompts. The app will ask for your Wi-Fi credentials and pass them to the plug.
- Wait for the connection to complete. The LED should go solid when the plug joins the network. This takes thirty to sixty seconds. If it times out, do not immediately retry; check the band issue first.
- Name the plug carefully. Use a name you would naturally say out loud: “living room lamp” rather than “Plug 2”. This name becomes your voice command.
- Assign it to a room in the app. Room assignment is what makes group commands like “turn off the bedroom lights” work later.
- Test it in the manufacturer’s app. Toggle it on and off and confirm the connected device responds. Do not move to the assistant until this works.
- Link the account to Alexa or Google Home. In the Alexa app, go to Skills and enable the manufacturer’s skill, then sign in with the same account. In Google Home, tap add, choose “works with Google”, and select the brand.
- Run device discovery. Say “Alexa, discover devices” or let Google Home scan. The plug should appear within a minute.
- Assign the room again in the assistant app. Room assignments do not always carry across from the manufacturer’s app, and this catches people out.
- Test the voice command. “Alexa, turn on the living room lamp.” If the assistant confirms but nothing happens, the plug is on but the lamp’s own switch is off, which is a classic first-day confusion.
Naming Conventions That Actually Work
Voice control lives or dies on naming. A few rules save considerable frustration.
- Use plain descriptive words. “Bedroom fan” beats “Fan 1” every time.
- Avoid names that clash with assistant commands. Naming a plug “Music” or “Alarm” causes obvious conflicts.
- Skip numbers and symbols. Assistants mishear them constantly.
- Keep names distinct. “Kitchen light” and “Kitchen lights” in the same house will produce unpredictable results.
- Match the room name to the assistant’s room. Consistency is what lets group commands work reliably.
- Add a nickname if the natural phrasing differs. Both assistants let you attach alternative names to the same device.
Building Schedules and Routines
The real payoff is automation rather than manual voice commands. Both platforms support scheduling directly, and the manufacturer’s app usually does too.
Schedules are simple time-based rules: lamp on at sunset, off at 11 p.m. Using sunset rather than a fixed clock time is worth the extra tap, because it adjusts through the seasons automatically.
Routines chain multiple actions to one trigger. A “good night” routine can switch off three plugs, lock a door, and set a thermostat. Away-mode routines that randomise lamp timing while you travel are a genuinely useful security measure, far more convincing than a mechanical timer clicking on at exactly the same minute every evening.
Where you build the routine matters. Routines created in the assistant app work across brands. Schedules created in the manufacturer’s app usually run on the plug itself, meaning they keep working during an internet outage. For anything safety-adjacent, prefer the on-device schedule.
Troubleshooting
- Plug not found during setup. Almost always the 2.4 GHz band. Confirm your phone’s connection, then confirm the plug is genuinely in pairing mode.
- Setup fails at the final step. Check the Wi-Fi password character by character. Also check whether your router has reached its device limit or has MAC filtering enabled.
- Assistant cannot discover the device. Confirm the account link uses the exact same login as the manufacturer’s app. A second account created by accident is a frequent cause.
- Plug goes offline repeatedly. Weak signal at that outlet. Move it closer to the router or add a mesh node. Assigning a static DHCP reservation in the router can also help.
- Voice command works but nothing happens. The appliance’s own switch is off, or the appliance does not resume its previous state after power is restored. Many devices with electronic controls will not turn on simply from receiving power.
- Everything breaks after changing your router. Smart plugs store the old credentials. Factory reset each plug and run setup again.
What Not to Plug In
Smart plugs have wattage limits, commonly 1800W or lower, and some are rated far below that. Check the rating before connecting anything with a heating element. More importantly, never put a space heater, an electric blanket, a hair straightener, or a medical device on a smart plug. Remote or scheduled switching of a heating appliance you cannot see is a genuine fire risk, and manufacturers explicitly warn against it. Refrigerators and freezers are also poor candidates, since an accidental off command or an outage-related state change can spoil the contents unnoticed.
Frequently Asked Questions
Why will my smart plug not connect to Wi-Fi?
The overwhelmingly common cause is that the plug needs 2.4 GHz and your phone is on 5 GHz. Split the bands or temporarily disable 5 GHz, then run setup again.
Do smart plugs work without internet?
The physical button always works. On-device schedules usually keep running. Voice commands and remote control require internet, though some Matter and local-control models continue working over the local network alone.
Can I use one plug with both Alexa and Google Home?
Yes. Link the manufacturer’s account to both platforms and the plug appears in each. Matter-certified plugs handle this natively without account linking.
Do smart plugs use much electricity themselves?
Very little, typically under 1W in standby. Models with energy monitoring can show you the draw of whatever is connected, which often pays for the plug in identified waste.
Is it safe to leave smart plugs on all the time?
Yes, they are designed for continuous use. Just respect the wattage rating and avoid heating appliances.
Final Thoughts
Setting up a smart plug takes about five minutes once the network band question is settled, and that single issue accounts for most of the frustration people report. Get your phone onto 2.4 GHz, name the device something you would actually say aloud, assign it to a room in both apps, and test in the manufacturer’s app before involving the assistant. From there, sunset-based schedules and a good-night routine will deliver more everyday value than any voice command.