Owen Bradley
 A two-story house is the single most common reason a perfectly good router disappoints its owner. Wi-Fi radiates outward in a rough sphere, but floors are made of joists, subfloor, plywood, and sometimes radiant heat tubing or ductwork, and every one of those layers eats signal. Put the router in a downstairs corner office and the far upstairs bedroom sits at the thin edge of that sphere, two obstacles deep. This two story home Wi-Fi guide walks through coverage floor by floor: where to place the main router, how many nodes a second story really needs, the stair-landing trick that solves more homes than any hardware upgrade, and how to pick gear sized for 1,500 to 3,000 square feet. Nothing here requires drilling walls, though wiring one cable will always beat buying one more node.
Why a Second Floor Breaks Coverage Faster Than Square Footage
People shop for routers by square footage because that is what the box advertises. It is a poor proxy. A 2,000 square foot ranch spread across one level is far easier to cover than a 2,000 square foot two-story with 1,000 feet per floor, because the second layout forces the signal to punch through a floor assembly rather than travel through open air and drywall.
A typical wood-frame floor costs you somewhere between 10 and 20 dB of signal on the 5 GHz band, and considerably more if there is tile, hardwood over plywood, or a layer of ductwork in the joist bay. To put that in perspective, every 3 dB of loss cuts received power in half. A floor that costs 15 dB leaves roughly 3 percent of the original signal reaching the level above. That is why a router with excellent horizontal reach can still leave the upstairs corner at one bar.
The practical takeaway is simple. Treat each floor as its own coverage problem with its own radio, rather than hoping one strong box downstairs can serve both. If you want a shortcut to hardware sized for multi-level layouts, our roundup of the best mesh routers for large homes filters out systems that only look good in a single-story demo.
Step One: Place the Main Router Correctly
Before adding anything, move what you already have. Router placement is free and often worth more than a hardware upgrade.
- Get it central, not convenient. The modem location dictates the router location for most people, which is why so many routers live in a basement corner or a front closet. A 25 foot coax or Ethernet run to a central spot is cheap and pays back permanently.
- Raise it off the floor. Sitting on carpet, a router radiates half its energy into the slab. Put it on a shelf or console at roughly chest height so more of the pattern aims at living space and at the ceiling above.
- Keep it out of enclosures. Metal media cabinets, structured wiring panels, and appliance nooks are signal traps. So are aquariums, mirrors, water heaters, and refrigerator backs.
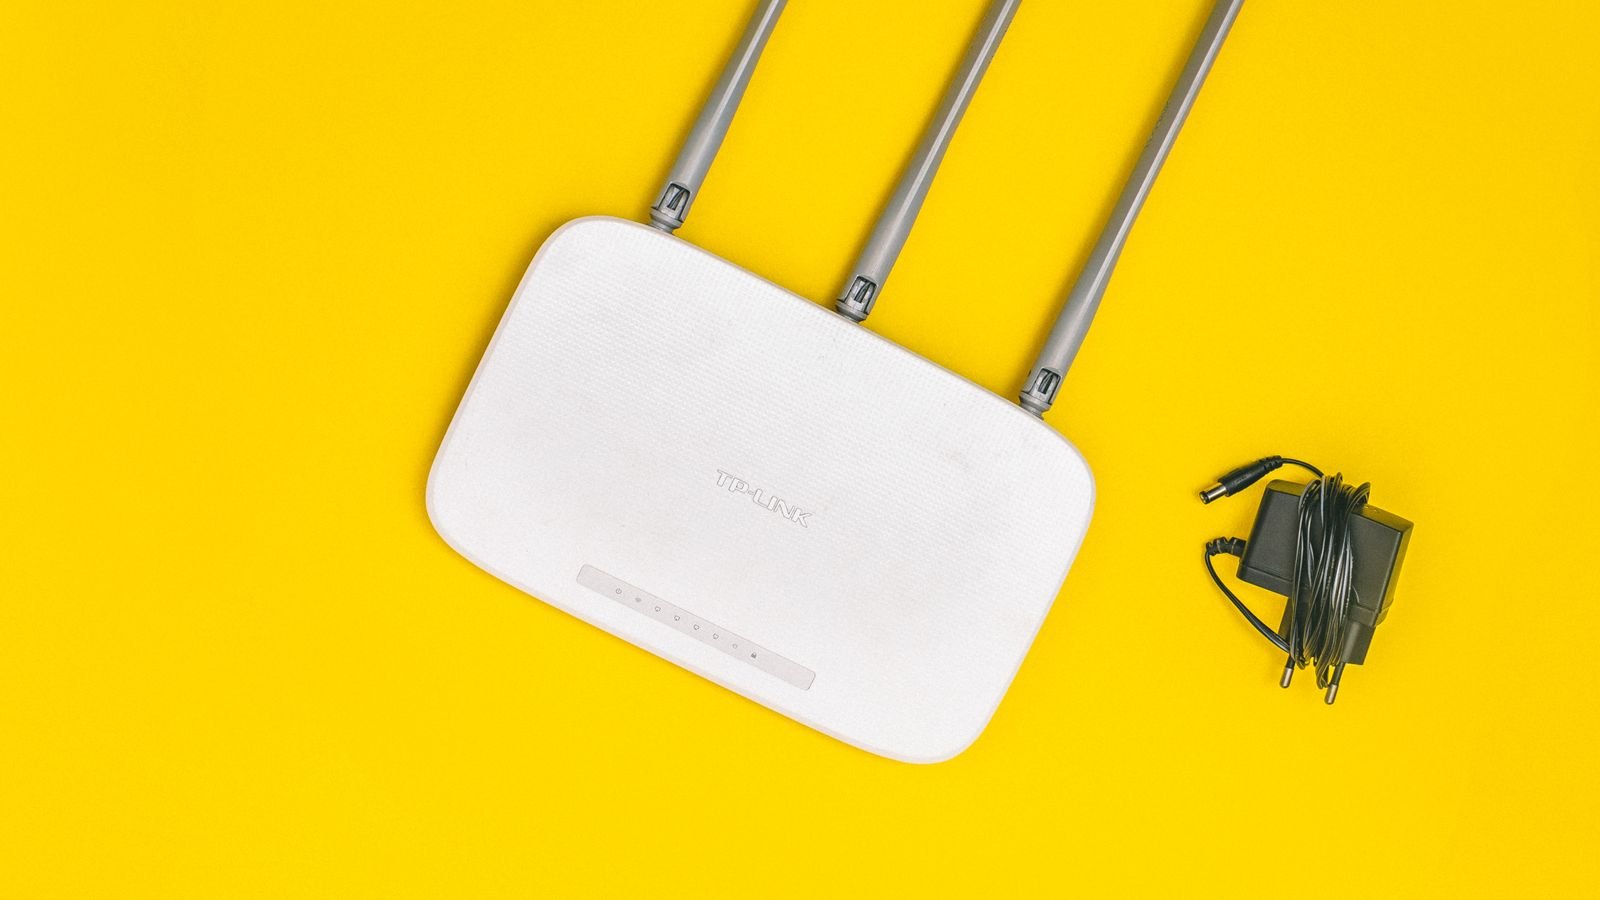
- Mind the antennas. On a router with external antennas serving two floors, angling some vertically and some at 45 degrees spreads coverage between the horizontal plane and the level above.
If the main floor is where most devices live, biasing the router slightly toward the stairwell rather than the geometric center almost always improves upstairs numbers without hurting downstairs.
The Stair-Landing Trick
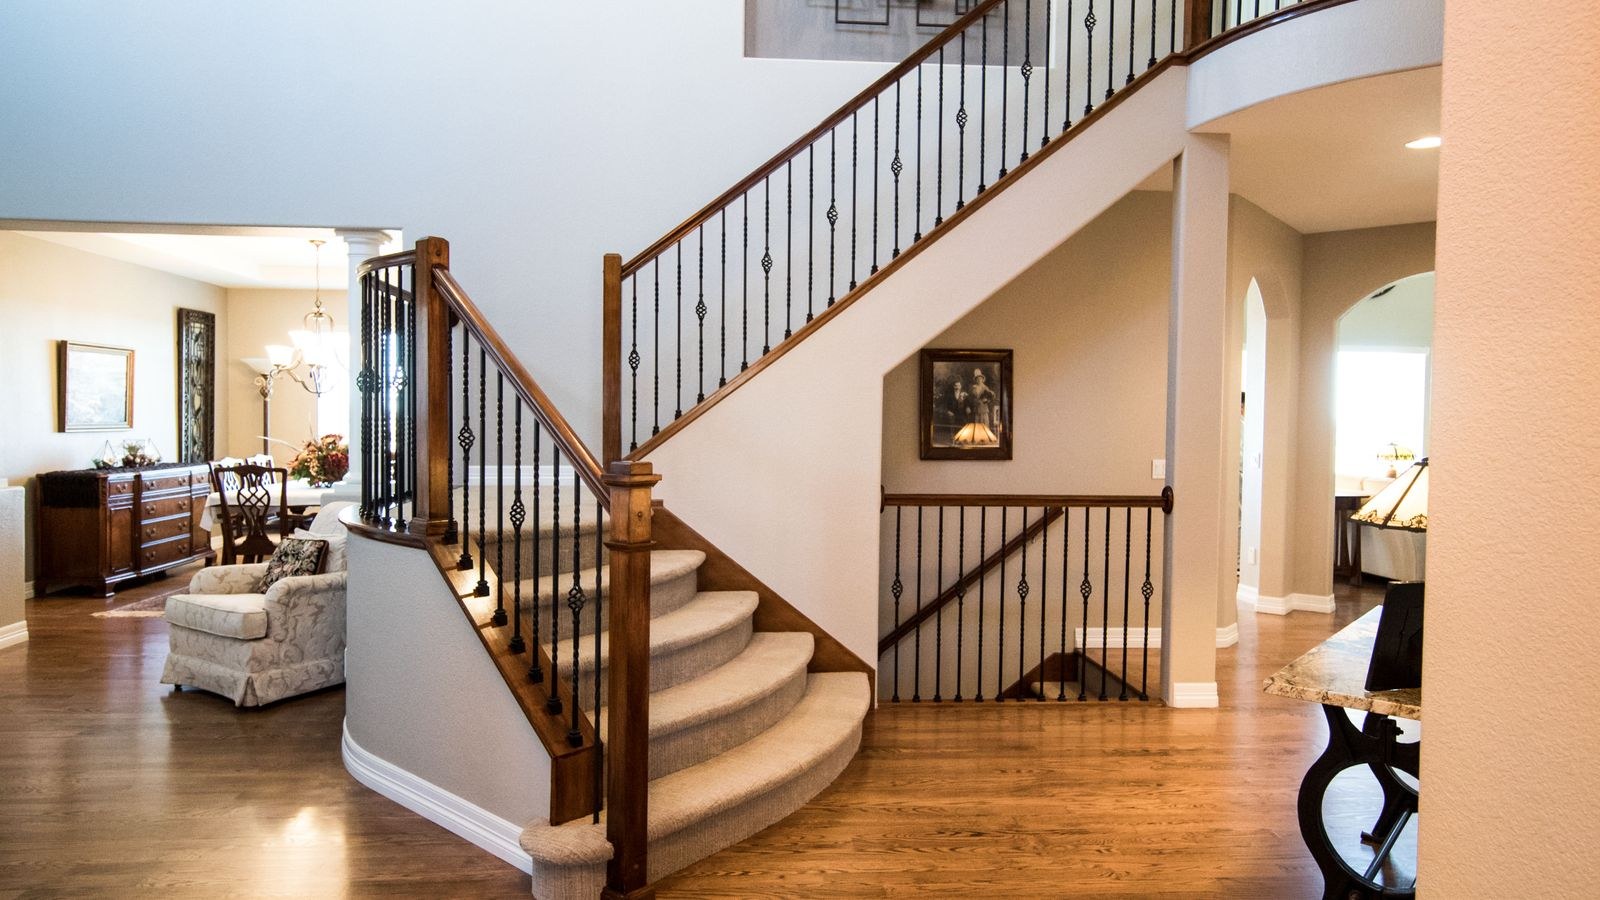
The most underrated location in a two-story home is the stair landing or the ceiling directly beneath the top of the stairs. A stairwell is an open vertical shaft, one of the few paths where signal can travel between floors without crossing a floor assembly. A node placed on the landing, on a hall table at the top of the stairs, or on a shelf in the upstairs hallway hears the main router through open air rather than through 15 dB of lumber. That single placement fixes a large share of two-story complaints.
How Many Nodes Do You Actually Need
The honest answer for most two-story homes is two units, occasionally three. More is not better with wireless mesh, because each extra hop consumes airtime and a node that hears its parent weakly slows everything routed through it.
- Under about 1,500 square feet, two floors: one capable router centrally placed on the main floor, plus one node upstairs. Many homes this size get by with a strong single router if the stairwell is open and central.
- Roughly 1,500 to 2,500 square feet: two units, one per floor, positioned so the upstairs node sits near the stairwell rather than in the farthest bedroom.
- Roughly 2,500 to 3,000 square feet or a long footprint: three units. Typically main floor center, upstairs near the stairs, and a third covering a distant wing, a finished basement, or a detached garage.
Beyond three wireless nodes you are usually solving the wrong problem. The answer at that point is wired backhaul or better placement, not a fourth radio. Systems that hold up under multi-node load are gathered in our list of the best Wi-Fi mesh systems for large homes.
Node Placement Floor by Floor
Placement is a chain, not a scatter. Each node must hear the unit feeding it well, and every node inherits the weakness of its parent link.
Main Floor
Put the primary router near the center of the daily-use area and near the stairwell if possible. Living room shelf, hallway console, or a bookcase in the great room all work. Avoid the kitchen, where appliances, metal, and plumbing create a dead zone that follows you around.
Second Floor
Place the upstairs node roughly halfway between the stairwell and the farthest bedroom, in the hallway rather than inside a room. Hallways are corridors of open doorways, which is exactly what you want. Resist the instinct to put the node in the weakest room; a node placed in a dead spot has a weak link back to the router and simply rebroadcasts a poor connection.
Ceiling Versus Shelf Mounting
If a node is intended to serve the floor above, a high shelf or a ceiling mount helps, because more of the radiation pattern points upward through the least obstructed part of the floor. If a node serves its own floor primarily, chest height in the open beats a ceiling corner. Dedicated ceiling access points are the cleanest solution in homes where you can run cable, but for most people a tall bookshelf achieves most of the benefit at zero cost.
Wired Backhaul Beats Everything
Every wireless mesh node spends part of its capacity talking to its parent. Give a node a wired connection and that overhead disappears, latency drops, and the node delivers close to its full rated throughput. In a two-story home the single highest-value upgrade is one Ethernet run from the main router to the upstairs node.
If pulling cable is impossible, two workarounds exist. MoCA adapters turn existing coax outlets into a fast wired link and are excellent when the house is already wired for cable television. Powerline adapters use electrical wiring and are far more variable; they work well when both outlets share a circuit and poorly when they sit on opposite legs of the panel. Try MoCA first if coax exists.
Bands, Channels, and Steering
Two-story homes benefit from thinking about bands deliberately. The 2.4 GHz band travels through floors much better than 5 GHz and remains the workhorse for smart plugs, sensors, and devices at the edge of coverage. The 5 GHz band carries far more throughput but loses more energy per floor. The 6 GHz band, where supported, offers enormous clean capacity but the shortest practical range, which makes it excellent as a backhaul or for same-room devices and poor for the bedroom two floors away.
Keep a single network name across bands and nodes so devices roam automatically. On the 2.4 GHz band, lock to channel 1, 6, or 11 rather than leaving it on auto, because those are the only non-overlapping options and auto selection often lands somewhere that interferes with neighbors. On 5 GHz, allowing DFS channels usually finds far cleaner air in dense neighborhoods.
Choosing Hardware for 1,500 to 3,000 Square Feet
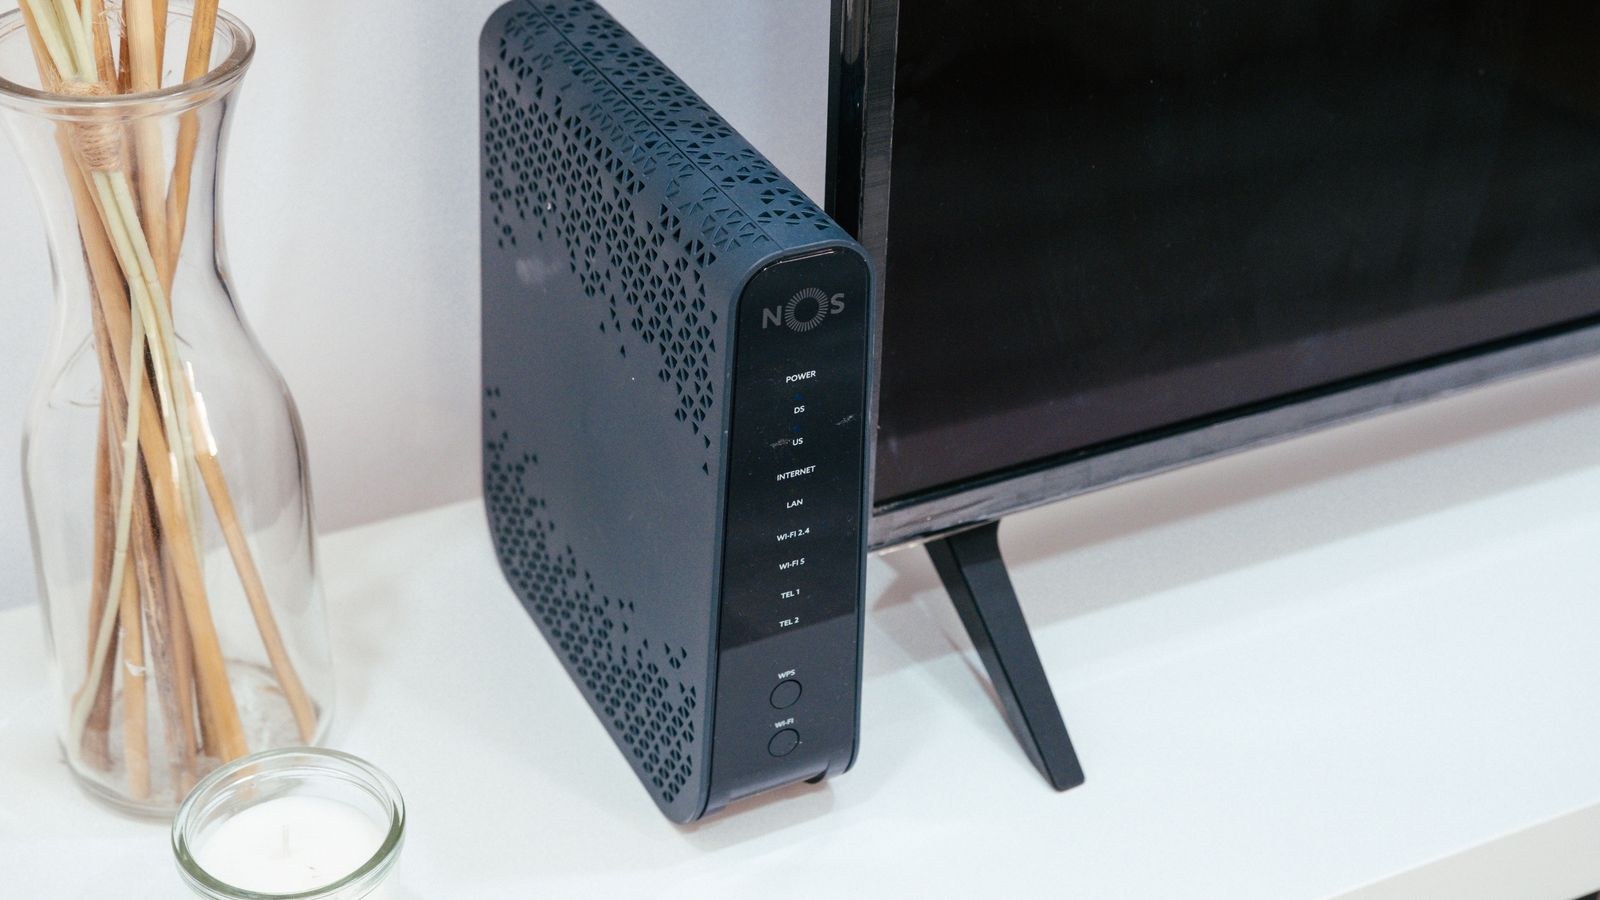
Match the class of hardware to the layout rather than to the advertised coverage figure, which is measured in conditions your house will never reproduce.
- Compact two-story under 1,500 square feet: a single strong dual-band or tri-band router placed centrally is often enough. Spend the money on radio quality rather than node count.
- 1,500 to 2,200 square feet: a two-pack mesh kit, ideally tri-band so the backhaul does not steal client capacity.
- 2,200 to 3,000 square feet or awkward layouts: a three-pack, with at least one node wired if at all possible. Look for units with Ethernet ports on every node so you can wire the desk, television, or console behind them.
Port count matters more than people expect in a two-story house, because the upstairs node frequently ends up near a home office. Curated options across these tiers appear in our guides to the best whole home routers and the best routers for coverage, and if you are still deciding between a single powerful router and a multi-node kit, our walkthrough on how to choose a router for large home coverage compares the two approaches directly.
Testing Coverage Room by Room
Guessing wastes money. Spend twenty minutes measuring instead.
- Install a Wi-Fi analyzer app on a phone and walk every room, noting the signal strength in dBm at head height.
- Treat -50 to -60 dBm as excellent, -60 to -67 dBm as good, -67 to -75 dBm as marginal, and anything past -80 dBm as effectively unusable.
- Run a speed test in each problem room, connected to the local network rather than only to the internet, so you separate Wi-Fi problems from ISP problems.
- Check which node and which band each device has joined; a device clinging to a distant node is a placement clue.
- Repeat after every change, moving one thing at a time so you know what actually helped.
Common Mistakes in Two-Story Homes
The most frequent error is stacking nodes vertically in the same corner of the house, which gives excellent coverage to one column and leaves the opposite corners weak on both floors. Offset the upstairs node horizontally from the router so the two spheres overlap rather than nest.
The second mistake is chaining nodes wirelessly one after another. Every hop roughly halves available throughput on a shared-band system, so a third node hanging off a second node delivers disappointing speeds even when the bars look full. Arrange nodes in a star pattern, each hearing the main router directly.
Be wary of simple range extenders that create a second network name. They halve throughput, force manual switching between networks, and often make the experience worse than the dead spot they were bought to fix.
Frequently Asked Questions
Should the router go upstairs or downstairs?
Downstairs is usually right, because the main floor sits between the two other levels and because the modem is normally there. If nearly all heavy use happens upstairs and the ground floor is mostly a garage and entry, flip it. The goal is to put the router on the floor with the most demand and place the node on the other.
Do I need Wi-Fi 6 or Wi-Fi 7 for a two-story house?
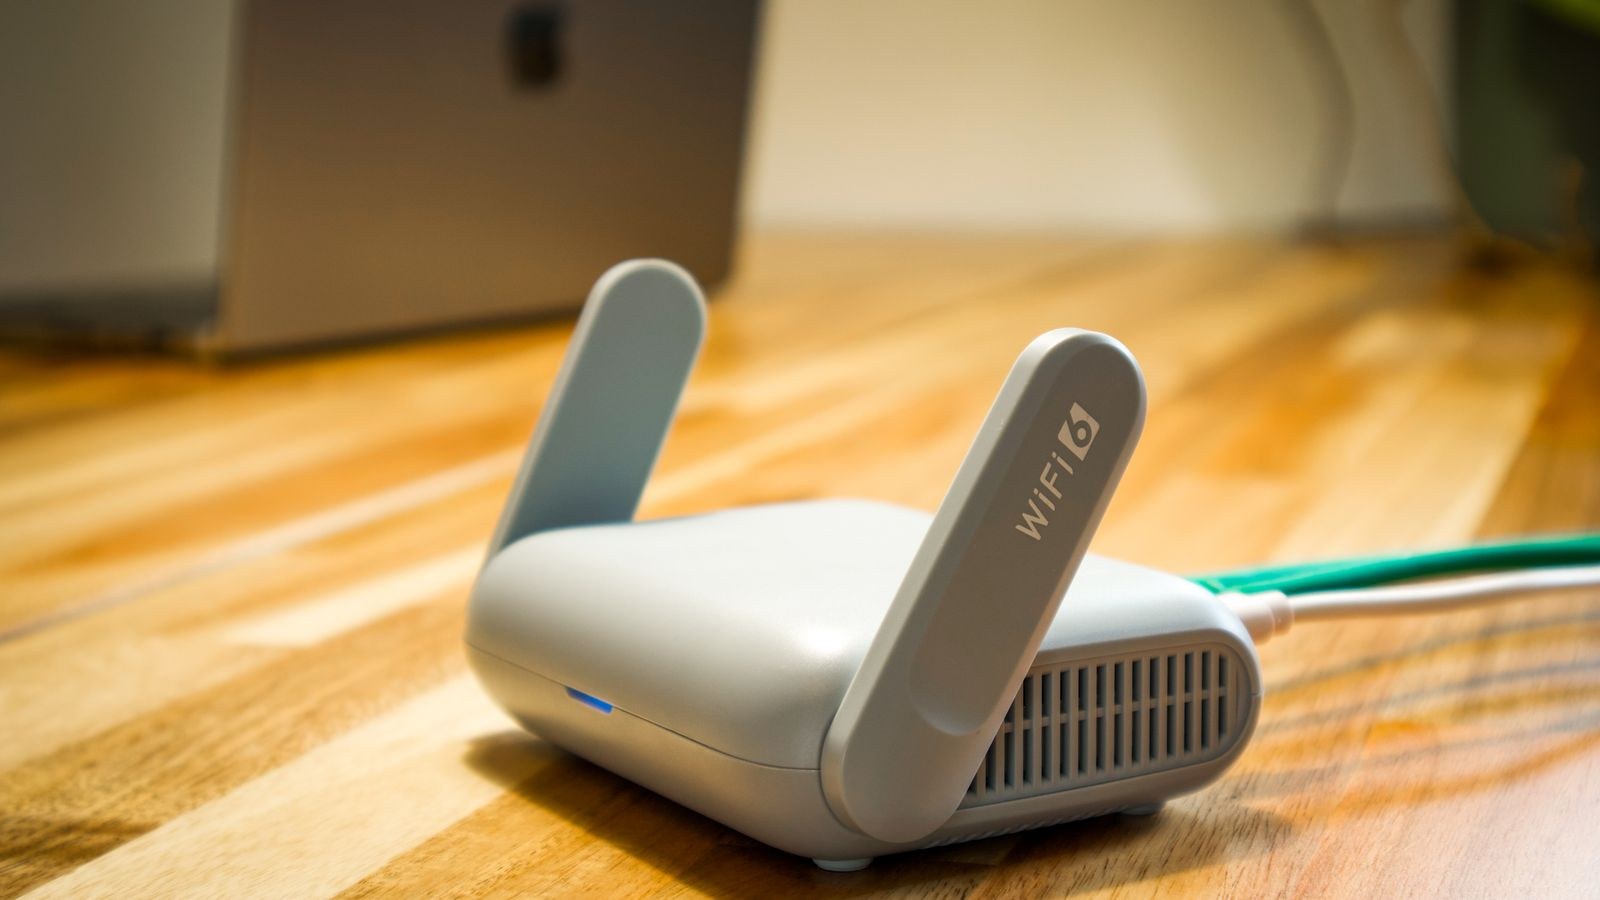
Newer standards help most with device density and efficiency rather than raw wall penetration. They are worth buying if you are replacing gear anyway, but a well-placed older tri-band system will beat a poorly placed new one every time.
How far apart should nodes be?
As a rule of thumb, place a node where it still receives roughly -60 dBm or better from its parent, which in a typical home means one floor and no more than two or three interior walls away. If the node reports a weak connection to the router, move it closer even if that feels like wasted coverage.
Final Thoughts
Covering a two-story home is mostly a geometry exercise. Get the main router off the floor and near the center, use the stairwell as the highway between levels, add one node per floor rather than one per complaint, and wire the backhaul if any path exists. Measure before and after each change so you are solving the actual weak link rather than the one you assume is weak. Do that, and a modest two-pack system will outperform an expensive three-pack scattered by guesswork, and your upstairs bedroom will stop being the room where video calls go to die in 2026.