Owen Bradley
 Running game audio and voice chat through the same channel works until it does not. Teammates shout over an explosion, you turn the whole mix down, and now you cannot hear footsteps either. Splitting game and chat audio solves that by sending each stream to its own independent channel, so you can drop voices without touching the game, or duck the game without losing a callout. It also unlocks clean recordings for streaming, where chat and game need to sit on separate tracks. This guide covers every practical route on a PC, from a headset with a built-in mixer to a free virtual audio device, plus how to route the result into Discord and streaming software.
What a Game Chat Audio Mix Actually Does
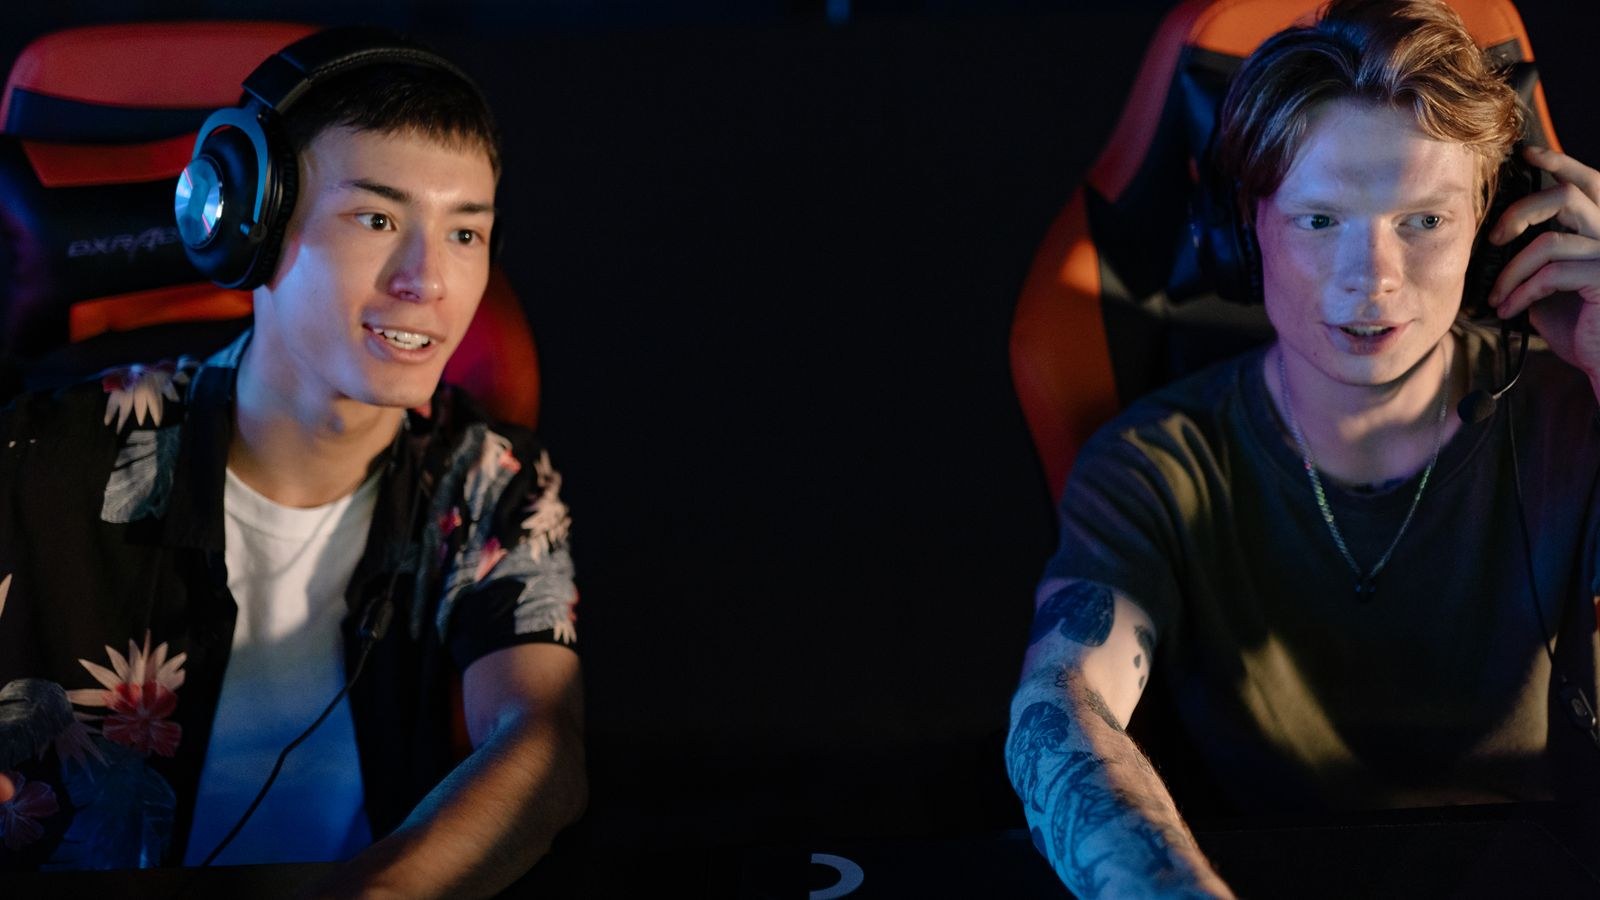
Windows treats every audio destination as a separate output device. A game chat audio mix takes advantage of that by giving your system two outputs instead of one, then merging them at the last possible moment. Your game is told to play into output A, your voice app plays into output B, and something downstream, either your headset’s own hardware or a virtual mixer, combines the two into what your ears hear while keeping their volumes independent.
That separation matters for two different audiences. Players want it so a single dial can quiet a noisy party without muting the match. Streamers and recorders want it because capture software can then record chat and game as distinct tracks, letting you mute a friend’s voice in the edit or comply with music rules without scrapping the whole clip. Both goals use the same underlying routing, so setting it up once serves you either way.
Prepare Before You Start
- Confirm whether your headset already includes a hardware chat mix dial or a companion app with dual outputs. If it does, the hardware route is far simpler.
- Have your headset’s official software installed and updated, since virtual device support is usually driver-dependent.
- Decide your goal: listening balance only, or separate recording tracks for streaming. The second requires a virtual audio device.
- Note that many games do not let you choose an output device. Those cases need Windows per-app volume routing, covered below.
- Close all audio applications before changing device settings, or they will hold onto the old output and confuse your testing.
Step-by-Step: Splitting Game and Chat Audio
- Check for a hardware chat mix first. Many USB and wireless gaming headsets expose two devices in Windows, often labeled “Game” and “Chat”, plus a physical wheel on the earcup or base station that balances them. If you see two output devices with your headset’s name, you already have everything you need and can skip straight to step 4.
- Install a virtual audio device if you have no hardware mixer. Free virtual cable software creates additional playback and recording devices that behave like real hardware. Install it, reboot, and confirm the new devices appear in your sound settings. This is the foundation of a software-based split.
- Set your default output correctly. Make your headset the default playback device so that anything you have not explicitly routed still reaches your ears. This prevents the common frustration of a browser or notification sound vanishing into a virtual device you are not monitoring.
- Point your voice app at the chat channel. In Discord or your team app, open voice settings and set the output device to the “Chat” device from your headset, or to the virtual cable if you are using software. Keep the input device on your actual microphone, since only playback is being redirected.
- Point the game at the game channel. Games that expose an audio device selector should be set to the “Game” output or left on the default headset device. Either way, the key is that the game and the voice app are not sharing one destination.
- Use Windows per-app routing for stubborn games. Open the sound settings volume mixer and locate the advanced app volume and device preferences page. Every running application appears with its own output dropdown, letting you assign a device even when the app itself offers no such option. Launch the game first so it shows up in the list.
- Monitor the virtual cable so you can hear chat. A virtual cable swallows audio unless something plays it back. In the cable’s control panel or in your recording device properties, enable listening and set the playback destination to your headset. Without this step, chat will record perfectly but you will hear nothing.
- Balance the two levels. With hardware, turn the chat mix wheel until voices sit just above the game. With software, use the individual app sliders in the volume mixer. Aim for voices being clearly intelligible during the loudest moments of gameplay rather than simply louder overall.
- Create separate tracks in your streaming software. In OBS or a similar tool, add one audio input capture source for the chat device and another for your game or desktop audio. Assign each to a different track in the advanced audio properties, then enable multi-track recording. Your edit now has independent stems.
- Test everything before it matters. Join a voice call, start a game, and record thirty seconds. Play the recording back and confirm both sources are present, at sensible levels, and on the tracks you expect. Fix problems now rather than discovering them halfway through a session.
Console and Cross-Platform Considerations
If you play on a console and chat on a PC or phone, the split happens physically rather than in software. A headset with a base station or an inline mixer accepts the console’s audio over USB or optical while pulling chat from a separate cable, then blends them in hardware. The advantage is that no drivers are involved and nothing breaks after an update. The disadvantage is that you cannot easily record the two streams separately without additional capture hardware.
A hybrid approach works well for people who split their time. Keep a hardware chat mix headset for console sessions and use its Windows dual-device support when you sit at the PC. You end up with one set of habits and one balance dial instead of maintaining two different routing setups that behave differently under pressure.
Picking Hardware That Makes This Easy
The single biggest shortcut is buying a headset that ships with a proper chat mix built in, because it removes virtual cables from the equation entirely. Our comparison of the best computer gaming headsets is a good starting point for models with dual-device support, while the best USB headsets roundup covers sets whose own audio interface handles the routing without touching the motherboard.
If separate recording tracks are the real goal, look at gear chosen with capture in mind. The best headsets for streaming list favors clear microphones and reliable multi-device behavior under OBS. Competitive players who care more about positional accuracy than recording flexibility should compare the best headsets for esports, and anyone who wants to keep the desk free of cables can review the best wireless headsets, most of which pair a base station with hardware mixing already included.
Troubleshooting a Broken Mix
If chat disappears completely, the usual cause is a virtual cable with no monitoring enabled. Revisit the listen setting and confirm the playback destination is your headset, not the cable itself, which creates a silent loop. If you hear an echo of your own voice, monitoring is enabled in two places at once; disable it in either the app or the device properties, never both.
Crackling or a robotic edge after routing usually means a sample rate mismatch. Set the virtual device and your headset to the same rate, commonly 48kHz, in their advanced properties. If a game refuses to appear in the per-app routing list, it may be running in a way that hides it, so try launching it in windowed mode once to register it, or set the routing while it is running rather than before.
Common Mistakes to Avoid
- Routing the microphone instead of the output. Only playback needs redirecting. Changing your input device breaks chat for everyone else and looks like a mixing failure.
- Setting the virtual cable as the system default. Do that and every notification, video, and browser tab disappears into silence.
- Stacking multiple virtual devices. Two cables chained together add latency and make troubleshooting nearly impossible. One is enough.
- Forgetting the setup after a driver update. Headset software updates frequently reset device assignments. Re-check your routing after any major update.
- Balancing by ear in a quiet menu. Set your levels during actual gameplay, when the game is at its loudest, or chat will vanish the moment things get busy.
Frequently Asked Questions
Do I need a special headset to split game and chat audio?
No, but it helps enormously. A headset with dual Windows devices and a hardware mix wheel does the job with no software. Without one, a free virtual audio cable plus per-app routing achieves the same listening result, with a little more setup.
Does splitting audio add latency?
Hardware mixing adds none you can perceive. Software routing through a virtual cable adds a small delay, typically low enough to go unnoticed in conversation, though stacking several virtual devices will eventually become audible.
Can I do this with Bluetooth headphones?
Poorly. Bluetooth handles a single audio profile at a time and switching into headset mode for chat degrades music quality dramatically. For a proper split, use a wired or dongle-based connection.
Why does my chat sound quieter after routing it?
Each stage in the chain has its own volume, so the app slider, the virtual device level, and the monitoring level all multiply together. Raise the intermediate stages toward full and use one control as your working dial.
Will this work for recording separate tracks in OBS?
Yes, and it is the main reason to bother. Once chat lives on its own device, OBS can capture it as an independent source and write it to a separate track for editing later.
Final Thoughts
Splitting game and chat audio takes maybe fifteen minutes to set up and pays you back every session afterward. If your headset already offers a chat mix, use it and skip the software entirely. If not, one virtual cable and a few per-app routing assignments deliver the same independent control. Test the result with a short recording before you rely on it, keep your levels balanced against the loudest part of gameplay rather than the menu screen, and revisit the settings after driver updates. The reward is simple: you never again have to choose between hearing your teammates and hearing the game.