Owen Bradley
 Three screens change how you work. Instead of constantly alt-tabbing between a document, a reference window, and a chat client, everything stays visible at once. But a triple monitor setup is more demanding than simply buying a third panel: you need enough video outputs, a desk deep and wide enough to view all three comfortably, mounting hardware that gets the stands out of the way, and a cable route that does not turn into a nest behind the desk. This walkthrough covers the whole build in order, from checking your graphics card ports through mounting, alignment, and configuring Windows so the screens behave as one continuous workspace.

Plan Before You Buy Anything
The most common triple-screen mistake is buying the monitors first and discovering afterwards that the desk is too shallow or the graphics card only has two usable outputs. Answer four questions first.
- How many video outputs does your GPU have, and of what type? Most modern discrete cards drive three or four displays, but the mix of DisplayPort and HDMI ports matters. Laptops and small form factor machines are often more limited.
- How deep is your desk? Three screens sitting side by side need viewing distance. Aim for at least 27 to 30 inches of depth so the outer panels are not uncomfortably close, and more if you are using 27-inch screens or larger.
- How wide is your desk? Three 24-inch panels need roughly 63 inches of usable width; three 27-inch panels need closer to 72 inches. Measure before ordering.
- Will you use stands or arms? Factory stands consume enormous desk depth and make alignment awkward. A triple monitor arm or two independent arms plus a centre mount is almost always the better answer.
If your desk is the limiting factor, our roundup of the best desks for a triple monitor gaming setup covers surfaces with the depth and load rating this layout needs. On the graphics side, our list of the best graphics cards for 3 monitors highlights cards with the right port mix and enough output bandwidth to drive all three at full refresh rate.
Step 1: Match Monitors and Check the Bandwidth Budget
Three identical monitors give the cleanest result because bezel widths, panel heights, brightness, and colour all match. Mixing models is workable but expect visible differences in colour temperature and a misaligned bottom edge unless you use height-adjustable arms.
- Count your outputs. List every port on the graphics card and every input on each monitor, then plan which cable goes where before buying anything.
- Check total bandwidth. Driving three 1440p panels at 144Hz demands far more from the card than three 1080p screens at 60Hz. If bandwidth is tight, prioritise the centre screen for high refresh rate and run the flanking screens at a lower rate.
- Prefer DisplayPort. It carries the highest bandwidth and supports daisy-chaining on monitors with DisplayPort output, which reduces the number of cables running back to the tower.
- Avoid cheap adapters. Passive HDMI-to-DisplayPort adapters often fail entirely. If you must adapt, use an active adapter and expect to lose some refresh rate headroom.
Step 2: Choose Clamp or Grommet Mounting
Before assembling anything, decide how the arm attaches to the desk.
- C-clamp grips the rear edge of the desk. It requires 1 to 3 inches of clear overhang behind the desktop and no obstructing crossbar or cable tray.
- Grommet mount passes a bolt through an existing hole or one you drill. It is more stable for heavy triple loads and leaves the rear edge clear, but it is permanent.
Check the desk’s stated weight capacity, especially on thin laminate or hollow-core tops. A triple arm plus three panels can exceed 40 pounds concentrated at a single point, and thin surfaces will bow. Add a steel reinforcement plate under a clamp if the top is under 0.75 inches thick.
Step 3: Assemble and Mount the Arms
- Clear the desk completely and lay a towel or blanket down so you can rest panels face-down without scratching them.
- Assemble the base and post per the instructions, but do not fully tighten the clamp yet.
- Position the post centrally behind where the middle monitor will sit, then tighten the clamp firmly by hand. Do not over-torque, since crushing a laminate top is easy.
- Verify the VESA pattern on the back of each monitor. Most are 100x100mm; some smaller panels use 75x75mm. If your monitor has no VESA holes, you will need a VESA adapter bracket.
- Attach the VESA plates to each monitor using the supplied screws and any spacers included. Do not force longer screws into the panel housing, which can damage internal components.
- Mount the centre screen first so the post is loaded evenly, then hang the left and right panels.
- Set the gas spring tension. With the monitor attached, adjust the tension screw until the arm holds position at any height without drifting up or down. This step is skipped constantly and is the main reason screens sag over time.
Step 4: Angle and Align the Screens
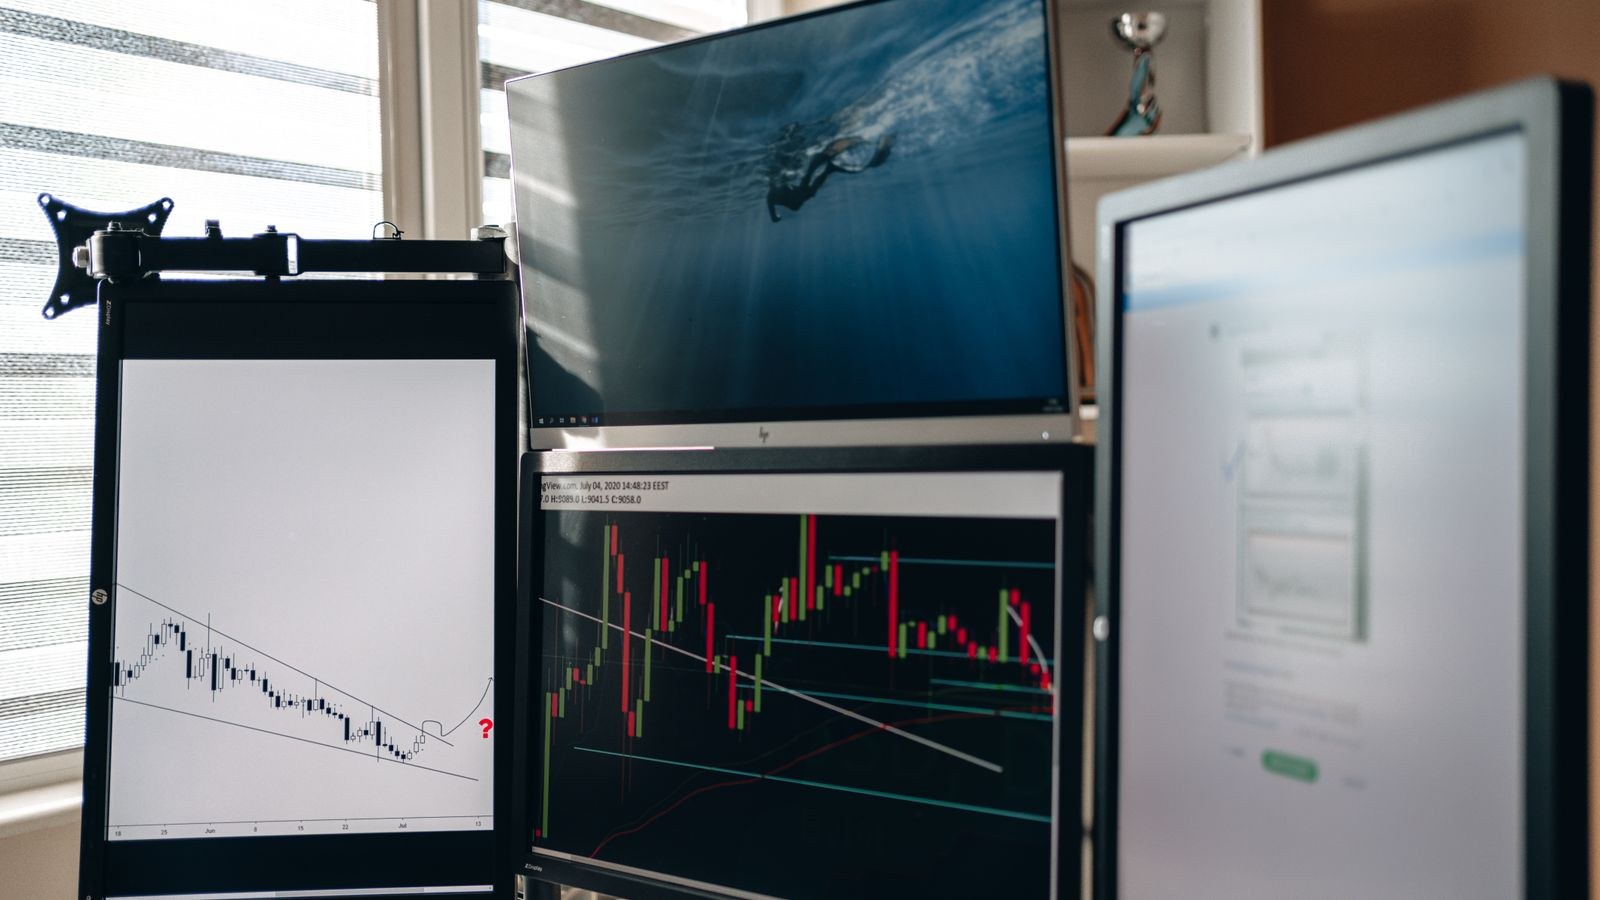
A flat row of three screens forces you to turn your head sharply and view the outer panels at a bad angle, which washes out colour on most panels. Angle them instead.
- Set the centre monitor square to your seated position, with the top edge roughly at or slightly below eye level and the screen about an arm’s length away.
- Toe in the side monitors by roughly 30 degrees each so they curve gently toward you. From above the layout should look like a shallow arc, not a straight line.
- Match the heights. Align the top bezels of all three panels rather than the bottoms, since your eyes track the top edge. Use a straight edge or a level laid across the tops.
- Close the gaps. Push the panels as close together as the bezels allow so the cursor crosses between screens without a large visual jump.
- Check for glare from windows and overhead lights on the angled outer screens, which catch reflections the centre screen does not.
Step 5: Route the Cables
Nine or more cables now run from the desk to the tower. Handle them deliberately.
- Connect everything with the arms at full height so cables are at maximum stretch. If they reach there, they will reach at every other position.
- Use the arm channels. Most triple arms include internal routing clips down the post; run video and power together through them.
- Leave a service loop. Keep a few inches of slack at each monitor so tilting or raising a screen does not tug the connector.
- Bundle under the desk with a cable tray or adhesive raceway, and use a power strip mounted to the desk underside so only one lead reaches the wall.
- Label both ends of each video cable. When one screen goes dark later, you will be very glad you did.
Step 6: Configure Windows
- Open Display settings by right-clicking the desktop, then click Identify to see which numbered box maps to which physical screen.
- Drag the boxes so their arrangement matches the real world, including relative height. Getting this wrong is why the mouse seems to vanish at a screen edge.
- Set the main display. Select your centre monitor and tick Make this my main display so the taskbar, notifications, and new windows open where you expect.
- Set resolution and refresh rate individually for each screen under Advanced display.
- Match scaling. If all three are the same size and resolution, use the same scaling percentage. Mixing scaling values causes windows to resize awkwardly when dragged between screens.
- Enable spanning or bezel correction in the GPU control panel only if you want games to stretch across all three; for productivity, leave the screens independent.
- Configure your wallpaper as a span or set per-monitor images, then test dragging windows across every boundary.
Common Mistakes and Troubleshooting
- One screen shows no signal. Swap the cable with a known-good one first, then try a different port on the graphics card. Confirm you are not plugged into the motherboard’s output.
- Screens are too close. On a shallow desk the outer panels sit inside comfortable viewing distance. Push the arms back and angle them more aggressively, or step down a size.
- Desk bows under the clamp. Add a backing plate or move to a grommet mount.
- Mismatched colour. Calibrate all three to the same white point and brightness target rather than adjusting by eye.
- Reduced refresh rate on all screens. Your card is out of bandwidth. Drop the outer panels to a lower rate or resolution.
Frequently Asked Questions
Is three screens better than one ultrawide?
Three screens give more total area and hard window boundaries, which suits people running many separate applications. An ultrawide gives an unbroken image with no bezels, which suits timelines and immersive gaming.
Should I start with two screens?
It is a sensible test. Many people find two covers their needs, and the same arms and cable habits carry over. Our guides to the best dual monitor setups and how to set up dual monitors for gaming or work cover that stage in detail.
Can a laptop drive three external screens?
Sometimes, with Thunderbolt or a DisplayLink dock, but expect limits on refresh rate and resolution. A desktop graphics card is far less restrictive.
What orientation works best?
A very common layout is two landscape screens with one portrait on the side for code, documents, or chat. Portrait mode needs an arm that rotates, so check for that feature before buying.
Do all three monitors need to be identical?
No, but matching size and resolution makes alignment, scaling, and colour consistency far easier. If you are optimising for many open windows, our list of the best monitors for multitasking is a good starting point.
Final Thoughts
A triple monitor setup rewards planning far more than spending. Confirm your outputs and desk dimensions before you order, mount on arms rather than stands to reclaim depth, angle the outer screens toward you instead of leaving them flat, and route cables once, properly, with the arms at full extension. Finish by arranging the displays in Windows to match reality and setting the centre screen as primary. Do that and three screens stop feeling like three computers and start feeling like one very large, very fast workspace.