
 Owen Bradley
 A webcam that sits crooked on a thin bezel, tips forward every time you nudge the desk, or points up your nose from a laptop lid quietly undermines every call you take. Mounting it properly pays back immediately: your eyes land near the lens, the framing stops drifting, and the cable stops dangling across the screen. This guide covers how to mount a webcam above a monitor, behind it on an arm, or on a tripod, plus cable routing, height, and the checks that confirm you got it right.
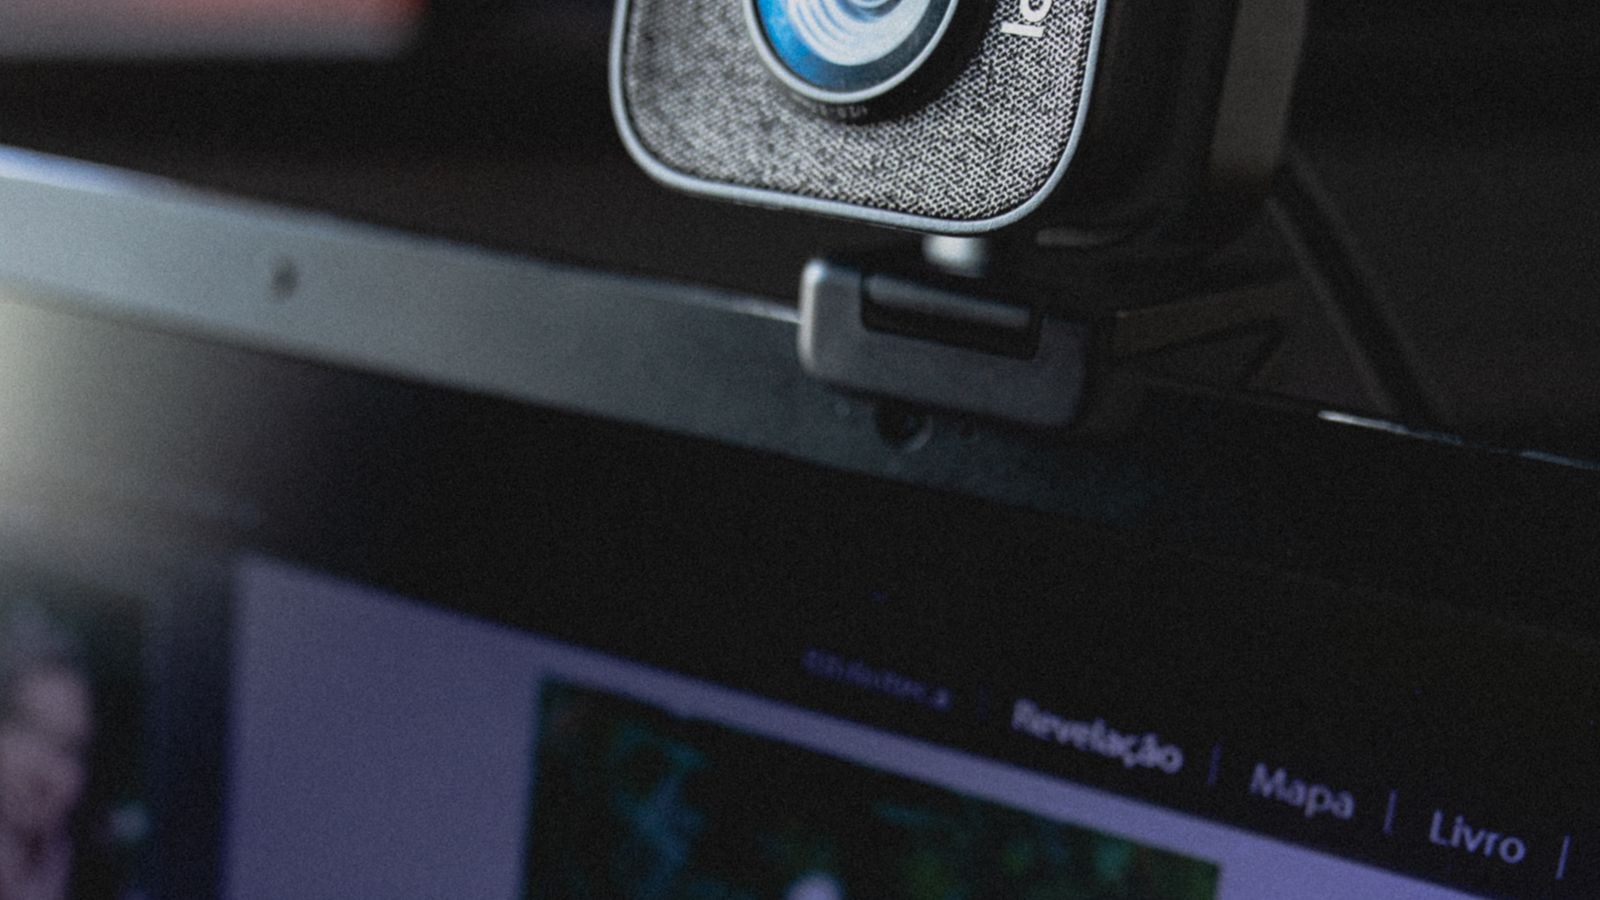
Decide Where the Camera Should Live First
Before you touch a clamp, decide which of three positions suits your desk. Each has a clear trade-off, and picking the wrong one is the reason most people end up remounting a week later.
- On top of the monitor. The default. Fast, cable-friendly, and puts the lens close to where your eyes already look. Works badly on very thin or heavily curved bezels and on monitors that already carry a light bar.
- Behind the monitor on an arm or gooseneck. The lens hovers just above or beside the panel, independent of the display. Best for multi-monitor desks, ultrawides, and anyone who tilts their screen often.
- On a tripod or desk stand beside the monitor. Total freedom of angle and distance, ideal for showing a desk surface, a keyboard, or a product. Costs desk space and needs a longer cable run.
If you have not bought hardware yet, browse the best webcam mounts to compare clamp arms, gooseneck stands, and low-profile monitor brackets before committing to a layout.
Tools and Parts to Gather
- The webcam and its original clip or its 1/4-inch tripod thread adapter
- A mount: monitor clamp, desk clamp arm, gooseneck, or mini tripod
- A USB cable long enough to reach with slack, plus a powered hub if the run exceeds about 3 metres
- Reusable cable clips or hook-and-loop straps, and a microfibre cloth
- A small hex key or screwdriver if your arm ships with one
Get the Height and Angle Right Before You Tighten Anything
Camera height decides how you look far more than resolution does. The target is simple: the lens should sit at or very slightly above your seated eye level, roughly at eyebrow height, and stay level rather than angled sharply down. That geometry keeps your eyeline close to the lens so viewers read it as eye contact, and it avoids the unflattering upward shot a laptop lid produces.
Distance matters too. Aim for around 50 to 80 cm between your face and the lens. Closer exaggerates features on wide-angle sensors, further back shrinks you into the room. Frame so your head sits in the upper third with a small gap above your hair.
How to Mount a Webcam on Top of a Monitor
- Clean the bezel. Wipe the top edge and the rear panel with a dry microfibre cloth so the rubber foot of the clip grips rather than slides.
- Open the clip fully. Most webcam clips hinge into an upside-down L or U shape. Extend the rear leg until it is longer than your monitor is thick.
- Seat the front lip on the bezel. Rest the front pad on the top edge of the screen, keeping it clear of any built-in light sensor or ambient light strip.
- Fold the rear leg down against the back. Let it swing until it presses flat on the rear housing. On a thin panel, that leg is what stops the camera nodding forward, so make sure it makes real contact and is not floating.
- Centre it. Slide the whole assembly left or right until the lens is centred on your primary screen, not the physical middle of a two-monitor pair.
- Set tilt last. Turn on the camera preview and rotate the hinge until the horizon is level and your head sits in the upper third. Tighten any thumbscrew only once the framing looks correct.
- Nudge test. Tap the monitor gently. If the camera shifts, the rear leg is not seated or the bezel is too shallow, and you should move to an arm instead.
Choosing a camera to sit up there matters as much as the bracket. Compact bodies balance far better on slim bezels, so it is worth comparing the best compact webcams if your current unit is top-heavy, and the best webcams for video calls if meeting clarity is your main goal.
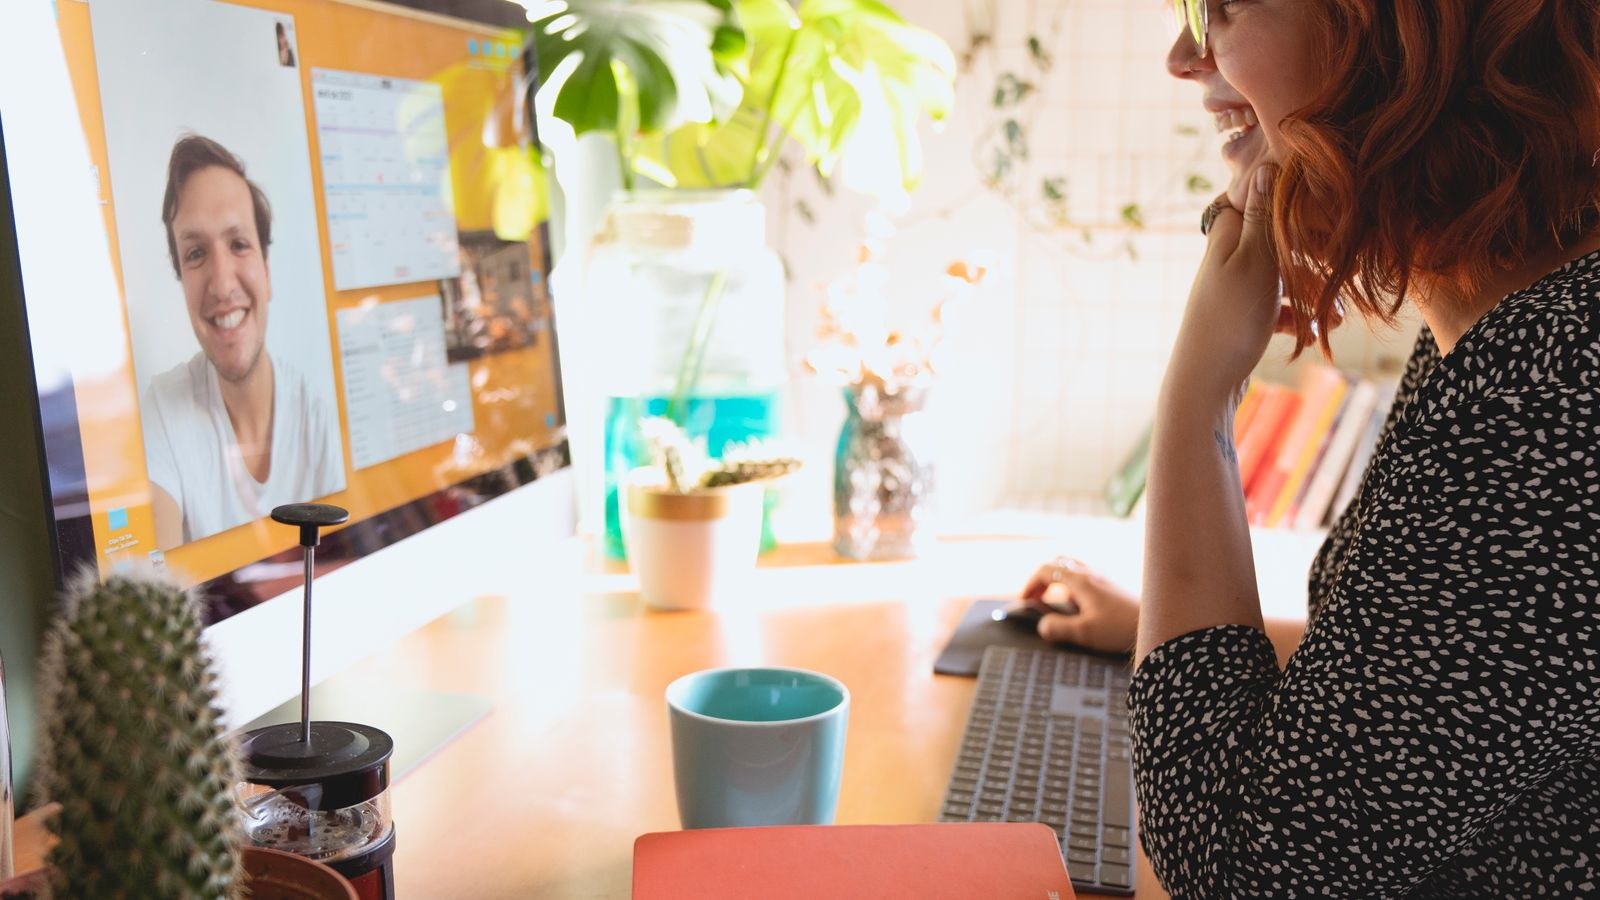
How to Mount a Webcam Behind the Monitor on an Arm
An arm or gooseneck clamps to the desk edge and reaches over or around the display, so the camera stops depending on the monitor at all. This is the cleanest answer for curved panels, ultrawides, and anyone who adjusts screen tilt through the day.
- Pick a clamp point. Choose a solid section of desk edge, ideally behind or just beside the monitor stand, and check the underside is flat with no drawer rail in the way. Most clamps handle desk tops up to about 60 mm thick.
- Protect the surface. Fit the supplied rubber pads or slip a folded cloth between the jaws and the desk before tightening. Snug it firmly by hand rather than cranking it.
- Attach the camera. Screw the webcam onto the 1/4-inch thread, or clip it into the supplied cradle. Do not overtighten a plastic thread insert.
- Route the arm. Bring the arm up behind the display and over the top edge, or around the side if you shoot from a slight angle. Keep the shaft out of your line of sight to the screen.
- Set the reach. Position the lens roughly level with the top of your screen and a little forward of the panel so the bezel never clips the frame.
- Balance the load. Extend the arm no further than necessary. A long unsupported reach will sag under a heavy camera and slowly droop out of frame during a call.
- Dress the cable. Run the USB lead down the arm with straps every 15 to 20 cm, leaving a small loop at the camera end so head movement never tugs the connector.
If your whole workstation is being rebuilt around a taller camera position, the roundup of the best monitor stands and desks for gaming is a useful reference for desks with enough rear clearance and clamp-friendly edges.
Mounting on a Tripod or Desk Stand
A mini tripod or weighted desk stand puts the camera wherever you want, including off to one side for a three-quarter angle. Screw the webcam onto the 1/4-inch head, spread the legs wide, and raise the column until the lens matches eye level. Place it on a solid part of the desk rather than a riser that flexes, and keep it clear of your keyboard tray.
Cable Routing and Power
A tidy cable run is not just cosmetic. Tension on a USB connector is a common cause of cameras dropping mid-call, and a lead swinging in front of the screen is a permanent distraction.
- Measure with slack. Route the cable along the intended path first and add roughly 20 cm of spare before cutting any ties.
- Go down the back. Take the lead down the rear of the monitor stand or along the arm, never across the front of the panel.
- Clip every 15 to 20 cm. Adhesive clips on the stand column or reusable straps on an arm stop the cable sagging into the shot.
- Leave a service loop. A small loop near the camera lets you tilt and pan without pulling the plug.
- Watch the length. Passive USB runs beyond about 3 metres often cause dropouts on high-bitrate cameras. Use a powered hub or an active extension instead of chaining cheap extenders.
- Prefer a rear port. Plugging into the computer directly, rather than through an unpowered monitor hub, avoids bandwidth contention with other peripherals.
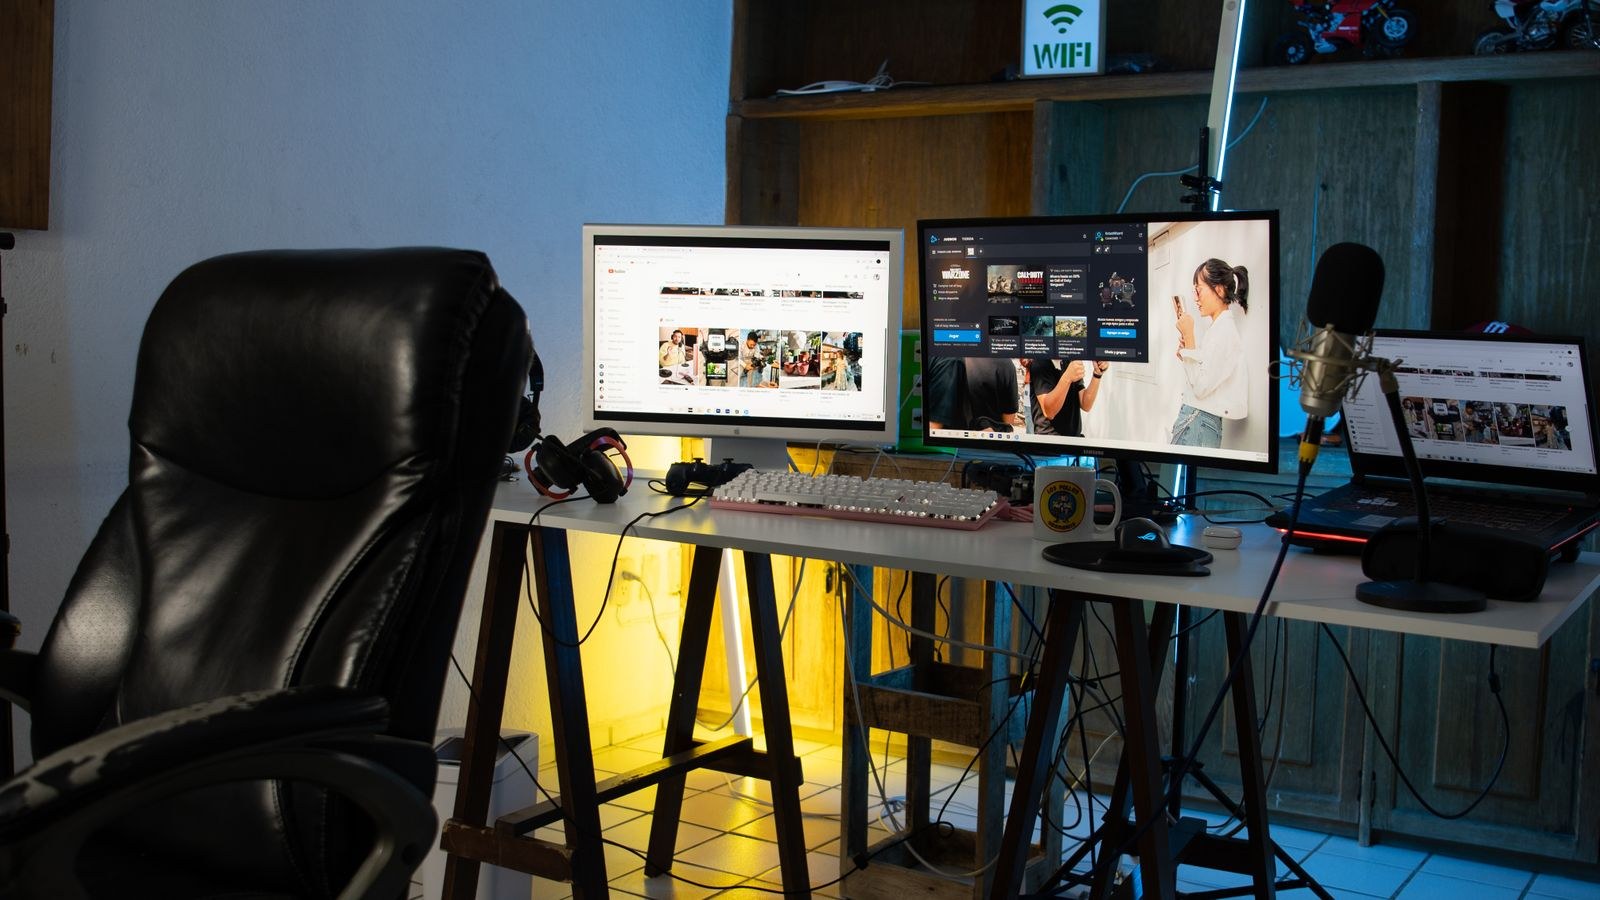
Check Your Framing and Lighting
Open the camera preview and sit exactly as you normally would. Confirm the horizon is level and your head occupies the upper third. An arm-mounted camera often reveals more of the room behind you than a bezel clip did, so tidy or reposition as needed. Then check the light: your main source should come from in front, roughly where the camera is, not from a window behind you.
Streamers have a stricter brief, since a mount has to survive hours of movement and keep an exact frame across sessions. If that is your use case, the best webcams for streaming covers bodies designed for long sessions on arms and rigs.
Common Mistakes to Avoid
- Mounting too high and tilting down. A steep downward angle flattens your face and shows the top of your head. Lower the mount instead of adding tilt.
- Clamping over a sensor. Blocking an ambient light sensor on the bezel can make the display brightness misbehave.
- Overtightening a desk clamp. Enough force to mark a veneer top is far more than the arm needs.
- Ignoring cable strain. A taut lead slowly rotates the camera off-centre and can trigger disconnects.
- Centring on the wrong screen. On a dual setup, centre the lens on the display you actually look at during calls.
- Setting tilt before tightening. Always confirm framing in a live preview, then lock the hinge.
Troubleshooting a Wobbly or Drifting Mount
If the camera nods forward within minutes, the bezel is too thin for the clip, so switch to an arm or a desk stand. If it rotates sideways over a day, look for cable tension pulling on one side. If an arm sags, shorten the reach. And if the picture shakes whenever you type, clamp to the desk frame rather than a thin overhang or a riser shelf.
Frequently Asked Questions
Should the webcam be above or beside the monitor?
Above is better for meetings, because it keeps your eyeline close to the lens. Beside works well for streaming or tutorials where you want a three-quarter angle or need to show your desk surface.
Can I mount a webcam on a curved or ultrawide monitor?
A standard clip often will not sit flat on a curved bezel. A clamp arm or gooseneck reaching over from behind is more reliable on those panels.
Do I need a special mount for a heavy webcam?
Anything noticeably heavier than a compact camera should go on a mount with a 1/4-inch thread and a stiff arm rather than a plastic bezel clip, which will gradually tilt forward under the weight.
How high should the camera be exactly?
Aim for the lens at your seated eyebrow level, kept level rather than angled down, about 50 to 80 cm away.
Will a longer USB cable hurt video quality?
Not the image itself, but a long passive run can cause dropouts. Beyond roughly 3 metres, use a powered hub or an active extension cable.
Final Thoughts
Mounting a webcam well comes down to three decisions made in the right order: choose the position that matches your monitor and workflow, set height and framing in a live preview before you tighten anything, then route the cable so nothing pulls on the connector. A bezel clip is fine on a solid, thick-bordered display, an arm is the safer answer for curved, ultrawide, or multi-screen desks, and a tripod wins whenever you need an unusual angle. Spend ten minutes doing it properly and the payoff lasts for every call you take from that desk.









