
 Owen Bradley
 Motion sensor outdoor lighting is the rare home upgrade that improves security, safety and convenience at once, for very little money. A light that snaps on when someone approaches the side gate does more practical deterrence than most cameras, keeps you from missing the bottom step with an armful of groceries, and costs almost nothing to run because it is dark most of the time. The catch is that badly specified motion lighting is genuinely annoying: it triggers on cats, floods a bedroom window with glare, or fails to notice a person walking straight toward the door. This guide covers how the sensors work, how to specify brightness and beam, and how to place fixtures so they do their job without irritating everyone in the house.
How Motion Detection Actually Works
Nearly all residential motion lighting uses passive infrared, abbreviated PIR. The sensor watches for changes in infrared radiation across a segmented field of view. A warm body crossing between segments produces a detectable change and triggers the light. It is passive because it emits nothing and simply observes.
Two consequences follow from that mechanism and explain most complaints. First, PIR is far more sensitive to movement across its field of view than movement directly toward it. Someone walking straight at the sensor may cross very few segments and trigger it late or not at all, which is why aiming the sensor across an approach path rather than down it makes a dramatic difference. Second, PIR responds to temperature differentials, so detection range shrinks on hot days when a human body contrasts less with the background, and it can be falsely triggered by heat sources such as vents, exhausts and sun-warmed metal.
Some fixtures add microwave or dual-technology sensing. Microwave detects motion through minor obstructions and covers a larger area but false-triggers on wind-blown vegetation and passing traffic. Dual-technology units require both sensors to agree before triggering, which cuts false alarms substantially and is worth the premium in a windy or busy location.
Brightness: Lumens, Not Watts
Watts describe consumption; lumens describe light output. With LED fixtures the relationship between the two varies enormously, so specify by lumens.
- Doorway or porch: 700 to 1,300 lumens is ample for recognizing a face and finding a keyhole.
- Pathway or side access: 300 to 700 lumens, enough for safe footing without glare.
- Driveway or garage apron: 1,500 to 2,500 lumens to cover a broad area.
- Large yard or workshop area: 2,500 to 5,000 lumens, usually from a twin-head floodlight.
Resist the urge to over-specify. Excessive brightness creates deep shadows beside the lit area and destroys your night vision, which paradoxically makes it easier for someone to remain unseen. It also generates complaints from neighbors and light trespass into bedrooms. Two moderate fixtures covering complementary angles beat one blinding floodlight almost every time.
Color temperature shapes the result as much as output. Around 3000K produces a warm white that flatters a home’s facade and suits porches and patios. Around 4000K is neutral and a good general compromise. At 5000K and above the light is stark and bluish, which maximizes contrast for cameras and security but looks institutional. If a camera watches the same area, match the light to what the camera needs; if the fixture is decorative, stay warmer.
Coverage, Range and Beam Angle
Two numbers define what a sensor sees. Detection range, typically 30 to 70 feet for residential PIR, is how far away it can register movement. Detection angle, commonly between 120 and 270 degrees, is how wide a fan it watches.
Wider is not automatically better. A 270 degree sensor mounted at a corner covers two walls elegantly, but the same sensor over a front door will also watch the street and trigger every time a car passes. Match the angle to the geometry you want covered and use the fixture’s adjustable shields or masking tape over part of the lens to trim unwanted zones.
Mounting height changes everything. Between 6 and 10 feet is the sweet spot for most residential fixtures. Too low and the sensor is triggered by animals and misses anyone beyond a short distance; too high and the detection pattern spreads so wide that sensitivity at the edges collapses. Manufacturers specify an optimum height, and it is worth following rather than mounting wherever a bracket already exists.
Fixture Types
Floodlights
Twin or triple adjustable heads on a single sensor base, usually mounted high on a wall or under an eave. The most light for the money and the standard choice for driveways, garages and back yards. Aim the heads independently so one covers the approach and one covers the working area.
Wall Lanterns and Coach Lights
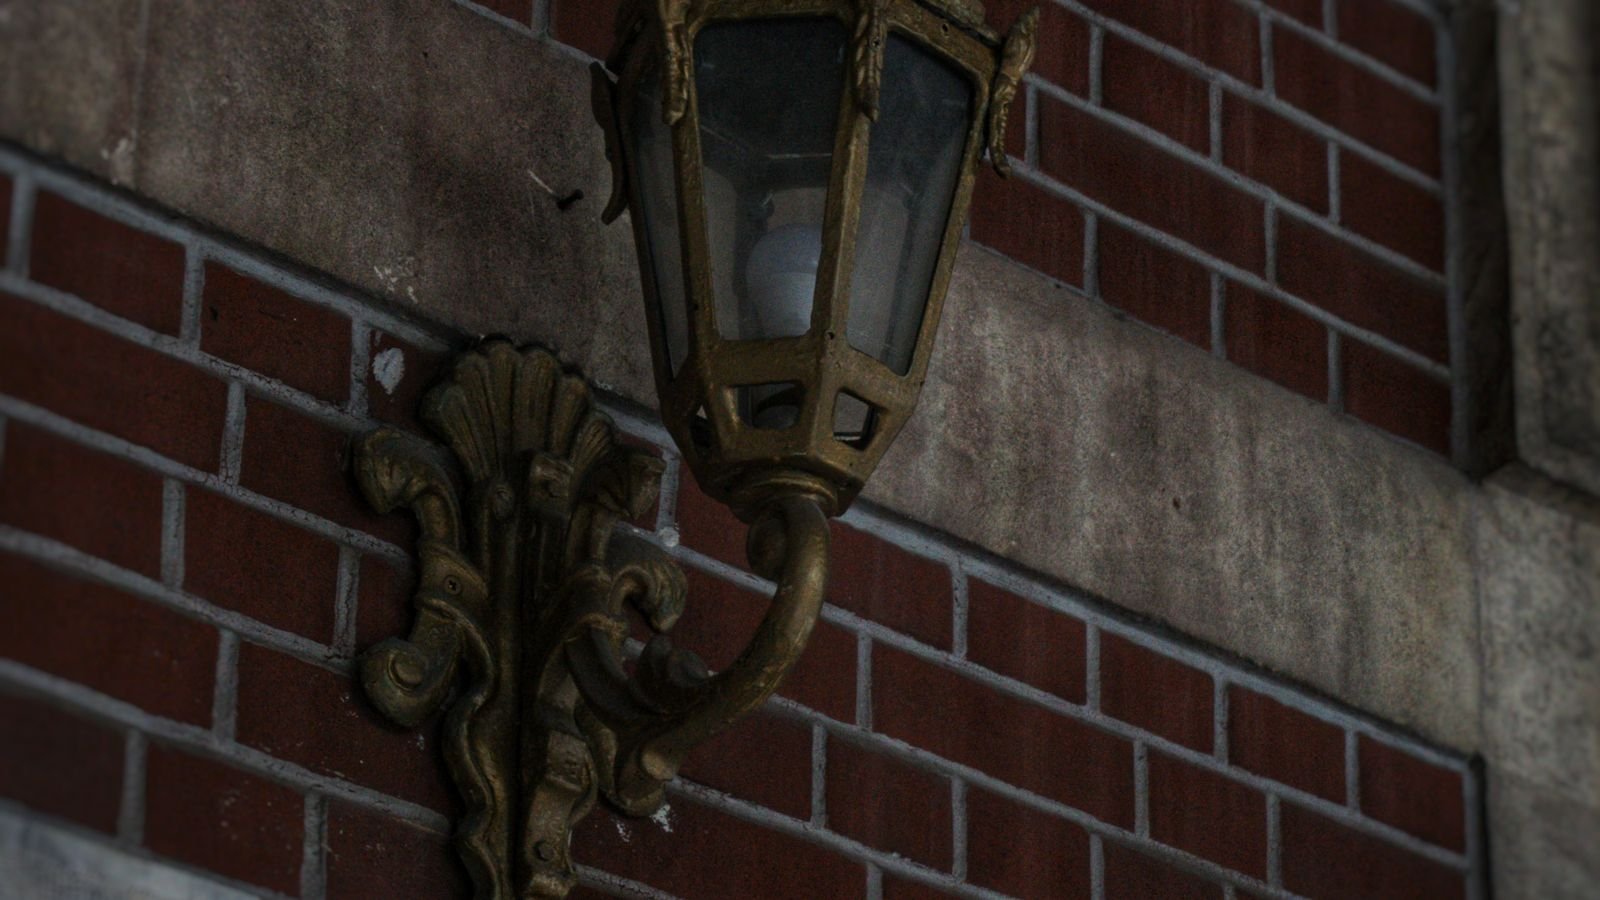
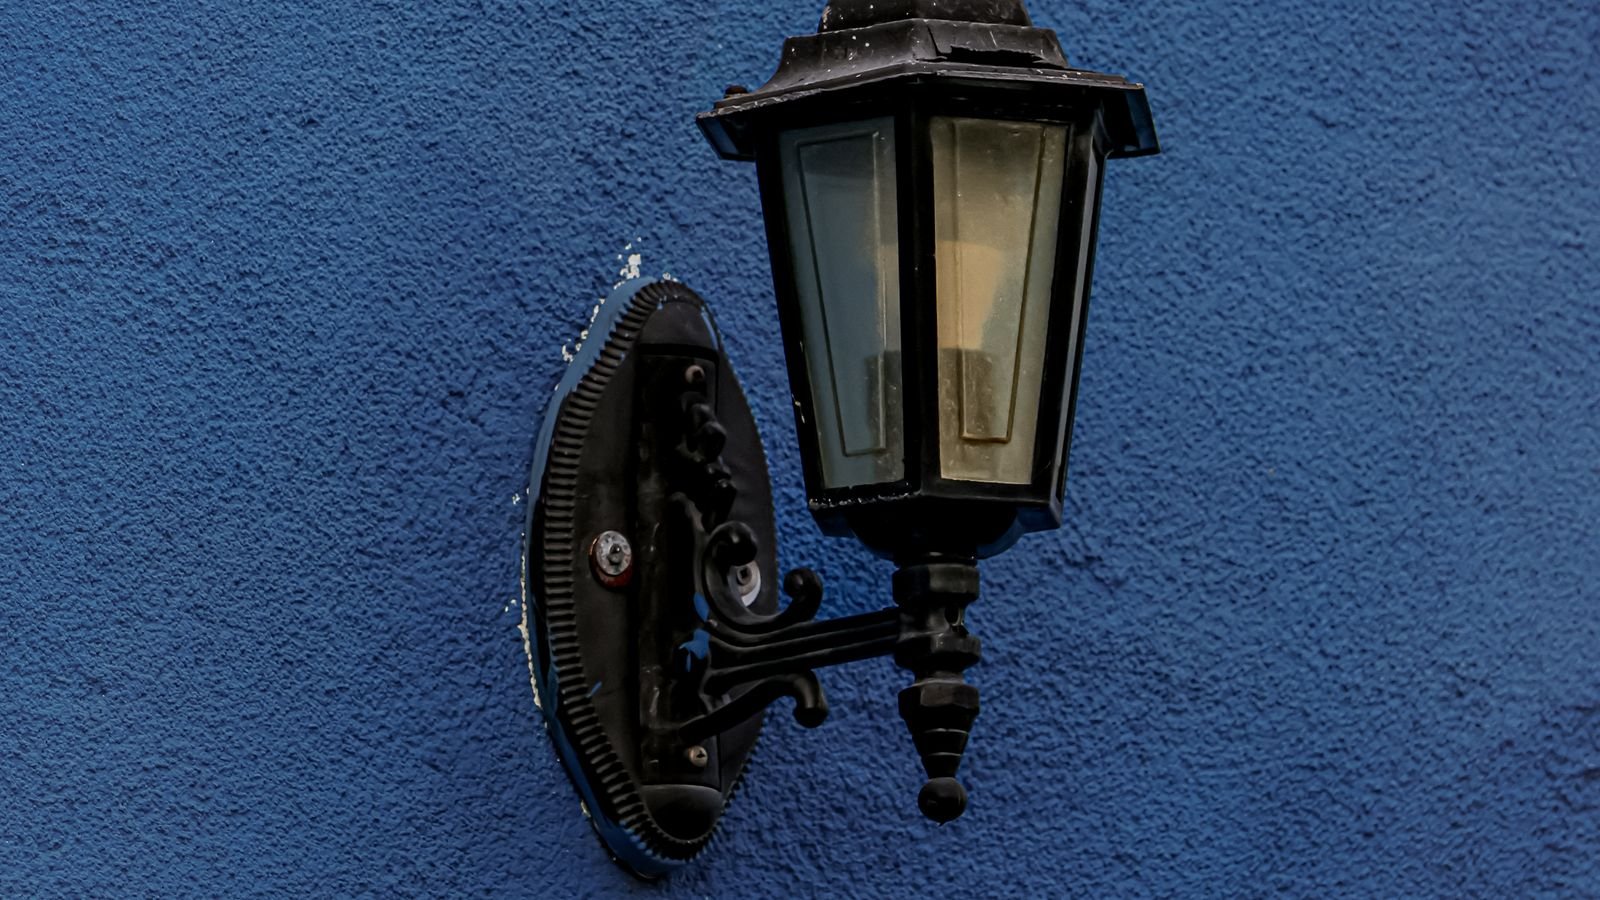
Decorative fixtures with the sensor built into the housing or fitted as a separate module. They suit front elevations where a bare floodlight would look wrong. Output is lower and the sensor field is typically narrower, so treat them as porch lighting with motion convenience rather than as security lighting.
Path and Step Lights
Low-output fixtures at ground level defining walkways and stair edges. Motion activation here is about safety rather than deterrence. Because they sit low, they see animals constantly, so choose models with adjustable sensitivity.
Security Floodlight Cameras
A floodlight with an integrated camera and, usually, a two-way speaker. These combine deterrence with evidence and are increasingly the default at a rear entrance. They require power and a solid network connection, and they carry app and often subscription considerations that a plain light does not.
Power Options: Wired, Battery and Solar
Hardwired fixtures give unlimited runtime, the brightest output and no maintenance beyond the occasional lens clean. They require a supply at the mounting point, which for a new location means either an electrician or conduit work.
Battery fixtures mount anywhere in minutes, which makes them ideal for sheds, gates and rented properties. The tradeoff is recharging, typically every few months, and lower sustained output since the fixture must ration energy.
Solar fixtures combine a panel, a battery and an LED. Modern units with separate panels on a lead are far more effective than all-in-one designs, because you can put the panel in full sun and the light where you need it. Solar performance depends entirely on panel placement and season: a panel receiving 6 hours of direct sun performs completely differently from one in dappled shade, and winter output drops sharply. For yard perimeters and paths where wiring is impractical, solar is excellent; for a primary security light you want to rely on nightly, wired is the safer choice.
Settings Worth Adjusting
- Sensitivity. Turn it down until pets and passing traffic stop triggering the light, then verify a person still triggers it reliably at the range you care about.
- Duration or hold time. How long the light stays on after the last detected movement, adjustable from around 30 seconds to 15 minutes. One to three minutes suits most doorways.
- Lux or dusk threshold. Sets how dark it must be before the sensor arms. Set it so the light never activates in daylight.
- Dusk-to-dawn plus motion mode. Many fixtures can hold a dim standby level all night and jump to full output on detection. This is the best of both approaches and worth seeking out.
- Manual override. Usually triggered by flicking the wall switch off and on quickly, forcing the light to stay on. Learn the sequence for your fixture before you need it.
Placement Strategy Around the Home
Think in terms of approaches rather than walls. Every route from the street or a neighboring property to a door or window is an approach, and each should be lit or at least covered by a sensor.
Prioritize the rear and side entries. Front doors are overlooked by the street and are the least likely point of forced entry; back gates, side alleys and basement access are where a system earns its keep. Light the driveway and the path between the car and the door, since that is the most common everyday use.
Aim sensors across paths rather than along them. Avoid pointing a sensor at a road, a heat pump, a dryer vent or a large sun-warmed surface. Keep the fixture out of the direct path of tree branches that move in wind. And check from inside the house at night: a fixture that lights a bedroom window every time a fox crosses the lawn will be disconnected within a month. Options across formats are compared in our guides to the best exterior motion sensor lights and the best motion sensor outdoor lighting for whole-property coverage.
Weather Ratings and Durability
Outdoor fixtures carry an IP rating describing resistance to solids and liquids. IP44 handles splashing and suits a covered porch. IP65 resists water jets from any direction and is the sensible minimum for anything exposed. IP66 or higher is appropriate in driving rain or coastal conditions.
Beyond the rating, look at the housing material and the gasket. Powder-coated aluminum outlasts painted steel, which rusts from any chip. Silicone gaskets stay flexible longer than rubber. Check that the sensor lens is UV-stabilized, since a clouded lens loses range permanently and cannot be restored by cleaning.
Cold matters too. Battery and solar fixtures lose substantial capacity below freezing, and some cheap drivers fail in extreme heat. If your climate goes to either extreme, check the stated operating temperature range rather than assuming.
Integrating With the Rest of the Home
Motion lighting works better as part of a system than alone. Pairing a floodlight with a camera at the same approach means the camera records a properly lit scene rather than an infrared silhouette. Weatherproof cameras designed for this pairing are compared among the best outside cameras.
Smart bulbs and connected fixtures allow schedules, brightness scenes and vacation randomization, and they let motion at one location trigger lights elsewhere, which is a genuinely useful deterrent pattern. Connected lighting options are covered in our roundup of the best smart bulbs. Lower-level accent and perimeter fixtures, useful for defining boundaries without glare, appear among the best landscaping lights.
Frequently Asked Questions
Why does my motion light keep triggering for no reason?
Usually a heat source in the field of view, moving vegetation, or sensitivity set too high. Check for vents, exhausts and sun-warmed surfaces, mask part of the lens, and reduce sensitivity in small steps until it settles.
How high should I mount a motion sensor light?
Between 6 and 10 feet for most fixtures. Follow the manufacturer’s figure if given, because the detection pattern is designed around a specific height and deviating from it shrinks effective coverage at the edges.
Do motion lights actually deter intruders?
Sudden illumination signals attention and removes the concealment an opportunist relies on. It is most effective combined with visible cameras and solid physical locks; on its own it discourages casual attempts rather than determined ones.
Are solar motion lights bright enough for security?
Good ones are adequate for paths and gates. For a primary driveway or rear entry light you want on demand every night of the year, wired is more dependable, particularly through short winter days and long cloudy spells.
Can I add a motion sensor to a light I already have?
Yes. Screw-in sensor adapters fit between the bulb and socket on many fixtures, and in-wall occupancy switches convert a whole circuit. Neither offers the aiming flexibility of an integrated sensor, but both are inexpensive and quick.
Final Thoughts
Plan by approach, not by wall. Identify every route onto the property, decide what each needs, and specify brightness to the task rather than to the maximum available. Mount at the recommended height, aim sensors across movement rather than into it, and spend ten minutes tuning sensitivity and hold time after installation rather than accepting factory defaults.
Choose wired power for the lights you depend on and solar or battery for the convenient extras. Add a weather rating suited to genuine exposure rather than the minimum, and check the result from inside the house at night. Motion lighting done this way disappears into the background until the moment you need it, which is exactly the point.









