
 Owen Bradley
 Mechanical keyboards sound wonderful in a video and considerably less wonderful on a shared video call. If your board rattles, pings, or produces a hollow clack that carries across the room, you do not have to give it up. Nearly every source of noise on a mechanical keyboard can be traced to a specific part, and each one has a known fix. This guide works through the practical ways to reduce keyboard noise, from five-minute changes that cost nothing to full foam and tape mods, so you can decide how far to go. The aim is a quieter, deeper sound signature that keeps the typing feel you already like.
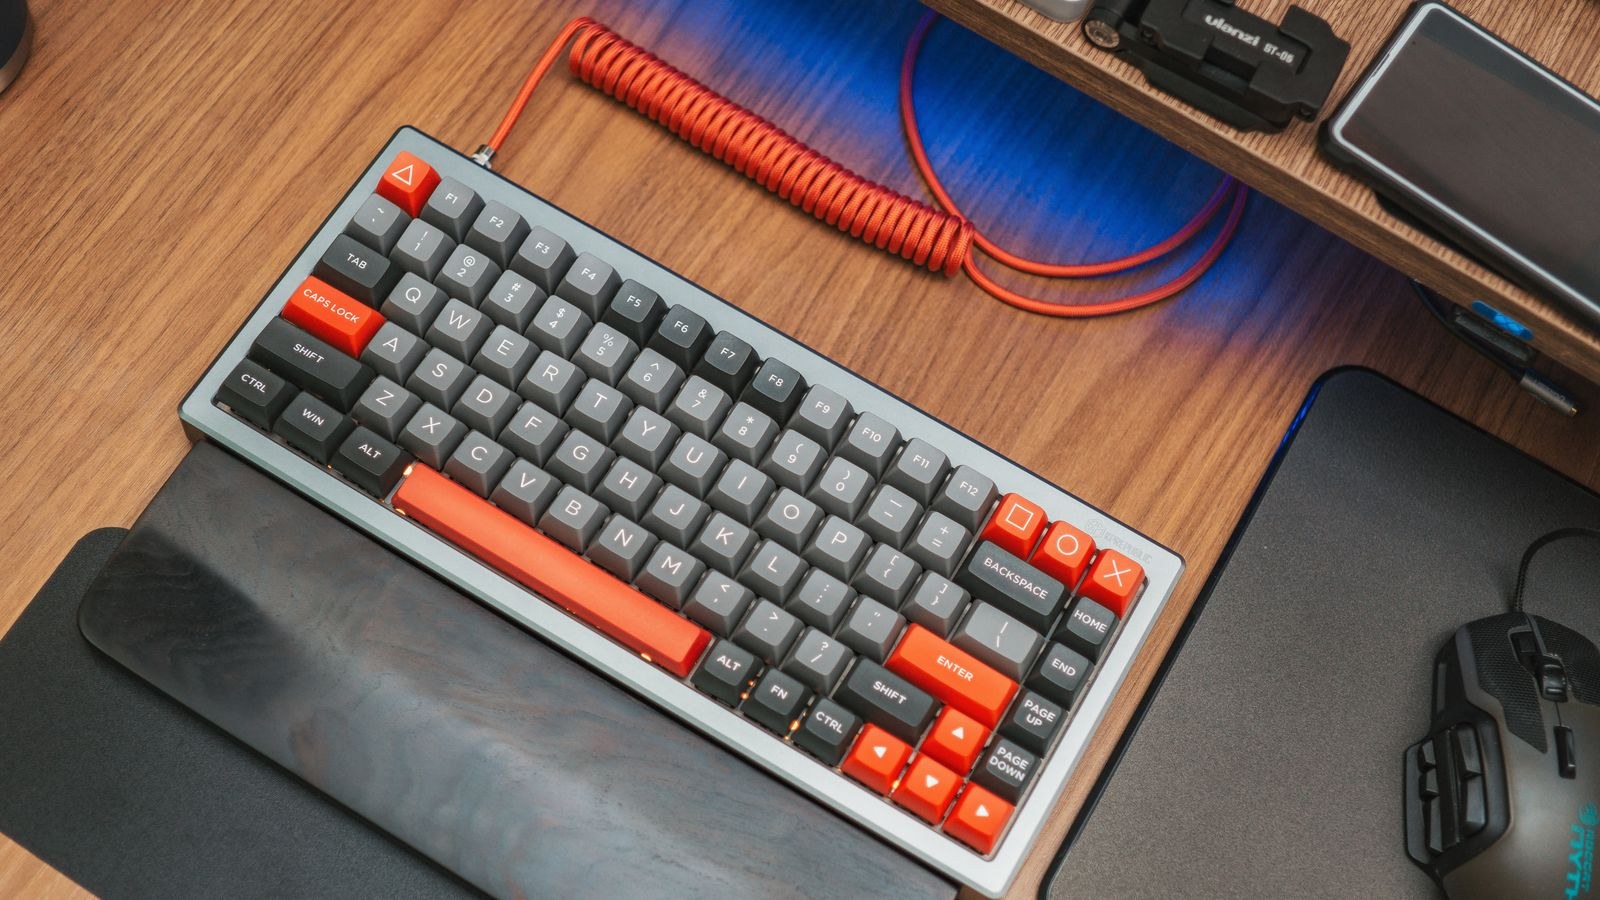
Understand Where the Noise Comes From
Before modifying anything, identify what you are actually hearing. Type slowly and listen for each component separately, because the fix for one is useless against another.
- Bottom-out impact — the sharp knock as the keycap stem hits the switch housing at the end of travel. This is usually the loudest single sound.
- Upstroke clack — the return of the stem to the top of the switch when you release the key, often sharper than the downstroke.
- Case hollowness — a resonant, echoey tone caused by empty air space between the plate and the bottom of the case.
- Spring ping — a metallic ringing that trails each keystroke, coming from the spring vibrating inside the switch.
- Stabiliser rattle — the ticking and clattering unique to wide keys like the spacebar, shift, enter, and backspace.
- Switch click — the deliberate click of a clicky switch, produced by a jacket or bar mechanism inside the switch itself.
Only the last of these requires new switches. Everything else can be reduced with mods, and a combination of two or three usually cuts perceived volume dramatically.
Step-by-Step: Quieting Your Keyboard
- Start with a desk mat. A thick cloth or foam desk mat absorbs the vibration a keyboard transmits into a hard desk surface, which acts as a sounding board. This is the cheapest and least invasive change available, it takes no disassembly, and on a hollow desk it can make a genuinely audible difference on its own.
- Fit o-rings to soften bottom-out. Pull each keycap with a wire puller, slip a small rubber o-ring over the stem post underneath, and press the cap back on. The ring cushions the cap against the housing and removes the sharpest part of the impact. Thicker rings quiet more but shorten travel noticeably, so start thin if you dislike a mushy end stop.
- Fix the stabilisers before anything else. Rattly stabilisers are usually the single worst offender. Remove the spacebar, shift, enter, and backspace keycaps, check that each wire is properly clipped into its housing, and apply a small amount of thick dielectric grease to the wire ends and the inside of the stabiliser housing. Clipping the small plastic feet off screw-in stabiliser stems also removes the tick they make against the board.
- Add a band-aid or plate mod under the stabilisers. Place a small piece of soft adhesive padding on the circuit board directly beneath each stabiliser housing so the wire lands on cushioning instead of bare board. Combined with proper lubrication, this turns a clattering spacebar into a muted thud, which is often the change people notice most.
- Open the case and add foam. Undo the case screws, separate the halves carefully without yanking any ribbon cable, and cut a sheet of dense foam to fill the empty space between the circuit board and the bottom of the case. Fill the void without compressing the board. This kills the hollow echo that makes a keyboard sound cheap and lowers overall pitch.
- Try the tape mod on the circuit board. Apply two to four layers of masking tape across the underside of the circuit board, cutting holes around any screw posts, LEDs, or connectors. It is reversible, costs almost nothing, and produces a deeper, more solid sound by damping board flex. Test with two layers first, since too many can make the board sound dull.
- Lubricate the switches if they are removable. Pull each switch, open the housing with a switch opener, and apply a very thin coat of thin switch lubricant to the stem rails and the inside walls. A tiny amount on the spring reduces ping. Lubricant smooths travel and removes scratchiness, though it demands patience across a hundred switches. Skip the leaf on tactile switches to preserve the bump.
- Swap in silent switches for the biggest single reduction. Silent linear and silent tactile switches contain rubber dampers on the stem that cushion both bottom-out and upstroke inside the switch itself. On a hot-swappable board this is a twenty-minute job with no soldering and delivers a larger drop in volume than every other mod combined.
- Reassemble and test in the real environment. Put everything back together, then type normally at your actual desk with the room as it usually is. Record a short clip on your phone before and after so you can judge the change objectively rather than by memory.
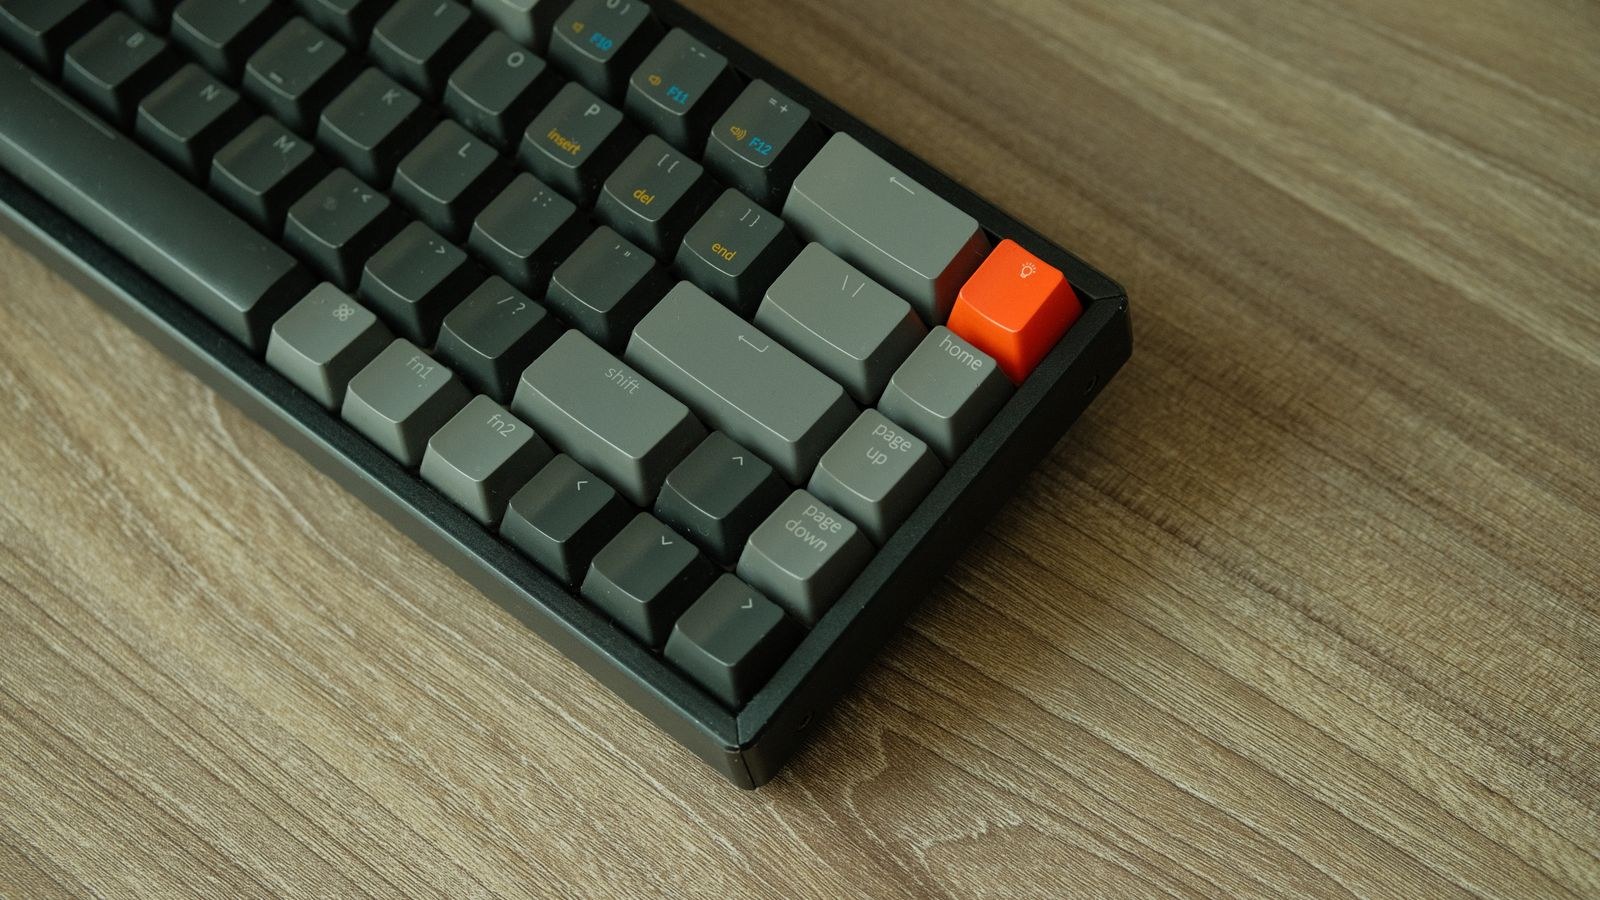
Choosing Quieter Switches and Keycaps
Switch choice sets the ceiling for how quiet a board can get. Clicky switches are loud by design and no amount of foam will tame them, so if noise is the priority, they are the first thing to change. Linear switches are naturally quieter than tactile ones because there is no bump for the stem to snap past, and silent variants of both types add internal dampening that cuts the sound at its source.
Spring weight matters too. Heavier springs encourage a firmer press and a harder bottom-out, while lighter springs let you type with less force. Many people find that a lighter linear switch plus a conscious effort not to bottom out every key reduces noise more than any mod. If you are shopping for a board built around this philosophy, our list of the best quiet keyboards covers models designed for shared spaces, and the best linear keyboards collects smooth options that avoid tactile snap entirely.
Keycap Material and Profile
Keycaps change pitch more than volume. Thicker PBT caps produce a deeper, more muted sound than thin ABS caps, which tend to ring higher and sharper. Taller profiles enclose more air and sound hollower, while low-profile caps and low-profile switches reduce travel distance and therefore impact energy. If desk space and travel feel allow it, the best low-profile keyboards are inherently quieter simply because there is less distance for the key to fall.
Typing Technique Costs Nothing
The loudest variable in most setups is the person at the keyboard. Mechanical switches actuate roughly halfway through their travel, which means you never need to slam a key into the housing to register it. Learning to release at the actuation point rather than driving through to the bottom eliminates the single biggest noise source without spending a cent.
This takes practice. Start by typing deliberately slowly for a few minutes each day, paying attention to how little force actually registers a keystroke. Lighter springs help the habit form, because a heavy spring encourages you to push harder. Raising the keyboard less steeply and keeping wrists neutral also tends to produce a lighter touch, which is why quieter typing and more comfortable typing usually arrive together.
Which Mods Give the Best Return
If you only do three things, do these: lubricate and pad the stabilisers, fill the case with foam, and install silent switches. Those three address rattle, resonance, and impact respectively, which are the three distinct problems that make a board loud. O-rings and a desk mat are worthwhile additions that require almost no effort or risk.
Full switch lubrication sits at the opposite end. It produces a lovely, refined sound and buttery feel, but it takes hours and is easy to overdo. If your only goal is a quieter keyboard rather than a better-sounding one, spend that time and money on silent switches instead. For an office where a colleague sits within a few feet, the practical target is a board that produces a low thud rather than a click, and the best keyboards for home office use are usually already tuned in that direction. If you are starting from scratch and want a solid, moddable base, the best mechanical keyboards list is the right place to begin.
Safety and Care Notes
- Unplug the keyboard and remove batteries before opening the case.
- Never force a case apart. Locate every screw, including any hidden under feet or stickers, and separate clips gently with a plastic tool.
- Do not over-lubricate. Excess lubricant migrates onto contacts and can cause keys to fail or double-register.
- Keep tape away from LEDs and connectors so nothing overheats or shorts against the board.
- Support ribbon cables when separating case halves; they tear easily and are hard to replace.
Common Mistakes to Avoid
The biggest mistake is treating foam as a cure-all. Foam removes hollowness but does nothing for stabiliser rattle or a hard bottom-out, so people stuff a case full, hear little change, and conclude that mods do not work. Diagnose the specific sound first and match the fix to it.
The second mistake is using the wrong lubricant. Thick grease on switch stems makes travel sluggish and can mute a tactile bump entirely; thin lubricant on stabiliser wires does not stay put. Use thin lubricant inside switches and thick dielectric grease on stabilisers. Third, avoid packing so much material into the case that the circuit board bows, which stresses solder joints and can cause keys to register unevenly. Finally, do not expect a clicky board to become quiet. Replace the switches or accept the noise, because no external mod removes a click generated inside the switch.
Frequently Asked Questions
Do o-rings ruin typing feel?
They shorten travel and soften the end stop, which some typists dislike. Thin rings preserve most of the original feel while removing the sharpest part of the impact, so start there and only move to thicker rings if you need more dampening.
Are silent switches as good as regular ones?
They feel slightly softer at the bottom because of the internal dampers, and some people describe them as marginally less crisp. In exchange they cut noise substantially, and modern silent switches are far closer to regular feel than earlier generations were.
Will foam make my keyboard sound worse?
Only if you overfill it. The goal is to occupy empty air, not to compress the board. Too much dense material can make a board sound dead and lifeless, so add gradually and listen after each layer.
Final Thoughts
Quieting a mechanical keyboard is a matter of matching each fix to the sound it actually addresses. Handle the stabilisers, fill the hollow case, and cushion the bottom-out, and you have solved most of the problem before touching a switch. Add silent switches and a lighter typing technique and even a full-size board becomes acceptable in a shared room. Work through the steps in order, test after each change, and stop when the sound satisfies you rather than chasing every mod on the list. That way the keyboard you enjoy typing on in 2026 is also one the people around you can live with.









