Owen Bradley
 When a light stops working, the switch is one of three suspects, alongside the bulb and the wiring. Guessing wastes money and time, but a multimeter answers the question definitively in about ten minutes. The test has two halves: confirming whether power is reaching the switch at all, and then checking whether the switch itself makes and breaks the circuit as it should. Learn to test a light switch properly and you will never again replace a working part hoping the problem goes away. This tutorial covers the safe sequence for a standard single-pole switch and the extra steps a three-way switch demands.
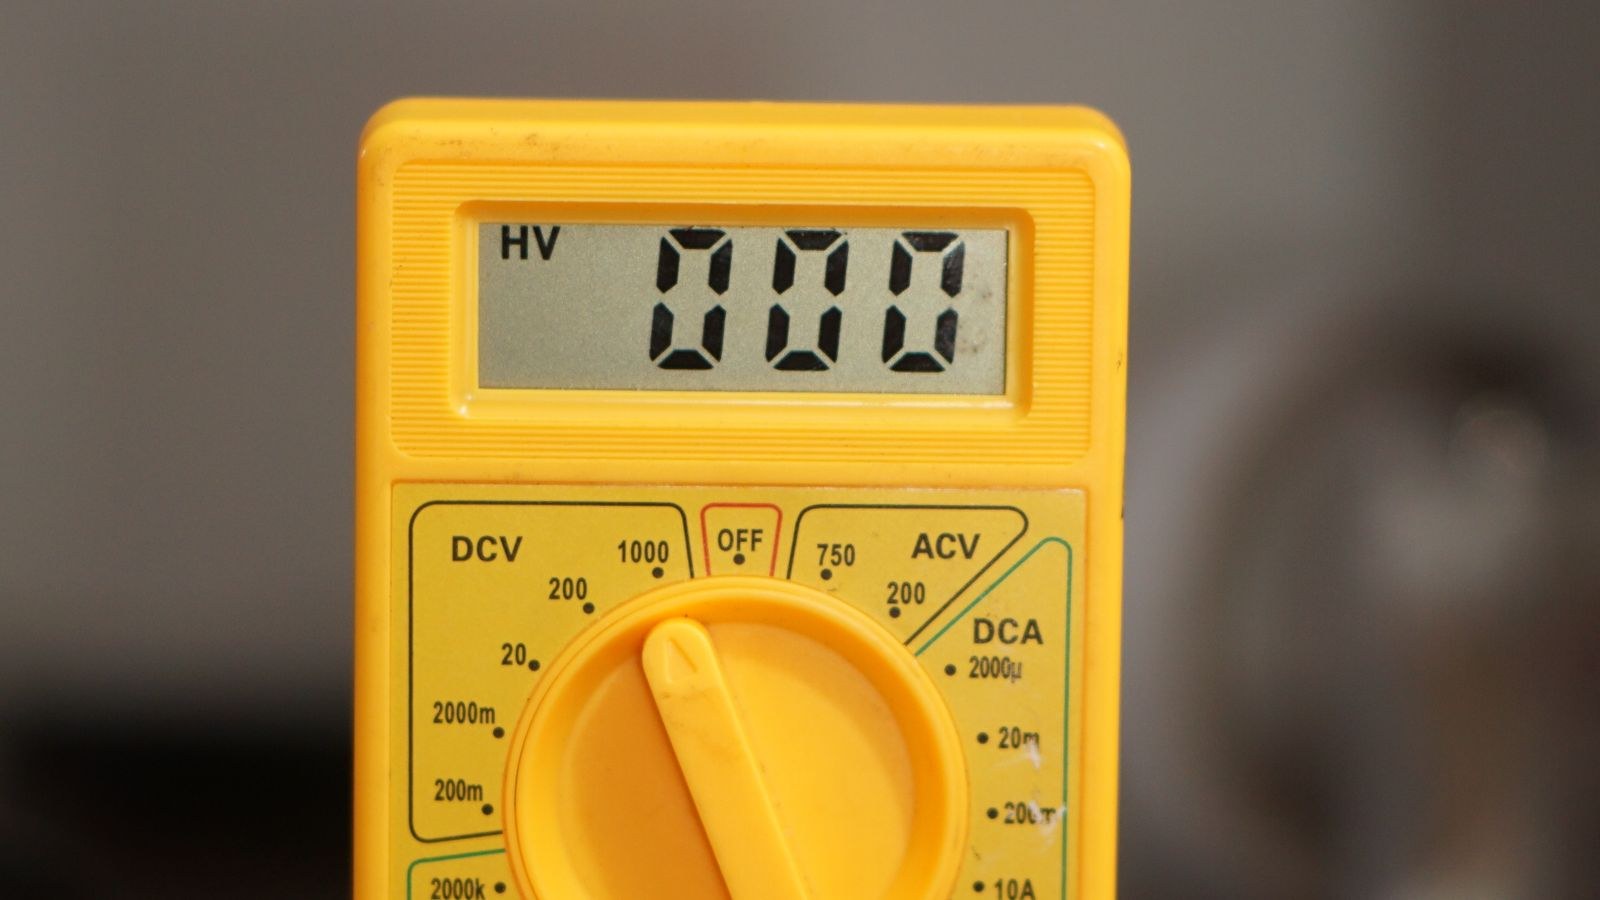
Tools You Will Need
- A digital multimeter with AC voltage and continuity or resistance modes. An audible continuity beep makes the job far easier.
- A non-contact voltage tester as an independent confirmation that the circuit is dead.
- Insulated screwdrivers, both flat and Phillips, for the cover plate and terminal screws.
- A torch or headlamp, since you are about to switch off the lighting in the room you are working in.
- Masking tape and a pen for labelling wires before anything is disconnected.
- Optional: a voltage-rated glove and safety glasses for the live portion of the test.
Understand What You Are Testing
A single-pole switch has two brass terminals plus a green ground screw. One brass terminal receives the hot conductor from the panel, the other sends it on to the fixture. Flipping the switch simply joins or separates those two terminals. That is why a continuity test tells you everything: with the switch on, the two terminals should be electrically joined; with it off, they should be completely isolated.
A three-way switch is different. It has one dark common terminal and two brass traveller terminals. There is no fixed on or off position, because the switch redirects the common to one traveller or the other. That changes how you interpret the readings and is where most home testing goes wrong.
Step-by-Step: Testing the Switch
- Turn off the breaker for that circuit. Find it at the panel, switch it off, and put a note on the panel so nobody restores it while your hands are inside a box. Do not rely on the wall switch itself, since a miswired circuit can leave conductors live regardless of switch position.
- Verify the circuit is dead. Remove the cover plate and run a non-contact tester around the wires inside the box. Then set your multimeter to AC voltage, measure between the hot conductor and the ground screw, and confirm you read close to zero. Two independent confirmations before you touch anything is the standard worth keeping.
- Remove and photograph the switch. Undo the two mounting screws, ease the switch out of the box, and take a clear photo of the wiring before disconnecting. Label each wire with tape: hot in, load out, travellers, neutral if present. This one minute saves considerable confusion later.
- Test for incoming power (live test). If you want to confirm the supply, restore the breaker with the switch pulled out and the conductors safely separated. Set the meter to AC volts in a range above 200. Touch the black probe to the bare ground conductor and the red probe to the suspected hot wire. A reading near 120 volts means power is arriving and the fault lies beyond this point. Near zero means the problem is upstream, at the breaker or in the wiring, and no switch replacement will help. Turn the breaker back off immediately after this reading.
- Disconnect the switch completely. With power off again and confirmed dead, loosen the terminal screws and free every conductor from the switch. A continuity test only gives a valid result on a switch isolated from the circuit; leave it connected and other paths in the circuit will produce false readings.
- Set the meter to continuity. Choose the mode marked with a sound-wave symbol, or use the lowest ohms range if your meter lacks it. Touch the probes together first. It should beep or read close to zero ohms. That confirms the meter and leads are working before you trust any result.
- Test the single-pole switch in both positions. Place one probe on each brass terminal. Flip the toggle to on: you should get a beep or a reading under about 1 ohm. Flip it to off: you should get no beep and an open-circuit reading, usually shown as OL or infinity. Anything else means the switch has failed.
- Interpret a failure correctly. Continuity in both positions means the contacts have welded closed, so the light never turns off properly. No continuity in either position means the contacts are burnt or broken, so the light never comes on. An intermittent or fluctuating reading, especially if it changes when you wiggle the toggle, indicates worn contacts and a switch that will fail completely soon.
- Test a three-way switch with the common terminal. Identify the common, which is the darker or black-coloured screw and usually labelled. Put one probe on the common and the other on the first traveller. Flip the toggle: you should get continuity in exactly one position and none in the other. Move to the second traveller and repeat. A working three-way switch always shows continuity to precisely one traveller at a time. Continuity to both, or to neither, means it is faulty.
- Check the bulb and fixture before condemning anything. If the switch passes every test, move on. Test the bulb in a known-good lamp, inspect the fixture socket for a flattened contact tab or scorching, and confirm the wire nuts at the fixture are tight. A surprising number of suspected switch faults turn out to be a loose fixture connection.
- Reassemble carefully. Reconnect each conductor to the terminal it came from, using your photo and labels. Ensure no bare copper is exposed beyond the screw, fold the conductors neatly into the box, mount the switch square, refit the plate, and restore power. Test the light before you tidy your tools away.
When the Test Says Replace
Switches are consumable parts. A residential switch is typically rated for tens of thousands of operations, and a hallway or bathroom switch used a dozen times a day will eventually wear out its contacts. Once a continuity test fails, replacement is the only sensible response, and the part costs a few dollars.
It is worth using the opportunity to upgrade rather than fitting the cheapest available replacement. A comparison of the best light switches covers the different actuator styles and amperage ratings, while a survey of the best quality light switches focuses on the build differences that determine how long the contacts survive. If the fixture was on a dimmer and the dimming behaviour has been poor, a look at the best dimmer switches is worthwhile, since older dimmers frequently do not cope with LED loads. For a whole-house standardisation project, a roundup of the best light switches for home use helps you match style and colour across every room.
Safety Rules You Should Not Bend
Only the voltage test in step four involves live conductors, and it can be skipped entirely if you simply want to know whether the switch works. Never perform a continuity test on a circuit that has any possibility of being energised, as the meter will be damaged and you may be injured. Keep one hand in a pocket during live testing so no current can cross your chest. Confirm your meter leads are undamaged and correctly seated in the right jacks. If the box is metal, treat it as potentially live. And if you open the box and find aluminium wiring, scorched insulation, backstab connections that have overheated, or a box crammed with more conductors than it should hold, stop and hand the job to a licensed electrician.
Common Mistakes
The most frequent error is testing continuity while the switch is still wired in, which routes the meter’s test current through the rest of the circuit and produces meaningless results. Always fully disconnect. The second is misreading a three-way switch as broken because it shows continuity in both toggle positions, when in fact the probe was on the wrong pair of terminals. Find the common screw first.
A third mistake is skipping the probe-touch check, so a broken test lead gets mistaken for a dead switch. A fourth is forgetting to test the bulb, which remains the single most likely culprit in any lighting fault. Finally, many people restore the breaker before verifying that every terminal screw is tight and no copper is exposed, which risks a short the moment power returns.
Frequently Asked Questions
Can I test a switch without removing it from the wall?
You can perform a live voltage test to confirm power is present, but a valid continuity test requires the switch to be disconnected. There is no reliable in-place substitute.
What reading should a good switch give?
Close to zero ohms when closed, typically under 1 ohm, and open circuit when off. Readings of several ohms in the closed position suggest degraded contacts that will overheat and fail.
My switch tests fine but the light still does not work. What now?
Check the bulb, then the fixture socket, then the wire connections at both the fixture and the switch box. A loose neutral or a failed wire nut at the fixture is a very common cause.
Is a warm switch plate normal?
Slight warmth on a dimmer is normal, since dimmers dissipate heat. A standard on-off switch should stay near room temperature. Warmth, buzzing, or a burning smell means loose connections or failing contacts and needs immediate attention.
Final Thoughts
Testing a light switch with a multimeter turns a frustrating guessing game into a short, methodical check. Kill the breaker, verify it twice, isolate the switch, and read continuity in both positions, remembering that a three-way switch is judged against its common terminal rather than a simple on and off. The result either clears the switch and points you at the bulb or fixture, or condemns it and justifies a few dollars for a better replacement. Either way you finish the job knowing exactly what failed instead of hoping.